
Samsung Galaxy S21+ USB-C Charging Port and Daughterboard Replacement
Duration: 45 minutes
Steps: 25 Steps
Ready to swap out your Samsung Galaxy S21+ USB-C charging port and daughterboard? Follow these steps and get your device powered up again! Heads up: keeping your phone water-resistant depends on how well you reapply the adhesive—after this repair, the official IP rating will take a little vacation.
Step 1


Oops! If you poked the SIM eject tool into the microphone hole by mistake, no big deal—chances are, the microphone is still perfectly fine.
- Grab a SIM eject tool, the tiniest bit you own, or even a straightened paper clip—whatever works! Find the SIM card tray hole on the top edge of your phone.
- Give that tool a gentle push into the hole until the SIM card tray pops out like magic.
- Slide out the SIM card tray and give yourself a high five. Nice work!
Step 2

Before you dive in, make sure your device is switched off. Let’s keep things safe and smooth!
A hair dryer, heat gun, or hot plate can come in handy, but keep it cool—literally. Avoid overheating the phone, since both the display and internal battery are pretty sensitive to heat damage. Use gentle, controlled heat and stay alert to prevent any mishaps.
- Warm up an iOpener and gently press it against the bottom edge of the back cover for about two minutes. This helps loosen the adhesive so you can get inside more easily. If you need help, you can always schedule a repair.


Step 3
If the back cover is doing its best impression of a spiderweb, the suction handle might not cooperate. Grab some heavy-duty tape to lift it, or glue the suction handle in place—just make sure to let it set before going any further.
If the gap’s playing hard to get, hit the adhesive with a bit more heat to make it loosen up. Keep an eye on the iOpener instructions so things don’t get too toasty.
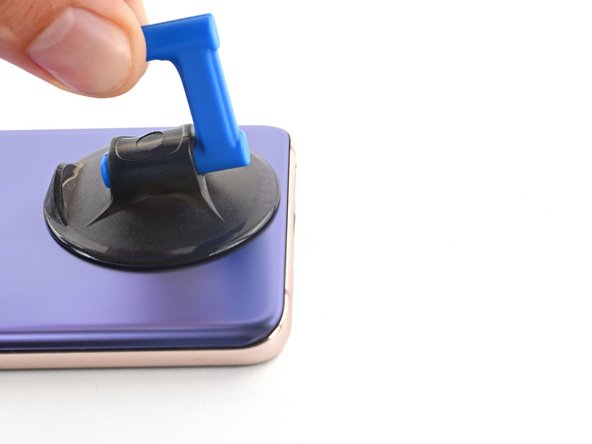
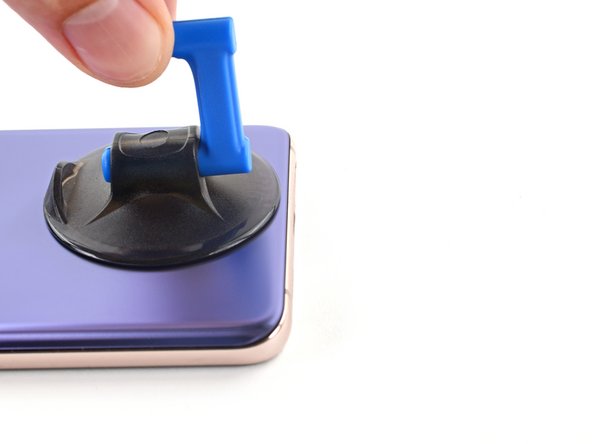
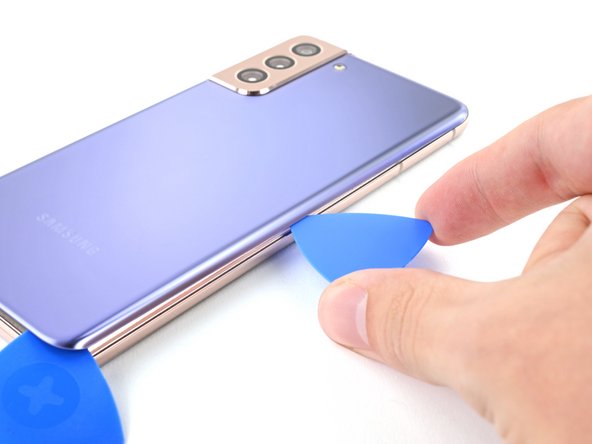
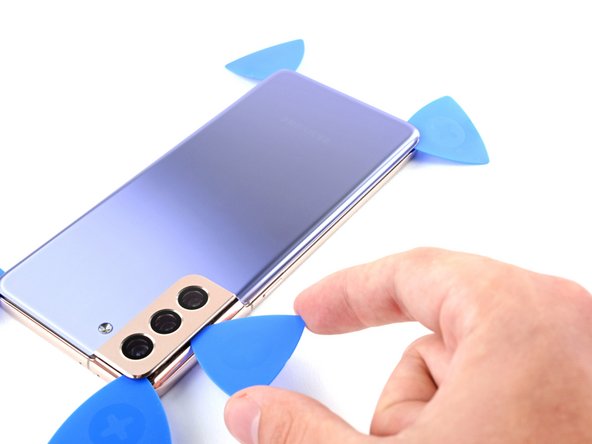
- Stick your suction handle right at the bottom edge of the back cover—get it as close to the edge as you can.
- Give the suction handle a gentle lift to open up a tiny gap between the back cover and the frame.
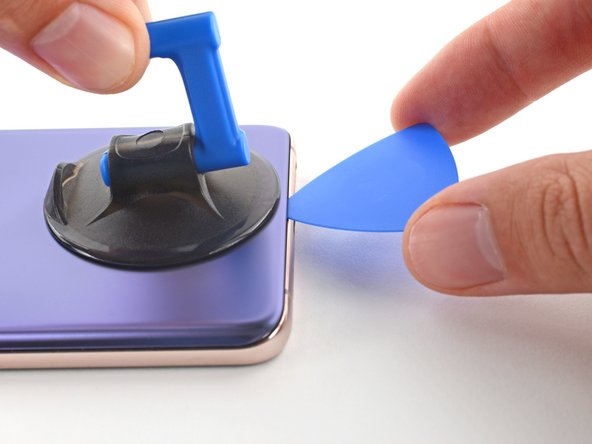
- Slide an opening pick into that gap you just made. Keep it chill and steady.
Tools Used

Step 4


- Gently slide the opening pick down to the bottom left corner to cut through the adhesive. Go slow and steady, you've got this!
- Once the pick is in place, leave it there to stop that adhesive from trying to seal back up. No peeking until you're ready!
Step 5
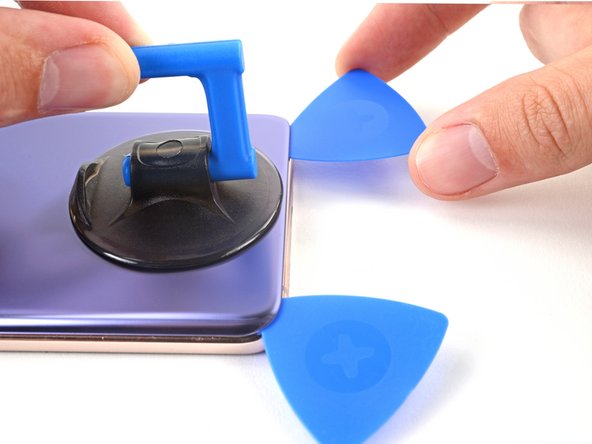

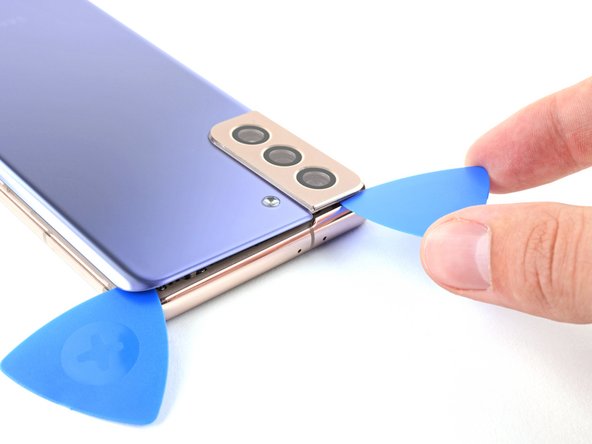
- Pop a second pick in along the bottom edge—think of it as backup for your adhesive-busting adventure.
- Slide that pick over to the bottom right corner and slice through the sticky stuff like a pro.
- Let those picks chill in place so the adhesive doesn’t get any sneaky ideas about sealing itself up again.
Step 6

- Warm up an iOpener and gently press it against the right edge of the back cover for about two minutes to soften the adhesive.
Tools Used
Step 7


Sticky adhesive acting like it’s been to the gym and gotten all tough? Just warm it up again—pop a toasty iOpener back on the edge and watch it chill out so you can keep slicing like a pro.
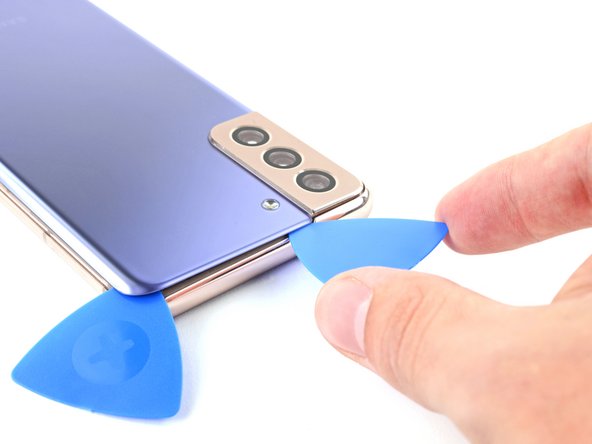
- Start by slipping a third opening pick into the bottom right corner of your device.
- Gently slide the pick along the right edge to cut through the adhesive holding the screen in place.
- Keep the opening pick in the top right corner to stop the adhesive from sticking back together as you work.
Tools Used
Step 8

- Warm up your iOpener and let it chill on the top edge of the back cover for about two minutes.
Tools Used
Step 9

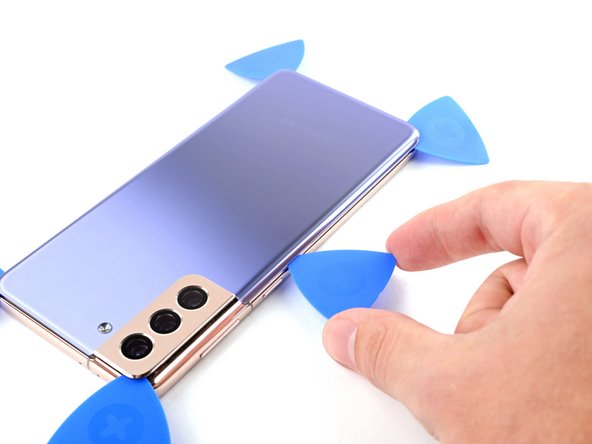
When working close to the camera, just dip the tip of your opening pick in—about 4-5 mm—and keep those precious lenses safe and smudge-free!
- Slide a fourth opening pick under the top right corner of your phone, like you're gently sneaking it into a cozy spot.
- Now, glide the opening pick along the top edge to cut through the adhesive, no rush – just a smooth move.
- Keep the opening pick tucked in the top left corner to stop that adhesive from re-sealing itself like it never happened.
Step 10

- Warm up an iOpener and gently press it against the left edge of the back cover for about two minutes. Keep it snug to soften the adhesive and make the removal easier.
Tools Used
Step 11

When you're working close to the power button, just sneak the tip of the opening pick in—about 3-4 mm. That way, you keep the power and volume button cable safe and avoid any accidental damage.
- Grab a fifth opening pick and gently slide it underneath the bottom left corner to get things started.
- Then, glide that opening pick along the left edge of the back cover, carefully slicing through any remaining adhesive to free it up.
Step 12


- Start by removing the back cover of your device. During reassembly, it's a smart move to power on your phone and test all functions before sealing it up tight. Just make sure to power it down completely before continuing. Use tweezers or your fingers to carefully pick away any leftover adhesive chunks, and wipe away any residue with some high-concentration (over 90%) isopropyl alcohol. If you're using custom-cut adhesives, follow the specific guide for those, or if double-sided tape is your choice, refer to its guide. Need a hand? You can always schedule a repair with Salvation Repair.
Step 13

Handle the battery carefully—avoid poking holes or bending it, as a punctured or twisted battery could leak nasty chemicals or even cause a fire. Stay safe and gentle with it.
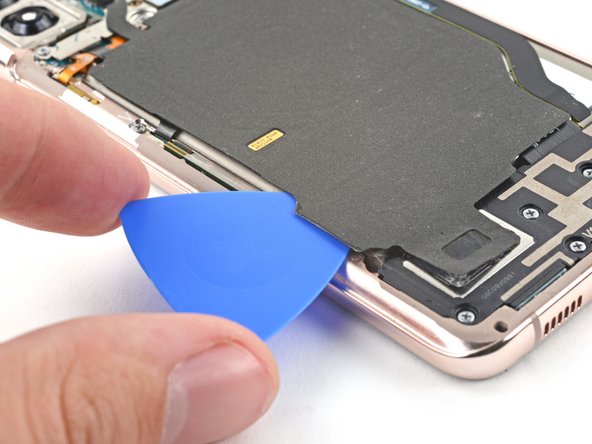
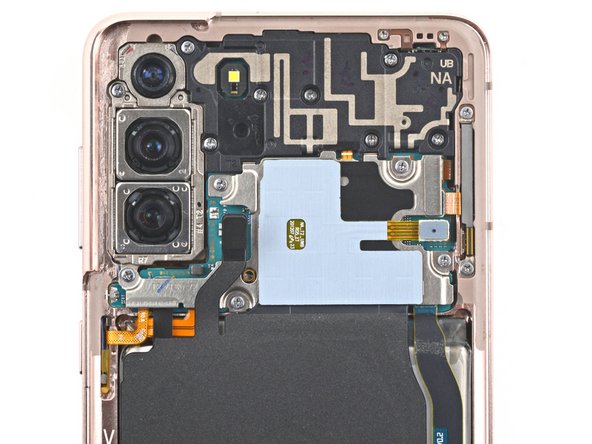
- Slip an opening pick under the bottom left corner of the NFC antenna and charging coil assembly—like a secret agent on a mission.
- Glide the pick smoothly along the edge to disconnect the assembly from the battery. Take your time and let the pick do the work!
Step 14

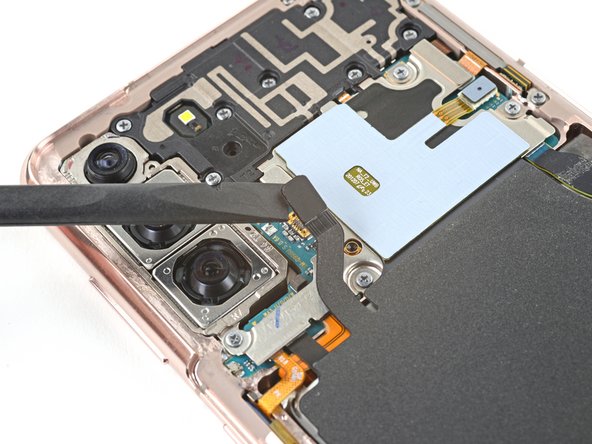
- Grab your trusty spudger and gently pry the connector for the charging coil straight up from its socket to disconnect it. You've got this!
Tools Used

Step 15
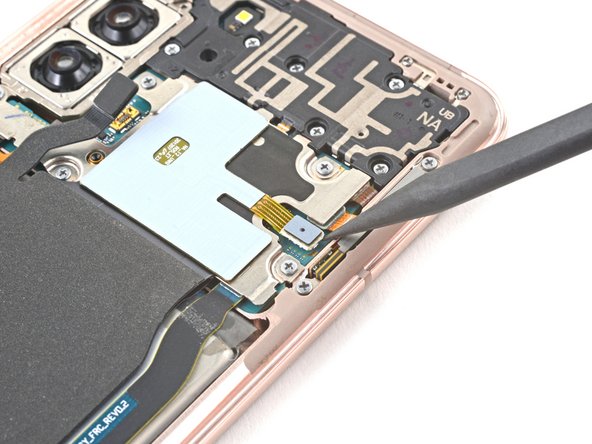

- Grab a spudger and gently pry the NFC antenna connector straight up to disconnect it from its socket. Easy does it—just a little lift, and you're good to go. If you need help, you can always schedule a repair.
Tools Used
Step 16

- Grab your Phillips screwdriver and take out the five 3.9 mm screws holding the NFC antenna and charging coil assembly in place. Easy does it!
Step 17

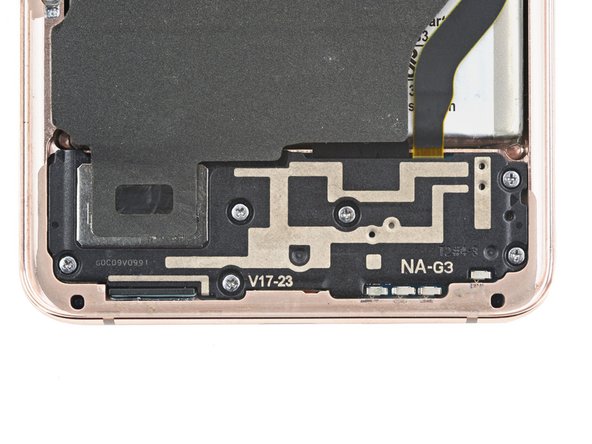
- Grab your Phillips screwdriver and unscrew those six 3.9 mm screws holding the loudspeaker assembly in place. Keep them safe—you'll need them later. Need a hand? You can always schedule a repair if things get tricky.
Step 18

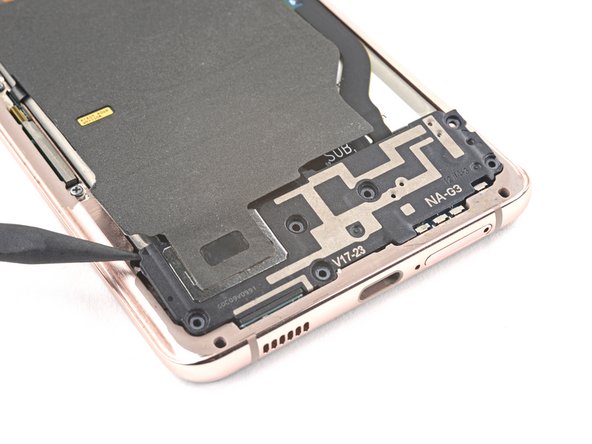
- Slip the tip of a spudger between the frame and the upper-left notch in the loudspeaker. Gently pry upward with the spudger to free the loudspeaker from its plastic clips. If you need help, you can always schedule a repair.
Tools Used
Step 19
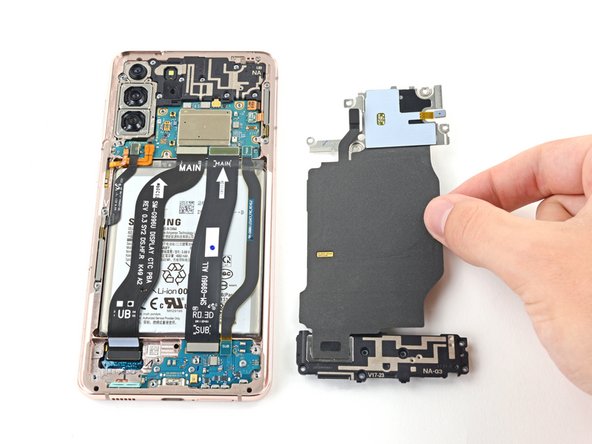

- Grab a pair of tweezers or just use your fingers, and gently lift out the NFC antenna and charging coil assembly. Take your time—careful hands make for a smooth removal. If you need a hand, you can always schedule a repair.
Step 20

- Grab your trusty spudger and gently wiggle it to pop up and disconnect the battery's press connector. You’ve got this!
Tools Used
Step 21

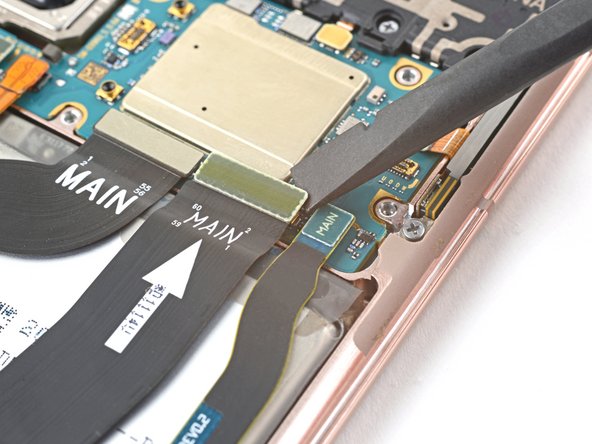
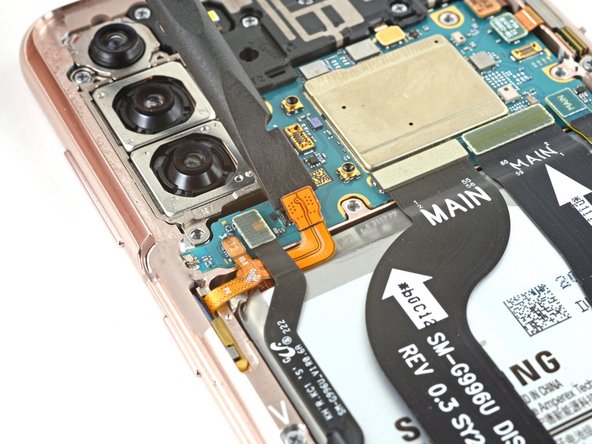
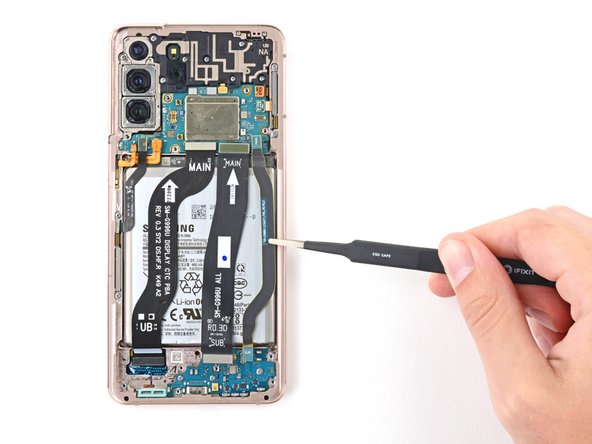
- Grab your trusty spudger and gently pop up those main and secondary interconnect cable connectors from the motherboard. Easy does it—no need to rush, just a smooth lift and you're good!
Tools Used
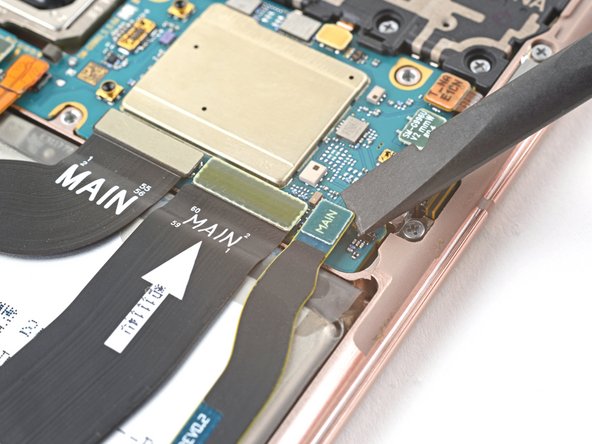
Step 22

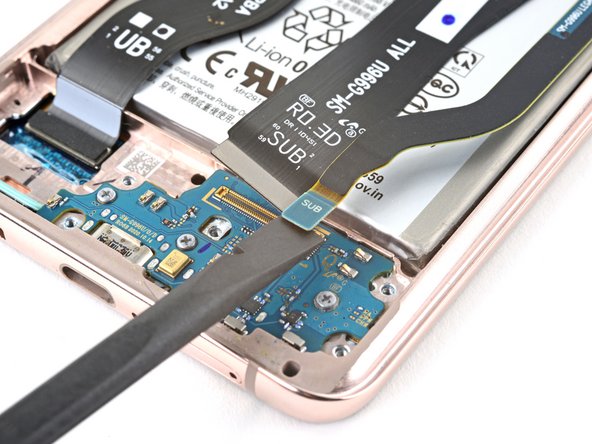
- Grab a spudger and gently pry up the connectors holding the main and secondary interconnect cables on the daughterboard. Carefully disconnect them to keep everything safe and ready for the next step. If you need a hand, you can always schedule a repair.
Tools Used
Step 23

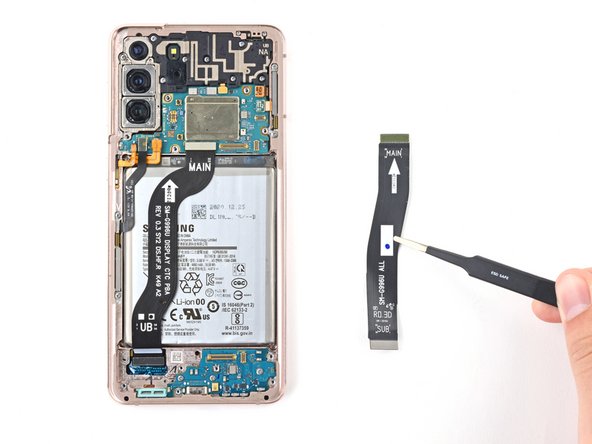
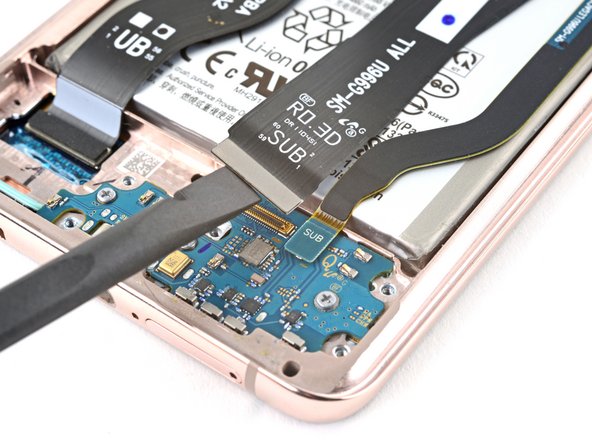
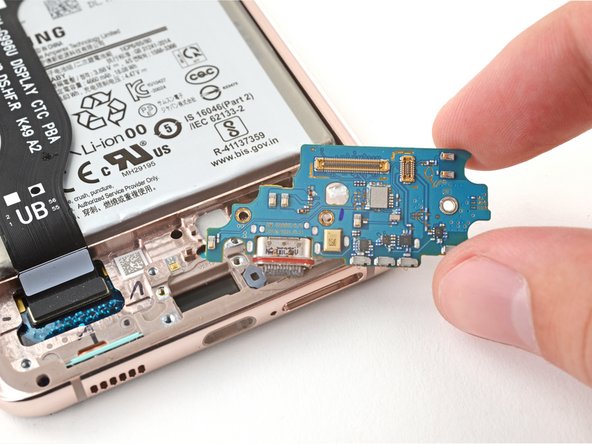
- Grab those interconnect cables with tweezers or your fingers—whichever feels cooler.
- Pop them out, and keep them somewhere safe. You’ll need them again when putting everything back together.
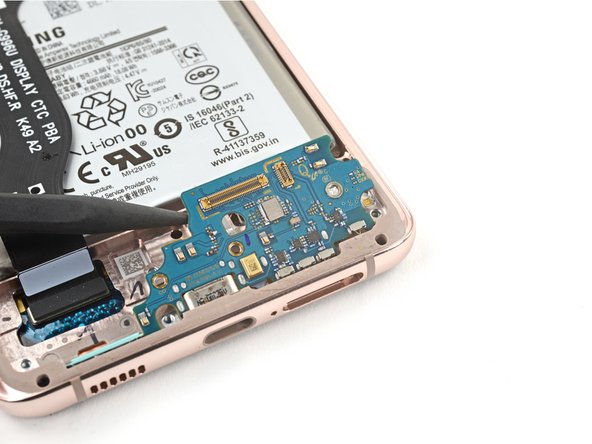
Step 24
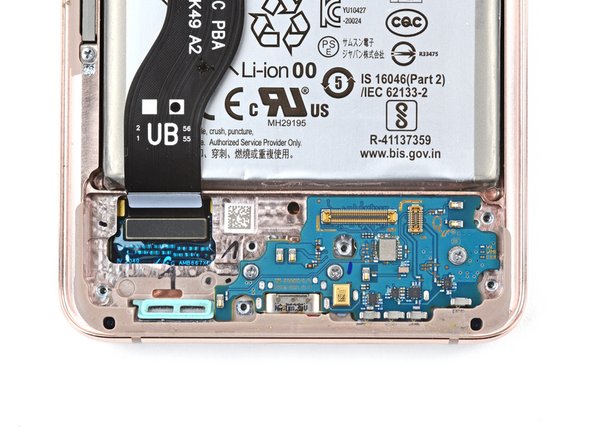

- Grab your trusty Phillips screwdriver and get ready to tackle those three 3.4 mm-long screws holding the charging board in place. Let's unscrew them and get one step closer to your repair victory!
Step 25

- Now it's time to put everything back together! Just follow these steps in the reverse order and you'll be golden.
- Got some e-waste? Make sure to drop it off at an R2 or e-Stewards certified recycler. Let's keep our planet happy!
- If things didn't go as smoothly as you hoped, don't sweat it! Check out some basic troubleshooting tips or reach out to our Answers community for a helping hand.


