Samsung Galaxy S23 Back Cover Replacement Guide
Duration: 45 minutes
Steps: 15 Steps
Let’s get that back cover swapped out! This guide walks you through replacing the back cover on your Samsung Galaxy S23. Heads up: after this repair, your phone might not be as water-resistant as it was before. It all depends on how well you stick that new back cover adhesive. If you’re not sure, you can always schedule a repair with us. We’ll make sure your phone is good as new.
Step 1


Before you start, make sure your phone’s battery is below 25% charge. A charged lithium-ion battery can be a safety hazard, so it’s better to be safe than sorry. If your battery is swollen, take the necessary precautions to avoid any accidents. If you need help, you can always schedule a repair
– First things first, unplug all those pesky cables from your phone. We don’t want any interruptions!
– Now, give that side key a nice press while holding down the volume down button. Then just select ‘Power off’ to easily shut down your phone.
Step 2

If you need some extra heat, you can use a hairdryer, heat gun, or hot plate, but be careful not to overheat the phone – the display and internal battery are sensitive to heat damage. If you need help, you can always schedule a repair.
– Let’s get this repair started. Heat an iOpener and apply it to the right edge of the back cover for about two minutes. This will help loosen the adhesive, making the next steps a breeze. If you need help, you can always schedule a repair
Tools Used


Step 3


Don’t worry if you’re having a little trouble getting that gap open! Just crank up the heat a bit more to loosen up that adhesive. Remember, it’s all about being gentle and applying heat correctly. Check out the instructions on using the iOpener so you don’t accidentally overheat things. If you’re still struggling, no worries, you can always schedule a repair.
– Stick a suction handle on the back cover, aiming for the center of the right edge.
– Give that handle a nice, firm pull until you see a gap forming between the cover and the frame.
– Slide an opening pick into that gap.
Tools Used


Step 5

– Let’s get this party started by warming up the back cover! Apply a heated iOpener to the bottom edge for two minutes. If you need help, you can always schedule a repair
Tools Used
Step 6


– Pop in a second opening pick at the bottom right corner.
– Give it a little twist around that corner to break free the adhesive.
Step 7


– Swipe your opening pick down to the bottom left corner to loosen up the adhesive.
– Keep the pick in the bottom left corner to stop the adhesive from sticking back.
Step 8

– Time to get this repair started. Apply a heated iOpener to the left edge of the back cover for about two minutes. If you need help, you can always schedule a repair
Tools Used
Step 9


– Now, let’s gently wiggle that opening pick around the bottom left corner. We’re going to loosen up that adhesive, no sweat!
Step 10


– Alright, let’s get this party started! Grab a third opening pick and gently slide it into the bottom left corner. Think of it like a little dance move, separating the adhesive. Once you’re in the groove, leave that pick in the top left corner to make sure the adhesive doesn’t sneakily reattach. You’ve got this! If you need help, you can always schedule a repair
Step 11

– Warm up that iOpener and give it a cozy two-minute hug on the top edge of the back cover. You’ve got this!
Tools Used
Step 12


– Let’s get that top left corner party started! Insert your fourth opening pick there, and then gently twist it around to loosen up that adhesive. It’s like giving it a little wiggle dance!
Step 13


– Let’s get that phone open! Slide your opening pick to the top right corner, gently separating the adhesive.
– Keep that pick right there in the top right corner to keep the adhesive from sticking back together. You’re doing great!
Step 14


Steer clear of the rear cameras with your pick! Pushing on those lenses could spell trouble for them. Keep it cool and gentle!
There’s still a little bit of that sticky stuff under the flash, but don’t worry – it’s almost gone!
You should see the opening pick poking through the flash cutout, just like it’s saying ‘hello’!
– Get ready to rock and roll, it’s time to tackle that back cover!
– Line up your opening pick with the flash cutout like a pro.
– Slide that pick under the top of the back cover, feeling for that sweet snag on the adhesive.
– Keep sliding that pick down like a boss until you’ve completely separated the back cover from the adhesive. You’ve got this!
Step 15


If your cover is still clinging to the frame, gently glide an opening pick around the edges until the cover pops off completely. Easy peasy!
Now’s a great moment to power up your phone and give all the functions a quick test before sealing everything back up. Just remember to turn your phone off completely before diving back into the repair!
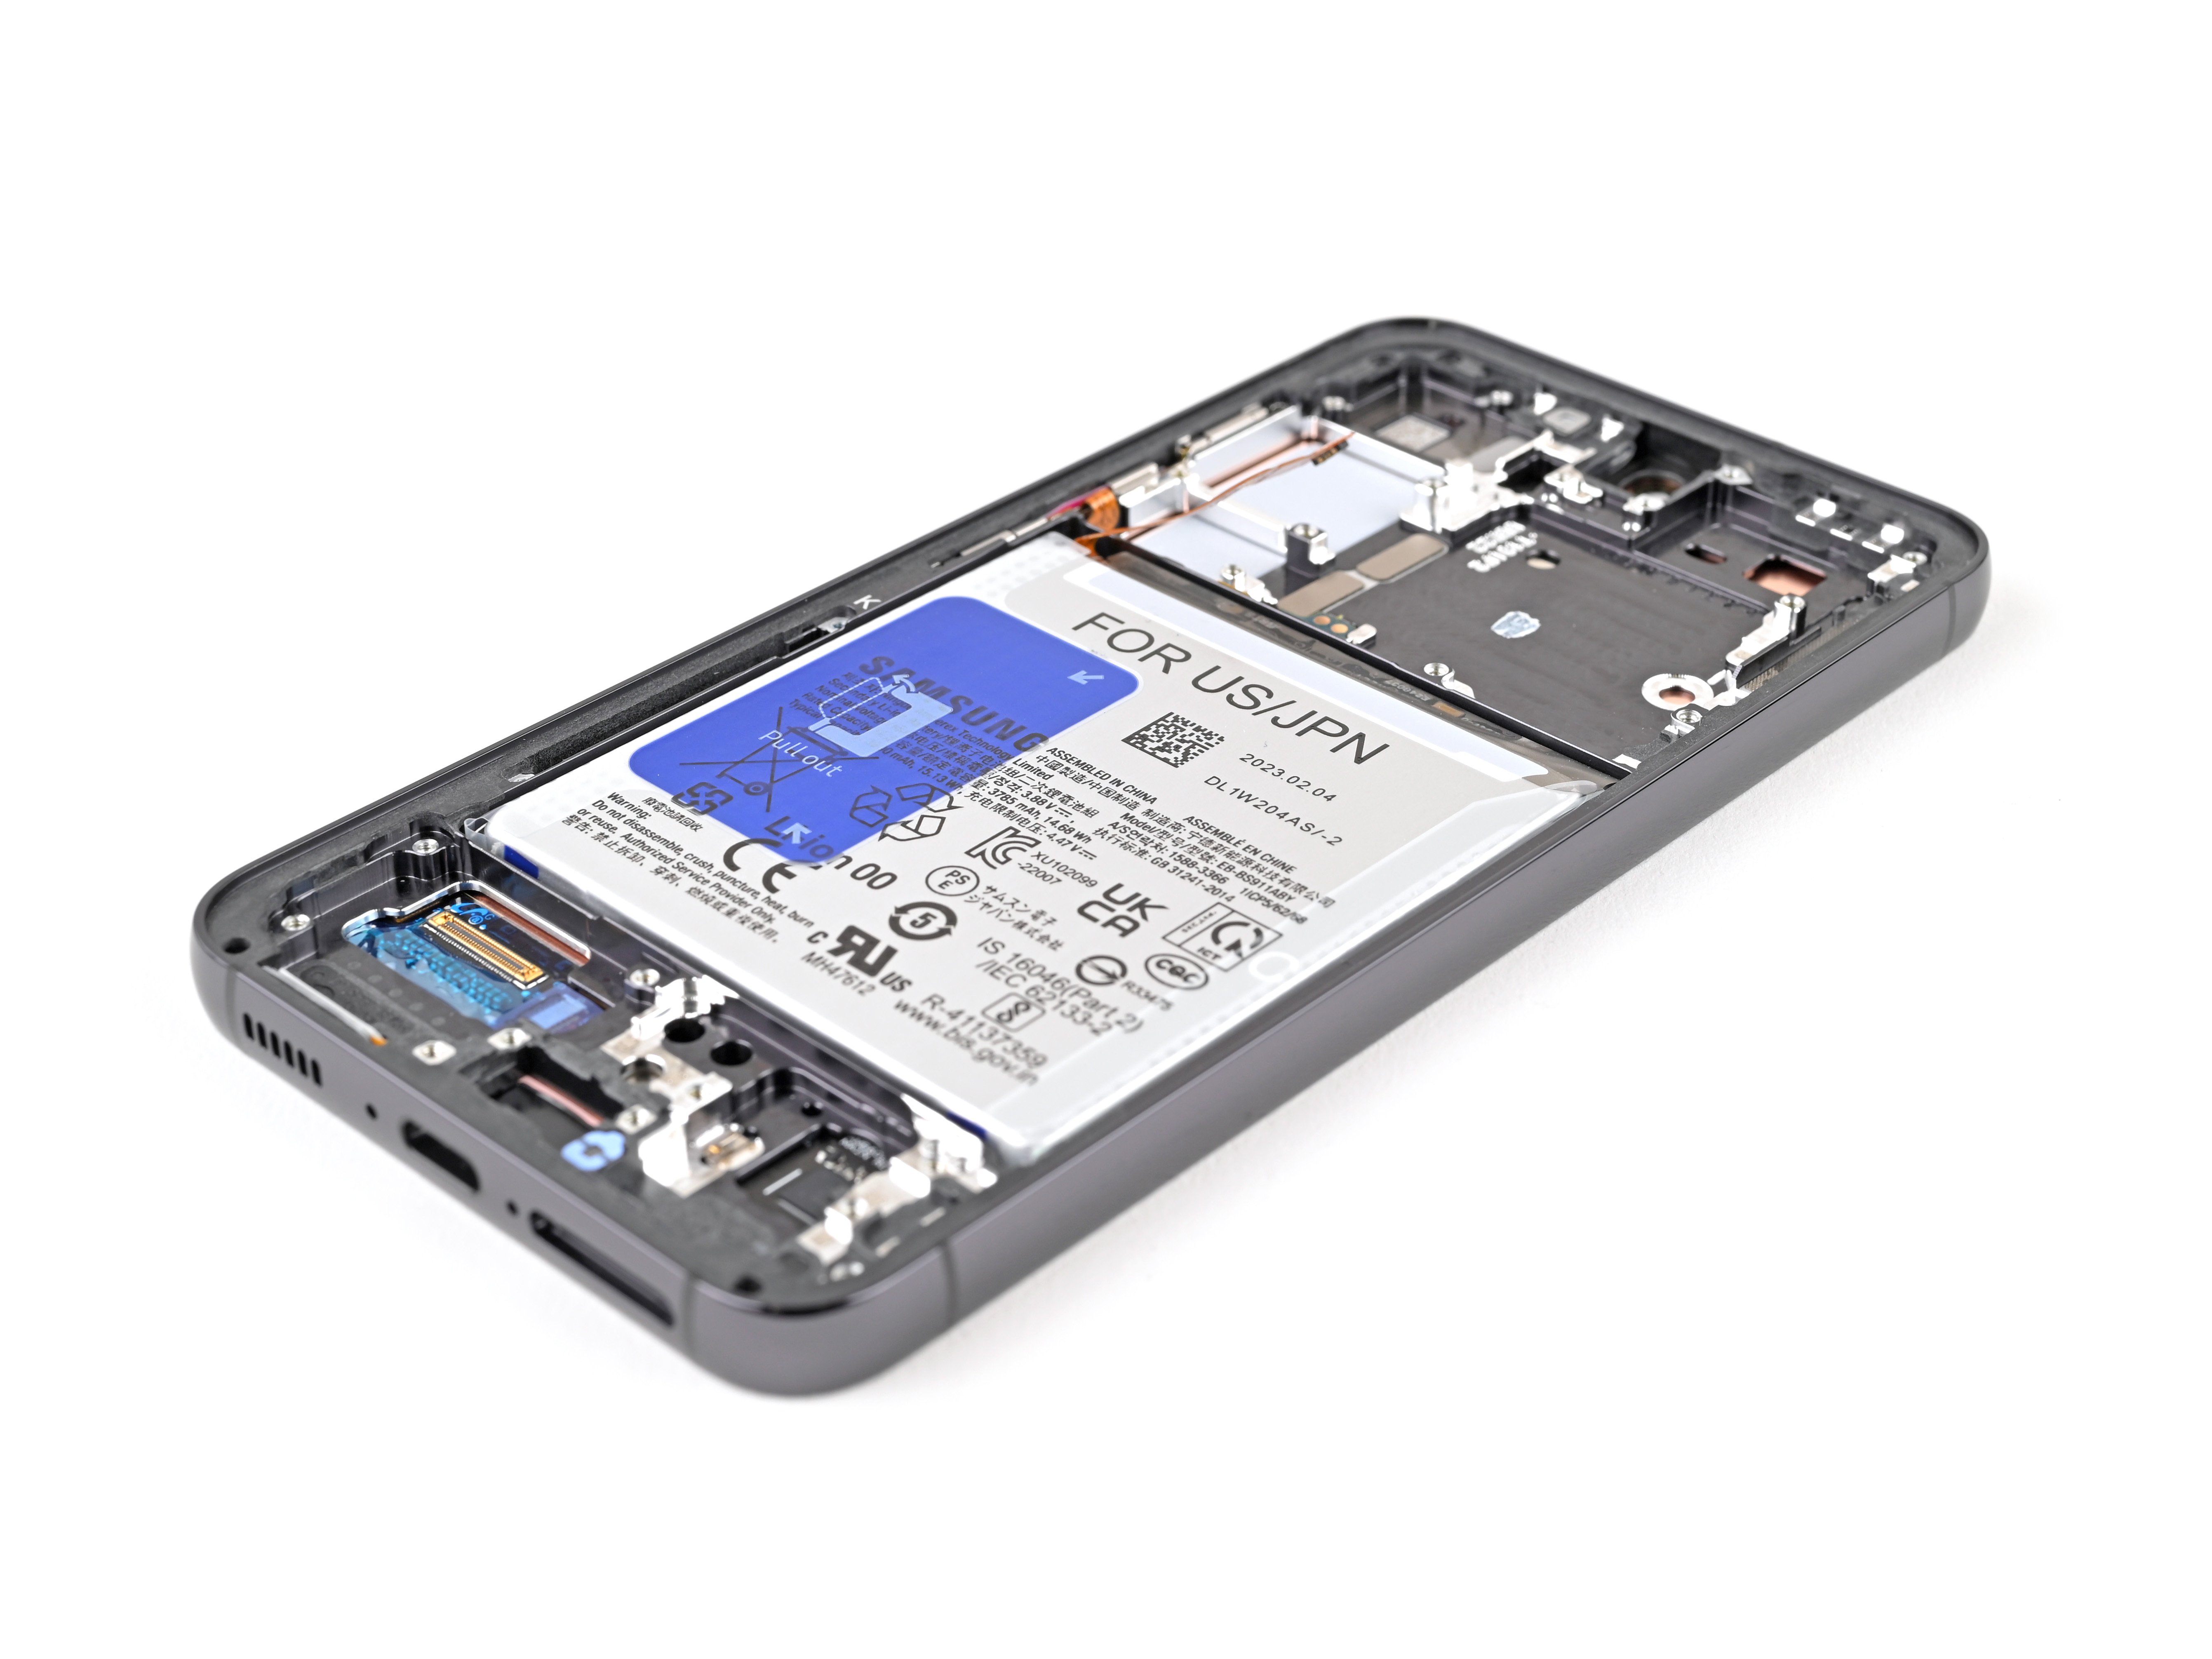
– First things first, grab that back cover and gently pop it off.
– When putting everything back together:
– Those little adhesive chunks? Use your tweezers or fingers to get them out. If you’re struggling, a little heat and some isopropyl alcohol (90% or better) can help loosen things up.
– Using custom-cut adhesives? Check out this guide for a helping hand.
– If you’re using double-sided tape, take a peek at this guide for a smooth reassembly.
Tools Used