Samsung Galaxy S23+ Back Cover Replacement Guide: DIY Repair Tutorial
Duration: 45 minutes
Steps: 15 Steps
Ready to give your Samsung Galaxy S23+ a back cover makeover? Dive into this guide! Just a heads-up: keeping that water resistance after your repair hinges on how flawlessly you apply the back cover adhesive. Your device might wave goodbye to its IP (Ingress Protection) rating, but that’s all part of the journey! If you need help, you can always schedule a repair.
Step 1


Before you start, make sure your phone’s battery is below 25% charge. A charged lithium-ion battery can be a safety hazard, so it’s better to be safe than sorry. If your battery is swollen, take the necessary precautions to avoid any accidents. If you need help, you can always schedule a repair
– Disconnect any cables from your phone.
– Press the side key and the volume down button together, then select ‘Power off’ to shut down your phone.
Step 2

A hair dryer, heat gun, or hot plate can also be used to warm things up. Just be careful not to get too hot, or you might cause some trouble with the display or battery. If you need help, you can always schedule a repair
– Let’s get this party started! Heat up an iOpener and apply it to the right edge of the back cover for two minutes. This will help loosen up that stubborn adhesive.
Tools Used


Step 3


If you’re having trouble creating a gap, don’t worry! Just add a little more heat to loosen things up. Remember to follow our heat instructions to keep things from getting too hot. If you need help, you can always schedule a repair.
– Grab a suction handle and stick it on the back cover, aiming for a spot near the center of the right edge.
– Give that suction handle a good pull with steady, confident strength to open up some space between the cover and the frame.
– Slide in an opening pick into the newly formed gap.
Tools Used

Step 4


– Gently wiggle the pick along the right edge to loosen the adhesive – you’re making great progress!
– Leave the pick in place near the bottom right corner to keep the adhesive from sticking back together. If you need help, you can always schedule a repair
Step 5

– Let’s heat things up a bit! Apply a heated iOpener to the bottom edge of the back cover for two minutes. If you need help, you can always schedule a repair
Tools Used
Step 6

– Time to bring in some backup – insert a second pick at the bottom right corner to get this repair going.
– Now, gently rotate the opening pick around the bottom right corner to loosen the adhesive and make progress on your repair. If you need help, you can always schedule a repair
Step 7


– Glide the opening pick to the bottom left corner to loosen the adhesive.
– Keep the pick in the bottom left corner to stop the adhesive from sticking again. If you need help, you can always schedule a repair
Step 8

– Let’s warm up that back cover! Apply a heated iOpener to the left edge for a couple minutes.
Tools Used
Step 9


– Now it’s time to get this repair started – gently rotate the opening pick around the bottom left corner to loosen the adhesive and get things moving.
Step 10


– Time to get those fingers workin’! Start by slipping a third opening pick into the bottom left corner.
– Now, glide that pick up towards the top left corner – like a little dance for your phone! You’re separating that adhesive.
– Hold onto that pick up in the top left corner. We don’t want the adhesive getting all cozy and sticking back together. We’ve got work to do!
Step 11

– Let’s get started by heating up an iOpener and applying it to the top edge of the back cover for about two minutes. This will help loosen things up and make the repair process smoother. If you need help, you can always schedule a repair
Tools Used
Step 12


– Alright, let’s get that top left corner feeling the love! Pop in your fourth opening pick, and gently twist it around the corner to loosen that adhesive. You’re doing great!
– If you need help, you can always schedule a repair
Step 13


– Slide your opening pick up towards the top right corner to separate the adhesive. Nice work, you’re doing great!
– Leave the pick in the top right corner so that the adhesive won’t stick back together. If you need help, you can always schedule a repair
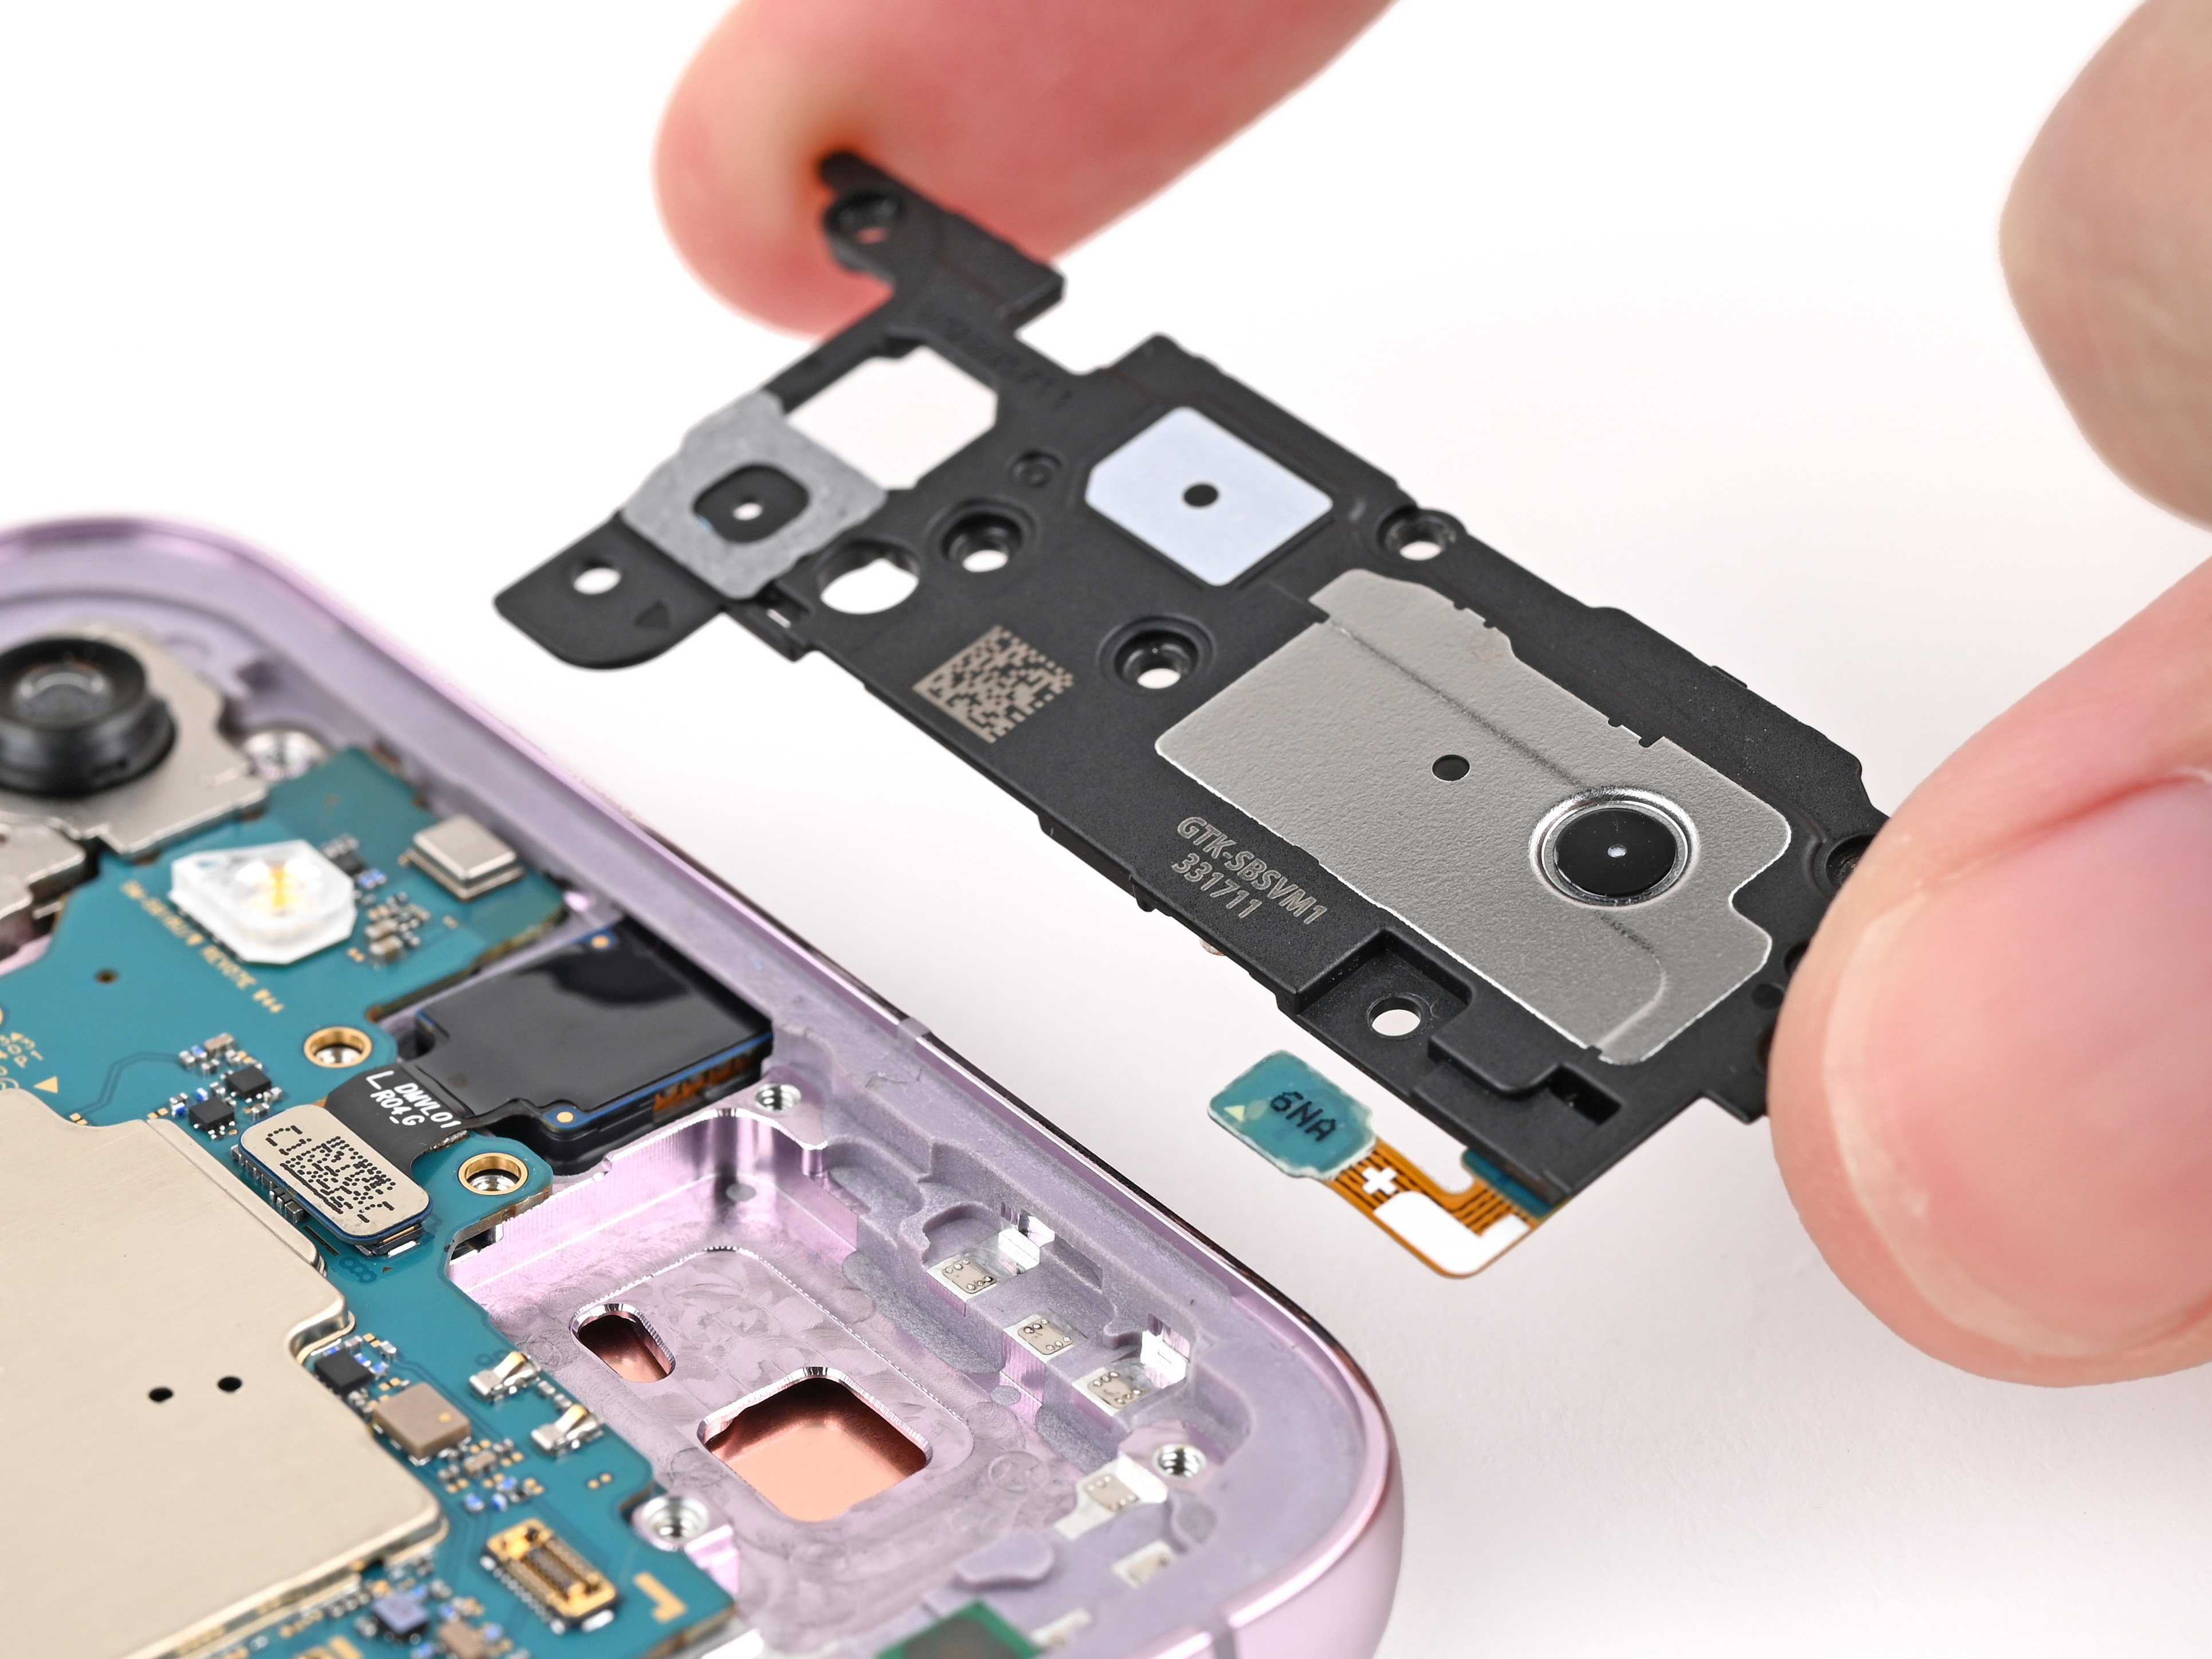
Step 14


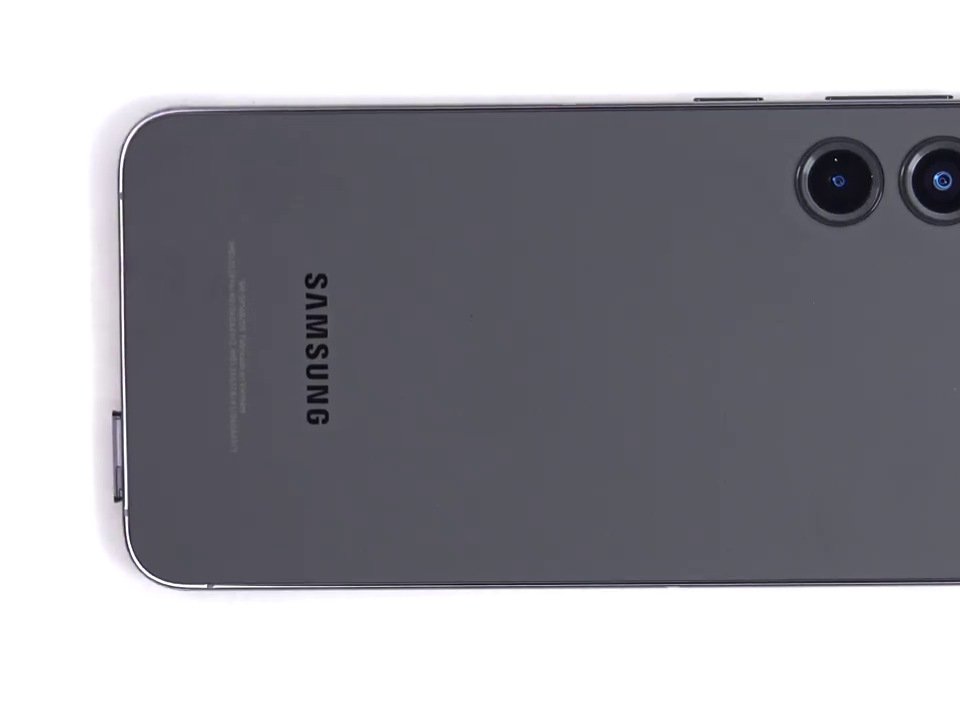
Hey, those cameras are pretty sensitive! Give them a little space when you’re using your pick. You don’t want to accidentally bump into them and cause any damage, right? If you’re not sure what to do, you can always schedule a repair.
There’s still a little patch of adhesive hanging out right beneath the flash.
Keep an eye out for the opening pick peeking through that flash cutout!
– Let’s get this back cover off! Start by lining up the tip of your opening pick with the flash cutout.
– Now, slide the pick under the top of the back cover until you feel it catch on the adhesive. You got this!
– Keep on sliding that pick toward the bottom of the phone until you feel the adhesive release completely. You’re almost there!
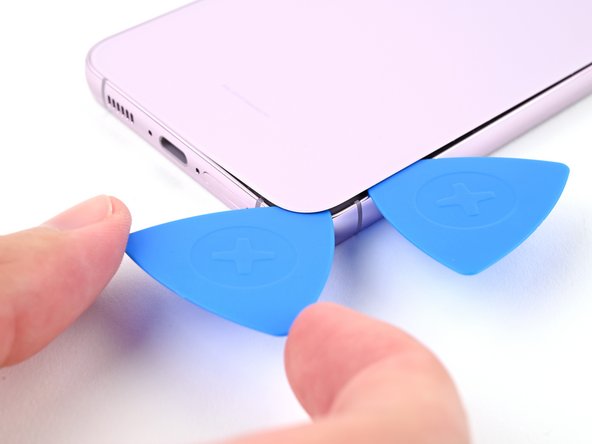
Step 15


If your cover is still clinging to the frame like it just can’t let go, gently wiggle an opening pick around the edges until the cover decides to part ways.
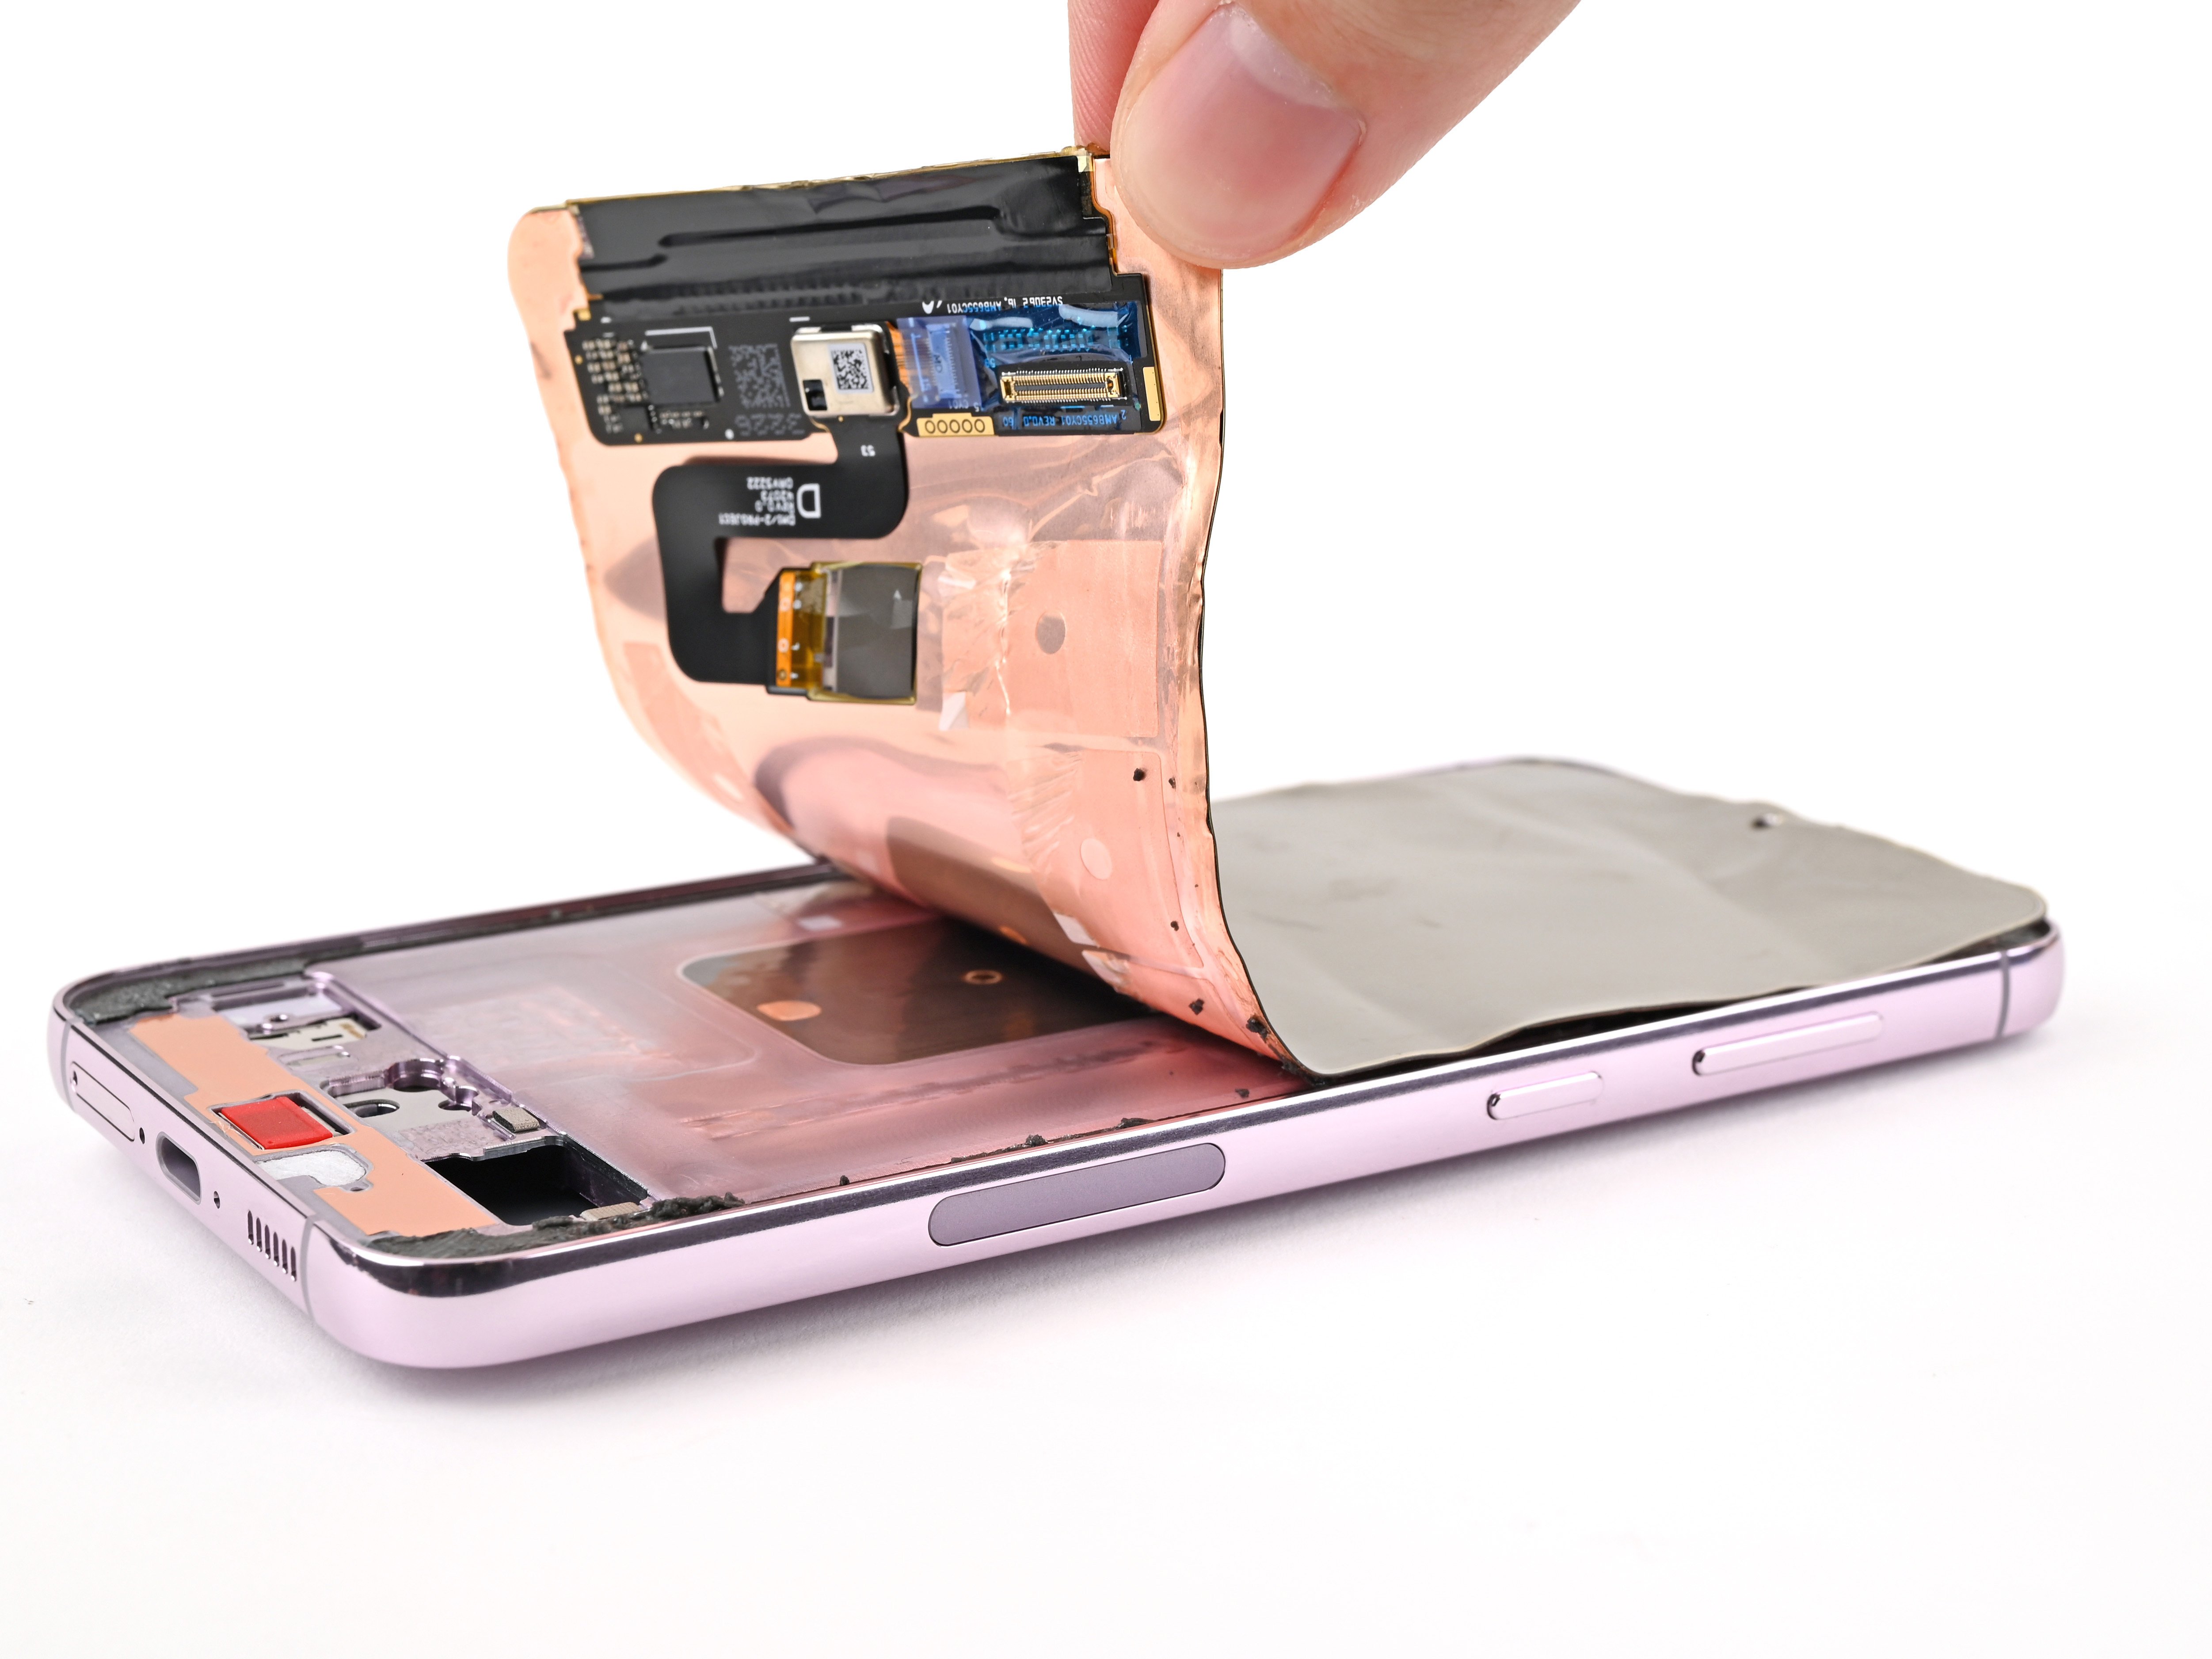
– Start by grabbing and gently removing the back cover.
– Now, let’s talk reassembly:
– Here’s a great moment to power on your device and test all the features before sealing it up. Just remember to turn your phone off completely before diving back in.
– If you encounter any stubborn adhesive bits, use tweezers or your fingers to remove them. A little heat and some isopropyl alcohol (90% or greater) can work wonders if you’re struggling with that pesky glue.
– Using custom-cut adhesives? Be sure to follow this guide.
– Opting for double-sided tape? Check out this guide.
Tools Used