Samsung Galaxy S23+ Front Camera Replacement Guide
Duration: 45 minutes
Steps: 27 Steps
Get ready to give your Samsung Galaxy S23+ a brand new front ‘selfie’ camera. Keep in mind that to maintain water resistance after the repair, you’ll need to reapply the back cover adhesive just right – and while your device will no longer have its IP rating, it’ll still be good as new. If you need help, you can always schedule a repair.
Step 1
– Yo, time to get our tech fixin’ on! Unplug your phone from its power source, and get ready for some action. Hold down the side key and the volume down button at the same time, then find the ‘Power off’ option and tap it to turn off your device. If you need a hand, you know where to turn – just schedule a repair!
Step 2
You can also use a hairdryer, heat gun, or hot plate to get the job done. Just remember to be careful not to overheat the phone! Overheating can damage the display and the internal battery. If you need help, you can always schedule a repair.
– Alright, let’s get this back cover loosened up! Grab your trusty iOpener and heat the right edge of the back cover for two minutes. This will soften the adhesive and make it easier to pry off.
Tools Used
Step 3
If you’re having trouble creating a gap, don’t worry! Just add a little more heat to soften the adhesive. Follow the iOpener instructions carefully to avoid overheating. You’re doing great!
– Grab a suction handle and stick it on the back cover, aiming for the center of the right edge.
– Give that handle a solid pull to pop a little gap between the cover and the frame—you’re doing great!
– Slide an opening pick into that gap to keep things moving.
Tools Used
Step 4
– Now, let’s gently slide that pick along the right edge, separating the adhesive like a pro.
– Keep the pick inserted near the bottom right corner to make sure that glue doesn’t get cheeky and re-stick itself.
Step 5
– Let’s get that back cover warm! Apply a heated iOpener to the bottom edge for a couple of minutes. This will make things a bit easier to work with. If you need help, you can always schedule a repair
Tools Used
Step 6
– Alrighty, feel the groove as you add another pick to the bottom right corner, then start rotating in sweet rhythm to gently unzip that sticky adhesive bond!
Step 7
– Now it’s time to get this repair started – slide the opening pick all the way to the bottom left corner to loosen the adhesive that’s holding everything together.
– Leave that pick right where it is, in the bottom left corner, so the adhesive doesn’t decide to stick back together on you. If you need help, you can always schedule a repair
Step 8
– Heat things up a bit by placing a warm iOpener on the left edge of the back cover for two minutes. It’s like giving your device a cozy hug!
Tools Used
Step 9
– Now it’s time to get this repair started – gently rotate the opening pick around the bottom left corner to loosen the adhesive and get things moving.
Step 10
– Now it’s time to add a third opening pick – slide it into the bottom left corner and get ready to make some progress.
– Gently push your pick upwards toward the top left corner. This will help loosen the adhesive and get you closer to fixing your device.
– Leave that pick right where it is, in the top left corner, to keep the adhesive from sealing back up. You’re doing great, and if you need help, you can always schedule a repair
Step 11
– Warm up your iOpener and give it a cozy hug to the top edge of the back cover for a solid two minutes.
Tools Used
Step 12
– Now it’s time to add a fourth opening pick at the top left corner – just slide it in and you’re good to go.
– Gently rotate the pick around the top left corner to loosen the adhesive and make progress on your repair. If you need help, you can always schedule a repair
Step 13
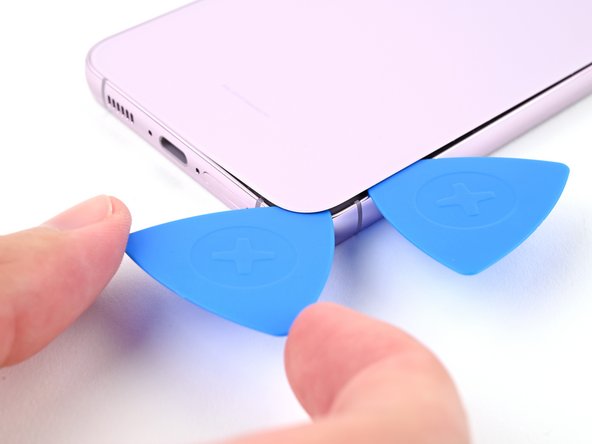
– Gently slide your opening pick into the top right corner to break that adhesive seal like a pro.
– Keep the pick in the top right corner to stop that adhesive from making a comeback!
Step 14
Be careful not to touch the rear cameras with your pick, as pushing against the lenses can cause damage. Let’s keep those cameras safe and get your device fixed with ease. If you need help, you can always schedule a repair
There’s a little leftover adhesive cozying up right under the flash.
Give a peek through the flash cutout, and you should spot that opening pick.
– Let’s get started by lining up the tip of an opening pick with the flash cutout – nice and steady.
– Now, gently slide the opening pick under the top of the back cover until you feel it catch on the adhesive. Don’t worry, it’s supposed to do that.
– Keep sliding the pick down toward the bottom of the phone until the adhesive lets go of the back cover. If you need help, you can always schedule a repair
Step 15
If your cover is still clinging to the frame like it’s trying to win a wrestling match, grab an opening pick and gently slide it around the edges until the cover gives up and completely comes off.
– Let’s get started by removing the back cover. Take a firm grip and gently pull it away from the device.
– When you’re putting everything back together, take a moment to turn on your device and test all its functions before closing it up. Don’t forget to power it back down before moving on.
– Now it’s time to tackle any leftover adhesive. Use a pair of tweezers or your fingers to carefully remove any chunks. If it’s being stubborn, try applying some heat and isopropyl alcohol (90% or greater) to help loosen it up.
– If you’re using custom-cut adhesives, be sure to follow our guide for the best results.
– And if you’re using double-sided tape, we’ve got a guide for that too. Just follow the steps and you’ll be all set.
Tools Used
Step 16
– Grab your spudger and gently pry up the wireless charging coil press connector from the motherboard. You got this!
– Time to reconnect that connector! Line it up, press down on one side till it clicks, then do the same on the other side. Don’t go crazy pressing in the middle – we don’t want to bend those pins! If you need help, you can always schedule a repair
Tools Used
Step 17
– Okie dokie, let’s unhook that NFC antenna! Use that cool spudger tool and gently pry it up while disconnecting the press connector. You’re doing great! If you need help, you can always schedule a repair.
Tools Used
Step 18
– Grab your trusty Phillips screwdriver and remove the thirteen 3.5mm-long screws that hold the wireless charging coil and loudspeaker in place:
– You’ll find six screws securing the wireless charging coil – take those out first
– Next, remove the seven screws that keep the loudspeaker locked in – you’re making great progress! If you need help, you can always schedule a repair
Step 19
– Time to get started – insert the point of your trusty spudger into the notch at the top left corner of the loudspeaker, nice and gentle.
– Now, carefully pry up to unclip the loudspeaker from the frame. If you need help, you can always schedule a repair
Tools Used
Step 20
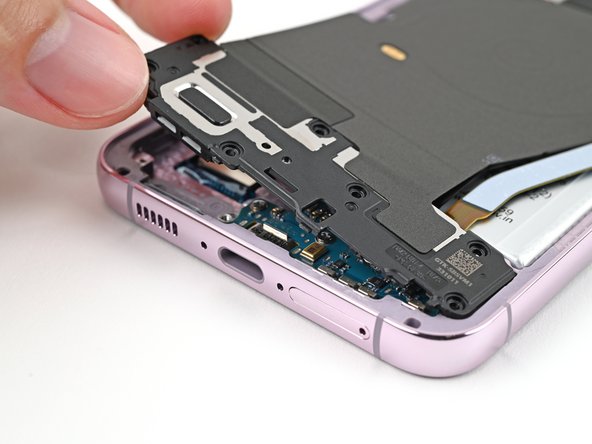
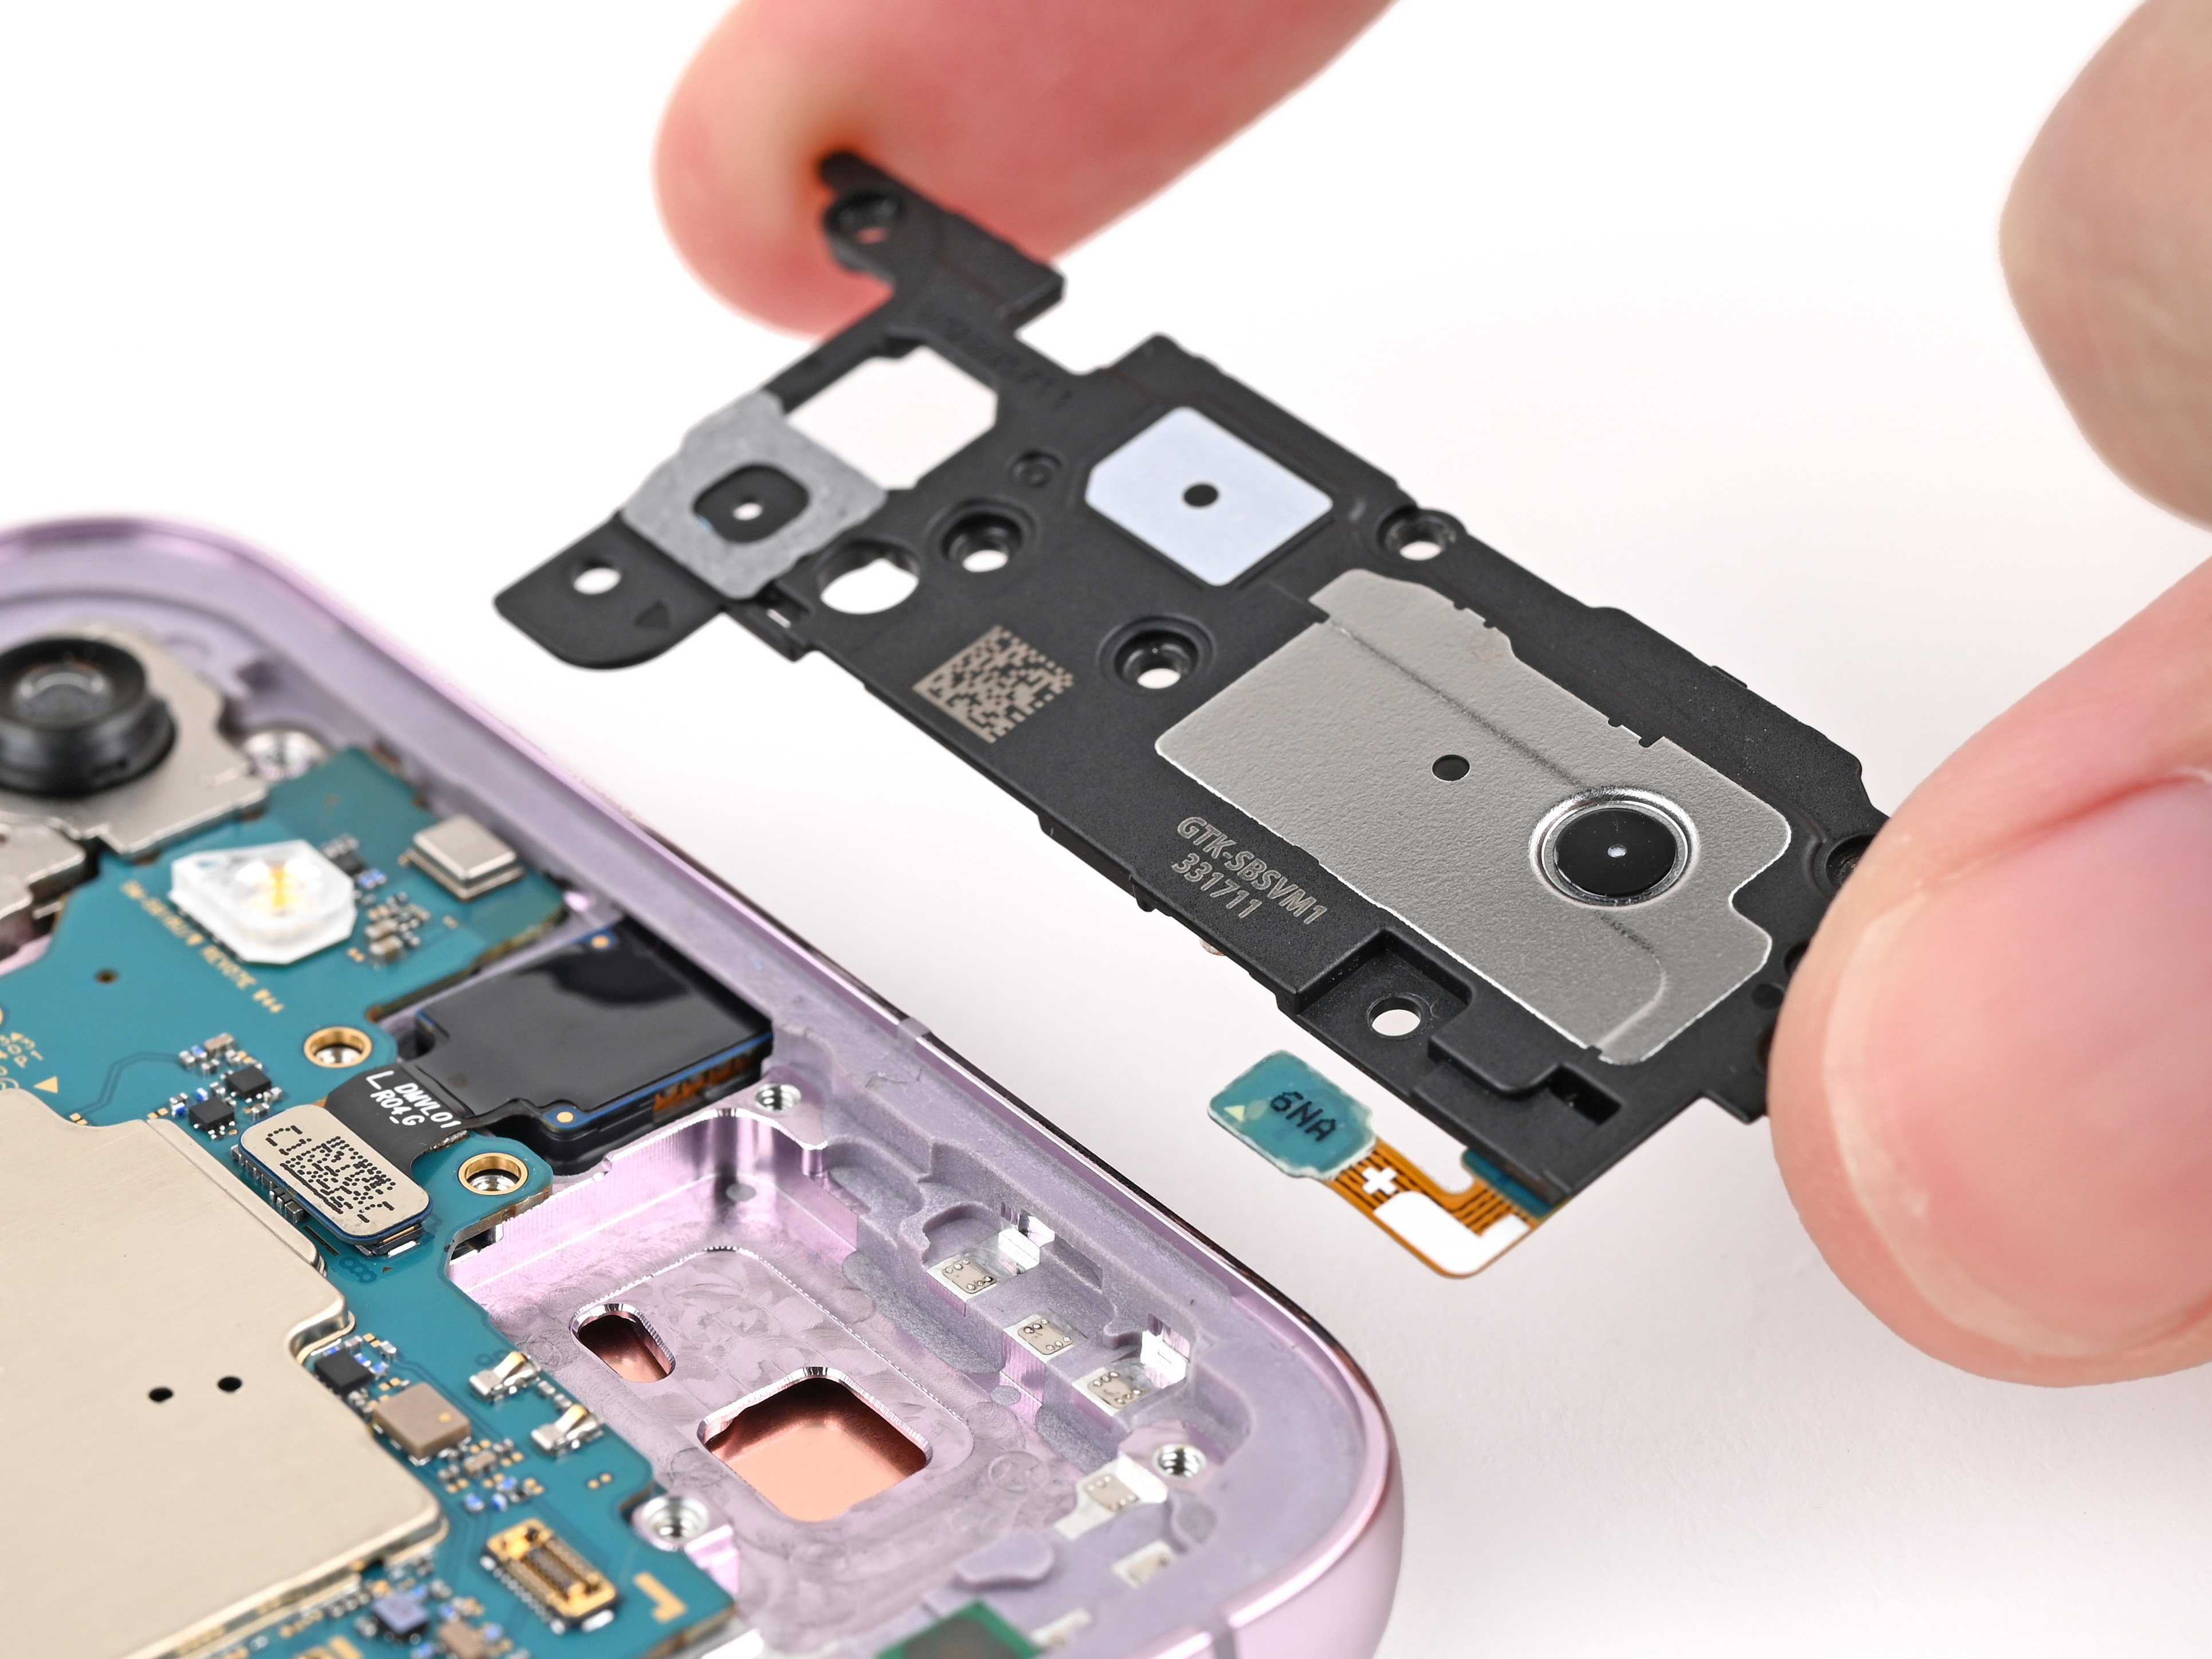
– Alright, let’s get that loudspeaker out! Use your fingers to gently pry the loudspeaker up from the frame. You got this!
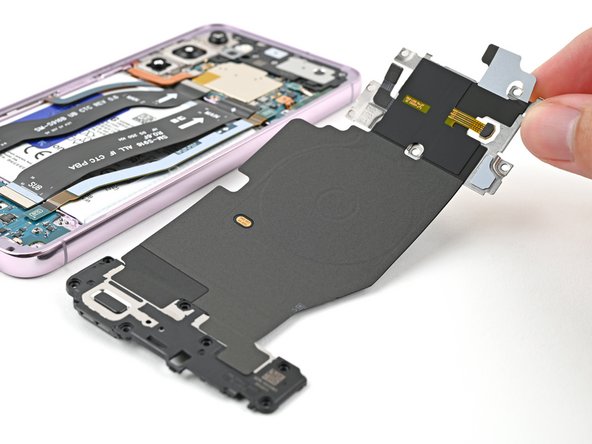
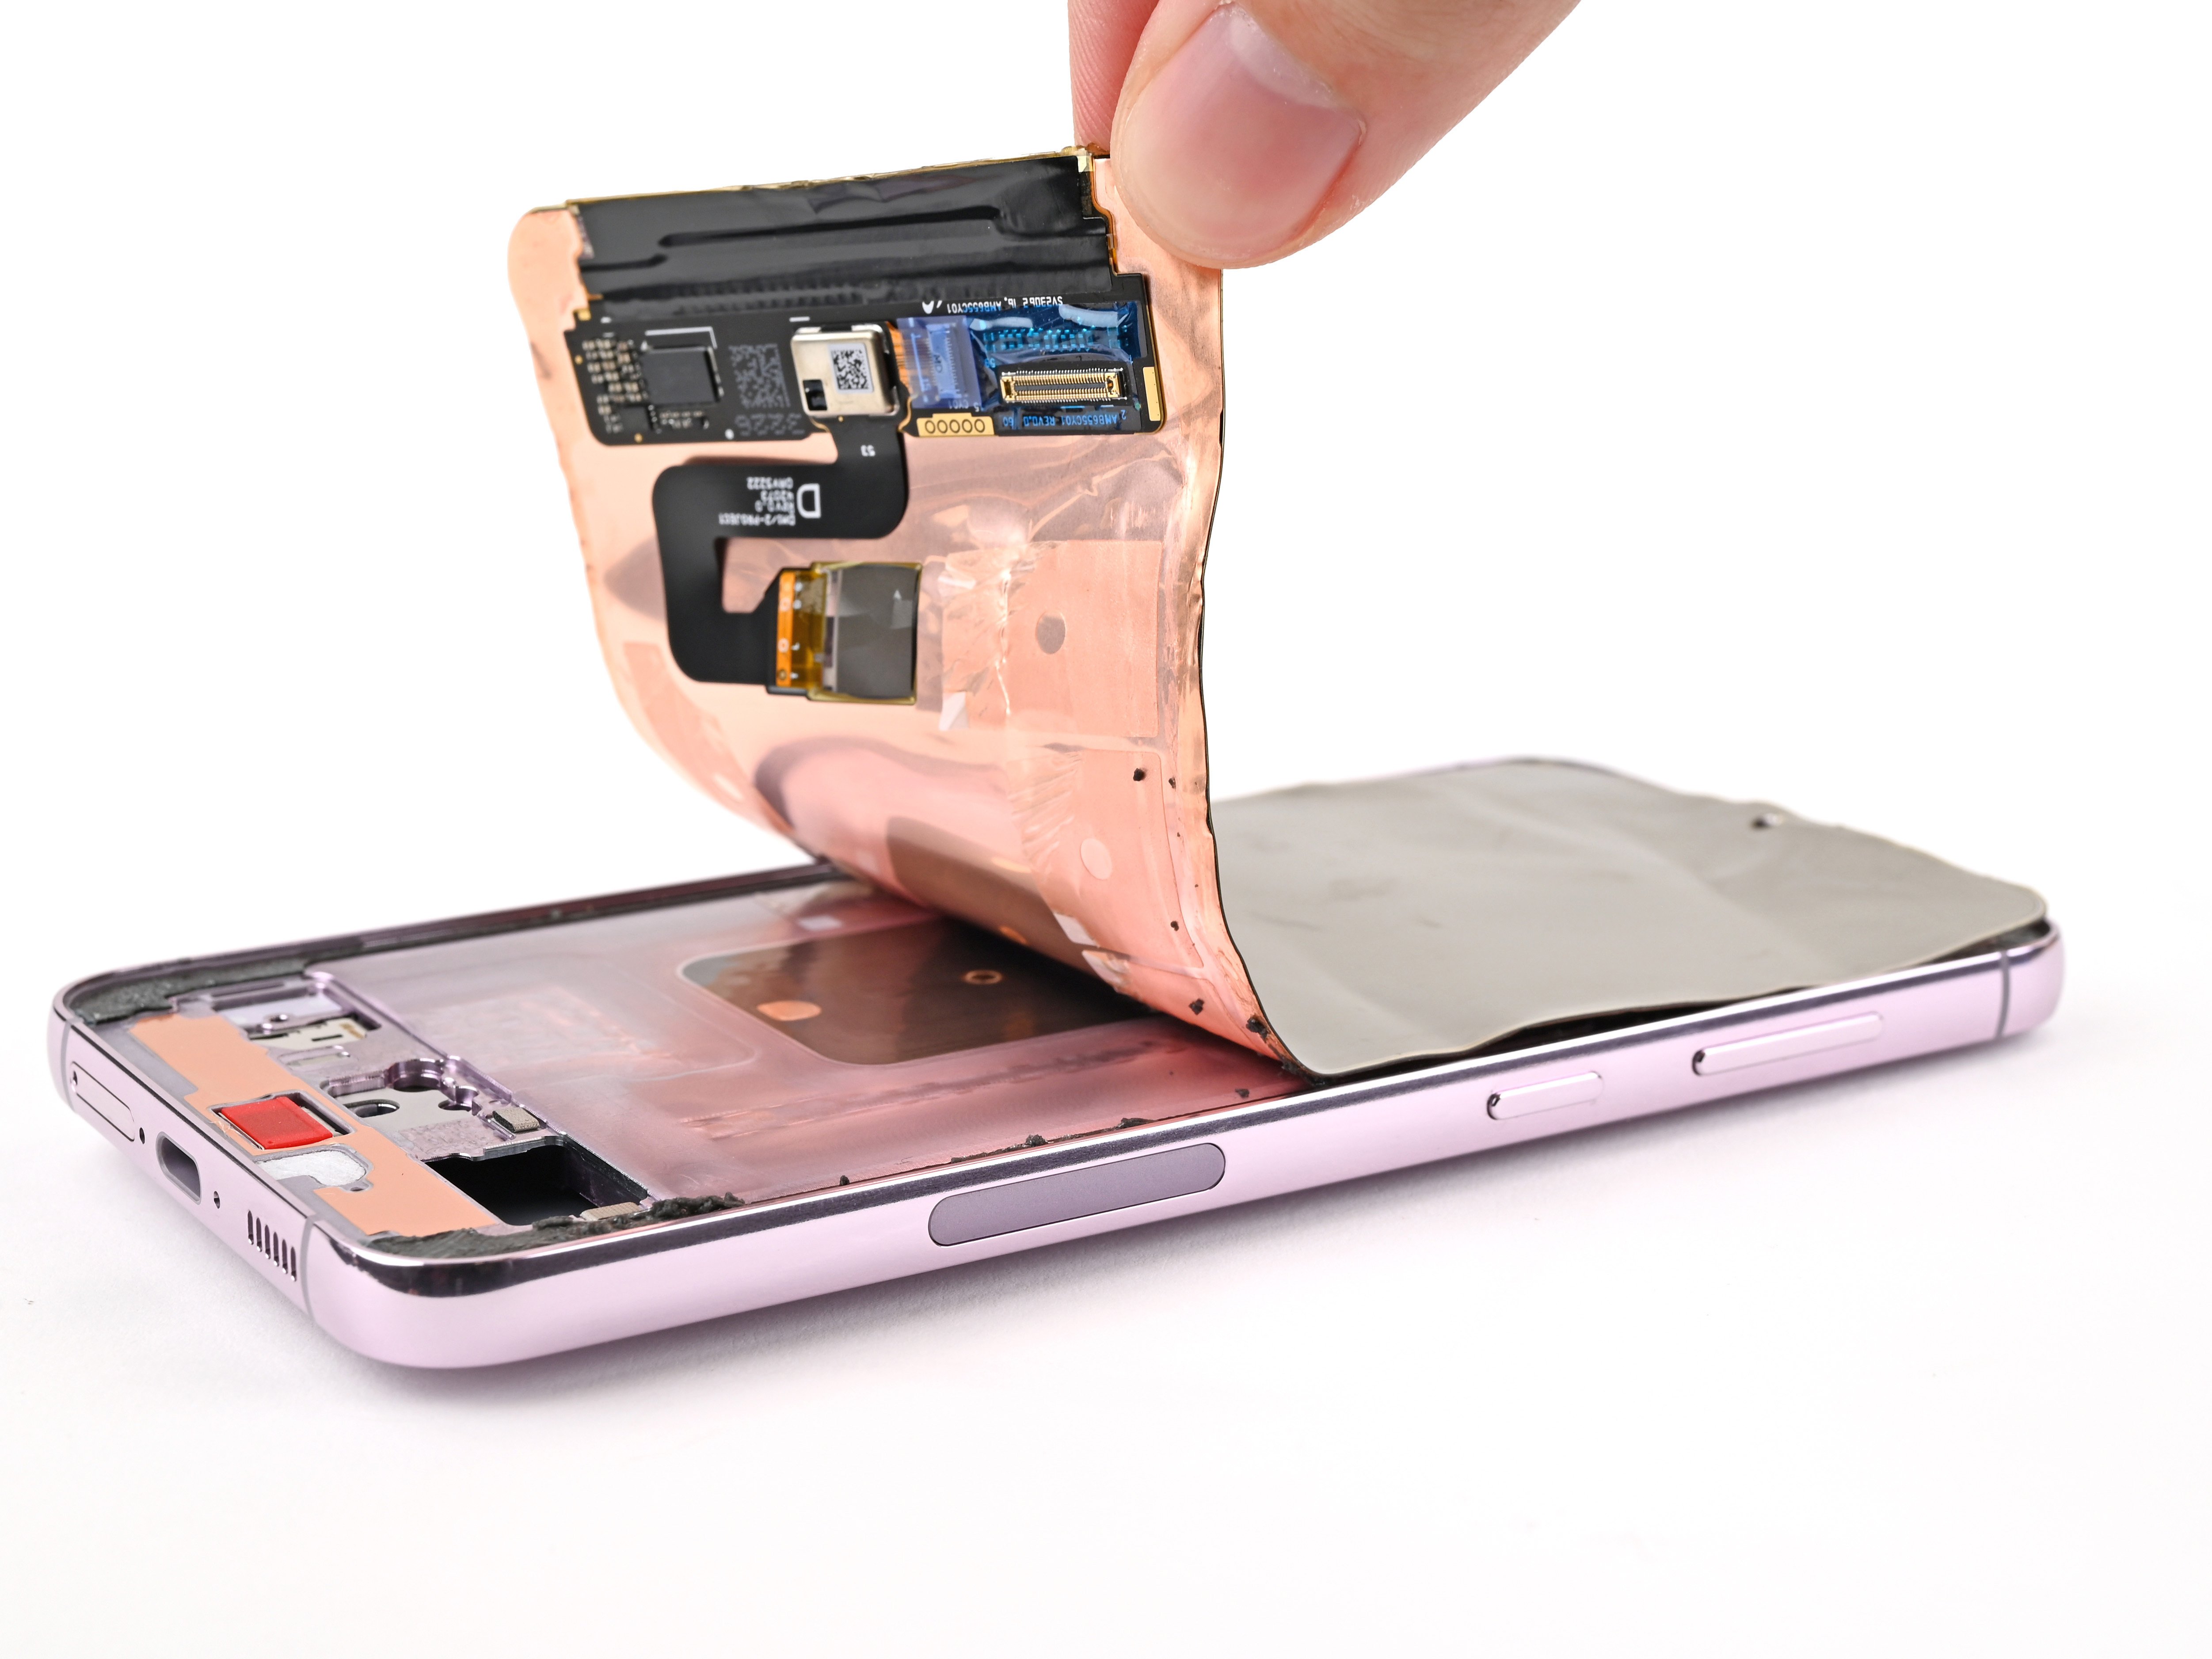
– Next, carefully remove the wireless charging coil and the loudspeaker from the frame. You’re doing great!
– Now, during reassembly, just press around the edges of the loudspeaker to make sure it clicks back into place. You’ve totally got this! If you need help, you can always schedule a repair
Step 22
– Time to free that earpiece speaker! Use the tip of your trusty spudger to gently pry up and disconnect the connector. Easy peasy, right? If you need help, you can always schedule a repair.
Tools Used
Step 23
– Grab your trusty Phillips screwdriver and give those five 3.5 mm screws securing the earpiece speaker a little spin. They’ll be out in a jiffy! If you need help, you can always schedule a repair
Step 24
Hold your horses and resist the urge to stick your spudger into unfamiliar territories, as you might accidentally shake things up and knock off some delicate bits along the way. Don’t fret though, if you get stuck, our pals at schedule a repair are always ready to lend a hand!
– Start by carefully inserting the flat end of your trusty spudger between the bottom edge of the earpiece speaker and the silver shield on the motherboard – it’s like a little puzzle piece waiting to be freed.
– Next, gently twist the spudger to unclip the earpiece speaker from the frame, and voila, it’s out. Take your time and be patient, it’s a delicate process.
– When you’re putting everything back together, remember to insert the top end of the earpiece speaker into the frame first, then press down and clip it back in – easy peasy. If you need help, you can always schedule a repair with the pros at Salvation Repair.
Tools Used
Step 25
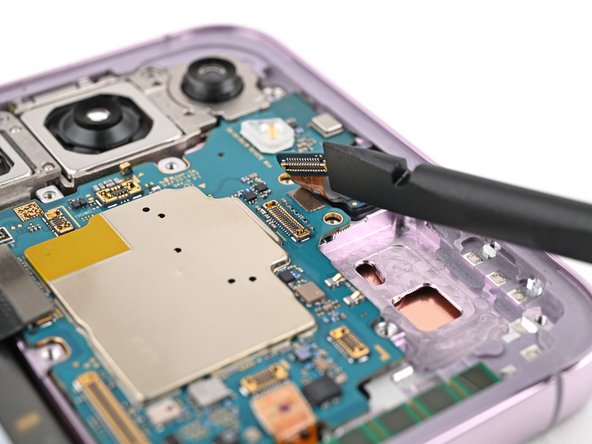
Be careful around this connector! Those delicate surface-mounted components are hanging on for dear life, and prying at other edges could send them flying off the board. Keep your cool and be gentle!
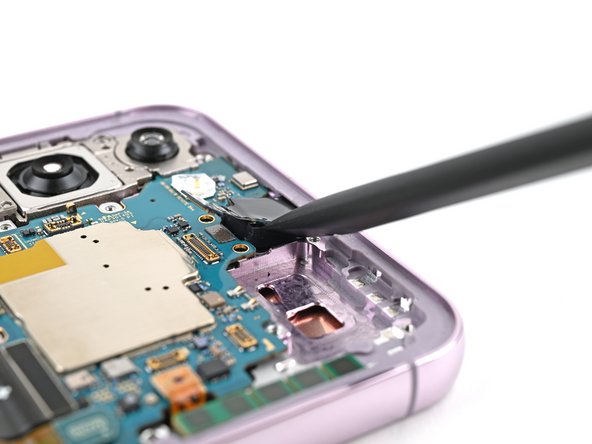
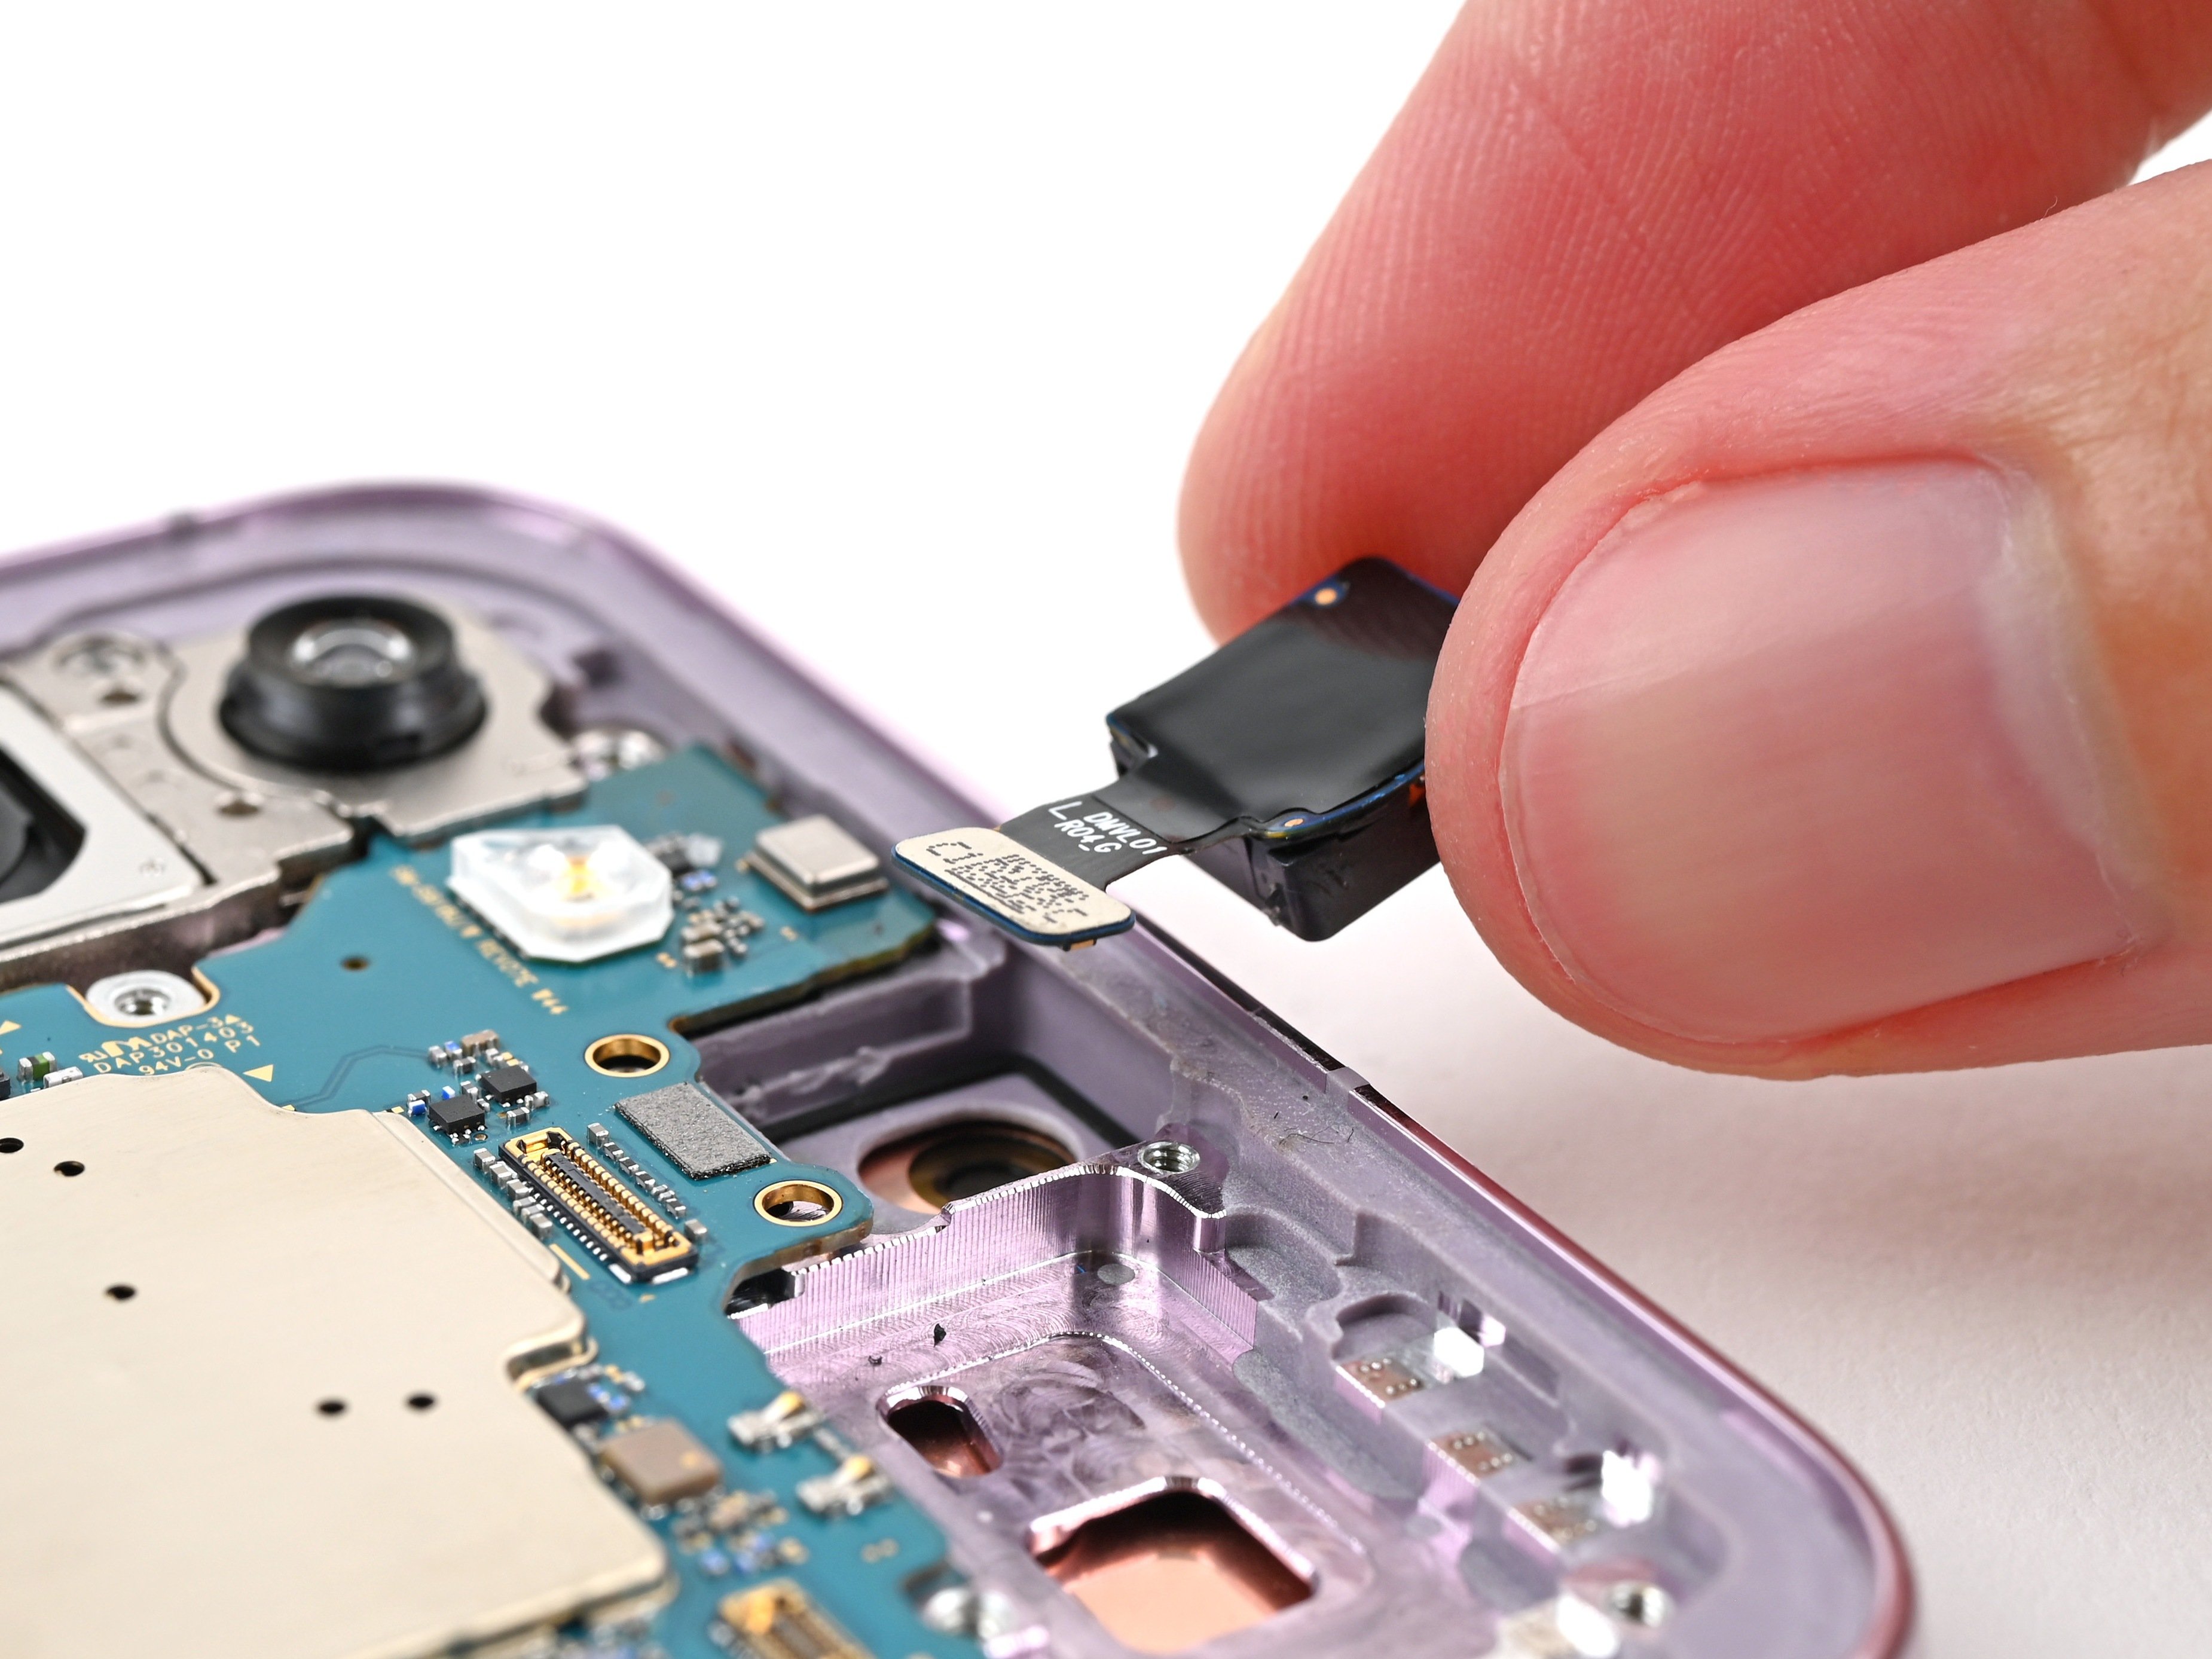
– Let’s get this front camera press connector out of the way! Slide the flat end of your spudger between the right edge of the connector and the motherboard.
– Now, gently pry up and disconnect that antenna press connector. You’re doing great!
Tools Used
Step 26
That adhesive holding the camera in place is pretty tough! Take your time and add a little more heat if you’re feeling stuck. Be careful not to separate the camera housing from the circuit board. If you need help, you can always schedule a repair.
– Give the front camera a warm hug with a hair dryer or heat gun for about 90 seconds. Just enough time for it to feel cozy and ready for action!
Tools Used
Step 27
If the camera is feeling a bit stubborn, gently use the tip of your spudger to carefully scrape away the epoxy that’s holding it in place. You’ve got this!
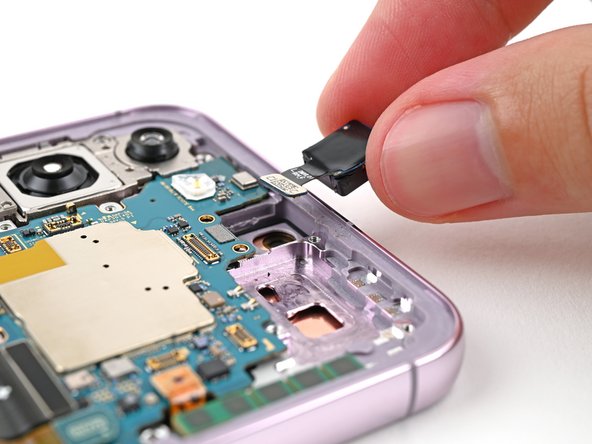
– Use the flat end of your spudger to gently nudge the front camera out of its little home in the frame.
– Now, you can remove the front camera – it’s ready to come out and play!
Tools Used


