Samsung Galaxy S23 Screen Replacement
Duration: 45 minutes
Steps: 35 Steps
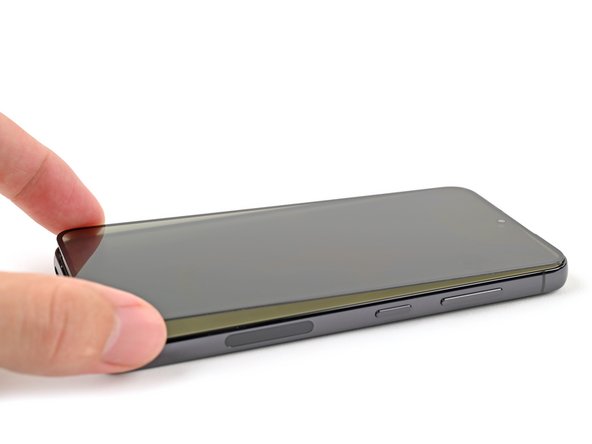
Get ready to say goodbye to your old screen—it’s going down for the count!
Get ready to breathe new life into your Samsung Galaxy S23 with this easy-to-follow repair guide from Salvation Repair. We’ll walk you through the process of replacing the screen, whether you’re working with a standalone screen or one that’s pre-installed on a frame. Just a heads up: this process will render your old screen unusable, so if you’re looking to salvage a screen, this isn’t the guide for you. Also, keep in mind that to maintain water resistance, you’ll need to reapply the adhesive with care – and while your device will still be functional, its IP rating will be affected. If you need help or want some extra guidance, you can always schedule a repair.
Step 1


Let your phone’s battery dip below 25%—a fully charged lithium-ion battery can be a bit of a drama queen when it comes to safety. And if your battery looks like it’s been working out too hard and is swollen, make sure to handle it with care!
– First things first, let’s get those pesky cables unplugged from your phone! Easy peasy.
– Now, press and hold the side key along with the volume down button, then tap on ‘Power off’ to give your phone a well-deserved rest.
Step 2

Feel free to use a hair dryer, heat gun, or hot plate to get things warmed up! Just remember to keep an eye on the heat—your phone’s display and internal battery are really sensitive to too much heat. Let’s keep everything safe and sound!
– Alright, time to get those sticky fingers warm! Grab your iOpener, heat it up, and give the right edge of the back cover a nice, two-minute hug. This will make the adhesive a little less sticky and easier to work with.
Tools Used


Step 3


Having a little trouble making that gap? No worries, just give it a little more heat to soften the adhesive! Remember to follow the iOpener instructions to avoid overheating. If you need help, you can always schedule a repair.
– Let’s get that back cover off! Attach a suction handle to the back cover, aiming for the center of the right edge.
– Now, pull up on the suction handle with some good, steady force. We’re making a little space between the cover and the frame.
– Slide an opening pick into that gap. You’re almost there!
Tools Used

Step 4


– Gently glide the pick along the right edge, wiggling it back and forth to break that stubborn adhesive loose.
– Keep the pick snugly in place near the bottom right corner to ensure the adhesive doesn’t decide to make a comeback.
Step 5

– Let’s get this repair started! Apply a heated iOpener to the bottom edge of the back cover for about two minutes to loosen things up. If you need help, you can always schedule a repair
Tools Used
Step 6


– Alright, let’s get this party started! Slide a second opening pick into the bottom right corner of your device.
– Now, give that pick a little spin around the corner to loosen up the adhesive. You got this!
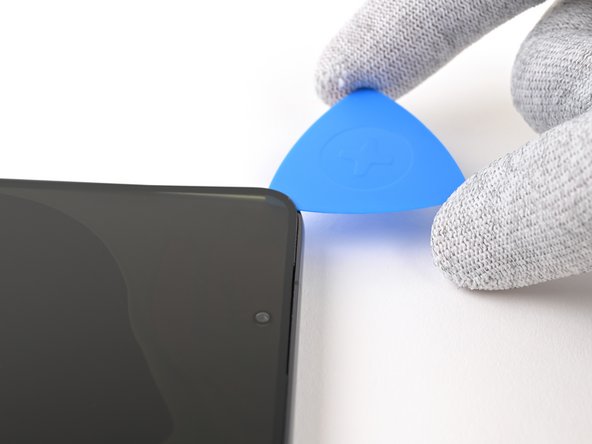
Step 7


– Slide your opening pick down to the bottom left corner to separate the adhesive – just like a graceful dance!
– Keep that pick in the corner to hold that adhesive at bay. You’ve got this!
Step 8

– Time to get this repair started. Apply a heated iOpener to the left edge of the back cover for about two minutes. If you need help, you can always schedule a repair
Tools Used
Step 9


– Alright, now let’s get that adhesive loosened up! Take your trusty opening pick and gently wiggle it around the bottom left corner. We’re just giving it a little nudge to break that seal.
Step 10


– Now, let’s get that bottom left corner open! Slide your opening pick in there, like you’re opening a secret door.
– Carefully slide the pick towards the top left corner, separating the adhesive. You’re practically a magician, making those parts come apart!
– Hold that pick steady in the top left corner to keep the adhesive from sealing back up. We’re almost there!
Step 11

– Get your iOpener nice and warm by heating it up. Then, put it on the top edge of the back cover and let it hang out there for a couple of minutes. You got this! If you need help, you can always schedule a repair.
Tools Used
Step 12


– Hey buddy, stick in that fourth opening pick up top at the leftie there. Gently turn it around to help pop open that glue, alright?
Step 13


– Gently slide your opening pick up to the top right corner to break that pesky adhesive seal.
– Once you’ve made the separation, leave the pick there so the adhesive doesn’t decide to rejoin the party.
Step 14


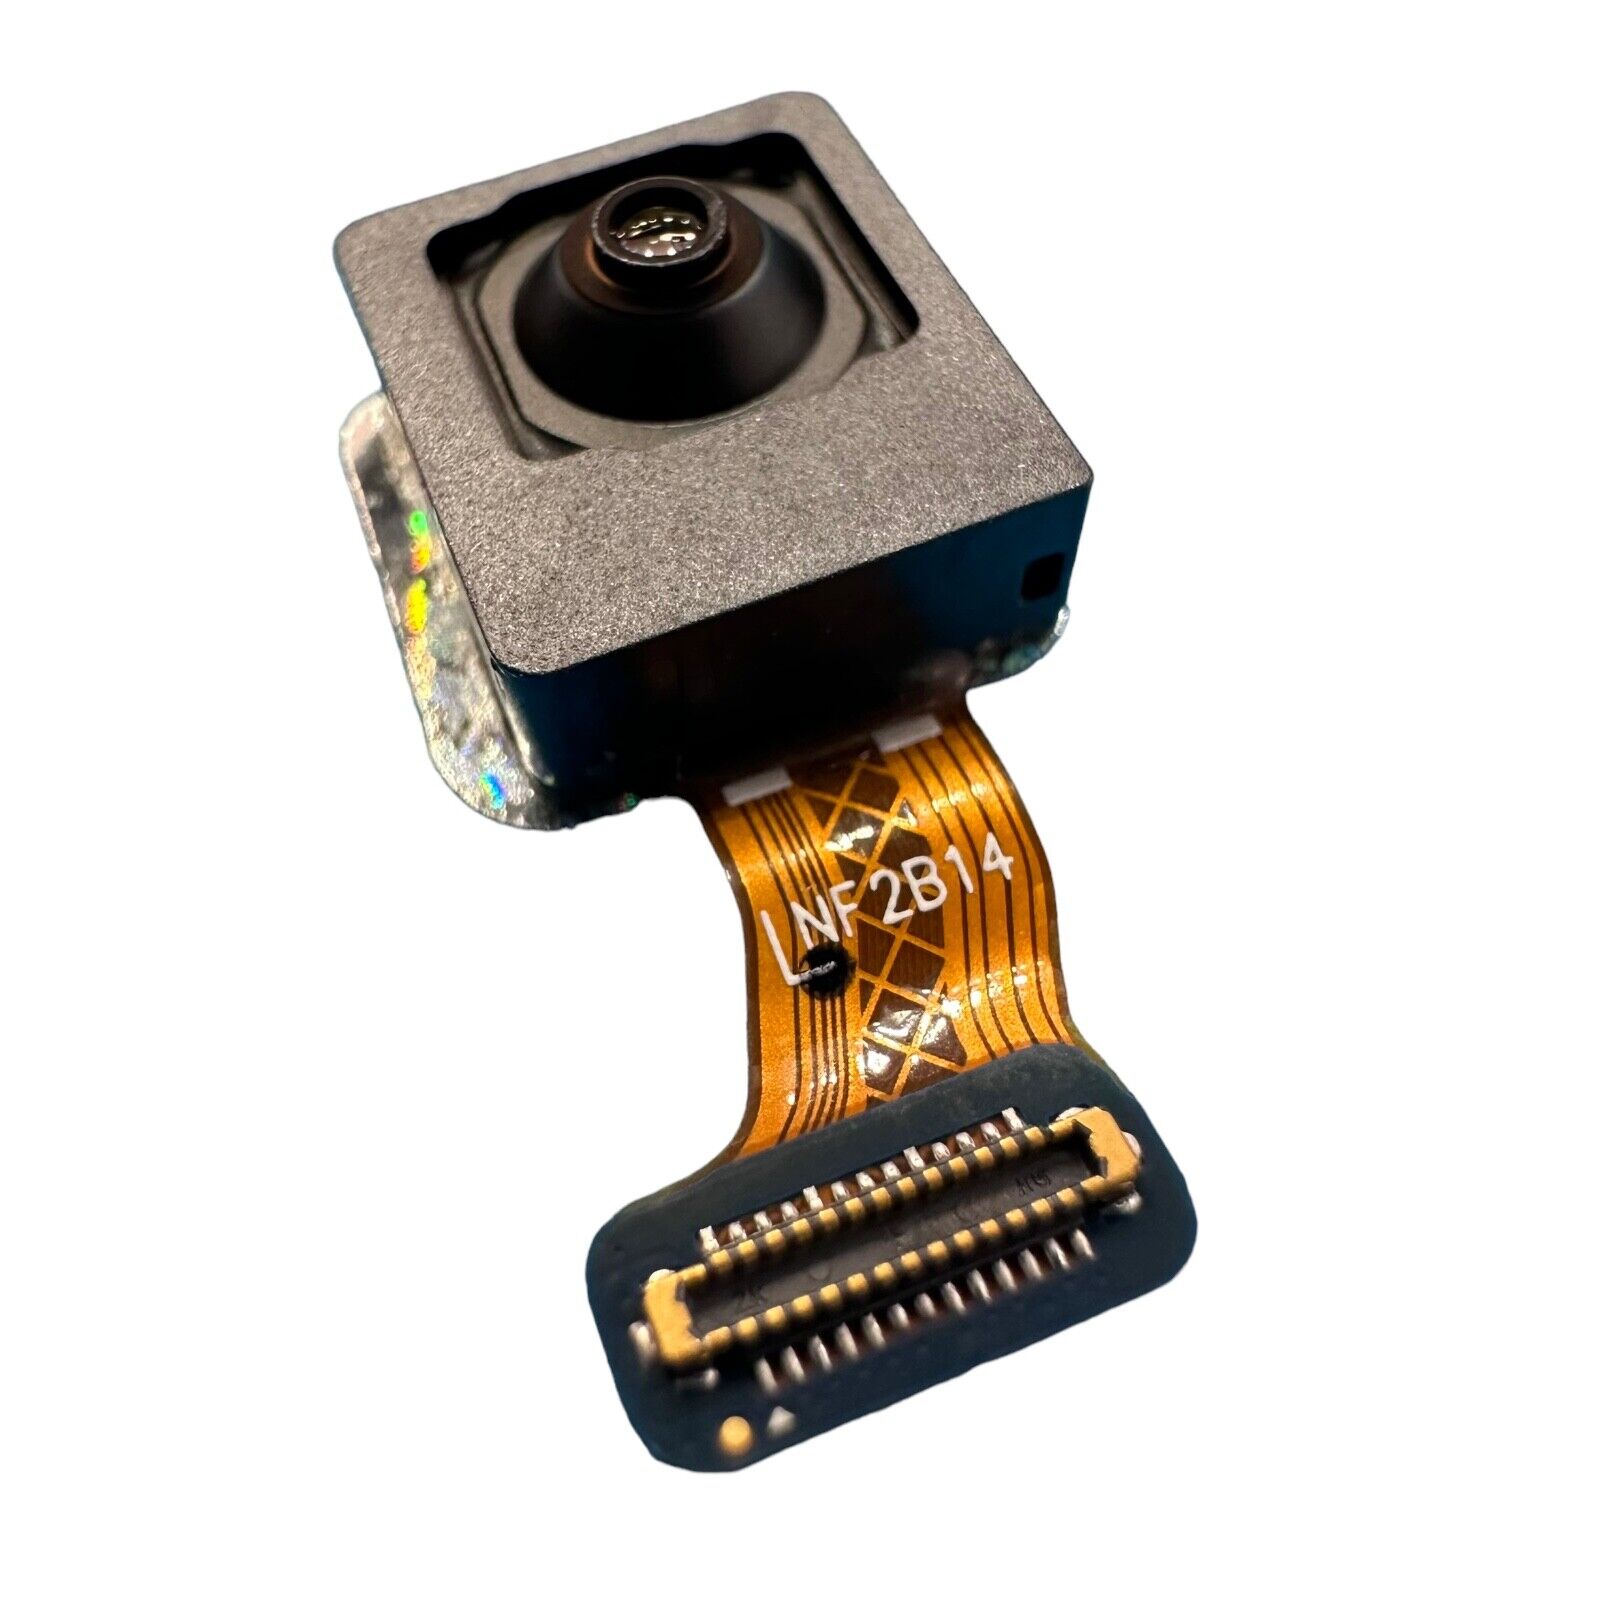
Be gentle with those rear cameras! Touching them with your pick could mean a one-way ticket to damage town. Keep that lens safe and sound, you got this!
You’ll find a little bit of glue left under the flash.
You’ll see your opening pick poking through the flash cutout.
– Alright, let’s get this party started! Line up the tip of your opening pick with the flash cutout.
– Slide that pick under the top of the back cover, and keep going until you feel it snag on the adhesive.
– Keep sliding it down towards the bottom of the phone until the adhesive is completely separated from the back cover. If you need help, you can always schedule a repair.
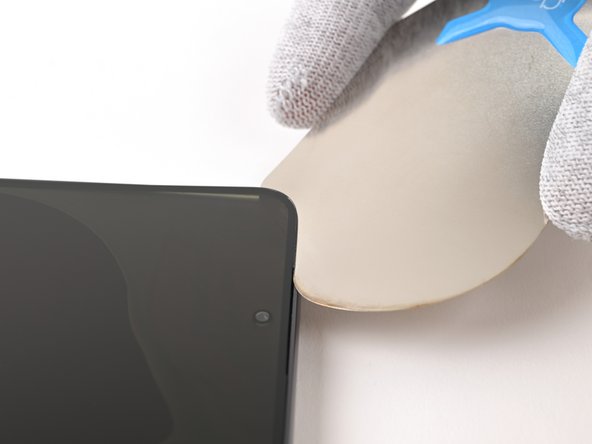
Step 15


If the cover is still clinging to the frame, slide an opening pick around the edge until it pops off.
Now’s a great time to power on your phone and check all functions before sealing it back up. Make sure to power it down completely before continuing.
– Grab that back cover and give it a gentle tug to pop it off. You got this!
– When you’re putting everything back together:
– Use a pair of tweezers or your fingers to get rid of any sticky bits. If you’re having a tough time, apply some heat and isopropyl alcohol (90% or greater) to help things loosen up.
– If you’re using custom-cut adhesives, check out this guide.
– If you’re using double-sided tape, check out this guide.
Tools Used


Step 16


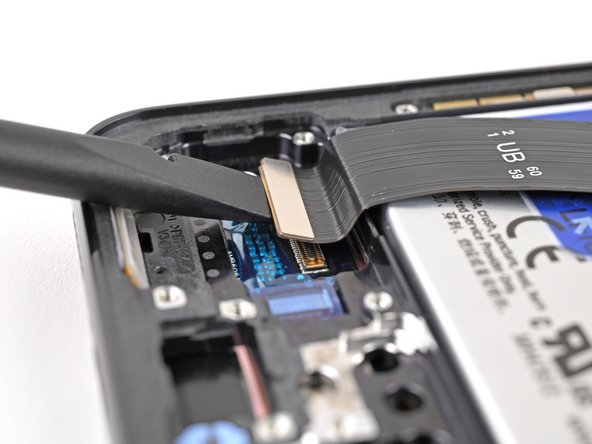
– Use the point of your spudger to carefully pry up and disconnect the wireless charging coil press connector from the motherboard. It’s like giving it a gentle nudge to say ‘see ya later!’.
– To re-attach press connectors, carefully align and press down on one side until it clicks into place, then repeat on the other side. Don’t press on the middle – think of it like a hug, not a squeeze. If the connector is misaligned, the pins can get a little grumpy. If you’re not feeling confident, you can always schedule a repair.
Tools Used

Step 17


– Grab your trusty Phillips screwdriver and get ready to loosen those thirteen 3.5 mm screws holding down the wireless charging coil and loudspeaker – it’s like a little party for your screwdriver!
– Six of those screws are dedicated to the wireless charging coil, keeping it nice and secure.
– The remaining seven screws are keeping the loudspeaker in place, making sure your tunes are always on point.
Step 18


– Slide the spudger’s tip into the little notch at the top left corner of the loudspeaker.
– Gently pry upwards to release the loudspeaker from its snug spot in the frame.
Tools Used
Step 19


– Let’s give this loudspeaker some air! Carefully use your fingers to lift the loudspeaker away from the frame, freeing it up completely.
– Time to remove those wireless charging coil and loudspeaker from the frame. They’re ready for a new adventure!
– Alright, time to put things back together! When you’re reassembling, give that loudspeaker a gentle press around its perimeter to make sure it’s snugly clipped to the frame. You got this!
Step 20
– Let’s get that wireless charging coil press connector to play nice with the motherboard again! Just gently nudge it with your trusty spudger to disconnect, and when it’s time to reattach, make sure you align it carefully before pressing down. Remember, one side at a time – no midway pressures allowed! If you feel like you’re in over your head, don’t sweat it! You can always schedule a repair to get some professional help.
Tools Used
Step 21
– Grab your trusty Phillips screwdriver and remove the thirteen 3.5mm-long screws that hold the wireless charging coil and loudspeaker in place:
– You’ll find six screws securing the wireless charging coil – take those out first
– Next, remove the seven screws that keep the loudspeaker locked down. If you need help, you can always schedule a repair
Step 22
– Time to get started. Insert the point of your trusty spudger into the notch at the top left corner of the loudspeaker – it’s the perfect little spot to get things moving.
– Now, gently pry up to unclip the loudspeaker from the frame. You’re making great progress, and if you need help, you can always schedule a repair
Tools Used
Step 23
– Gently coax the loudspeaker away from the frame with your fingers, giving it the space it needs to say goodbye!
– Carefully detach the wireless charging coil and loudspeaker from their cozy home in the frame.
– When it’s time to bring everything back together, just give the perimeter of the loudspeaker a little love, pressing gently to snug it back into place.
Step 24


– Alright, let’s give that battery connector a little nudge! Use the tip of your spudger to gently pry it up and disconnect it. If you’re feeling a bit stuck, don’t worry – we’ve got your back! You can always schedule a repair if you need some extra help.
Tools Used
Step 25

– Now it’s time to carefully disconnect the display cable press connector from the back of the screen – simply use the flat end of your trusty spudger to gently pry it up and set it free. If you need help, you can always schedule a repair
Tools Used
Step 26

Alright, don’t go adding new glue just yet! You’ll need to remove the back cover again later to finish putting everything back together. The old glue should be enough to hold it in place while you swap out that screen. No worries, it’s all part of the plan. If you need help, you can always schedule a repair.
– Okay, let’s get that back cover on the frame. It’s like giving your battery and the phone’s insides a nice hug to keep them safe. 😉
– Now, flip the phone over so we can see that beautiful screen. 😎
Step 27


Before you dive in and start removing the front glass, let’s ensure you’re taking a few safety measures to keep everything smooth sailing!
It’s a tight squeeze! You’ll need a thin, strong tool, like an iFlex, to get things started. Think of it like opening a stubborn door – just a little nudge and you’re in!
– Hey, those iFlex and other metal tools? Yeah, they’re super sharp! Don’t grab them by the edges—you don’t want to get a little ouch, right?
– Now, about that front glass… it can be a bit dramatic and shatter, sending little glass pieces flying around. It’s best to be safe and wear gloves and safety glasses. No one wants a surprise glass shower, am I right?
Step 28

Hey, watch out! Don’t crank up the heat too much on that phone—batteries don’t love being toasty. If you need a hand, you can always schedule a repair.
– Grab your trusty hairdryer or heat gun and warm up the top edge of the screen. Get it nice and toasty, but don’t burn your fingers!
Tools Used
Step 29


The iFlex just needs a gentle nudge to slip in and pop the front glass apart, creating a nice little opening. Just be careful not to go in too deep, or you might bump into the front-facing camera and cause some trouble.
Don’t worry if the front glass starts to peel away from the display panel and looks a bit discolored – that’s totally normal. You’ll be taking out the display panel in a later step, so just hang in there. If you need help, you can always schedule a repair
– Gently place a suction handle right in the sweet spot at the top center of your screen, as close to the edge as you can get.
– Slide the iFlex tool in at a downward angle into the little gap between the top edge of the front glass and the frame, where the earpiece speaker lives.
– Now, give that suction handle a good lift with a steady hand while lowering the iFlex so it can slip under the front glass. It’s all good if a chunk of the glass starts to pop off—that’s exactly what we want to see!
Tools Used
Step 30

– Now it’s time to get this repair started. Rotate the iFlex around one of the top corners of the front glass. This will help you separate enough adhesive to insert an opening pick. If you need help, you can always schedule a repair
Step 31
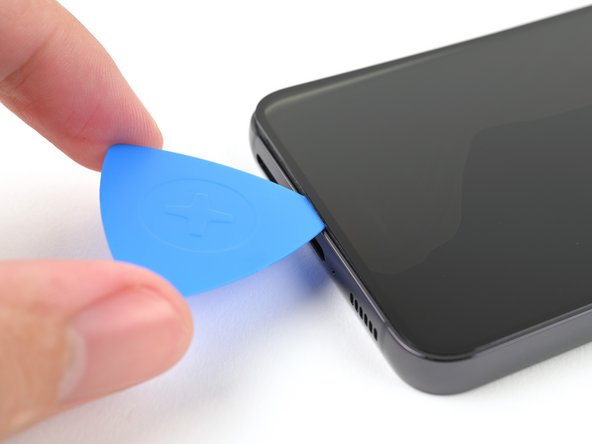


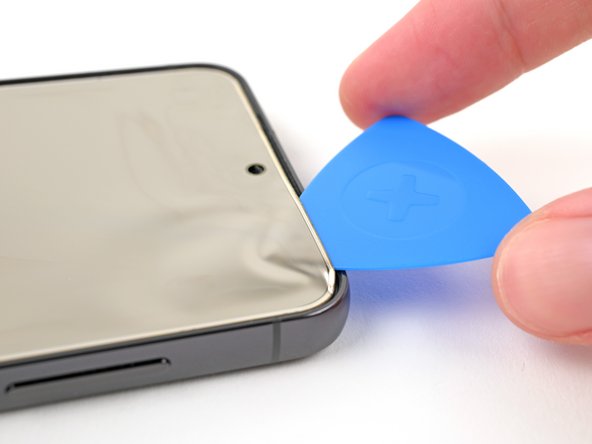
– Let’s get this party started! Gently slide the opening pick around the edges of the front glass to loosen the adhesive holding it to the frame.
Step 32
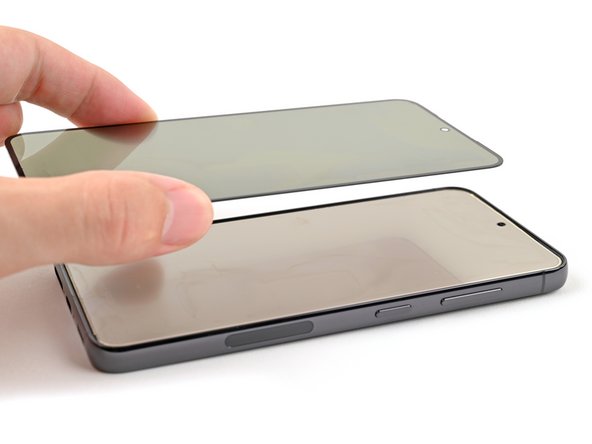
– Alright, time to give that front glass a little lift! Carefully remove it from the frame. You got this!
Step 33

If you’re having trouble separating the adhesive, give it a little heat! Warm up the screen panel with a hair dryer or heat gun until it’s nice and toasty. You got this! If you need help, you can always schedule a repair.
– Alright, time to get that screen panel open! Gently slide an opening pick underneath the screen panel. Take your time and be careful not to damage anything. If you need help, you can always schedule a repair.
Tools Used
Step 34


– Let’s loosen that screen! Gently slide the opening pick around the edges of the screen to separate the adhesive holding it to the frame. Take your time and be careful, we don’t want to scratch anything. If you need help, you can always schedule a repair
Step 35


– Grab a corner of the screen panel and gently pry it away from the frame – the remaining adhesive should come off easily.
– Now it’s time to remove the screen panel completely.
– You’ve made it – your device is now ready for a brand new screen. If you need help, you can always schedule a repair