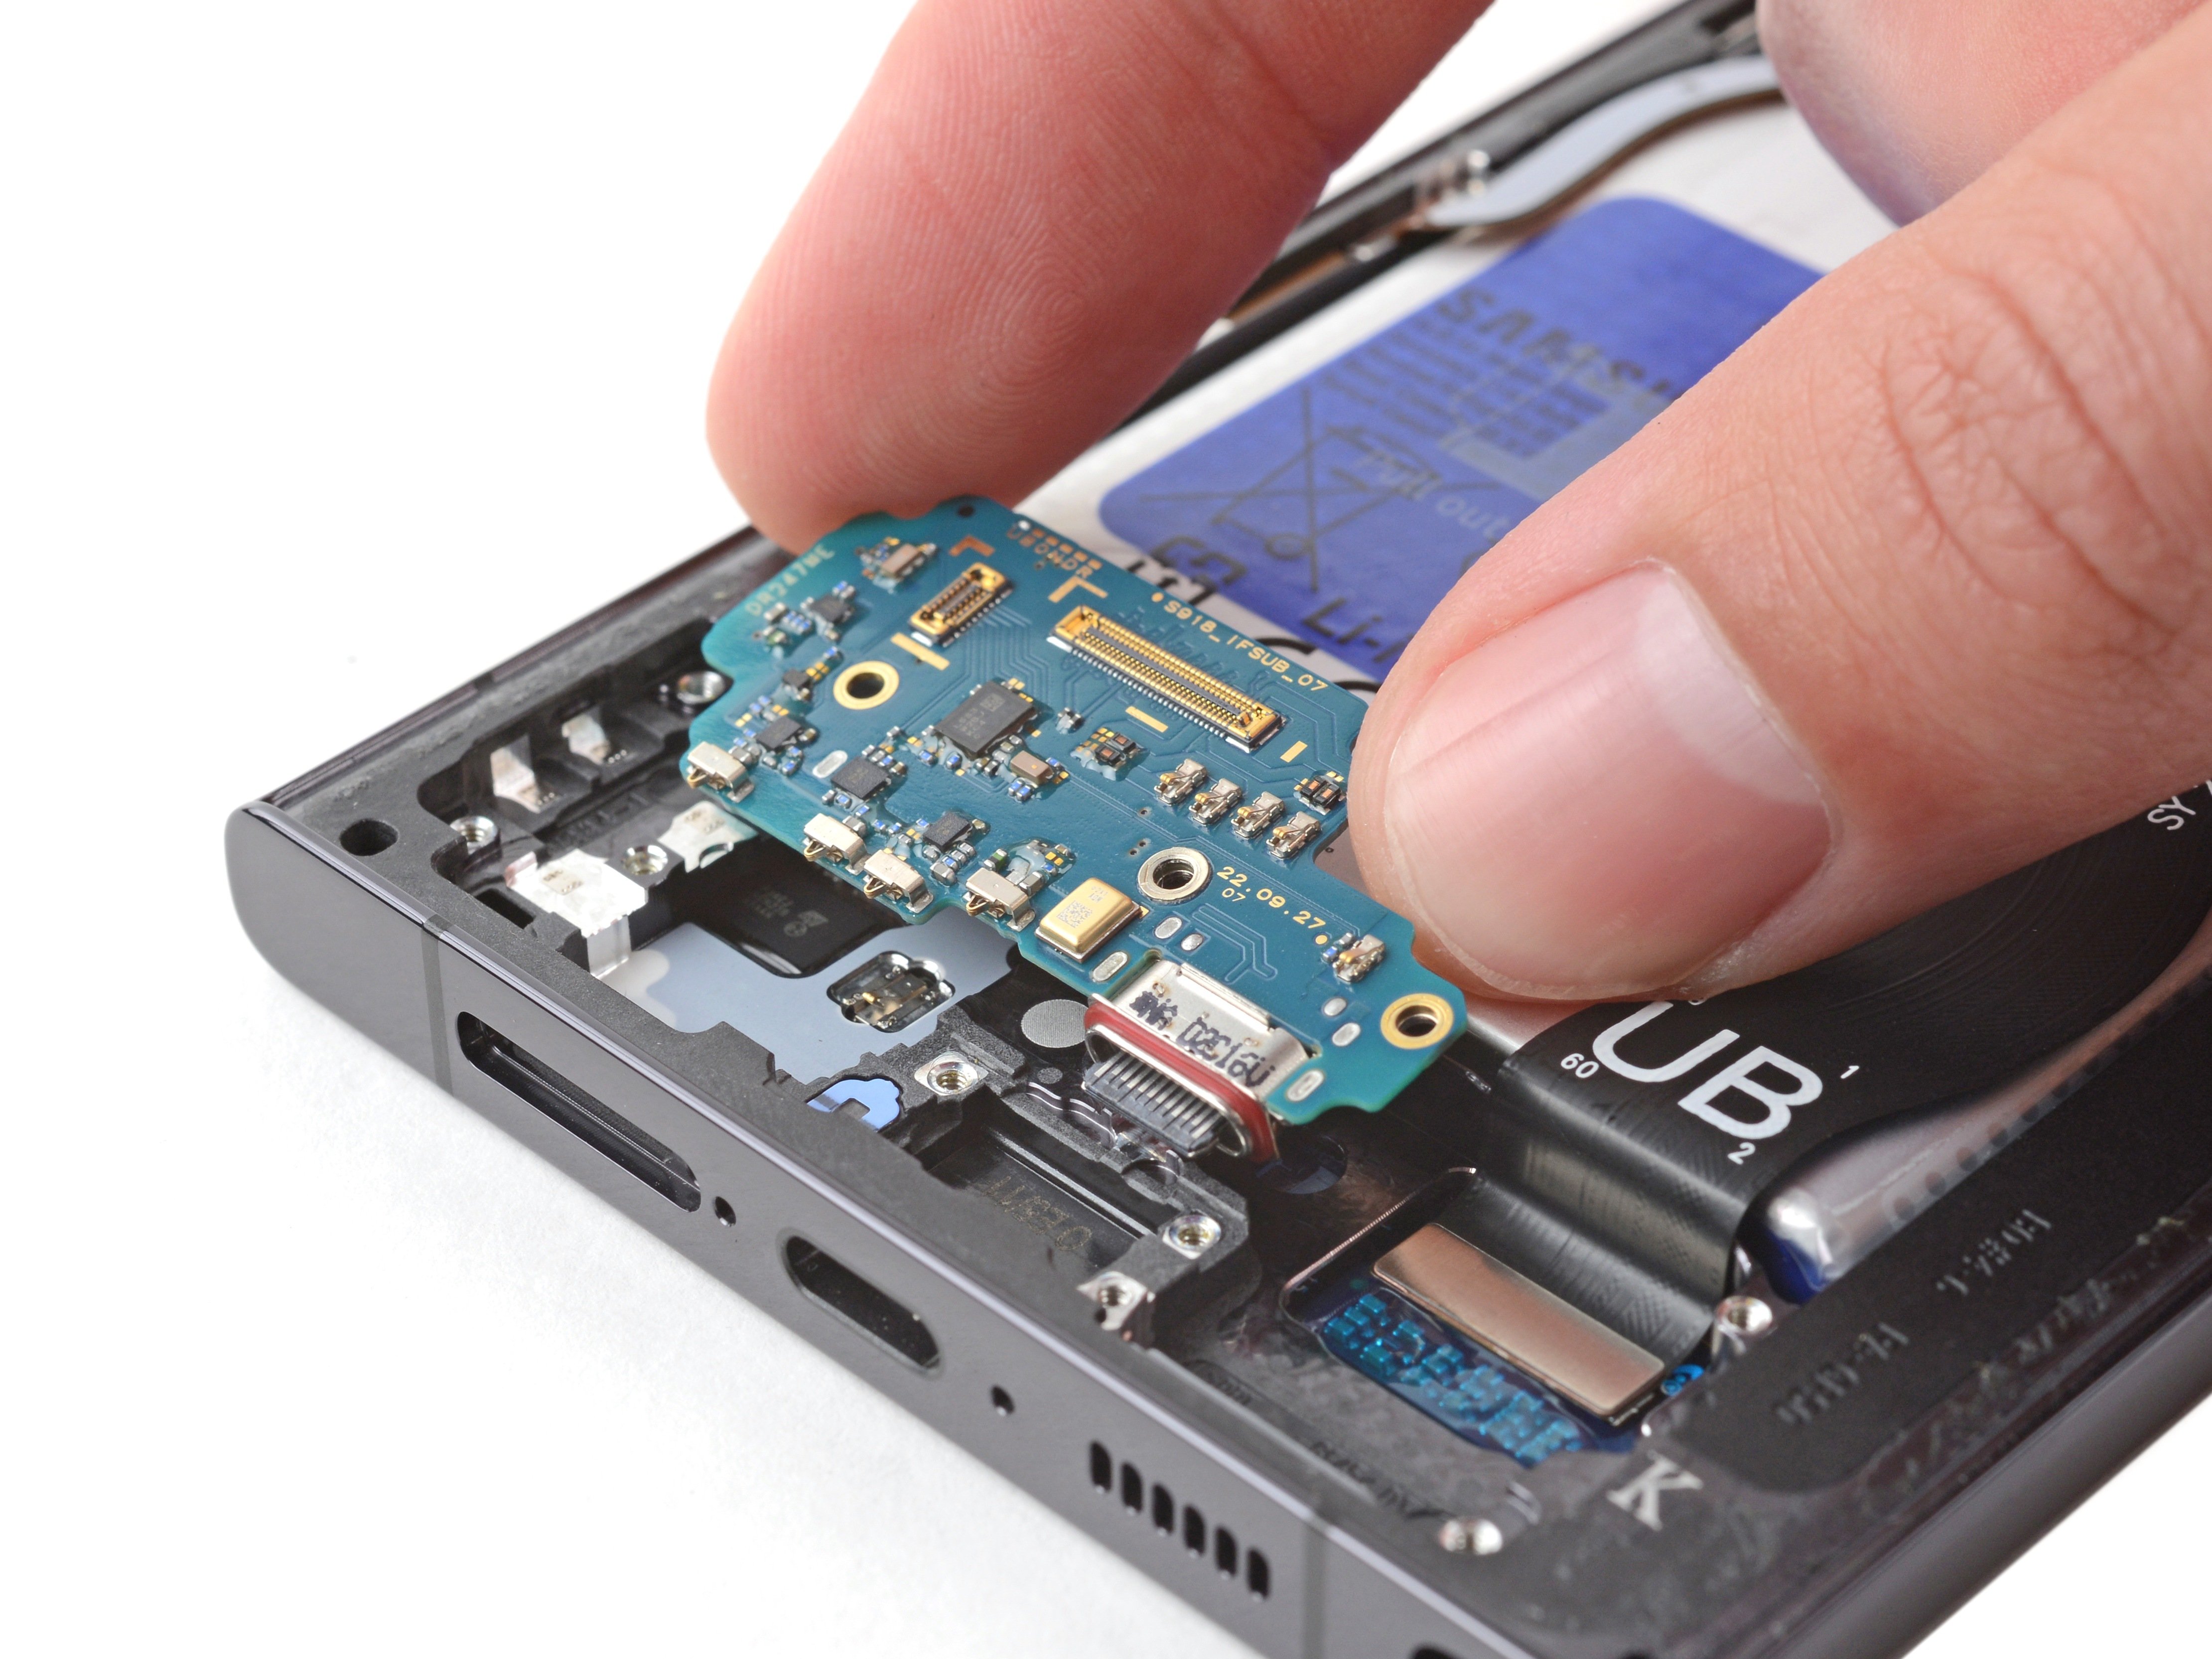
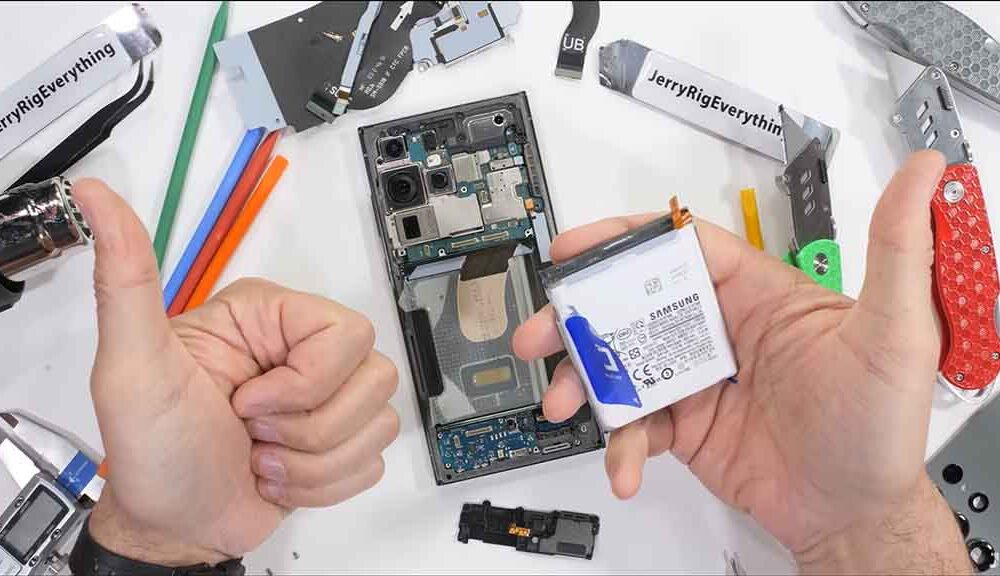
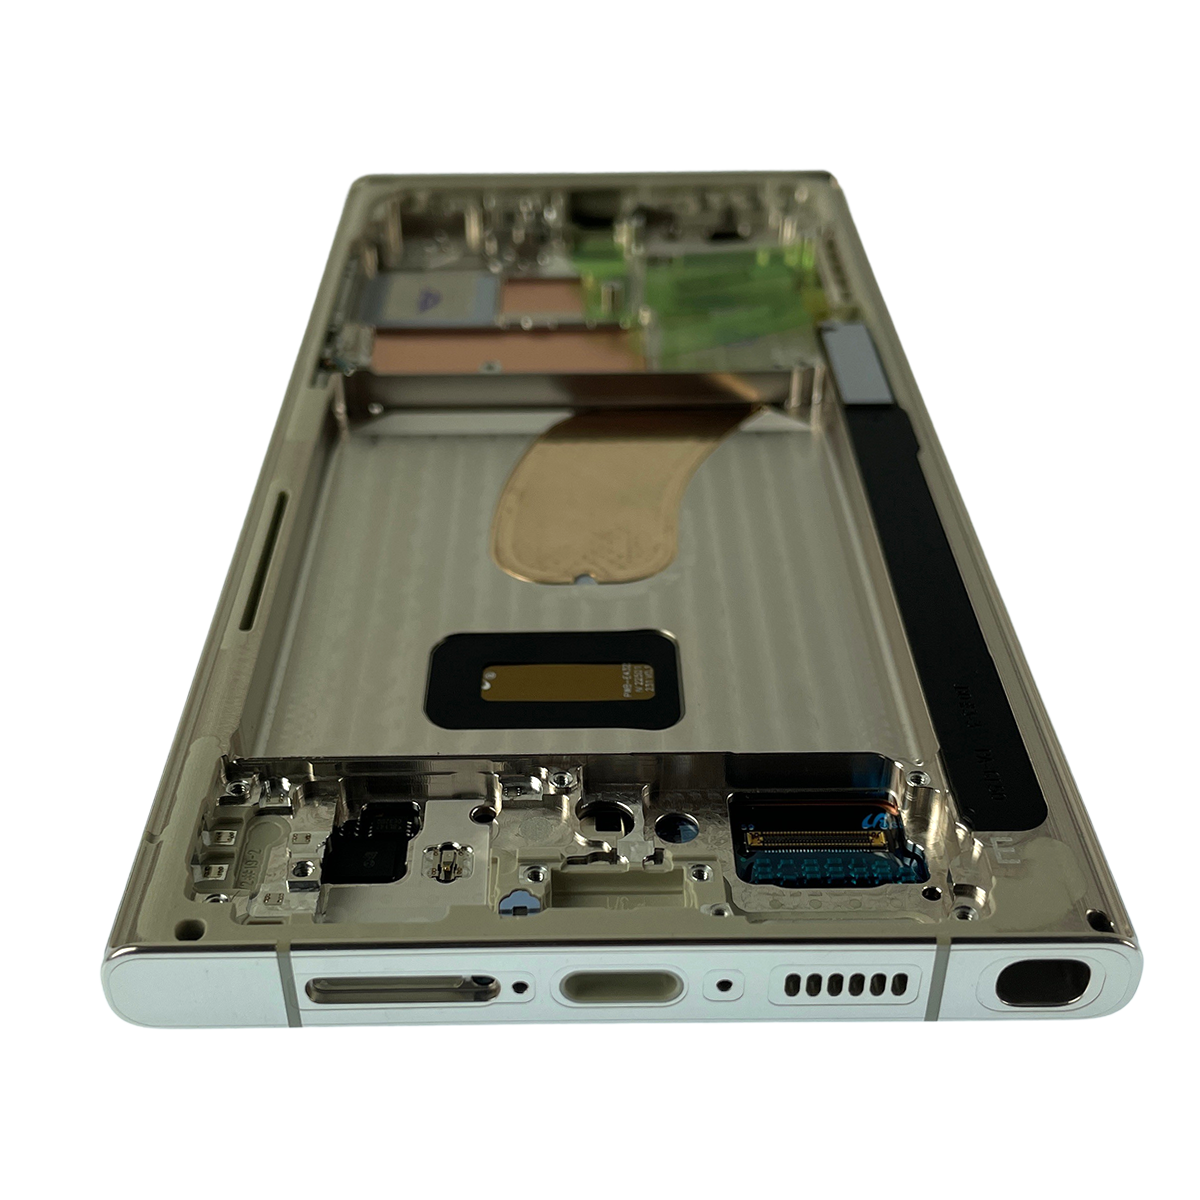
Samsung Galaxy S23 Ultra Back Cover Replacement Guide
Duration: 45 minutes
Steps: 16 Steps
Get ready to tackle that back cover removal or replacement on your Samsung Galaxy S23 Ultra like a pro! Just a heads-up: keeping that water resistance intact after your repair relies on how well you stick the adhesive back on. Remember, your device will lose its IP (Ingress Protection) rating, but you’ve got this! And if you find yourself in a bit of a pickle, feel free to schedule a repair for some expert help.
Step 1
Hey, if you’re using a hairdryer, heat gun, or hot plate, keep it cool! We don’t want to turn your phone into a crispy critter. The display and battery aren’t big fans of extreme heat. If you need help with your repair, you can always schedule a repair.
– Grab your trusty iOpener and heat it up. Then, put it on the right edge of the back cover for a couple of minutes. Let the heat work its magic!
Step 2
The adhesive is super strong in the bottom right and top left corners, so be prepared for a little extra effort when prying those areas loose. If you need help, you can always schedule a repair
– While you’re waiting for the adhesive to loosen up, take a sec to note the following:
– There’s adhesive holding the back cover in place around the edges of the frame. Don’t worry, we’ve got you covered – just follow along and you’ll be a pro in no time! If you need help, you can always schedule a repair
Step 3
If you’re struggling to get a gap, don’t fret! Just heat things up a little more to soften the adhesive. Make sure to follow the iOpener instructions to avoid overheating. You’ll be a pro in no time! If you need help, you can always schedule a repair.
– First, attach a suction handle to the back cover, positioning it as close to the center of the right edge as you can.
– Now, pull up on the suction handle with a firm, steady force to create a gap between the cover and the frame – you’re making progress!
– Next, carefully insert an opening pick into the gap you just created. If you need help, you can always schedule a repair
Tools Used
Step 5
– Let’s get this repair started! Apply a heated iOpener to the bottom edge of the back cover for about two minutes. If you need help, you can always schedule a repair
Tools Used
Step 6
Hey, be mindful of the corners, they’re pretty delicate! Take it slow and steady to keep that glass from cracking. No need to rush, we’ve got your back.
– Slide a second opening pick into the bottom right corner.
– Tilt the pick upward to hug that curved edge, and then gently rotate it around the bottom right corner.
Step 7
– Slide your opening pick down to the bottom left corner to separate the adhesive. It’s like giving the device a little hug, but in a way that helps you open it up.
– Leave the pick in the bottom left corner to stop the adhesive from sticking back together. It’s like holding the door open for a little bit so you can get inside.
Step 8
– Warm up the left edge of the back cover with a heated iOpener for a cozy two minutes.
Tools Used
Step 9
Heads up, buddy! The corners are delicate, like a newborn kitten. Take it slow and steady so you don’t accidentally crack the glass. We’re rooting for you! If you need help, you can always schedule a repair.
– Now it’s time to add a third opening pick – slide it into the bottom left corner and get ready to make some progress.
– Gently angle the pick upwards to match the curve of the edge, then rotate it around the bottom left corner. You’re doing great, and if you need help, you can always schedule a repair
Step 10
Be careful with the pick up tool, as inserting too far may damage the antenna flex cable or the power button cable. If you need help, you can always schedule a repair
– Let’s get that adhesive loosened! Slide your opening pick along the left edge, stopping when you reach the power button. We’re gonna keep that adhesive from sticking back together so leave the pick in place.
Step 11
– Warm up your trusty iOpener and give it a cozy spot on the top edge of the back cover for a solid two minutes.
Tools Used
Step 12
Hey, those corners are like super delicate glass. Take it slow and steady so you don’t end up with a cracked screen. If you need help, you can always schedule a repair.
– Let’s get this party started! Slide an opening pick into that gap at the top right corner.
– Now, give that pick a little angle to follow the curve of the edge, and give it a spin around that top right corner. You’re doing great!
Step 14
Be careful not to insert the pick more than 4 mm deep, as that could lead to some camera trouble.
– Let’s get this party started! Slide an opening pick into the gap at the top left edge. It’s like a dance, just get it in there!
– Now, give that pick a little angle upward to match the curved edge and give it a spin around that top left corner. You got this!
Step 15
Keep that pick to a max of 4 mm, or you might just give those cameras a little too much excitement!
– Gently slide the pick down towards the bottom camera to break through the last bits of adhesive, but make sure to stop just shy of the power button. You’ve got this!
Step 16
If your cover is still stubborn and clinging to the frame, gently slide an opening pick around the edges until it pops right off.
Now’s the perfect time to power up your phone and make sure everything’s working like a champ before you seal it up. Just make sure to power it down completely before moving on to the next step.
– Let’s get this back cover off! Grab it and gently remove it.
– Now, let’s put everything back together! Here’s the lowdown:
– Grab those pesky adhesive bits with your tweezers or fingers. Need a little extra help? Apply some heat to loosen things up.
– Using custom-cut adhesives? Check out our helpful guide.
– Got double-sided tape? No worries, we’ve got a guide for that too! Click here for the details.


