Samsung Galaxy S24+ Back Cover Replacement Guide – DIY Tutorial
Duration: 45 minutes
Steps: 15 Steps
Ready to give your Samsung Galaxy S24+ a fresh new look? This guide will walk you through the steps to swap out that back cover like a pro. If you need help, you can always schedule a repair.
Step 1


Hey there! It’s a good idea to let your phone’s battery power drop below 25% before you get started. A fully charged battery can be a little mischievous, so we want to be extra careful. If you see your battery looking a little puffy, take extra care, and if you need help, you can always schedule a repair.
– Hey there, tech enthusiast! Time for a little fix-up session. First, unplug all those pesky cords to give your gadget some breathing room. Next, get ready to pay attention as you hold down the side key and volume down button, and don’t forget to chomp at the bit and select ‘Power off’ to officially turn off your phone. Now, you’re all set to take on the next steps! If you need help along the way, you can always schedule a repair
Step 2

You can also use a hair dryer, heat gun, or hot plate to warm things up. But, be careful! Don’t get the phone too toasty, or you might end up with a melted display or a fried battery. If you need help, you can always schedule a repair.
– Let’s get started by heating up an iOpener and applying it to the right edge of the back cover for about two minutes. This will help loosen things up and make the repair process smoother. If you need help, you can always schedule a repair
Tools Used


Step 3
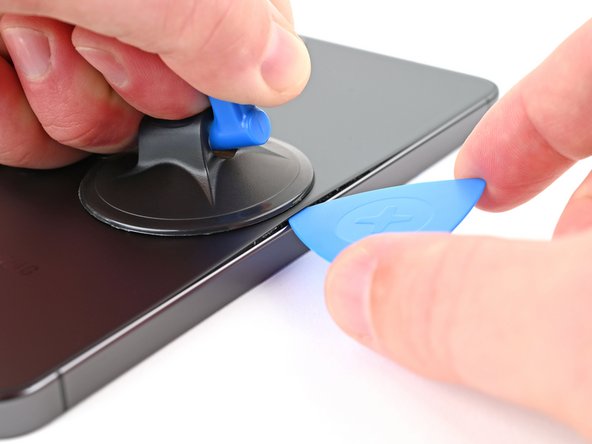

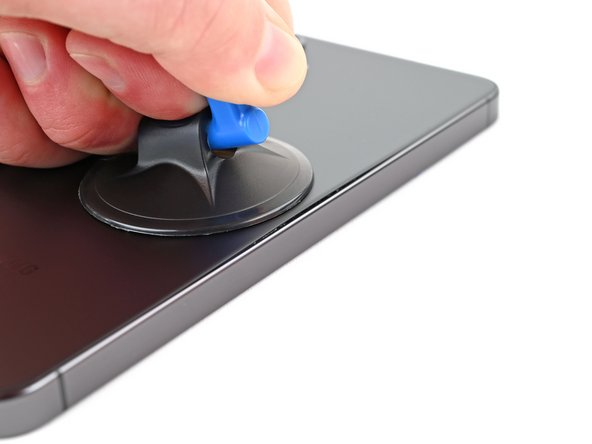
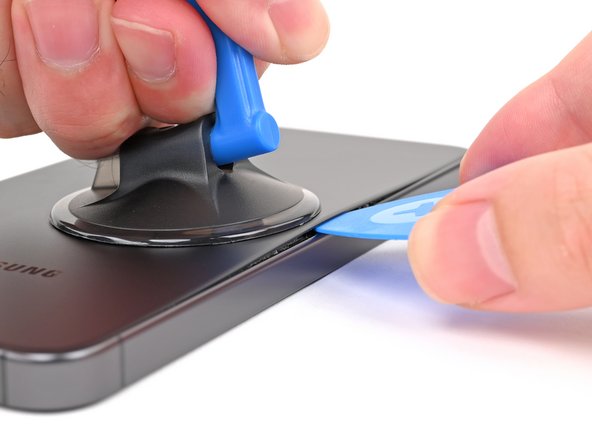
If you’re having a tough time making a gap, don’t sweat it! Just add a little more heat to loosen that adhesive up. Be sure to check out the iOpener instructions to keep things from getting too toasty.
– First, get funky with a suction handle on the back cover near the center of the right edge, then pull it up with all the force you’ve got to make a gap. Slide an opening pick right into that baby!
Tools Used


Step 5

– Get ready to warm things up! Apply a heated iOpener to the bottom edge of the back cover for two minutes. It’s like a warm hug for your device. If you need help, you can always schedule a repair.
Tools Used
Step 6


– Twist that trusty opening pick around the bottom right corner and give those adhesive bonds a little nudge to set them free!
Step 7

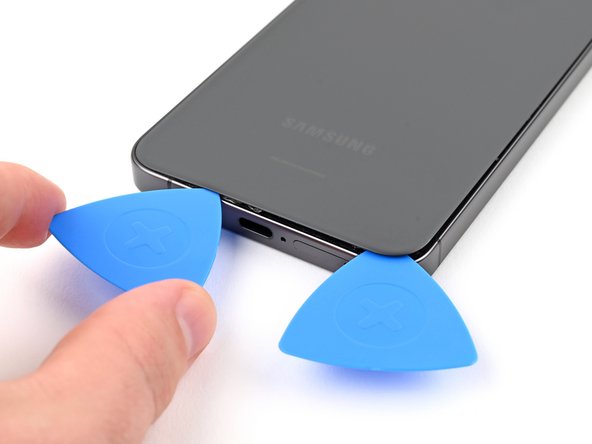
– Pop in a second pick at that bottom right corner!
– Slide your trusty opening pick over to the bottom left corner to break free from the adhesive’s grip.
– Keep that pick snugly in the bottom left corner to stop the adhesive from sealing up again.
Step 8

– Warm up your iOpener and place it on the left edge of the back cover for a couple of minutes.
Tools Used
Step 9


– Gently twist the opening pick around the bottom left corner to break free the adhesive. Keep it smooth and steady!
Step 10


– Let’s get this party started! Grab a third opening pick and gently insert it into the bottom left corner.
– Now, slide the pick toward the top left corner – we’re going to give that adhesive a little separation dance.
– Hold the pick in place near the top left corner to prevent the adhesive from getting cozy again.
Step 11

– Let’s get this repair started! Apply a heated iOpener to the top edge of the back cover for about two minutes to loosen things up. If you need help, you can always schedule a repair
Tools Used
Step 12


– Now, let’s get that adhesive loosened up! Slide your opening pick around the top left corner, gently separating the adhesive.
Step 13


– Now it’s time to add a fourth opening pick – slide it into the top left corner and get ready to make some progress.
– Gently push the pick towards the top right corner to loosen the adhesive, you’re doing great!
– Leave the pick hanging out near the top right corner, this will help prevent the adhesive from sneaking back into place. If you need help, you can always schedule a repair
Step 14


Notice the square of adhesive surrounding the rear microphone, conveniently located just above the flash. If you need help, you can always schedule a repair
– Position the tip of your opening pick right by the flash.
– Gently slide the pick underneath the top of the back cover until you feel it catch on the adhesive.
– Continue gliding the pick toward the bottom of your phone while carefully lifting the cover until it’s free from the sticky stuff.
Step 15


Having trouble getting the back cover to budge? No worries, just grab an opening pick and gently pry away any adhesive that might be sticking around.
Now’s a great time to power on your phone and make sure everything is working smoothly before you seal it back up. Just remember to shut it down completely before moving on.
To keep your device water-resistant, you’ll want to reapply the back cover adhesive with care. Keep in mind that the repair will affect your device’s IP rating, but with a little patience, you’ll be back up and running in no time. If you need help, you can always schedule a repair
– Start by giving the back cover a gentle tug and take it off. You’ve got this!
– When putting everything back together:
– Use some nifty tweezers or your fingers to peel away any sticky stuff from both the back cover and the phone. If that adhesive is being stubborn, a little heat or some isopropyl alcohol (90% or higher) paired with a coffee filter or lint-free cloth can do wonders.
– For those using custom-cut adhesives, be sure to check out this handy guide.
Tools Used