Samsung Galaxy S24 Earpiece Speaker Replacement Guide
Duration: 45 minutes
Steps: 23 Steps
Get ready to breathe new life into your Samsung Galaxy S24 with this easy-to-follow repair guide. If your earpiece speaker is sounding a bit wonky – think static or crackling noises – it’s probably time for a replacement. Just a heads up: to keep your device water-resistant after the repair, you’ll need to reapply the back cover adhesive with care. Keep in mind that the repair will affect your device’s IP rating. If you need help, you can always schedule a repair.
Step 1
Before you start, make sure your phone’s battery is below 25%. We want to avoid any accidents – a charged lithium-ion battery can be a fire hazard if it’s damaged. If you need help, you can always schedule a repair
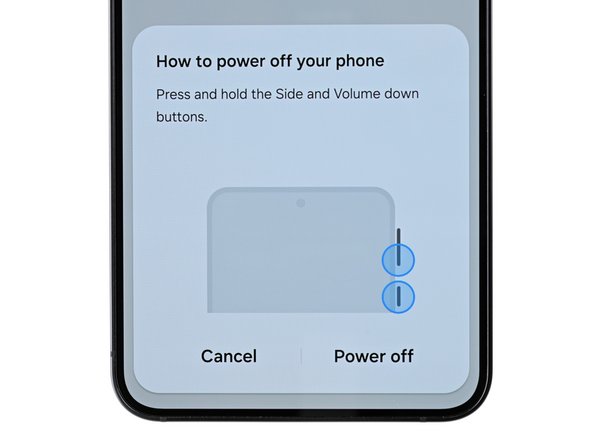
– First things first, let’s give your phone a little break! Turn it off completely and unplug all the cables.
Step 2
Don’t get too toasty! Keep the heat down, your phone’s battery doesn’t like being a hot potato. 😉 If you need help, you can always schedule a repair.
If you’re feeling brave, you can grab a hair dryer or heat gun and give that edge of the back glass a little warm-up! Just heat it up until it’s nice and toasty to the touch. You got this! If you’re feeling unsure, you can always schedule a repair.
– Let’s get started by heating up an iOpener and applying it to the right edge of the back cover for about two minutes. This will help loosen things up and make the repair process smoother. If you need help, you can always schedule a repair
Tools Used
Step 3
Don’t worry if things get sticky! Just apply a little more heat to loosen up that adhesive. You’ll be back in business in no time.
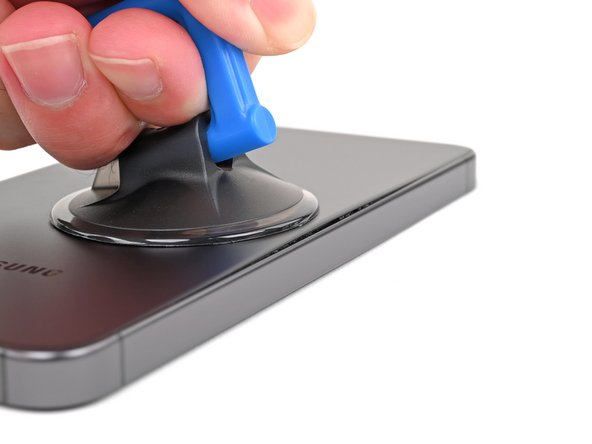
– Grab a suction handle and stick it on the back cover, aiming for the center of the right edge—let’s get that cover off!
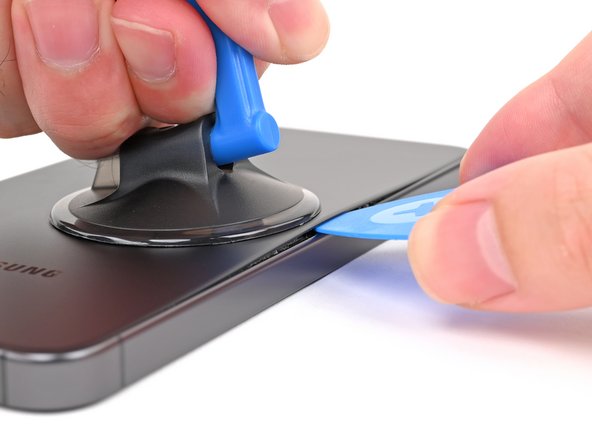
– Give that suction handle a good, steady pull to open up a little gap between the cover and the frame. You’ve got this!
– Slide an opening pick into that gap and keep moving forward.
Tools Used
Step 4
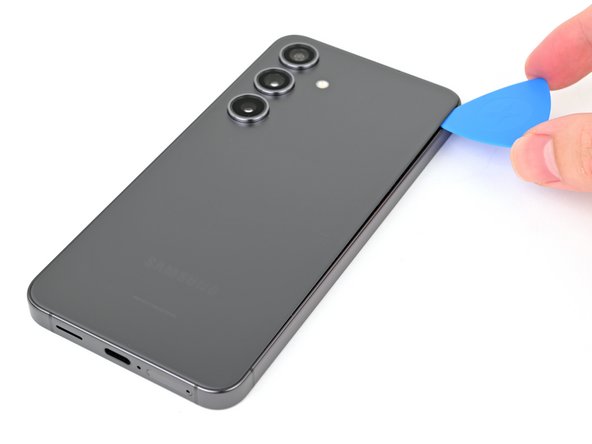
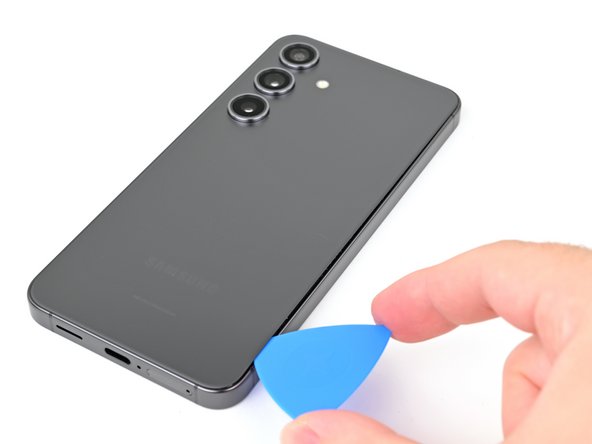
– Gently glide your opening pick along the right edge, slipping it between the back cover and the frame to break that pesky adhesive seal.
– Once you’re in, leave your opening pick nestled in the bottom right corner to prevent the adhesive from making a comeback.
Step 5
– Time to warm things up! Grab your iOpener and heat up the back cover for a couple of minutes. You’ll be ready to go in no time!
Tools Used
Step 6
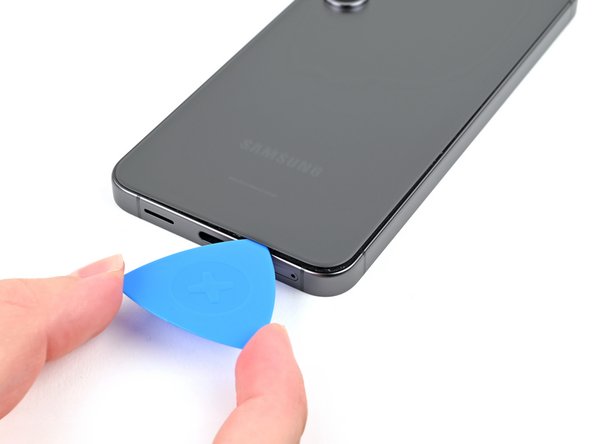
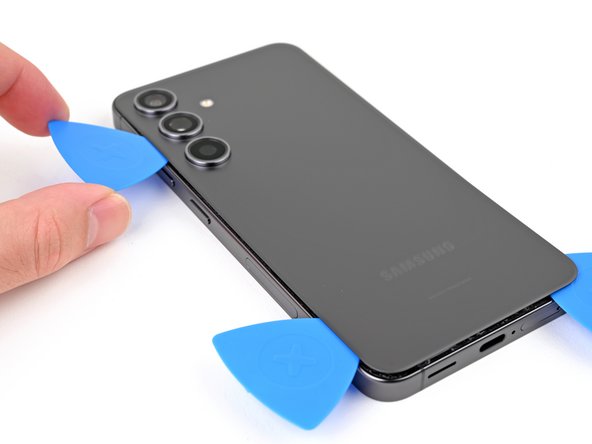
– Twist that opening pick around the bottom right corner to break free the adhesive like a pro!
Step 7
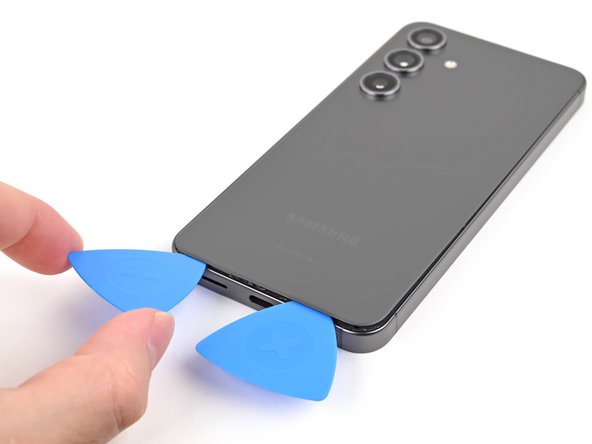
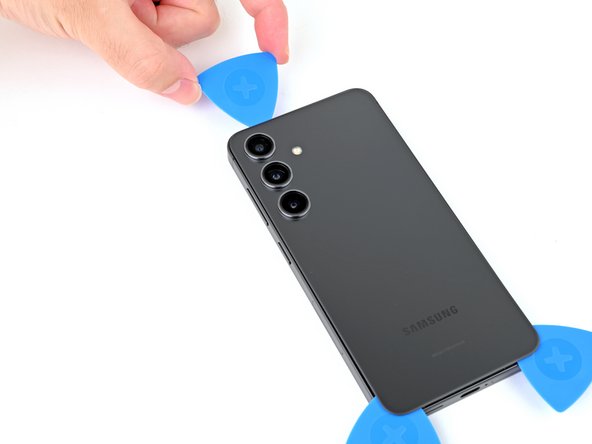
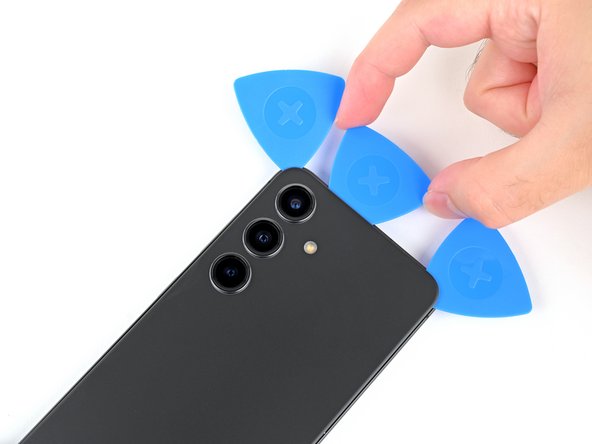
– Let’s get this party started! Grab a second opening pick and slide it right next to the first one along the bottom edge. You’re gonna slice through that adhesive like a hot knife through butter.
– Keep that opening pick chillin’ in the bottom left corner to keep the adhesive from getting all cozy and resealing. You’re almost there!
Step 8
– Time to get this repair started. Reheat your iOpener and apply it to the left side of the back cover for about two minutes. If you need help, you can always schedule a repair
Tools Used
Step 9
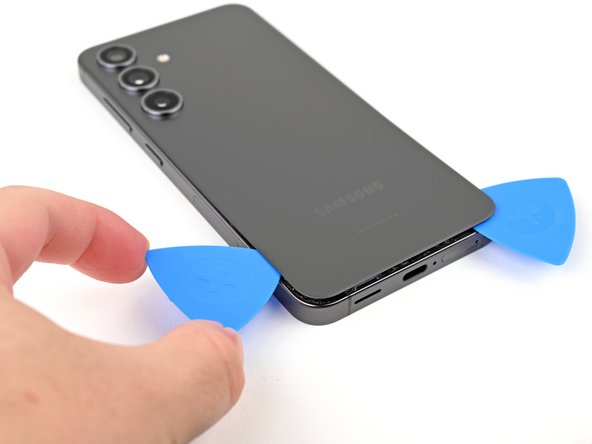
– Let’s get this party started by wiggling that opening pick around the bottom left corner to loosen up the adhesive. It’s like a little dance for your phone!
Step 10
Alright, champ! Don’t go overboard with that pick. Just a gentle nudge, 4 millimeters deep, max! We don’t want to hurt those fancy rear cameras or flash, right? You got this! 😉 If you need a hand, you can always schedule a repair.
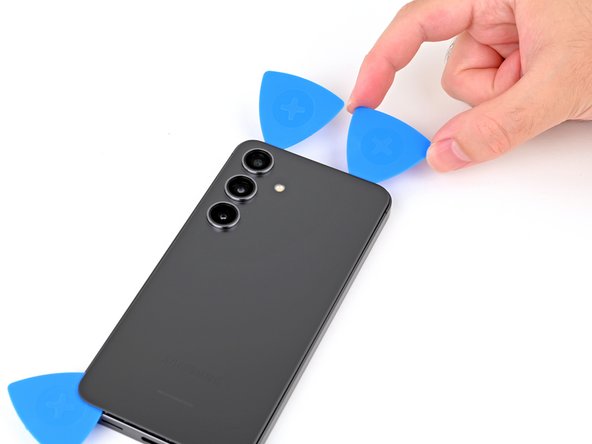
– Now it’s time to bring in some extra help – insert a third opening pick above the last one and gently slide it along the left edge to cut through the adhesive. You’re making great progress!
– Leave that opening pick right where it is, in the top left corner, to keep the adhesive from sealing back up. You’re doing a great job so far! If you need help, you can always schedule a repair
Step 11
– Warm up your iOpener and place it on the top of the back cover for a cozy two minutes.
Tools Used
Step 12
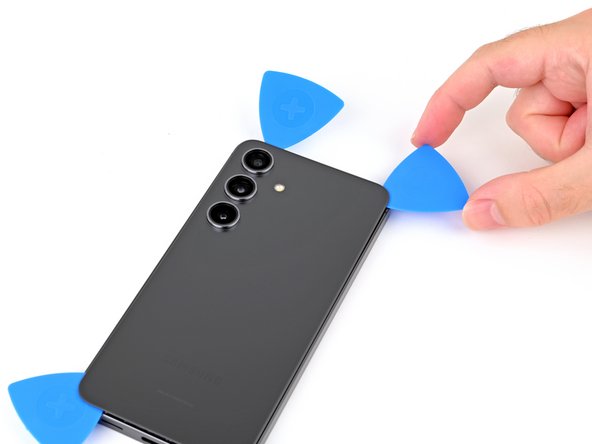
– Give that opening pick a little spin around the top left corner to break free the adhesive. You’ve got this!
Step 13
– Pop a fourth opening pick into the top left corner, keeping it at the same depth, and gently glide it along the top edge, wrapping it around the top right corner to cut through that pesky adhesive.
Step 14
Hey there tech hero! Watch those pick depths, we don’t want to poke the furry teddy bear of your rear cam! If you get stuck, no worries, you can always schedule a repair and let the repair wizards handle it!
– Let’s get this back cover off! Slide that fifth opening pick right above the camera flash cutout, like you’re high-fiving a tiny camera.
– Now, sneak that pick under the top of the back cover. Keep sliding until you feel it catch on the adhesive holding the cover in place.
– Go a little deeper with that pick until the adhesive lets go completely and you’re ready to separate the back cover. You’re doing great!
Step 15
If you’re still having trouble getting that cover off, use a little help from your opening pick friend! Gently work your way around the edges to get it free. You’re doing great!
It’s time for a quick check-in! Power on your phone and give everything a spin to make sure everything’s working as it should. Be sure to power down completely before you move on to the next step. If you’re having any trouble, you can always schedule a repair.
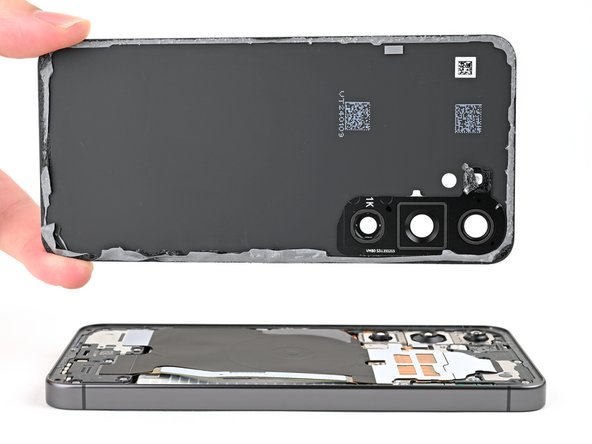
– Gently grab the back cover by its edges and lift it off the phone. Easy peasy!
– Now, on to reassembly:
– If you see any pesky adhesive bits hanging around, use tweezers or your fingers to pluck them away. Need a little extra help? A warm-up with heat and some isopropyl alcohol (90% or greater) can do wonders for stubborn adhesive!
– Got custom-cut adhesives? Be sure to check out this guide.
– Using double-sided tape? No worries, just follow this guide.
Tools Used
Step 16
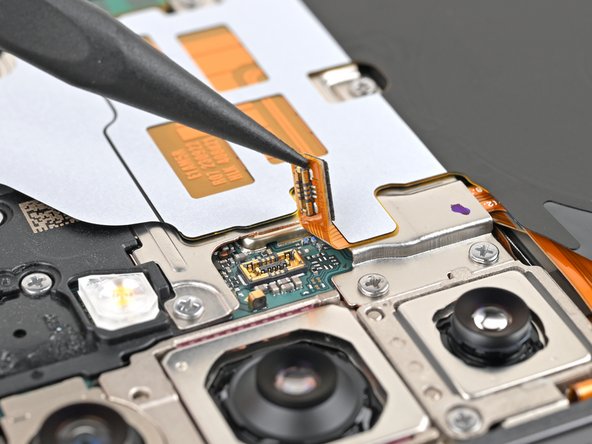
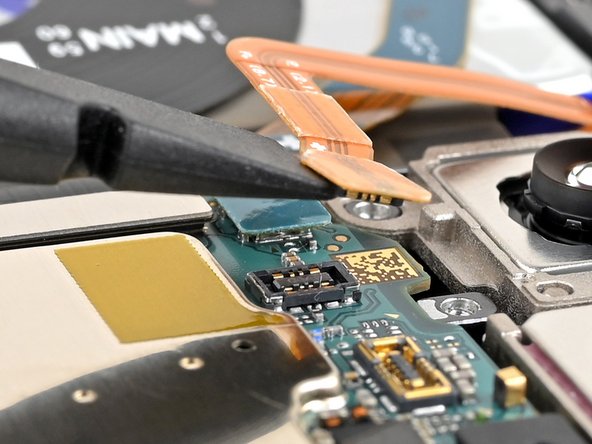
– Time to give that wireless charging coil a little TLC! Use the tip of your spudger to gently pry up and disconnect the connector from the motherboard.
– Now, let’s put it back together! Line up the connector carefully over its socket and give it a gentle press with your fingertip. Press on one side, then the other, until you hear that satisfying click. Don’t force it, just be patient and it’ll pop right in place. If you’re having trouble, just reposition and try again. You got this!
Tools Used
Step 17
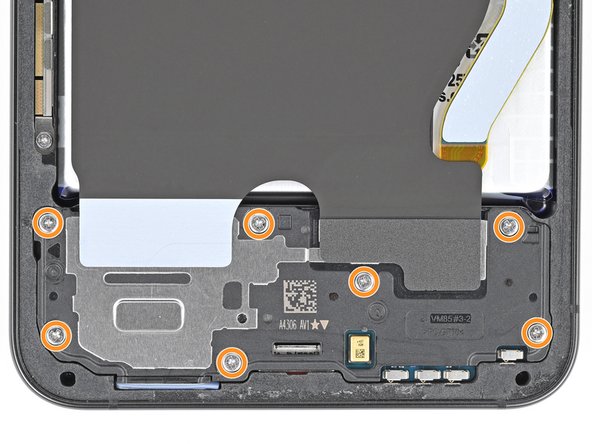
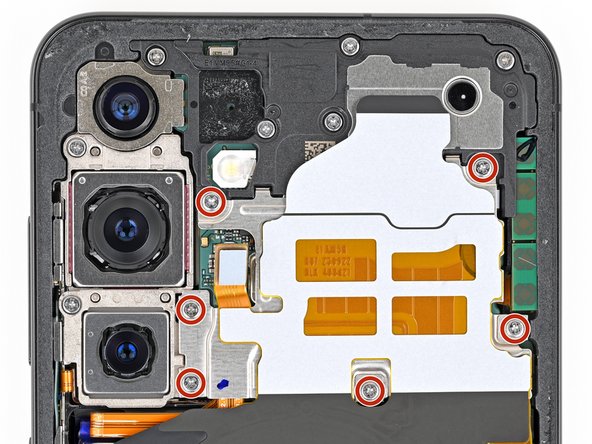
– Grab your trusty Phillips screwdriver and let’s tackle those thirteen 3.5 mm-long screws holding down the wireless charging coil and the loudspeaker. Don’t worry, we’ve got this!
– First up, we have six screws keeping the wireless charging coil snug as a bug.
– Next, there are seven screws that are making sure the loudspeaker stays right where it should be.
Step 19
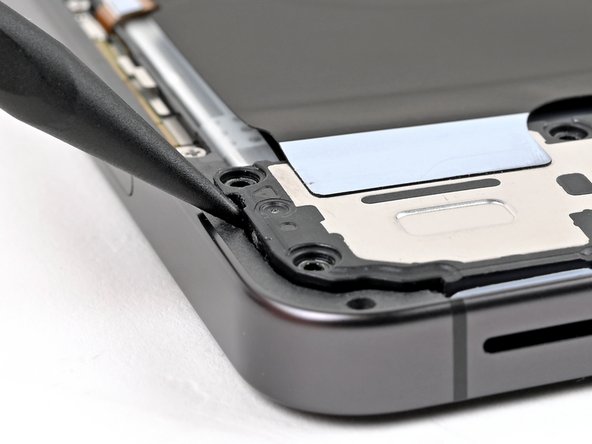
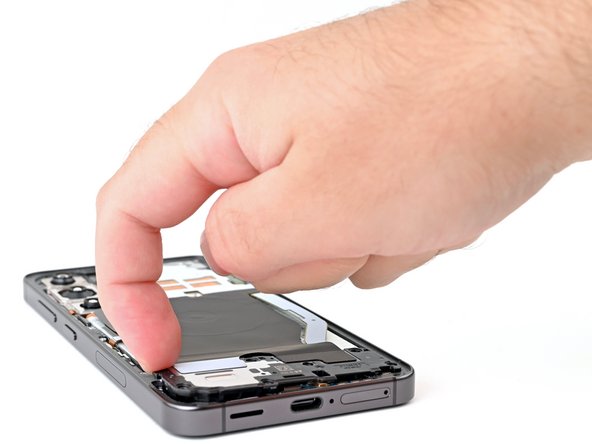
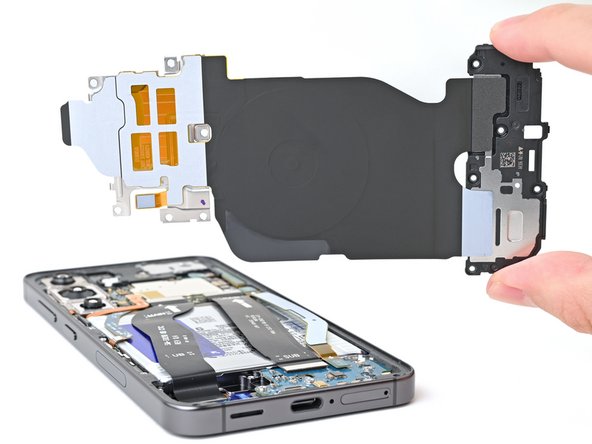
– Gently use your fingernail or the flat end of a spudger to lift the wireless charging coil and loudspeaker assembly away from the frame. You’ve got this!
– Carefully take out the wireless charging coil and loudspeaker from your device. Easy peasy!
– When putting everything back together, give the edges of the loudspeaker a little press to snap it back into place before you pop those screws back in. You’re almost done!
Tools Used
Step 20
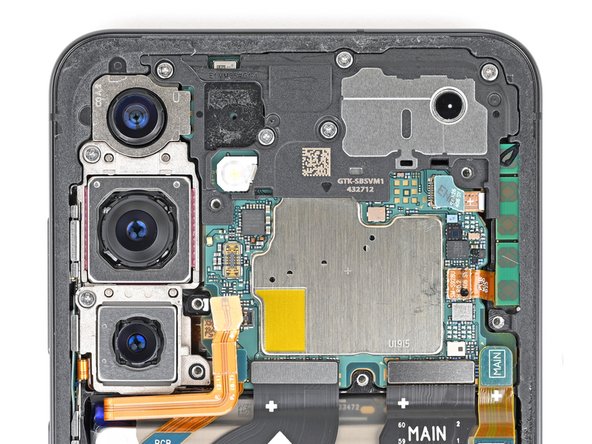
– Alright, time to disconnect that battery cable! Using the flat end of your spudger, gently pry up the connector located on the motherboard. It’s just like giving the cable a little high-five, but with a tool! You’ve got this! If you need help, you can always schedule a repair
Tools Used
Step 21
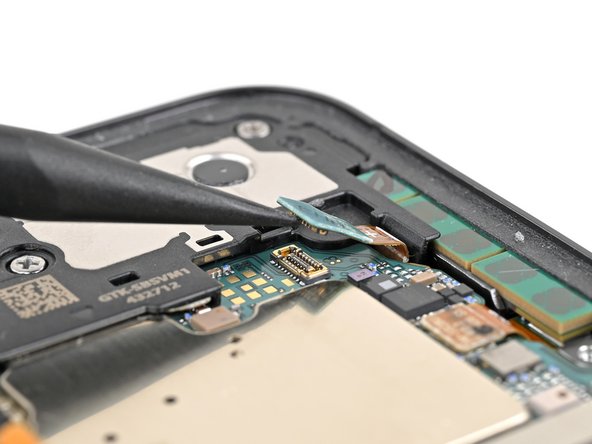
– Time to get this earpiece speaker connector disconnected. Carefully slide the tip of a spudger under the left side and gently pry it up. If you need help, you can always schedule a repair
Tools Used
Step 22
– Grab your trusty Phillips screwdriver and get ready to tackle those five 3.5 mm-long screws holding the earpiece speaker in place. You’ve got this!
Step 23
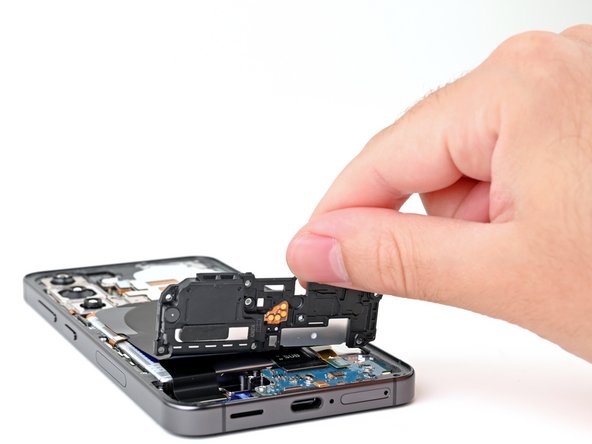
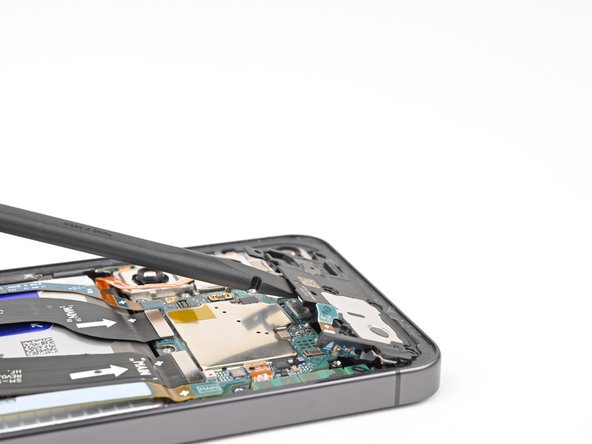
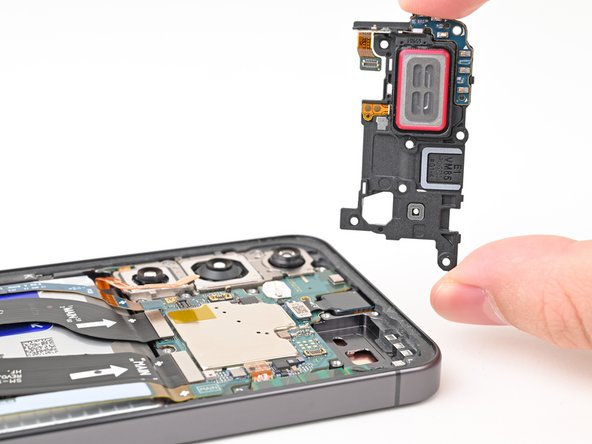
– Let’s get that earpiece speaker out! Slide the flat end of your spudger under the bottom of the assembly and gently pry it up. You’ll feel it release from the chassis. Now, just lift it out.
– Time to say goodbye to that old earpiece speaker! Just remove it from the device.
Tools Used
