Samsung Galaxy S24 Plus Back Cover Replacement
Duration: 45 minutes
Steps: 15 Steps
Ready to swap out the back cover on your Samsung Galaxy S24+? Follow these steps to get your device looking fresh again.
Step 1


Before you dive in, let your phone’s battery drop below 25%—it’s much safer that way. If your battery looks puffy, handle it with care and don’t poke the balloon!
- Disconnect any cables attached to your phone to start fresh.
- Press and hold the side button along with the volume down button, then tap 'Power off' when it appears to turn off your device.
Step 2

A hair dryer, heat gun, or hot plate can work wonders, but be mindful—overheating your phone can lead to damage. Both the display and internal battery are heat-sensitive, so keep it cool while working your magic.
- Warm up your iOpener and set it down on the right edge of the back cover. Let it work its magic for about two minutes.
Tools Used


Step 3

If the gap isn’t opening up, hit it with a little more heat to loosen things up. Just make sure to follow the iOpener guidelines so things don’t get too toasty.
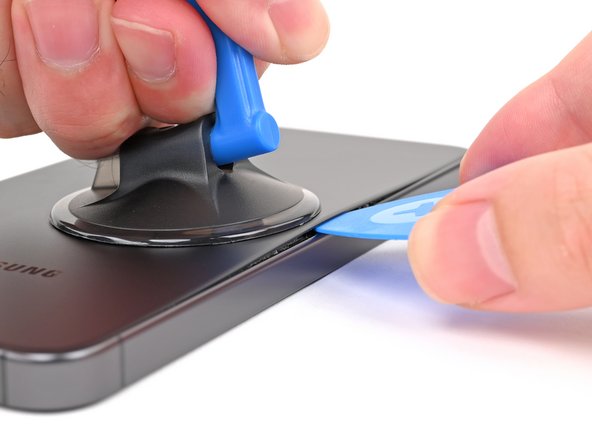
- Stick the suction handle on the back cover, aiming for the center along the right edge.
- Give the handle a firm, steady pull to get a nice gap started between the cover and the frame.
- Slide an opening pick into the gap you just made.
Tools Used

Step 4


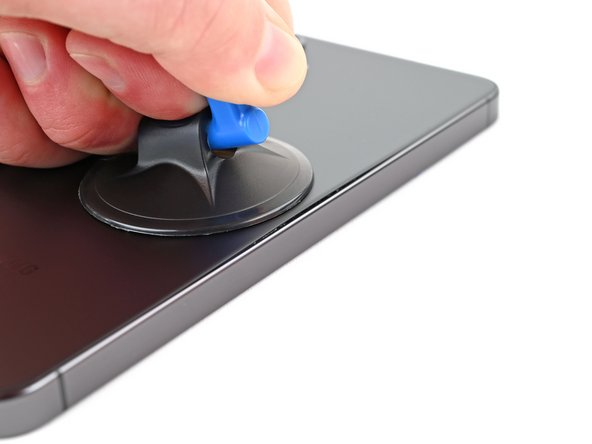
- Gently wiggle the pick back and forth along the right edge to break that adhesive free.
- Keep the pick snugly in place near the bottom right corner to stop the adhesive from sticking back together.
Step 5

- Grab your trusty iOpener and apply some gentle heat to the bottom edge of the back cover for about two minutes. Just let it warm up and get ready for the next step!
Tools Used
Step 6


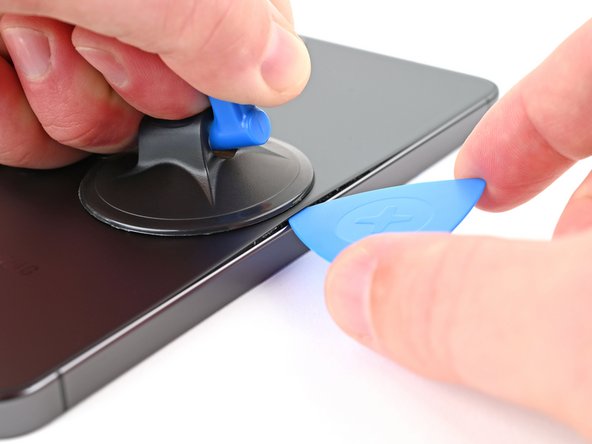
- Now it's time to get this adhesive to let go - gently rotate the opening pick around the bottom right corner to loosen its grip.
Step 7

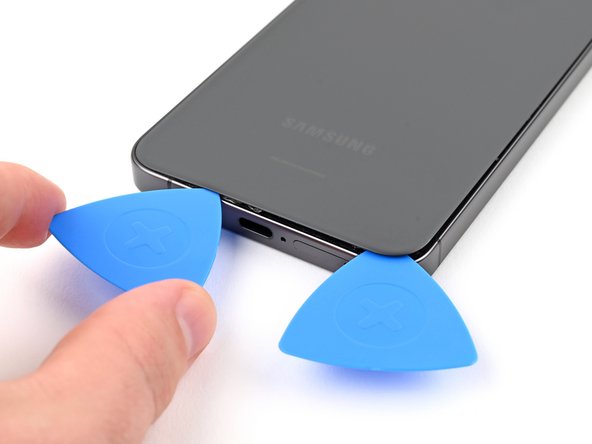
- Slide another pick into the bottom right corner like you're sneaking in a late-night snack.
- Glide that pick to the bottom left corner, slicing the sticky stuff like butter on toast.
- Park the pick in the bottom left to keep the adhesive from ghosting you.
Step 8

- Let your iOpener hang out on the left edge of the back cover for a solid two minutes. The heat helps loosen things up for the next step.
Tools Used
Step 9


- Swing the opening pick around the bottom left corner, loosening up that sticky stuff holding things together.
Step 10


- Pop a third opening pick into the bottom left corner—like you're sliding into a comfy booth.
- Scoot that pick up toward the top left corner to break up the sticky adhesive party.
- Let the pick chill near the top left corner to keep the adhesive from sealing itself back up.
Step 11

- Warm up the top edge of the back cover with a heated iOpener for about two minutes to loosen things up.
Tools Used
Step 12


- Gently wiggle the opening pick around the top left corner to loosen the adhesive. Keep it steady and work your way around to free things up. If you need a hand, you can always schedule a repair.
Step 13


- Pop in a fourth opening pick at the top left corner.
- Gently slide that pick over to the top right corner to break free the adhesive.
- Keep the pick hanging out near the top right corner to stop the adhesive from sticking back together.
Step 14


Check out the little adhesive square chilling around the rear mic, just above the flash.
- Aim the tip of your opening pick right at the flash—like you're lining up a trick shot.
- Sneak the pick under the top edge of the back cover until you feel it catch on the sticky adhesive.
- Glide that pick down toward the bottom, gently lifting as you go, until the cover pops free from its sticky grip.
Step 15


If the back cover’s acting clingy, slip an opening pick under the edge and give that sticky stuff the gentle “see ya later” it deserves.
Quick pit-stop: fire up your phone, test everything like a mini victory lap, then power it down totally before you dive back in.
Your water-repellent superpowers depend on how smoothly you lay down fresh adhesive. Just remember, the official IP rating is taking a permanent vacation—so maybe skip the underwater selfies unless you’re feeling lucky.
- Ready to put it all back together? Just work your way backwards through the steps.
- If things went sideways, don’t sweat it—try a little troubleshooting or schedule a repair for some expert backup.