Samsung Galaxy S24 Plus Earpiece Speaker Replacement
Duration: 45 minutes
Steps: 23 Steps
Ready to bring back crystal-clear calls on your Samsung Galaxy S24+? Follow these steps to swap out your earpiece speaker and get back to chatting like a pro.
Step 1


Let your phone's battery run below 25% to keep things safe—lithium-ion batteries can be a bit fiery when fully charged. If you notice your battery swelling up, take some precautions and handle it carefully.
- Disconnect any cables from your device to start fresh.
- Press and hold the side button and volume down button together, then tap 'Power off' to shut down your device.
Step 2

You can use a hair dryer, heat gun, or hot plate to get the job done, but remember to keep it cool—overheating can hurt your phone's display and battery. Let's play it safe while we heat things up!
- Warm up your iOpener and place it on the right edge of the back cover for two minutes. This will help loosen things up and make the next step a breeze.
Tools Used


Step 3

Having trouble creating a gap? No worries—just give the heat a little boost to soften that adhesive even more. Just make sure to follow the iOpener instructions carefully so you don’t accidentally turn it into a hot mess. If you need a hand, you can always schedule a repair.
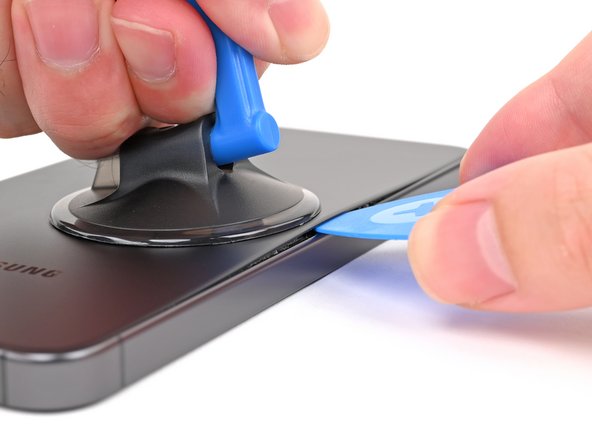
- Get a grip on that back cover by attaching a suction handle as close to the center of the right edge as you can - it's go time!
- Give that suction handle a firm, steady pull upwards to create some space between the cover and the frame. You got this!
- Now it's time to bring in the opening pick - carefully slide it into the gap you just created. You're making great progress!
Tools Used

Step 4


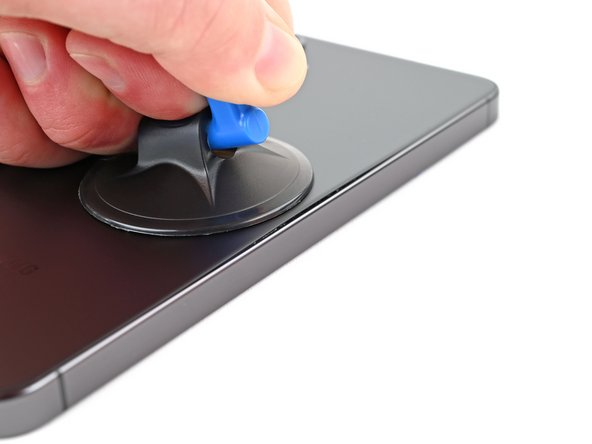
- Gently glide the pick back and forth along the right edge to break that adhesive seal. You're doing great!
- Keep the pick snugly in place near the bottom right corner to stop that adhesive from sticking back together. Nice work!
Step 5

- Warm up the bottom edge of the back cover with a heated iOpener for about two minutes. A little heat goes a long way toward making things easier!
Tools Used
Step 6


- Swing the opening pick around the bottom right corner like a pro, loosening up that stubborn adhesive as you go.
Step 7

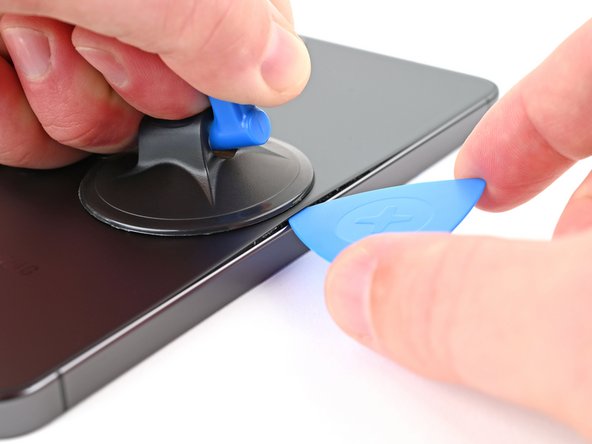
- Pop in a second pick down at the bottom right—like you’re starting a tiny guitar solo.
- Slide that pick over to the bottom left to break up the sticky situation.
- Leave the pick hanging out in the bottom left corner to keep the glue from making a comeback.
Step 8

- Place a heated iOpener on the left edge of the back cover and hold it there for about two minutes. This will help loosen things up so you can get inside more easily. If you need a hand with the process, just schedule a repair.
Tools Used
Step 9


- Gently lift the opening pick and twirl it around the bottom left corner to loosen the adhesive. Keep at it until it starts to give way.
Step 10


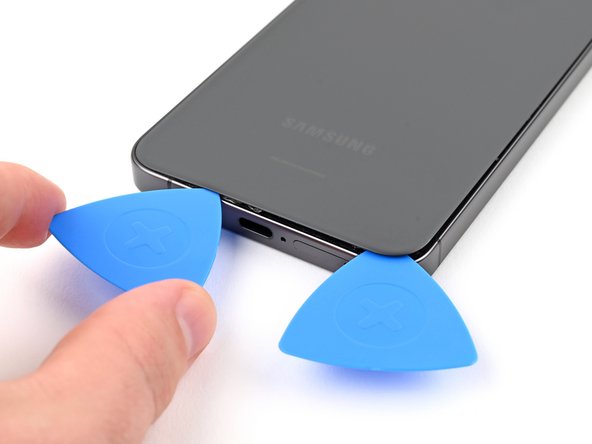
- Pop in a third opening pick at the bottom left corner—like you’re adding sprinkles to a sundae.
- Slide that pick up toward the top left corner, breaking up the sticky stuff as you go.
- Let the pick chill near the top left corner to keep that adhesive from getting any bright ideas about sealing itself back up.
Step 11

- Warm up the top edge of the back cover with a heated iOpener for about two minutes—let it get nice and toasty!
Tools Used
Step 12


- Swing that opening pick around the top left corner, and watch the sticky stuff give way.
Step 13


- Pop in a fourth opening pick at the top left corner.
- Gently slide that pick over to the top right corner to break the adhesive's grip.
- Keep the pick nestled near the top right corner to stop that adhesive from getting cozy again.
Step 14


You'll notice a square patch of adhesive surrounding the rear microphone, just above the flash. It's like a little glue border keeping everything in place—no need to worry, it's normal. When you're ready to get inside, this is the spot to focus on.
- Line up that tiny opening pick with the flash to get started.
- Gently slide the pick under the top edge of the back cover, feeling it catch on the adhesive as you go.
- Keep guiding the pick downward toward the bottom of the phone, while softly lifting the cover until it releases from the adhesive hold.
Step 15


If the back cover is being a bit stubborn, grab an opening pick and gently pry away any adhesive that's sticking around for too long.
Now's a great time to power on your phone and give everything a quick test before sealing it up. Just remember to power it back down completely before diving back in!
Keeping that water resistance post-repair depends on how well you reapply that back cover adhesive, but just a heads up: your device will lose its IP (Ingress Protection) rating.
- Begin by carefully removing the back cover. During reassembly, use tweezers or your fingers to peel away all adhesive from the back cover and the device itself. If the adhesive won't budge, try applying some heat or gently dabbing with isopropyl alcohol (90% or higher) using a coffee filter or a lint-free cloth. For custom-cut adhesives, just follow this guide to get the best results. Need a hand? You can always schedule a repair.
Tools Used


Step 16

Look for the little arrow printed near each press connector—that’s your hint for the best spot to start prying. It’s like the board saying, ‘Hey, try here first!’
- Grab a spudger and gently pry up the wireless charging coil press connector from the motherboard—think of it as giving it a little lift. When it’s time to reconnect, line up the press connector carefully over its socket. Then, press down with your fingertip—start on one side, then the other—until it clicks securely. No need to force it; if it feels stubborn, just reposition and try again. If you need a hand, you can always schedule a repair.
Tools Used

Step 17


- Grab your Phillips screwdriver and spin out the thirteen 3.5 mm-long screws that are holding down the wireless charging coil and the loudspeaker:
- Six screws are keeping the wireless charging coil cozy.
- Seven screws are doing the same for the loudspeaker.
Step 18


- Take your spudger and slide its tip into the notch at the top left corner of the loudspeaker (check for the arrow pointing you in the right direction).
- Gently pry upwards to pop the loudspeaker loose from the frame. Easy does it!
Tools Used
Step 19


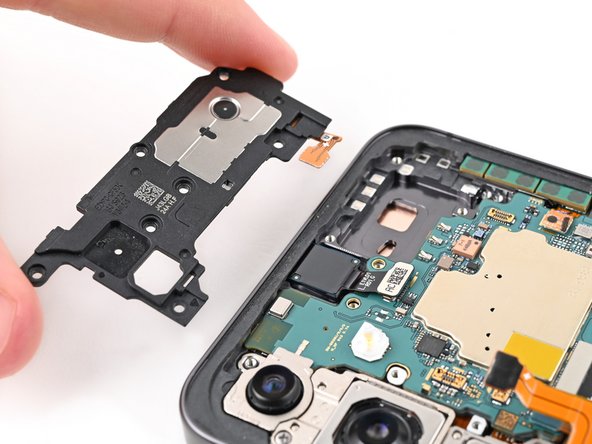
- Gently lift the loudspeaker off the frame using your fingers, like you're peeling off a sticker.
- Now, carefully remove both the wireless charging coil and the loudspeaker from the frame, taking your time.
- When you're putting everything back together, make sure to press around the edges of the loudspeaker to snap it securely into place before reinserting the screws. A little gentle pressure goes a long way!
Step 20
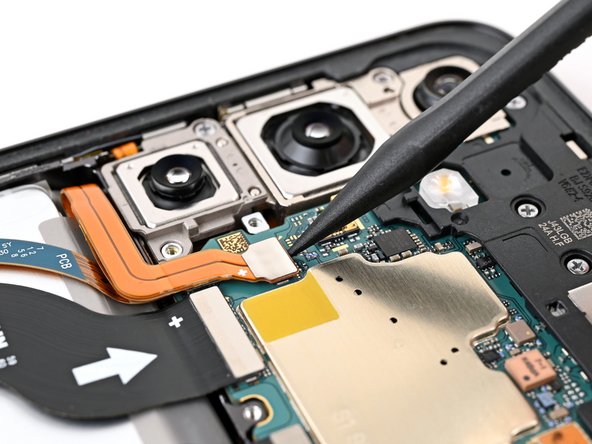

- Grab a spudger and gently pry up to disconnect the battery press connector. Keep it smooth and steady—no rush needed. If you get stuck or want to make sure everything goes perfectly, you can always schedule a repair with the pros.
Tools Used
Step 21


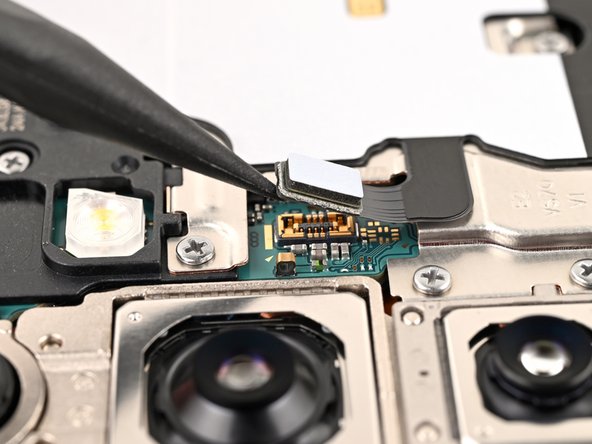
- Grab your spudger and pop up that earpiece speaker connector—just a gentle lift and it’ll come right off.
Tools Used
Step 22


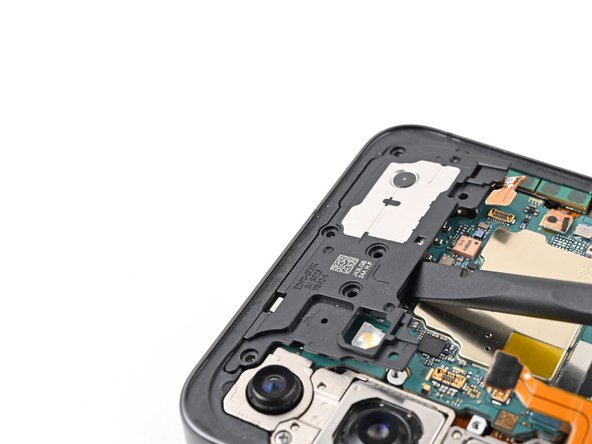
- Grab your trusty Phillips screwdriver and get ready to tackle those five 3.5 mm-long screws holding the earpiece speaker in place. Let's do this!
Step 23

- Gently wedge the flat end of a spudger between the bottom edge of the earpiece speaker and the metal shield on the motherboard. Give it a twist to pop the speaker free from its frame. When putting it back together, slide the top edge of the speaker into the frame first, then press down and clip it in securely. Need a hand? You can always schedule a repair if things get tricky.