Samsung Galaxy S24 Screen Replacement Guide
Duration: 45 minutes
Steps: 34 Steps
Be aware that this step will say goodbye to your old screen!
Get ready to breathe new life into your Samsung Galaxy S24 with this easy-to-follow repair guide from Salvation Repair. We’ll walk you through the process of replacing the screen, and don’t worry, we’ve got you covered. If your new screen comes pre-installed on a frame, you’re in luck – this guide has got you covered. Just a heads up, this process will render your old screen unusable, so if you’re looking to salvage parts, this isn’t the guide for you. Also, keep in mind that while you can restore some water resistance by reapplying the adhesive just right, your device’s IP rating will be a thing of the past. If you need help or want some extra guidance, you can always schedule a repair.
Step 1
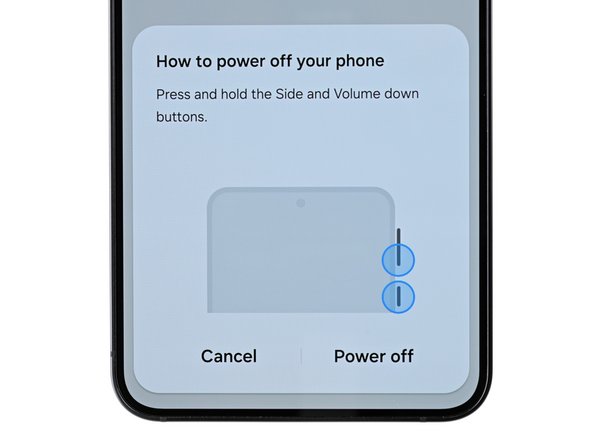

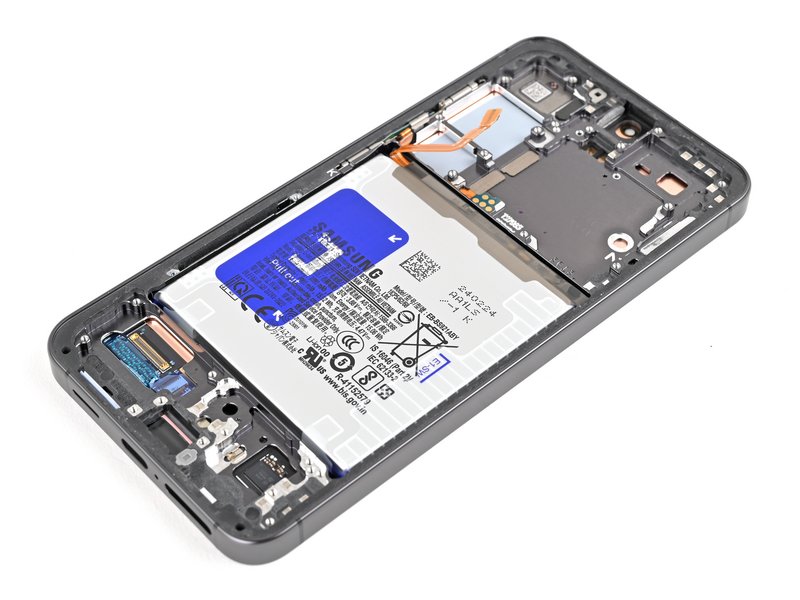
– First, let’s get started by completely powering down your phone and unplugging all cables – it’s time to get your device back up and running, and we’re here to guide you through it. If you need help, you can always schedule a repair
Step 2

Keep an eye on the heat, folks! Let’s not turn that phone into a mini sauna—the battery doesn’t appreciate the extra warmth.
Feeling a bit crafty? Grab a hair dryer or heat gun and warm up that right edge of the back glass until it’s cozy to the touch. You’ve got this!
– Let’s warm things up! Grab your iOpener, heat it up, and apply it to the right edge of the back cover for about two minutes. We want to make sure that adhesive is nice and loose so we can get things moving smoothly.
Tools Used


Step 3

If you’re having a tough time, feel free to crank up the heat a bit more to help loosen that adhesive.
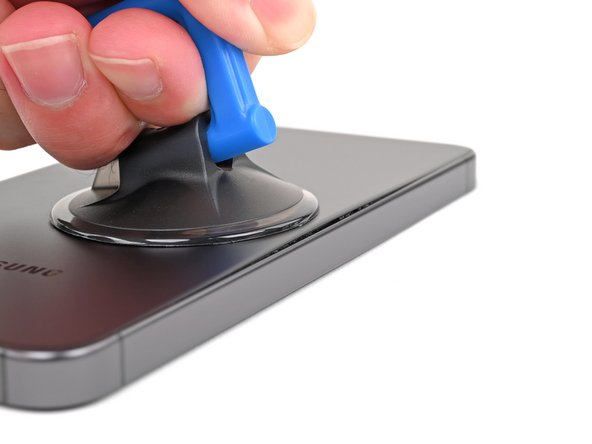
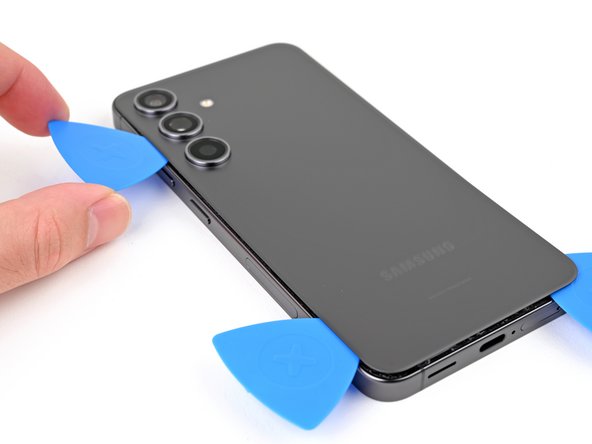
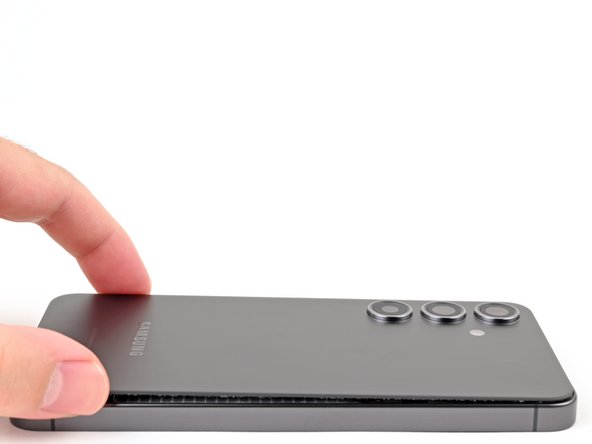
– Grab a suction handle and stick it onto the back cover, aiming for a spot close to the center of the right edge.
– Give that suction handle a solid, steady pull to open up some space between the cover and the frame.
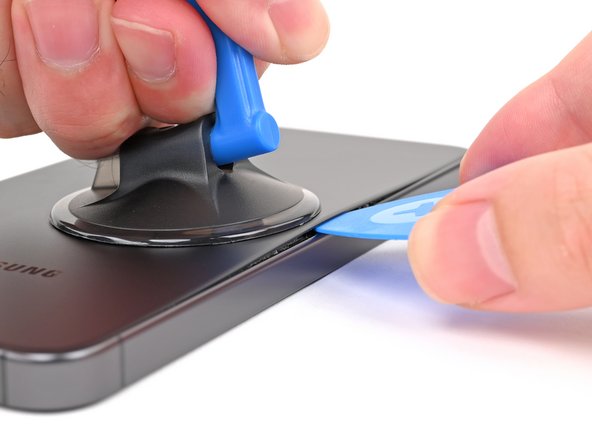
– Slide an opening pick into that newly created gap.
Tools Used

Step 4

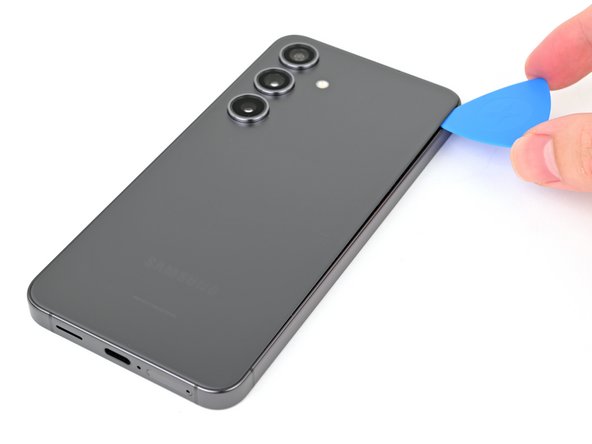

– Let’s get this party started! Slide your opening pick along the right edge between the back cover and the frame to cut through the adhesive.
– Now, leave your opening pick in the bottom right corner to keep the adhesive from sealing itself back up. No one wants a sticky situation, right?
Step 5

– Time to get this repair started. Reheat your iOpener and apply it to the bottom of the back cover for about two minutes. If you need help, you can always schedule a repair
Tools Used
Step 6
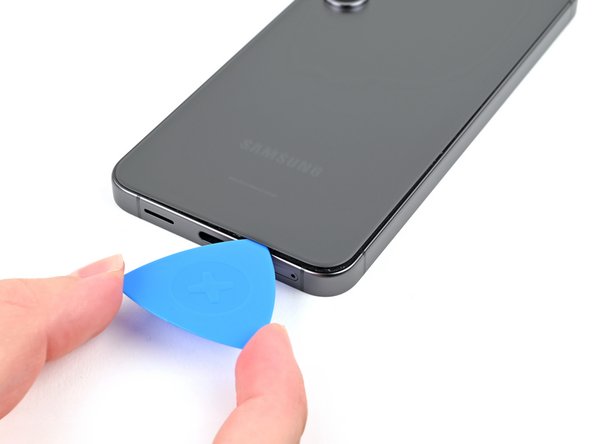

– Swing that pick around the bottom right corner to break up the adhesive. If you need help, you can always schedule a repair.
Step 7
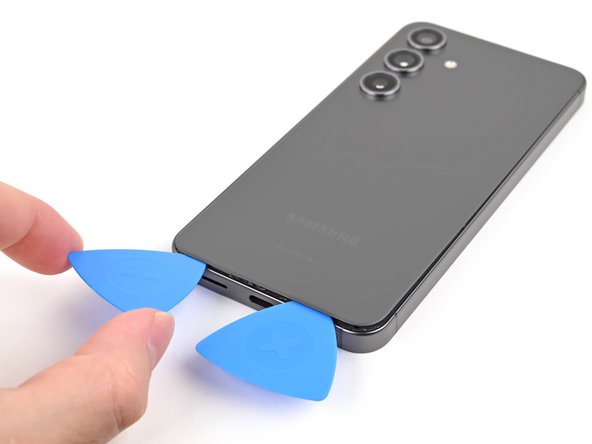

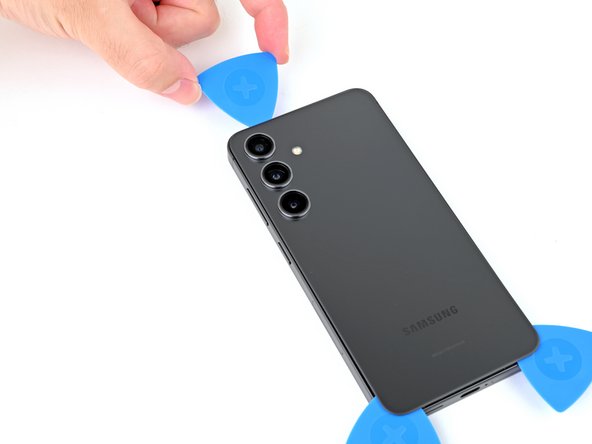
– Now it’s time to bring in some backup – insert a second opening pick to the left of the first one and gently slide it along the bottom edge to cut through the adhesive. You’re making great progress!
– Leave that opening pick right where it is, at the bottom left edge, to keep the adhesive from resealing. You’re doing a great job, and if you need help, you can always schedule a repair
Step 8

– Let’s get this party started! Grab your iOpener, heat it up for a couple of minutes, and apply it to the left side of the back cover. Hold it there for two minutes. You got this!
Tools Used
Step 9

– Let’s get this party started! Gently rotate the opening pick around the bottom left corner. Think of it like a dance, but with a tool. This will help separate the adhesive and get us closer to fixing your device. If you need help, you can always schedule a repair.
Step 10

Hey, careful with that pick! Just slide it in 4mm or less, you don’t want to go too deep and mess with those fancy rear cameras or the flash. Take it slow and steady, you got this! If you need help, you can always schedule a repair.
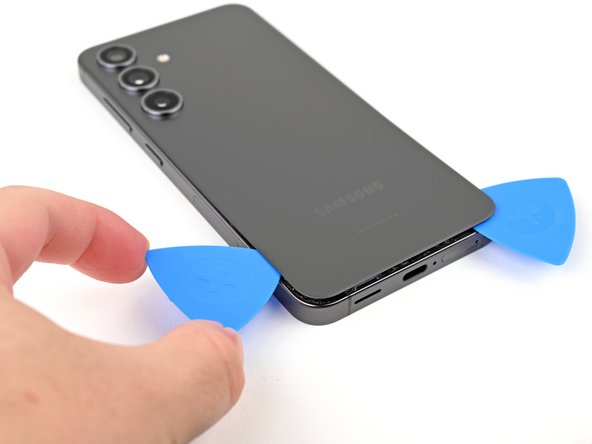
– Okay, let’s keep going! Pop in another opening pick above the last one and slide it along the left edge. We’re going to cut through that sticky stuff.
– Leave that opening pick in the top left corner to stop that adhesive from trying to re-stick. You got this!
Step 11

– Get that iOpener nice and warm and give the top of the back cover a good two-minute hug. You got this!
Tools Used
Step 12

– Let’s give those pesky adhesives a little wiggle room. Carefully slide your opening pick around the top left corner to get things moving.
Step 13
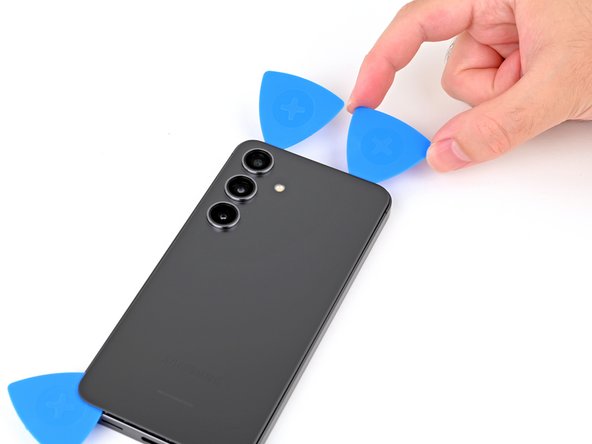


– Slide a fourth opening pick into the top left corner, making sure it’s at the same depth as the others. Now gently glide it along the top edge, wrapping it around the top right corner to cut through the adhesive. You’ve got this!
Step 14


Careful now! Only go halfway with that pick to keep those rear cameras safe and sound.
– Slide a fifth opening pick right above the camera flash cutout. You’re doing great!
– Gently slide the opening pick under the top edge of the back cover until you feel it catch on the flash adhesive. Keep it steady!
– Push the pick a bit deeper into the phone until you feel that adhesive give way completely from the back cover. Almost there!
Step 15

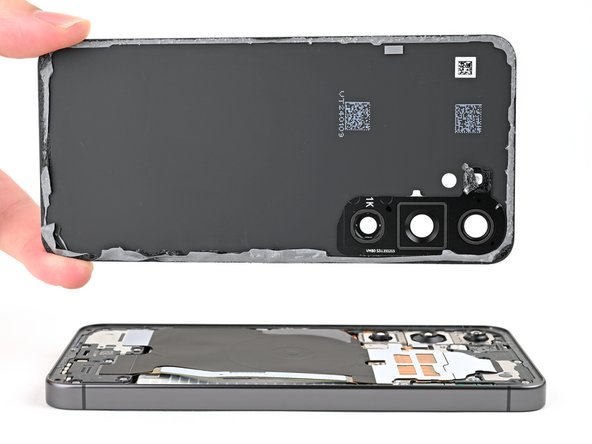
If your cover is still playing hard to get, gently slide the tip of your trusty opening pick around the edge until the cover gives in and separates completely.
Now’s a great time to power up your phone and check that everything’s working smoothly before sealing it all back up. Just remember to turn your phone off completely before diving back into the repairs!
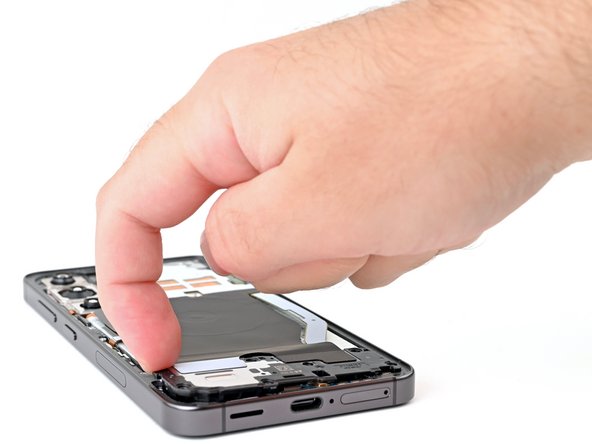
– Picking up the back cover can be a bit tricky, so be sure to grab it by the edges and gently pull it away from the phone.
– Reassembling? No problem. Just remember to
– Get rid of any leftover adhesive bits using tweezers or your fingers. If it’s being stubborn, try applying some heat and isopropyl alcohol (90% or greater) to help loosen it up.
– Using custom-cut adhesives? We’ve got you covered – just follow our guide for that.
– Opting for double-sided tape instead? We’ve got a guide for that too – check it out and you’ll be all set. And if you need help at any point, you can always schedule a repair with Salvation Repair.
Tools Used


Step 16

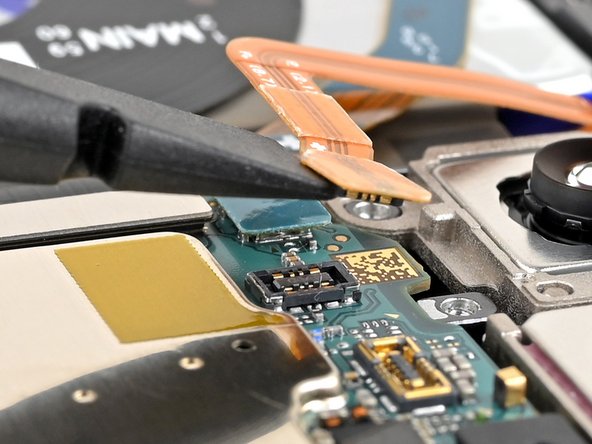
– Grab your trusty spudger and gently pry up to disconnect the wireless charging coil press connector from the motherboard. It’s like giving it a little nudge to say, ‘Hey, time to take a break!’
– When you’re ready to reconnect those press connectors, make sure to align it just right over its socket. Then, with the gentlest of touches, press down with your fingertip—first on one side, then the other—until you hear that satisfying click. No need to force it; if things aren’t lining up, just reposition and give it another go. You’ve got this!
Tools Used

Step 17
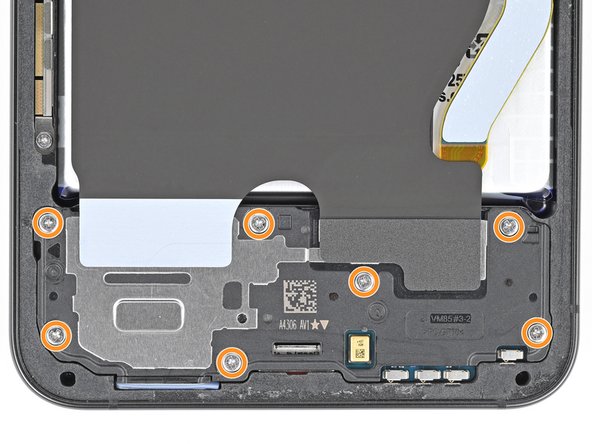
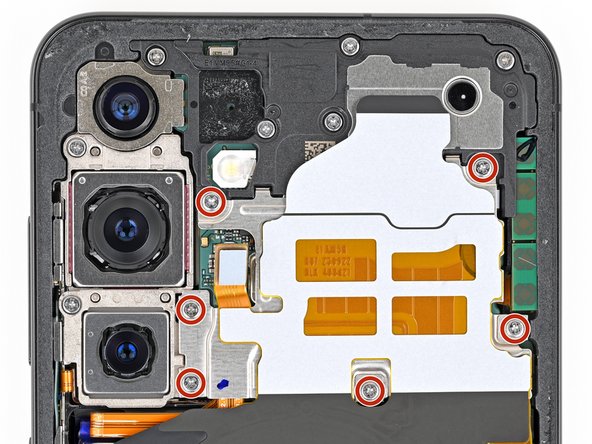

– Let’s loosen those screws! Use a Phillips screwdriver to remove the thirteen 3.5 mm‑long screws securing the wireless charging coil and the loudspeaker. That’s six screws holding the wireless charging coil and seven holding the loudspeaker.
– If you need help, you can always schedule a repair
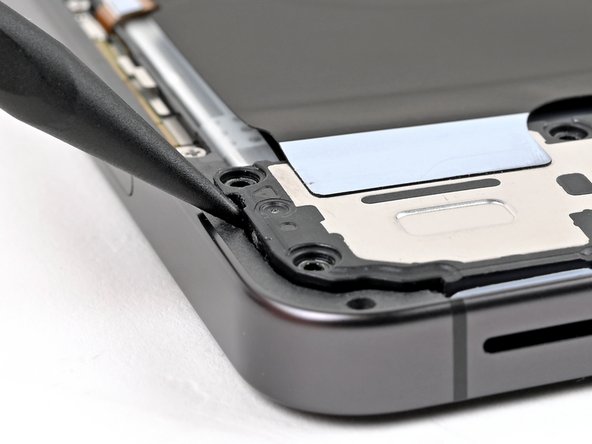

Step 19

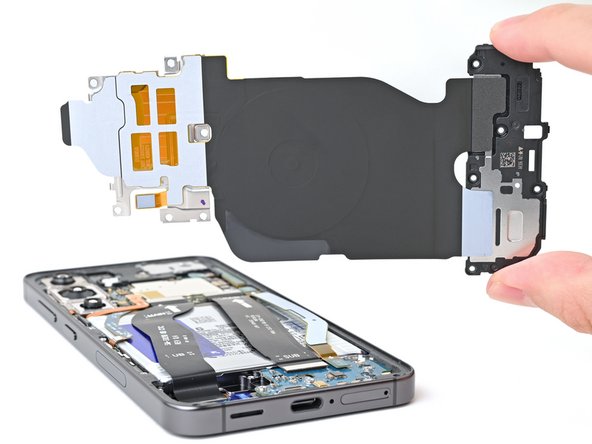
– Gently use your fingernail or the flat end of a spudger to lift the wireless charging coil and loudspeaker assembly away from the frame. It’s like giving your phone a little stretch!
– Carefully detach the wireless charging coil and loudspeaker from your device. They’ve done their job, now it’s time for a break!
– When putting everything back together, remember to press around the edges of the loudspeaker to snugly fit it back into the frame before you reinsert those screws. It’s all about that perfect fit!
Tools Used
Step 20

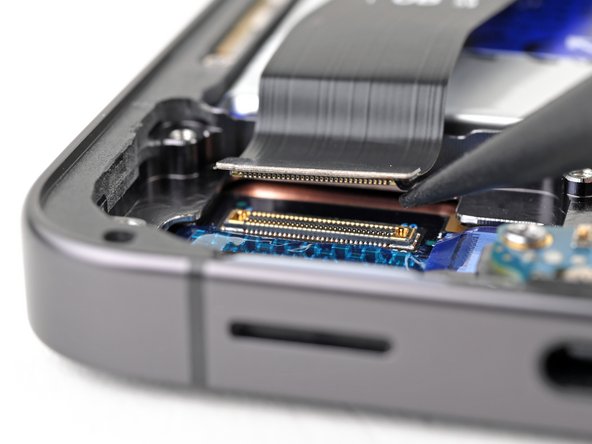
– Alright, buddy! Time toDisconnect the battery cable, but carefully follow these steps to avoid any mishaps. Just slide in that handy-dandy flat end of your spudger, and gently pry up the press connector on the motherboard. It’s a piece of cake! If you need help, you can always schedule a repair!
Tools Used

Step 22

– Now, head to the other end of the cable and repeat the process on the motherboard. If you need help, you can always schedule a repair
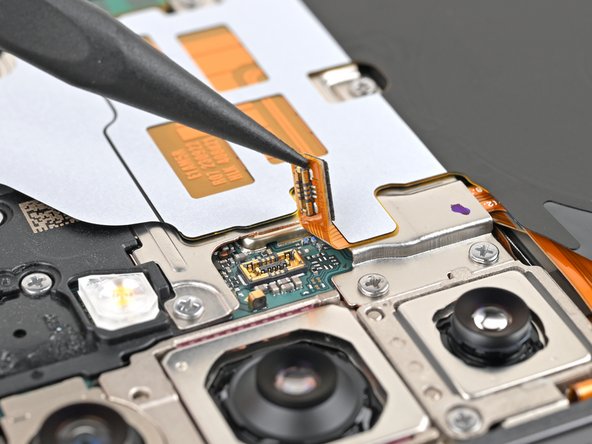
Step 23
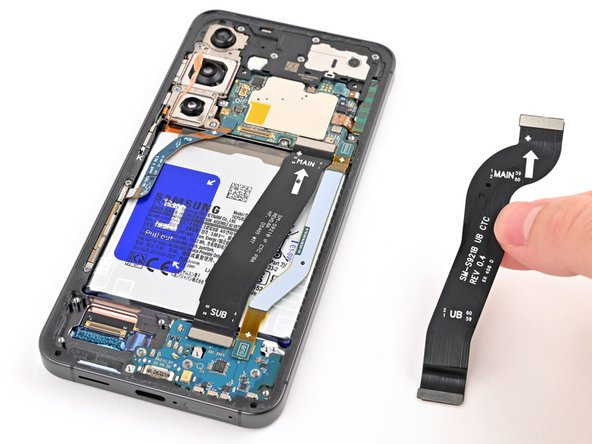

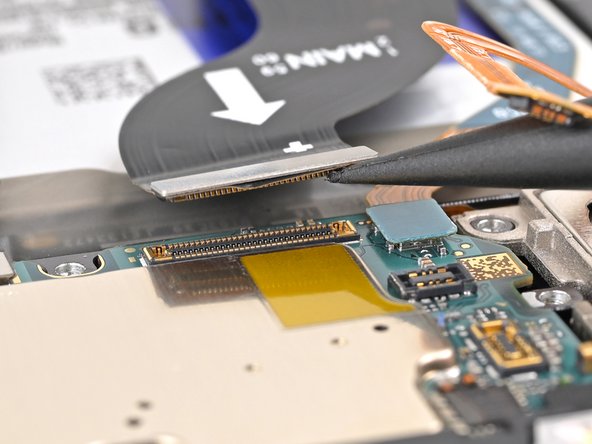
– Let’s get started by carefully removing the display cable from your phone. This is a crucial step, so take your time and make sure it’s done properly. If you need help, you can always schedule a repair
Step 24

Hold off on slapping on new adhesive just yet! You’ll want to keep that back cover handy for a bit longer while you wrap up the screen replacement. The old adhesive has got your back for now!
If you’ve already peeled off the adhesive, just gently hold it in place as you flip your phone over. Take it easy—no need to drop or bend that back cover!
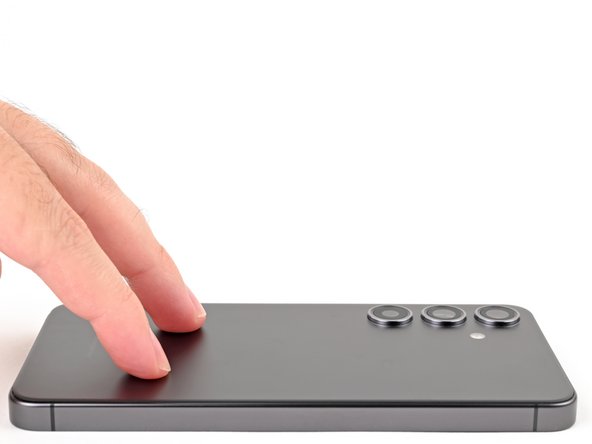
– Line up the back cover with the phone’s frame and gently press down with your fingers to get it to stick nicely.
– Now, flip your phone over so the screen is facing up – you’re making great progress! If you need help, you can always schedule a repair
Step 25

Find a nice, flat spot near the top edge of your device that’s big enough for your suction cup to stick to. You got this!
– If your screen is badly cracked, don’t worry – we’ve got you covered. To make the repair process safer and easier, try covering the cracked glass with overlapping strips of packing tape. This will help protect you from any sharp edges and make disassembly a breeze. If you need help, you can always schedule a repair
Tools Used

Step 26


Alright, let’s be careful here! We’re about to get into removing that front glass. Just follow these safety tips and we’ll be golden!
The gap between the front glass and the frame is tiny! Don’t worry, you can use a thin, sturdy tool like an iFlex to gently create a little space. It’s like giving the phone a tiny hug! If you need help, you can always schedule a repair.
– Hey there! It’s time to be extra careful with those metal tools. We’re talking about the iFlex and similar tools – they can be pretty sharp! So, grab them by the handle and you’ll be just fine.
– Remember, front glass can be pretty fragile. It’s better to be safe than sorry, so wear gloves and safety glasses! Keep those glass shards away from your workspace. It’s all about being cool and keeping yourself protected. If you need help, you can always schedule a repair
Tools Used

Step 27

Watch out for the heat! Going overboard can put your battery at risk of damage, and nobody wants that. Keep it cool and carry on!
– Grab your trusty hair dryer or heat gun and give the top edge of the screen a warm hug until it’s almost too toasty to touch!
Tools Used
Step 28

Just slide the iFlex in gently to pop that front glass and make a little gap. But be careful—if you go too deep, you might give the front-facing camera a little scare!
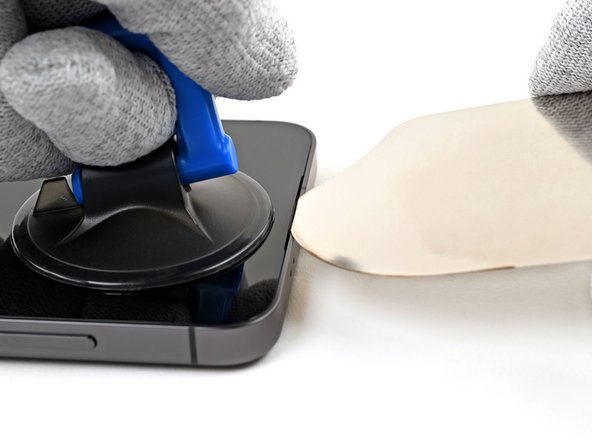
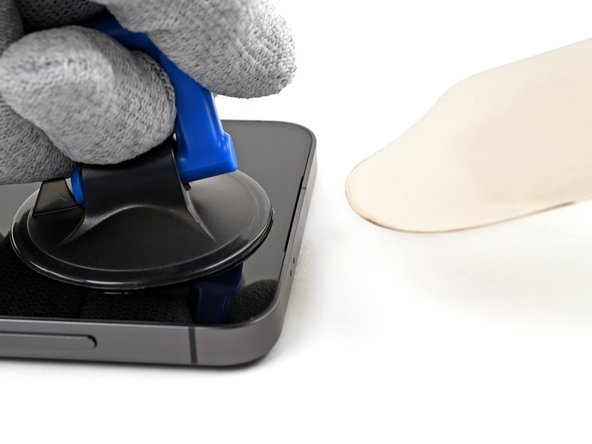
– Get your suction handle ready and stick it right in the middle of the top edge of your screen—as close to the edge as you can get. You want to give it a good grip.
– Now, take your iFlex tool and carefully slide it under the top edge of your screen. The angle is important, so aim it downward. It’ll be snug in that tiny gap between the screen and the frame.
– Hold on tight to your suction handle and give it a nice, strong lift! At the same time, gently lower the iFlex, letting it slip under the front glass. Don’t worry if a good chunk of the screen comes up – that’s just how it’s supposed to be!
Tools Used
Step 29

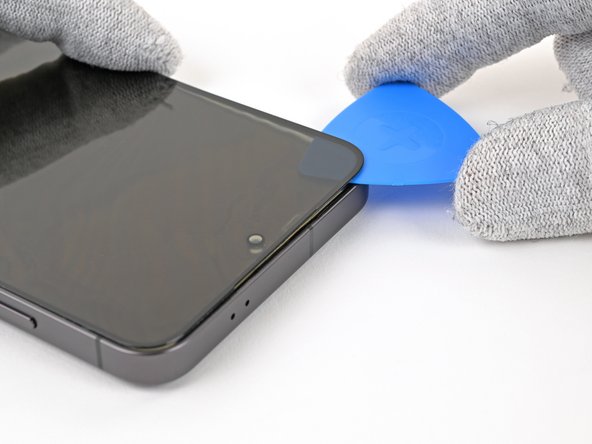
– Hey, tech wizard! Why don’t you try swapping that iFlex with an opening pick? Then, let’s guide the opening pick around the top left corner of your device, dancing between the glass and the display. If you need help, you can always schedule a repair!
Step 30


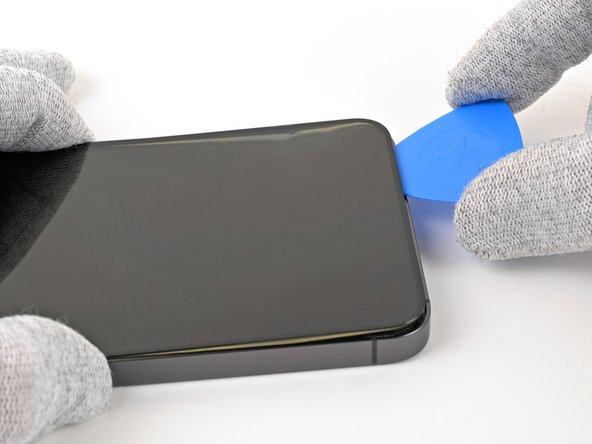
– Now it’s time to get this repair started – gently slide the opening pick down the left edge of the display to carefully separate the glass from the display. If you need help, you can always schedule a repair
Step 31

If the display is being stubborn and won’t separate from the frame, try warming up the bottom edge of the screen with a hair dryer or heat gun. Get it nice and toasty – almost too hot to touch – to loosen up that adhesive. If you need help, you can always schedule a repair
– Slide your opening pick along the bottom edge, gently separating the glass and display panel from the frame. It’s like giving your device a little hug, but with a tool! If you need help, you can always schedule a repair.
Tools Used
Step 32

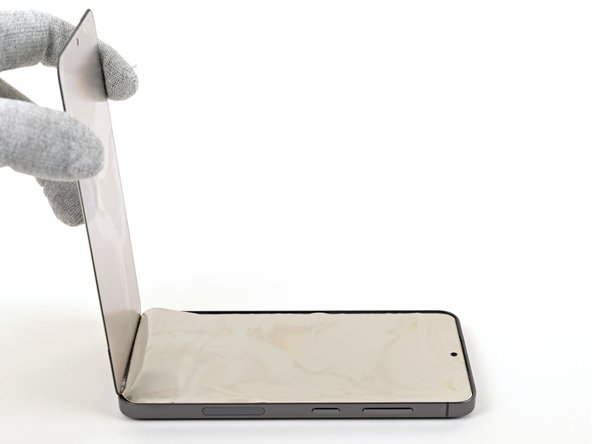
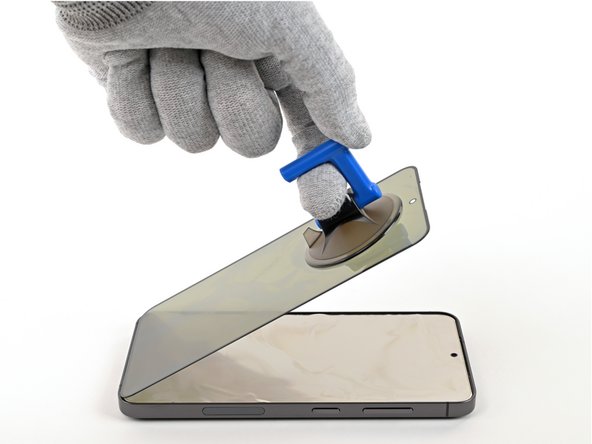
– Grab a suction handle and stick it right in the middle of the top edge of the screen.
– Gently pull the glass upwards until it’s standing tall and proud, totally perpendicular to your phone.
Tools Used
Step 33

If things get tricky, warm up the display until it’s almost too hot to handle. If you need help, you can always schedule a repair
Step 34

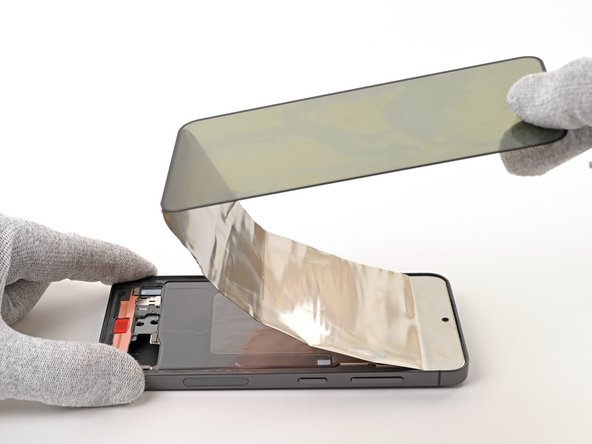
– Alright, time to get those nimble fingers working! Let’s carefully remove the glass and display from your phone.