Samsung Galaxy S24 Ultra Battery Replacement
Duration: 45 minutes
Steps: 32 Steps
Heads up: This guide covers just the battery swap!
Ready to breathe new life into your Samsung Galaxy S24 Ultra? This guide is all about swapping out that tired battery for a fresh one! If you're looking to replace the entire screen and battery assembly together, be sure to check out our other guide. Now, let's dive in and get your device powered up again!
Step 1


Let your phone's battery drop below 25%. A fully charged lithium-ion battery can be a safety concern. If your battery looks a bit puffy, make sure to handle it with care!
- Go ahead and unplug any cables from your phone—let's give it some space.
- Press and hold the side button and the volume down button together, then tap 'Power off' to shut your phone down.
Step 2

You can use a hair dryer, heat gun, or hot plate to help with your repair, but keep it gentle—avoid overheating the phone. Too much heat can damage the display and internal battery, so stay cool and careful.
- Warm up your iOpener and set it on the right edge of the back cover for about two minutes to loosen things up.
Tools Used


Step 3

Having trouble creating a gap? No worries! Just apply a bit more heat to soften that adhesive. Remember to follow the iOpener instructions so you don't overheat things. Easy does it!
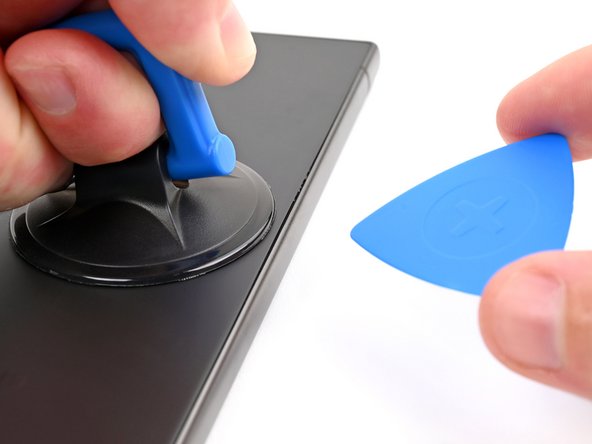
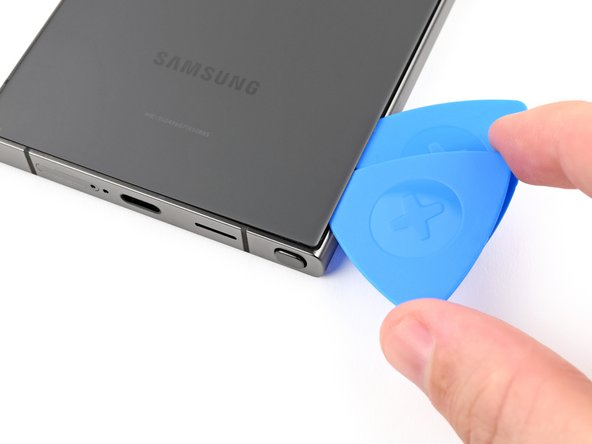
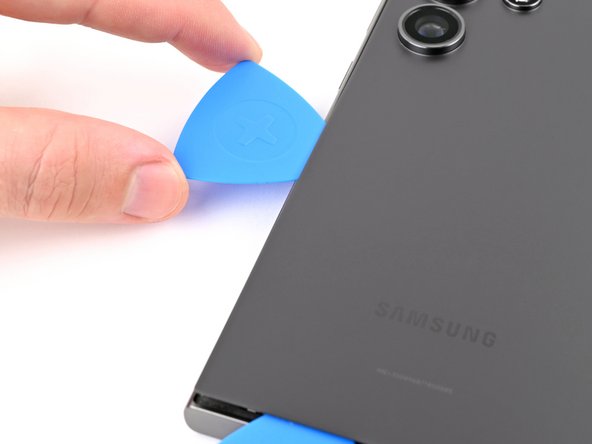
- Grab a suction handle and stick it to the back cover, aiming for a spot near the center of the right edge. You're doing great!
- Now, gently pull up on that suction handle with a steady force. This will help create a little space between the cover and the frame—just enough for the next step!
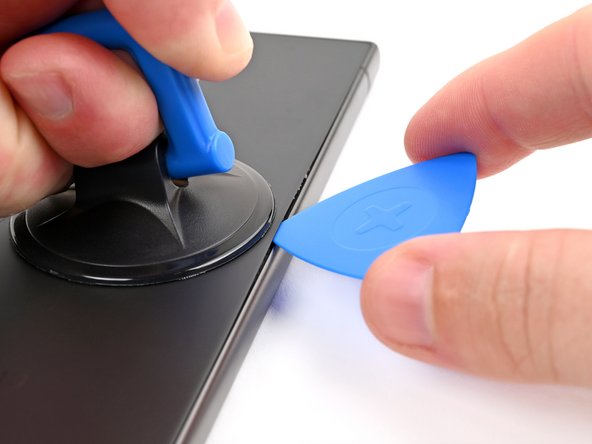
- Slide an opening pick into that gap you've created. You're almost there!
Tools Used

Step 4


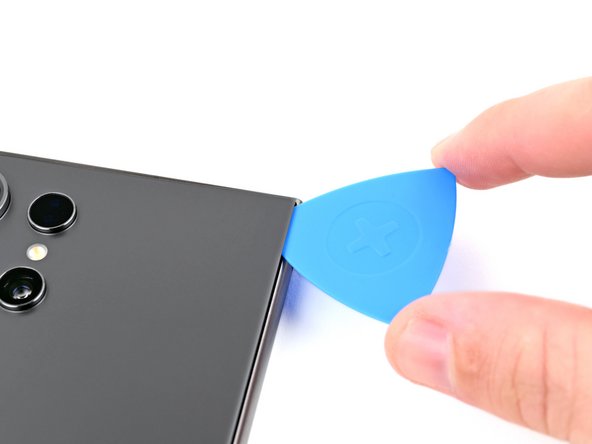
- Gently wiggle the pick back and forth along the right edge to loosen the adhesive - you're making great progress!
- Leave the pick in place near the bottom right corner to keep the adhesive from sealing back up. You're doing awesome!
Step 5

- Grab that heated iOpener and give the bottom edge of the back cover a cozy two-minute warm-up. You're doing great!
Tools Used
Step 6

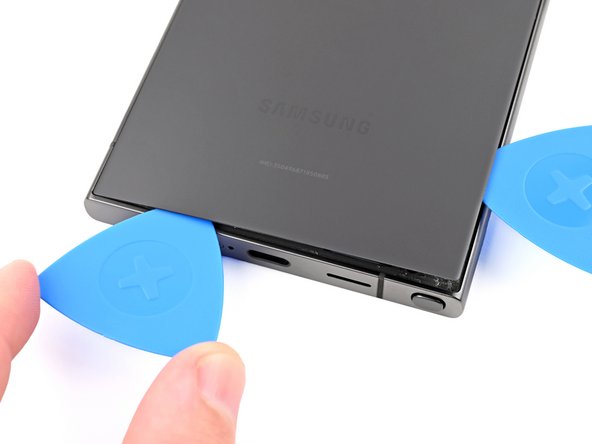
- Place a second opening pick just beside the first, near the bottom right edge. Then, gently rotate the pick around the corner to loosen the adhesive and free up the panel.
Step 7

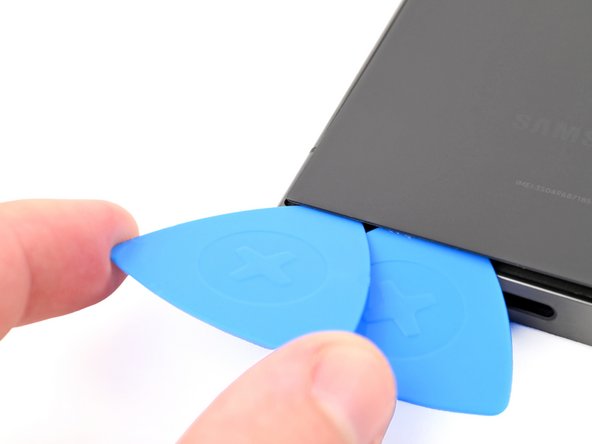
- Gently glide the opening pick along the bottom edge to free up that pesky adhesive.
- Keep that pick snugly in place near the bottom left corner to ward off any adhesive from making a comeback!
Step 8

- Warm up the left side of the back cover with a heated iOpener for about two minutes. Give it a good spa treatment—it'll make opening things up a breeze!
Tools Used
Step 9
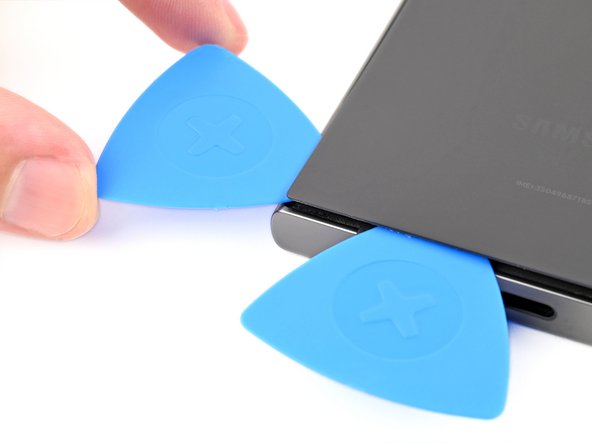

- Slide in a third opening pick right next to the second, near the bottom left edge. Then, gently spin that pick around the corner to loosen up the adhesive. Keep at it until the separation begins to free up. If you need help, you can always schedule a repair.
Step 10

Keep that pick to a cool 4 mm or less to steer clear of any antenna cable mishaps!
- Gently slide your opening pick along the left edge to break up the adhesive, but stop right before hitting the power button.
- Leave the pick in place near the power button to keep the adhesive from sealing back up on you.
Step 11

- Warm up a heated iOpener and place it on the top edge of the back cover for a cozy two minutes. Let's get that adhesive nice and toasty!
Tools Used
Step 12


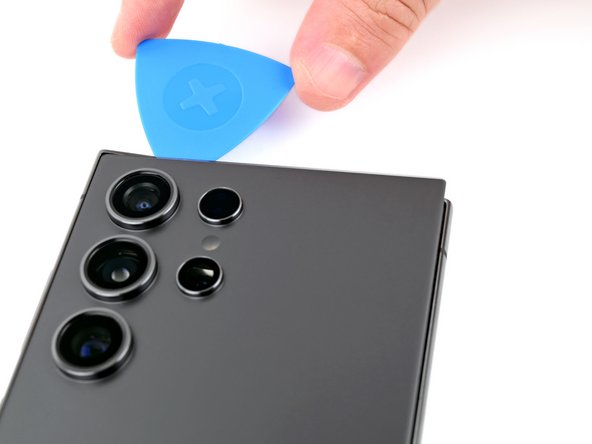
- Slip an opening pick into the gap at the top of the right edge. Then, gently wiggle it around the top right corner to loosen up the adhesive and get things moving.
Step 13

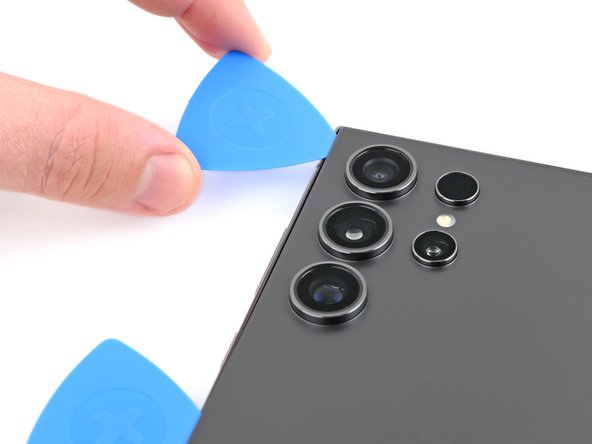
Keep it gentle! Don’t insert the pick more than 4 mm to avoid poking the sensor or camera near the top edge. Patience is key—slow and steady wins the day.
- Gently glide the pick along the top edge to break free that sticky adhesive!
Step 14

Keep the pick shallow—no more than 4 mm—so those cameras stay safe and sound!
- Gently glide the pick around the top left corner and down the left edge to break free the last bits of adhesive. Keep it smooth and steady, you're doing great!
Step 15


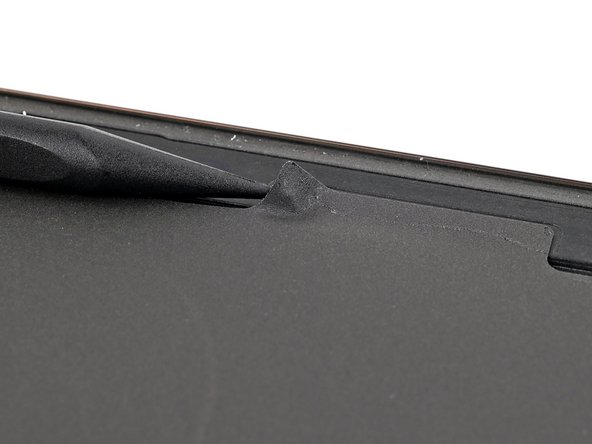
If the cover is still clinging on like it’s not ready to say goodbye, glide an opening pick around the edge to break up any leftover adhesive.
Now’s a great moment to power up your phone and make sure everything’s working as it should. Once you’ve double-checked, turn it off completely before you keep going.
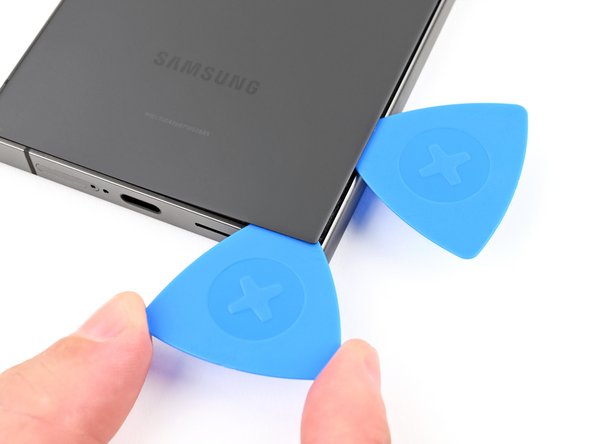
- Let's start by popping off that back cover!
- Now, when putting everything back together:
- Use tweezers or your fingers to gently pick off any leftover adhesive bits. If it's being stubborn, a little heat should do the trick!
- Got custom-cut adhesives? Just follow this guide.
- If you're working with double-sided tape, check out this guide.
Tools Used

Step 16

Look for the friendly little arrow near each press connector on the board! That’s your cue for the perfect prying spot. Stick to this area for each connector to keep those delicate surface-mounted components happy and in place.
- Grab your spudger and gently pop up the wireless charging coil connector from the motherboard. A little wiggle does the trick—no need to wrestle with it.
- When reconnecting, line things up carefully and press down with your fingertip—one side, then the other—until you hear that satisfying click. If it doesn’t snap in, give it a quick reposition and try again. No forcing allowed!
Tools Used

Step 17

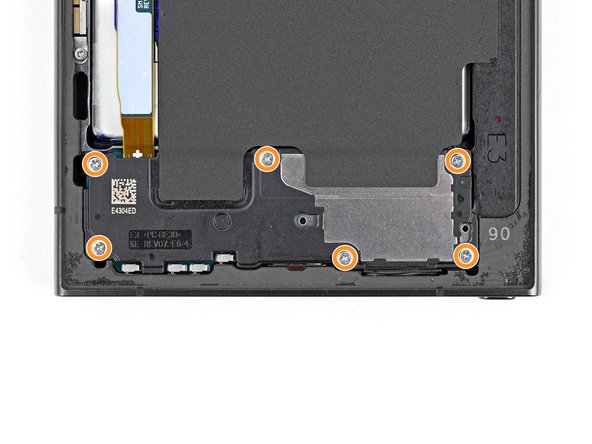
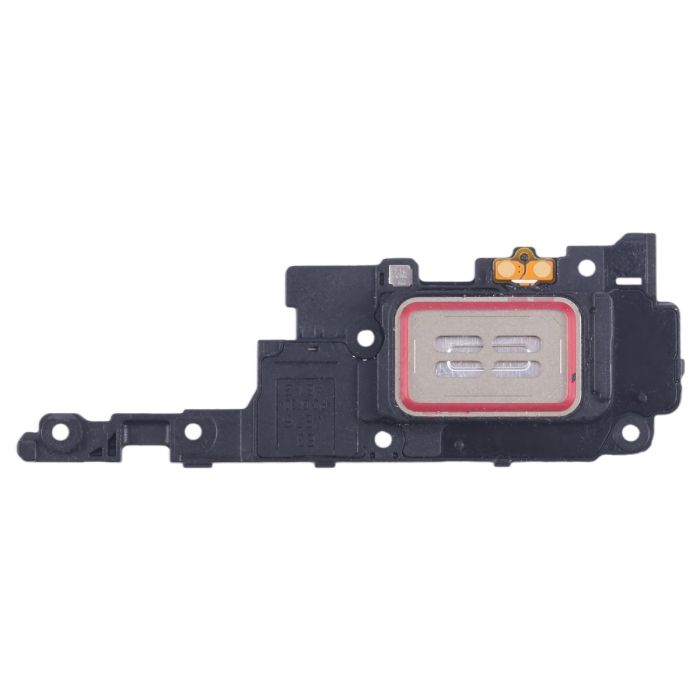
- Grab your trusty Phillips screwdriver and unscrew the ten 3.5mm screws holding in the wireless charging coil and loudspeaker. Here's the breakdown:
- Four screws keep the wireless charging coil snug in place.
- Six screws are doing their job keeping the loudspeaker in position.
Step 18

- Gently lift a corner of the wireless charging coil's tab from the right edge of the frame using a spudger—think of it as giving it a friendly little pry to get things started.
Tools Used
Step 19


- Grab an opening pick and gently work it between the tab and the frame to separate them. Take it slow—you’ve got this!
Step 20
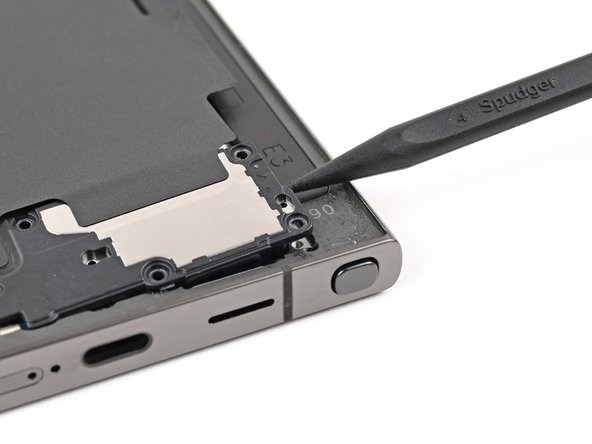

Check out the arrow etched on the loudspeaker—that's your cue for the best spot to start prying.
- Gently slide the point of your spudger into the tiny gap between the right edge of the loudspeaker and the frame.
- Carefully pry it up to release the loudspeaker from the frame.
Tools Used
Step 21
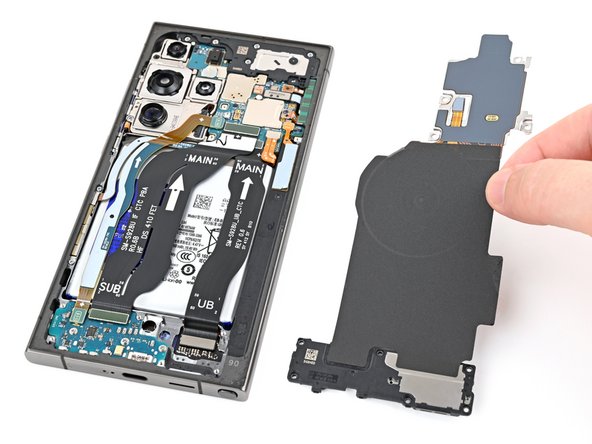

- Lift out the wireless charging coil and loudspeaker from the frame.
- On your way back, snap the loudspeaker into place by pressing around its edges before you put the screws back in.
Step 22


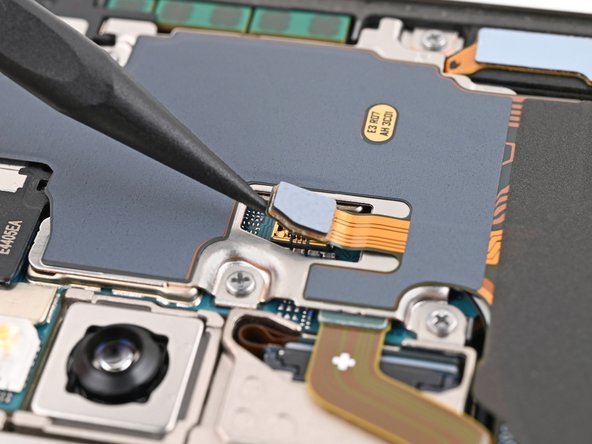
- Grab your trusty spudger and gently pop up the battery connector to disconnect it. Easy does it—just a little lift and you’re set!
Tools Used
Step 23

- Grab your trusty spudger and gently wiggle it to lift up and disconnect both interconnect cable press connectors from the motherboard. You've got this!
Tools Used
Step 24

- Grab your trusty spudger and gently lift up those interconnect cable press connectors from the daughterboard. Disconnecting is the name of the game!
Tools Used
Step 25
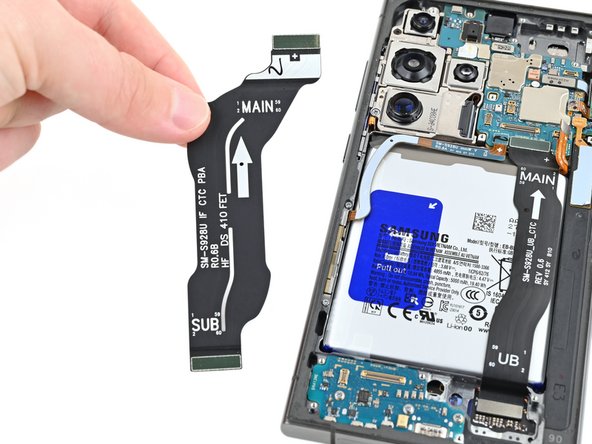

- Carefully disconnect and remove the interconnect cables from the phone. If you need a hand, you can always schedule a repair.
Step 26


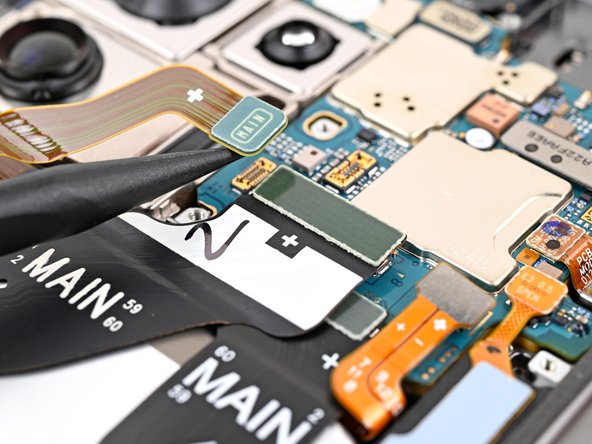
- Grab your trusty spudger and gently lift to disconnect the display cable press connector from the motherboard. You've got this!
Tools Used
Step 27

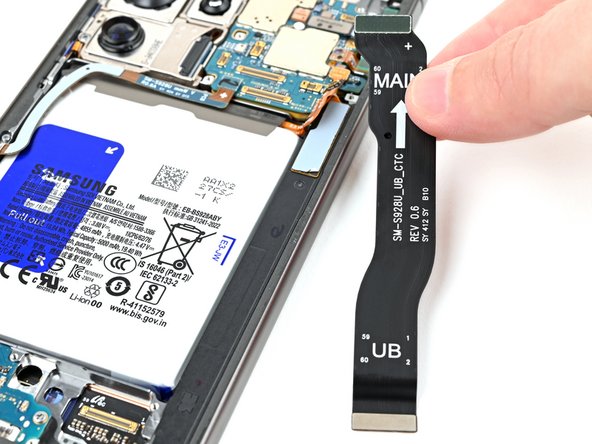
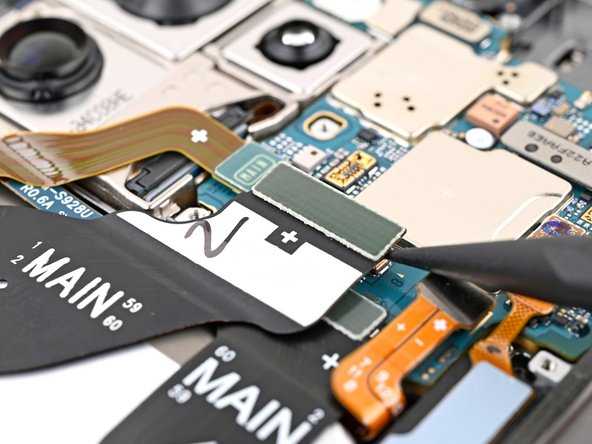
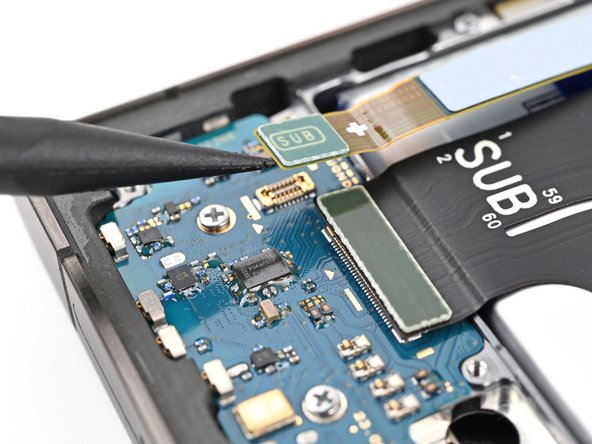
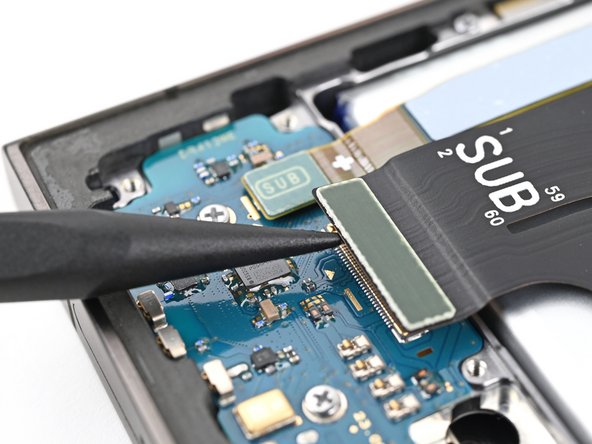
- Time to get this repair started!
- Use a spudger to carefully pry up and disconnect the display cable press connector from the daughterboard - it's like freeing a tiny captive!
- Now, grab the display cable and gently pull it out - you're making great progress!
Tools Used
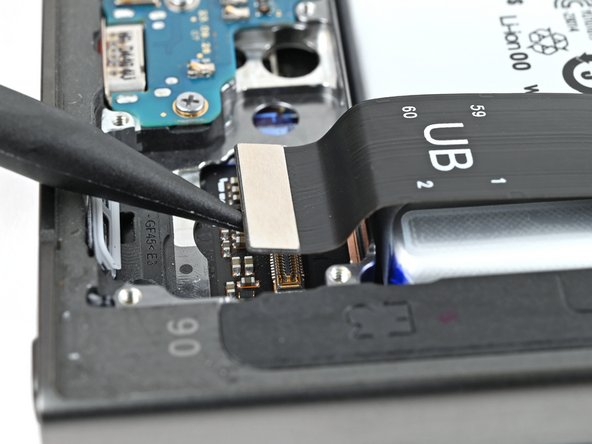
Step 28

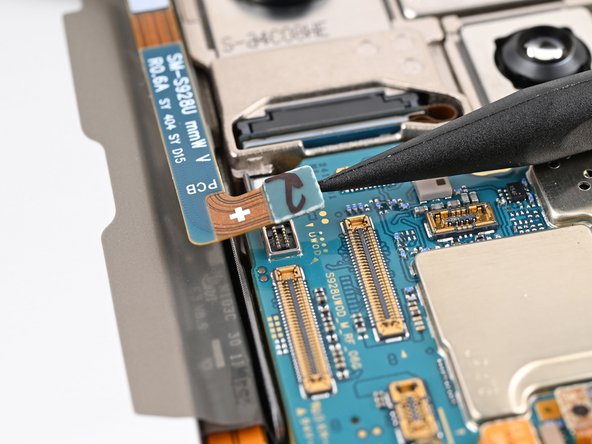
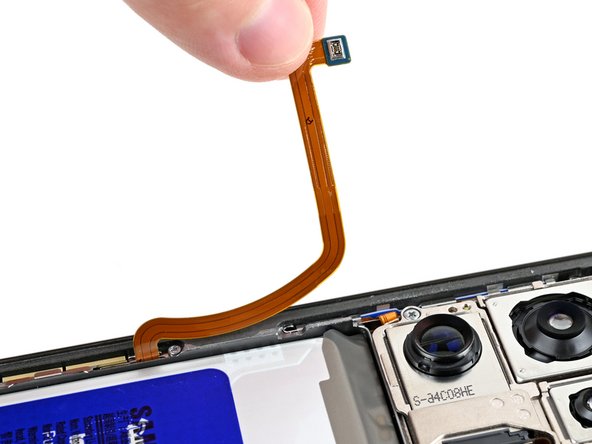
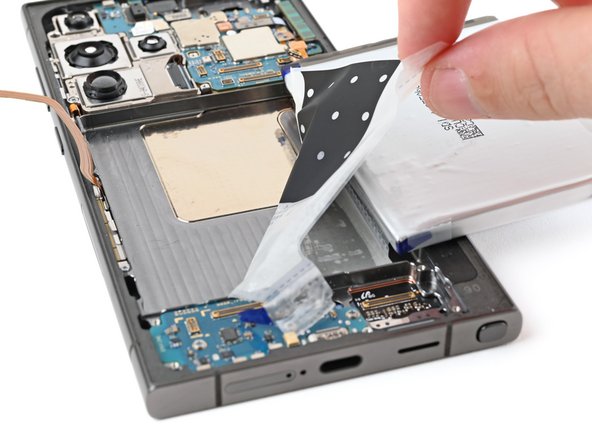
- Grab a spudger and gently lift the lower antenna cable connector off the motherboard—think of it as unplugging a tiny, stubborn friend. Then, move the cable out of the way of the battery so you’ve got room to work.
Tools Used
Step 29
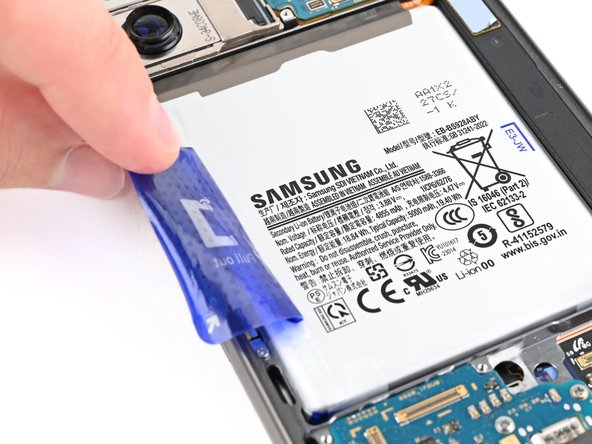

Be super gentle with the battery in the next few steps. You definitely don’t want to bend, crease, or poke it—doing so can cause some serious issues, like chemical leaks or even a fire. Handle with care, and your device will thank you later!
If you're having a bit of a struggle getting that pull tab to cooperate, grab an opening pick or another slim plastic tool and gently slide it in at a low angle to lift up a corner. Remember, metal tools and batteries don't mix, and be careful not to poke into the battery.
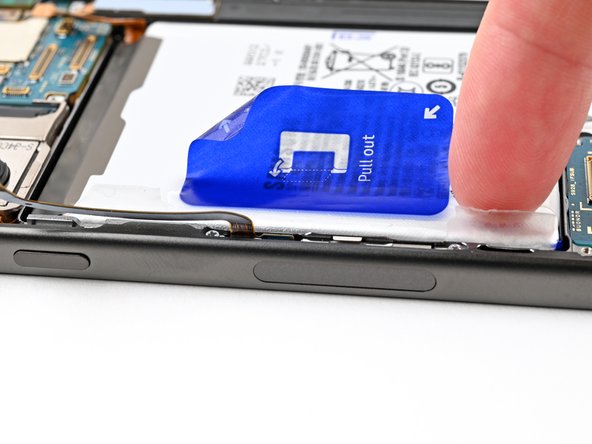
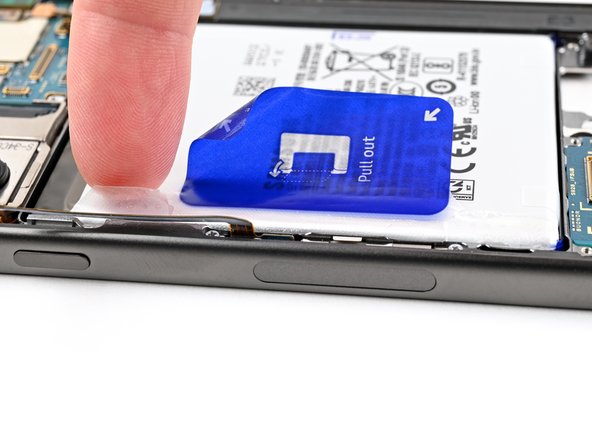
- Gently peel back the battery pull tab, guiding it towards the left edge of the phone. Keep it smooth and steady to avoid any snags.
Step 30

Make sure these tabs are out of the way before you try to lift the battery—otherwise, you’ll be stuck. Stick them to the side of the phone or the screen to keep things neat and easy.
- Carefully peel back the little clear tabs sitting above and below the blue section of the pull tab—think of them as the secret agents of the battery world.
- Gently fold these tabs away from the battery so they don’t get in your way. No one likes a clingy tab.
- You might spot two tabs hanging out on the bottom edge of the battery. These are supposed to tear off in the next step, but if they give you a hard time, feel free to peel them up too. Your battery, your rules.
Step 31

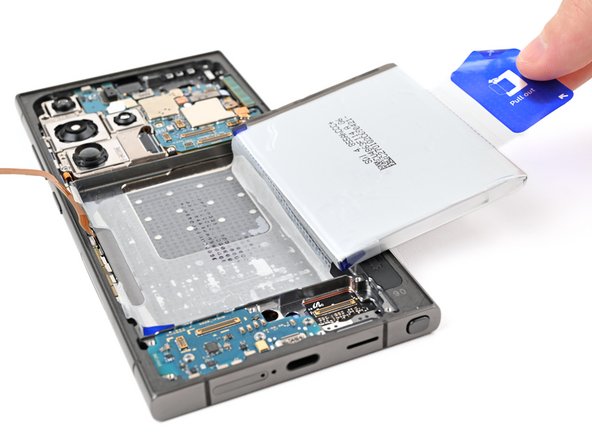
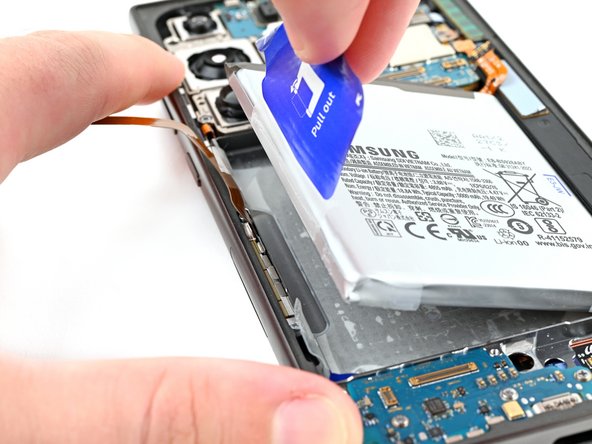
Be gentle when handling the battery, and try not to bend it as you maneuver it around the right edge of the phone frame. If needed, you can carefully peel up some of the bottom adhesive film by pulling the battery upwards before laying it over the edge, and you're good to go!
The battery is snugly secured with a double-sided adhesive film folded under it. When you tug on the pull tab, the left side will pop up, but the right side might be a bit stubborn. Don't worry! In the next step, we'll take care of the rest of that film and the battery.
If you're encountering a bit of resistance, try adding a drop or two of high-concentration (90% or more) isopropyl alcohol to the left edge of the battery. Tilt the phone slightly to let the alcohol seep underneath and give it a minute to work its magic on that adhesive.
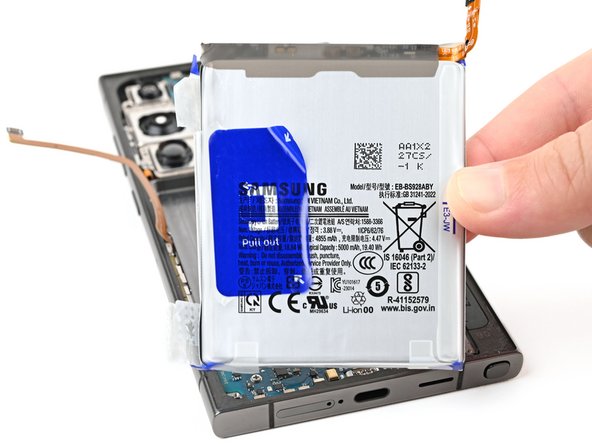
- With one hand holding the phone's frame steady, give that blue pull tab a good, firm tug straight up until the battery pops free from the sticky adhesive below.
- Now, gently place the battery over the right edge of your phone.
Step 32

- Time to put your device back together! Just retrace your steps and follow these instructions in reverse.
- Give your newly installed battery a little love with some calibration for top-notch performance once your phone is back in action!
- Things not going smoothly? No worries! Check out some basic troubleshooting tips or reach out to our awesome Answers community for support.
- Be eco-friendly and take your e-waste to an R2 or e-Stewards certified recycler.
- If you're feeling overwhelmed, remember you can always schedule a repair!