Samsung Galaxy S24 Ultra Screen Replacement Guide: Step-by-Step DIY Tutorial
Duration: 45 minutes
Steps: 39 Steps
Get ready to say goodbye to your old screen!
Get ready to tackle the screen replacement on your Samsung Galaxy S24 Ultra! This guide is all about swapping out that screen. If your replacement part comes with a pre-installed frame, you might want to check out a different guide. Remember, when we say ‘screen,’ we mean the front glass and the display panel together. If your glass is shattered, you’ll need to replace both pieces. Keep in mind, this process will bid farewell to your old screen, so if you’re looking to salvage it, this isn’t the right guide for you. If you need help, you can always schedule a repair.
Step 1


Hey there! Let’s get your battery down below 25%. A fully charged battery can be a little, um… energetic. If it’s looking a little puffy, take things slow and steady. We’re here for you. If you need help, you can always schedule a repair.
– First, let’s get started by unplugging any cables from your phone – we want to make sure it’s safe to work on.
– Next, hold down the side key and the volume down button, then select ‘Power off’ to shut down your phone. If you need help, you can always schedule a repair
Step 2

Be careful when using a hair dryer, heat gun, or hot plate – the display and internal battery can be damaged by too much heat. If you need help, you can always schedule a repair
– Warm up an iOpener and place it on the right edge of the back cover for a cozy two minutes.
Tools Used


Step 3

Having a tough time making that gap? No worries! Just give it a little more heat to help loosen that adhesive. Remember to check out the iOpener instructions to keep everything at the right temperature.
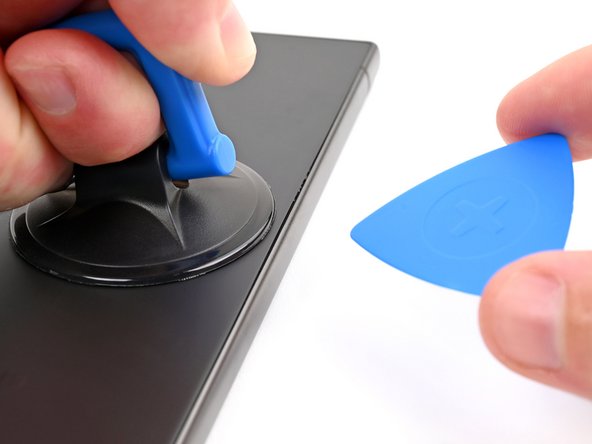
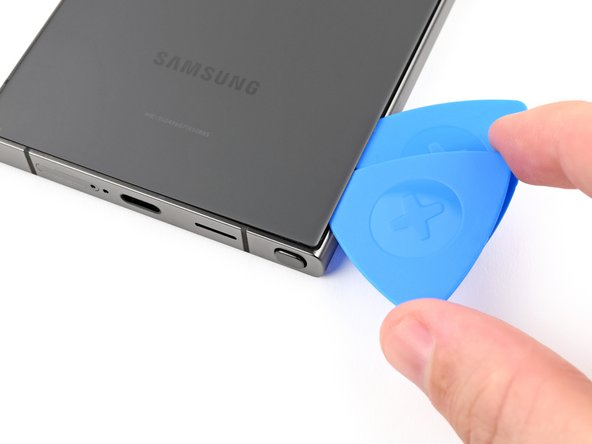
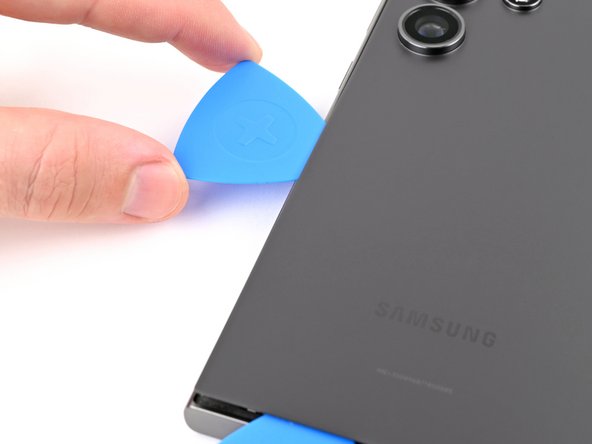
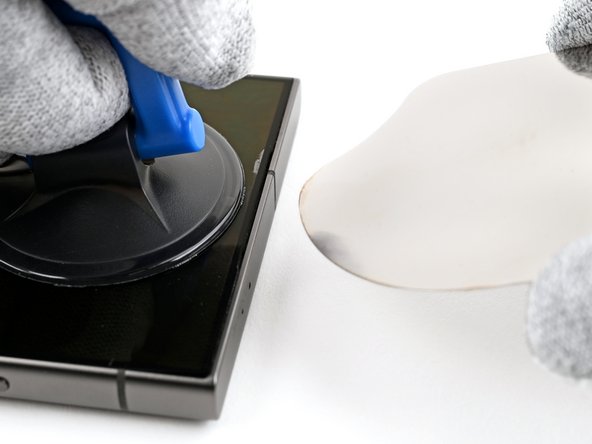
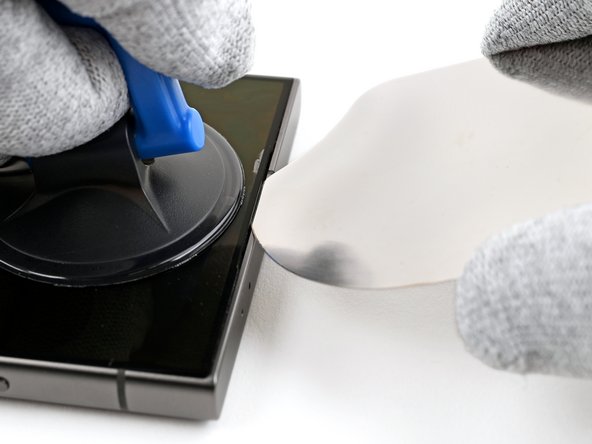
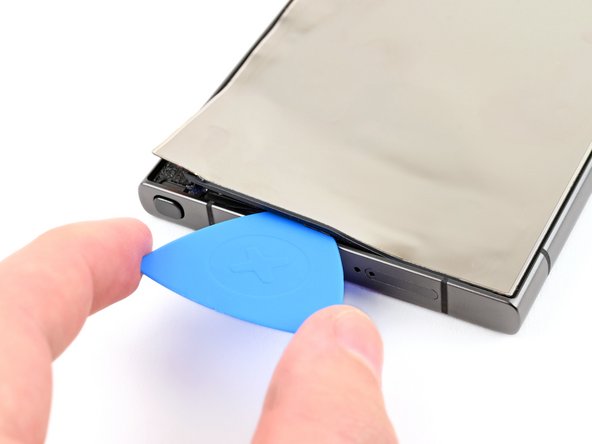
– Grab your trusty suction handle and stick it to the back cover, aiming for the center of the right edge. Get a good grip!
– Now, pull up on that handle with some strength. We’re aiming to create a teeny tiny gap between the cover and the frame. You got this!
– Carefully slip an opening pick into that gap you just made. We’re almost there!
Tools Used


Step 5

– Warm up the bottom edge of the back cover with a heated iOpener for a cozy two minutes.
Tools Used
Step 6

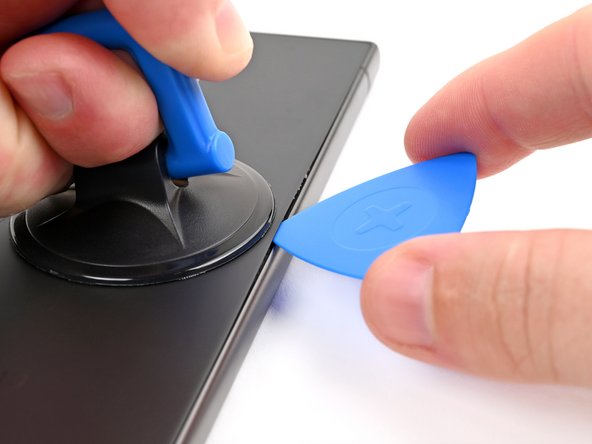
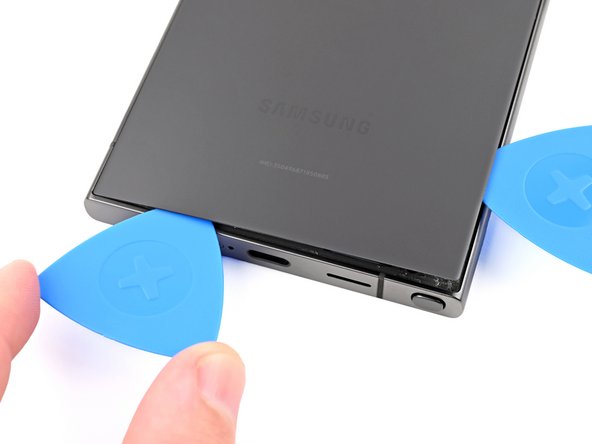
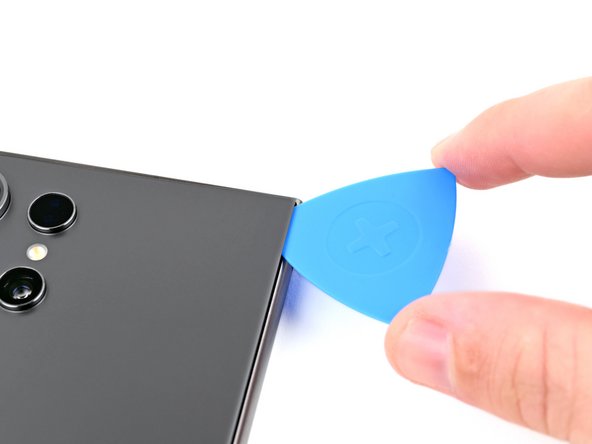
– Let’s get this party started! Slide a second opening pick alongside the first one, right near the bottom of the right side.
– Now, let’s give that adhesive a little spin! Rotate the opening pick around the bottom right corner to loosen things up.
Step 7

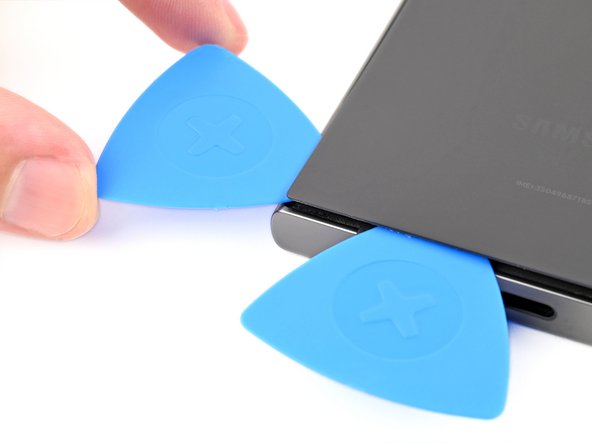
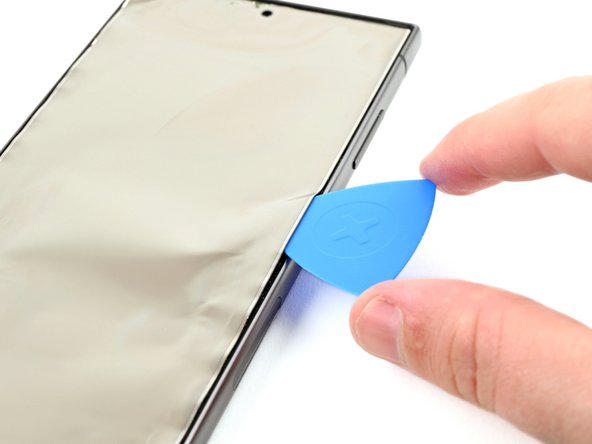
– Let’s slide that opening pick along the bottom edge, separating the adhesive. You got this!
– Keep that pick chillin’ near the bottom left corner so the adhesive doesn’t get all clingy again.
Step 8

– Warm up a heated iOpener and place it on the left edge of the back cover for a cozy two minutes.
Tools Used
Step 9

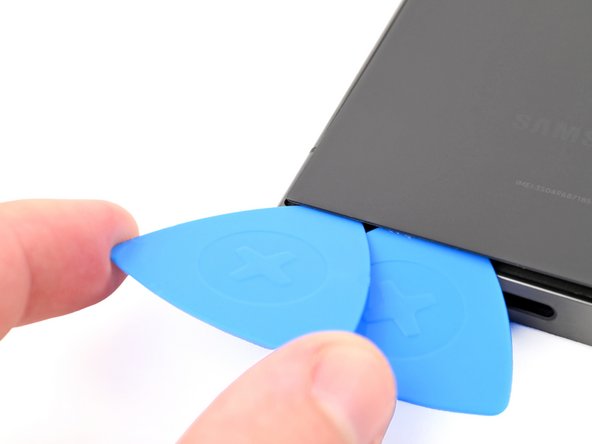
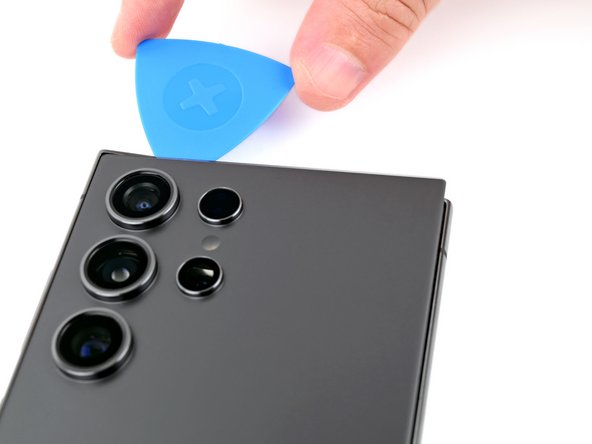
– Slide a third opening pick in right next to the second one, close to the left side of the bottom edge.
– Gently rotate the opening pick around the bottom left corner to break free the adhesive.
Step 10

Hey there, just be careful not to stick that pick in too far! Keep it under 4 mm, or you might accidentally mess with the antenna cable. If you need help, you can always schedule a repair
– Gently glide your trusty opening pick along the left edge to break that adhesive seal, but hold your horses before you get to the power button!
– Keep that pick snugly in place near the power button to keep the adhesive from making a comeback.
Step 11

– Warm up the top edge of the back cover with a heated iOpener for about two minutes. It’s like giving your device a cozy little spa treatment!
Tools Used
Step 12


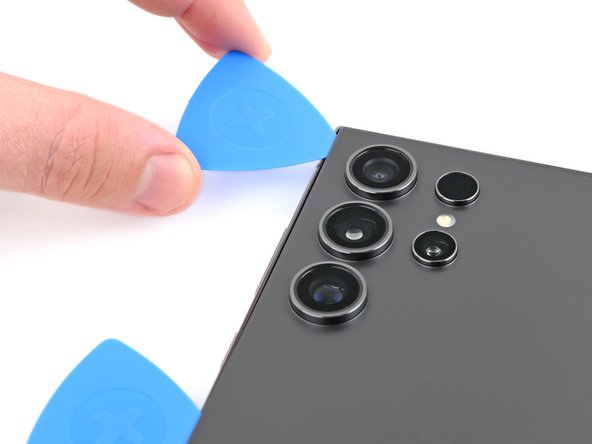
– Let’s get this party started by sliding an opening pick into the gap at the top of the right edge.
– Now, give that pick a little spin around the top right corner to loosen up that sticky situation.
Step 13

Hey there! Just a friendly reminder: keep that pick to a maximum of 4 mm so we don’t accidentally give a little too much love to the sensor or camera up near the top edge. Let’s keep everything safe and sound!
– Let’s get this party started! Slide the pick along the top edge to separate the adhesive. Don’t worry, it’s like giving your device a gentle massage. If you need help, you can always schedule a repair
Step 14

Be careful not to insert the pick more than 4 mm, or you might accidentally damage those fancy cameras! If you need help, you can always schedule a repair
– Now, let’s get this party started! Slide the pick around the top left corner and down the left edge to separate the remaining adhesive. It’s like a little dance for your phone!
Step 15


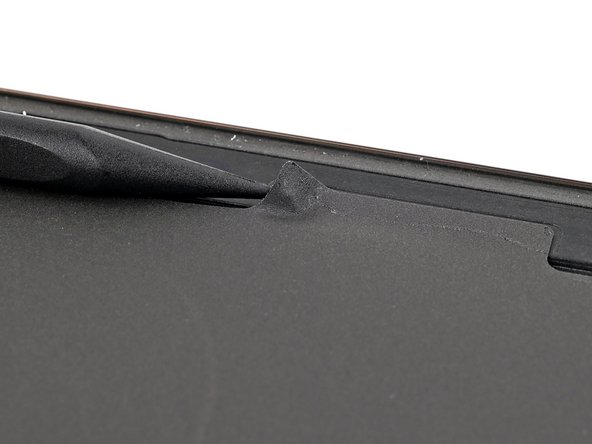
If your cover is still clinging to the frame, just glide an opening pick around the edges to gently break free any stubborn adhesive that might be holding on for dear life.
Now’s the perfect time to power up your phone and check out all the features before you seal it back up. Just remember to turn your phone off completely before diving back into the repair.
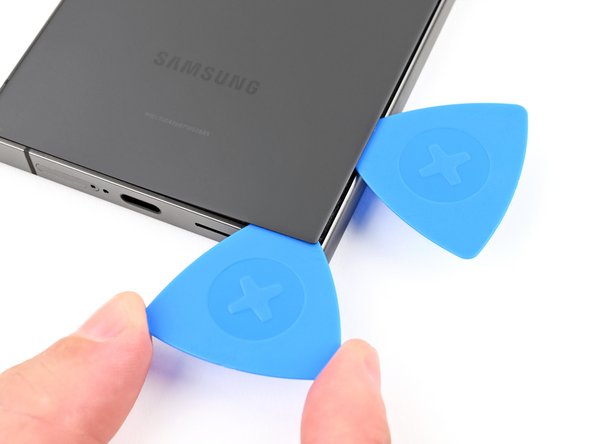
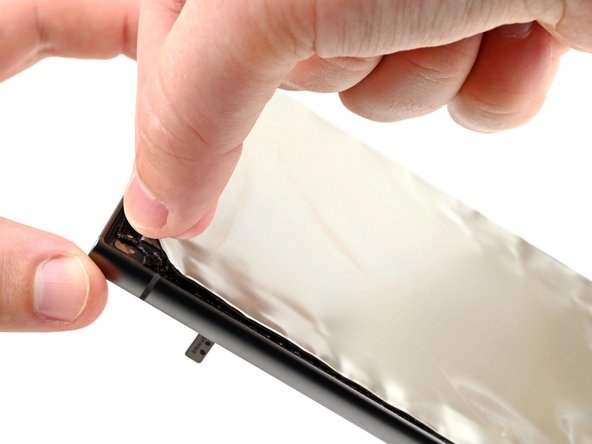
– Let’s pop off that back cover! Grab it and give it a gentle tug.
– Time to put things back together:
– If you’re dealing with stubborn adhesive, don’t fret! Use your trusty tweezers (or your fingers if you’re feeling brave) to remove any chunks. A little heat can work wonders too if things are stuck.
– If you’re using custom-cut adhesives, we’ve got a handy guide just for you!
– And for those double-sided tape fans, there’s a special guide just for you as well! We’ve got your back (or your phone’s back!).
– If you need help, you can always schedule a repair
Tools Used

Step 16

Looking for that tiny arrow on the board next to each press connector? That’s the secret spot to pry without causing any surface-mounted chaos! You’ve got this, keep going!
– Grab your trusty spudger and gently pry up to disconnect the wireless charging coil press connector from the motherboard. You’ve got this!
– When it’s time to reconnect those press connectors, just line them up over their socket like a pro and give a little press with your fingertip—first on one side, then the other—until you hear that satisfying click! No need to force anything; if it feels off, just give it another shot by repositioning. You’re doing great!
Tools Used

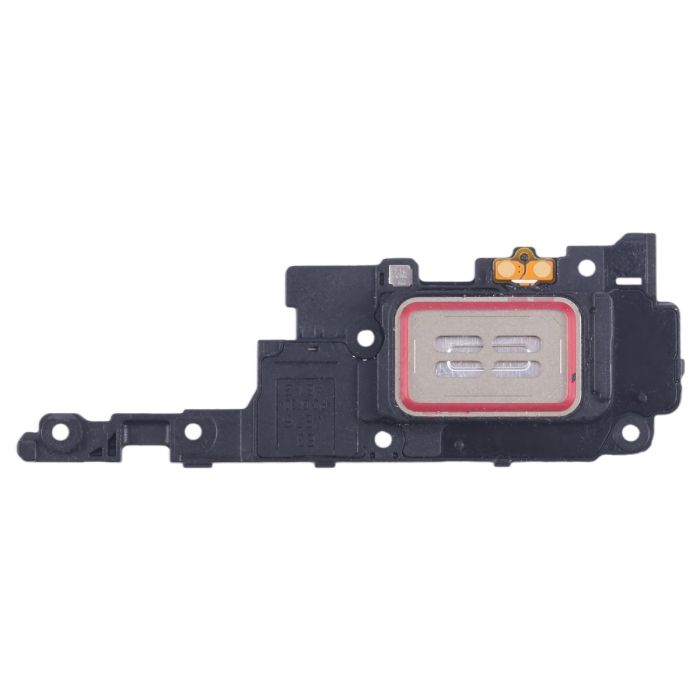
Step 17
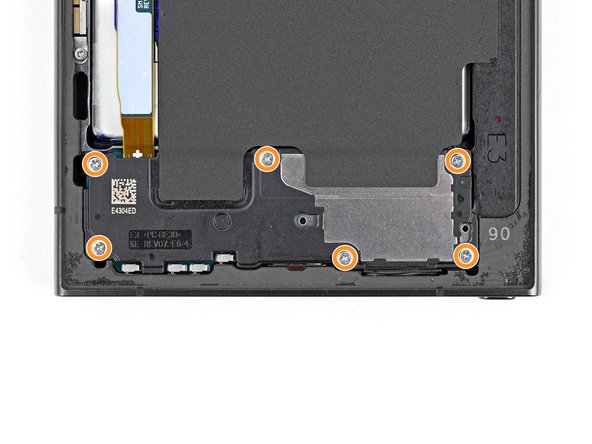

– Grab your trusty Phillips screwdriver and give those ten 3.5 mm screws a good twist! You’ll be releasing the wireless charging coil and the loudspeaker. It’s like a little dance, just get those screws moving!
– Four of those screws are holding the wireless charging coil in place, so give them a good spin.
– The other six screws are keeping the loudspeaker secure. They’re ready for their close-up!
Step 18

– Time to get this repair started. Use a spudger to carefully loosen a corner of the wireless charging coil’s tab, which is stuck to the right edge of the frame. If you need help, you can always schedule a repair
Tools Used
Step 19


– Time to get this tab loose from the frame! Use an opening pick to gently separate it – think of it like giving the tab a little wiggle room.
Step 20

Check out the loudspeaker – you’ll spot an arrow engraved on it, showing you exactly where to pry safely.
– Time to get this repair started. Insert the point of a spudger into the gap between the right edge of the loudspeaker and the frame – it’s a tight spot, but you’ve got this.
– Gently pry up to unclip the loudspeaker from the frame. Remember, if you need help, you can always schedule a repair
Tools Used
Step 21

– Time to give those components some air! Carefully remove the wireless charging coil and loudspeaker from the frame.
– Now, when you’re putting everything back together, give the loudspeaker a little love. Press around its edges to make sure it’s snug in the frame before you screw things back in. You’re a pro at this, so don’t stress!
Step 22

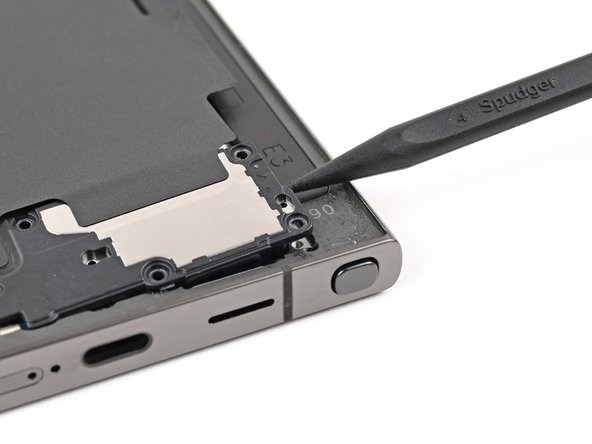
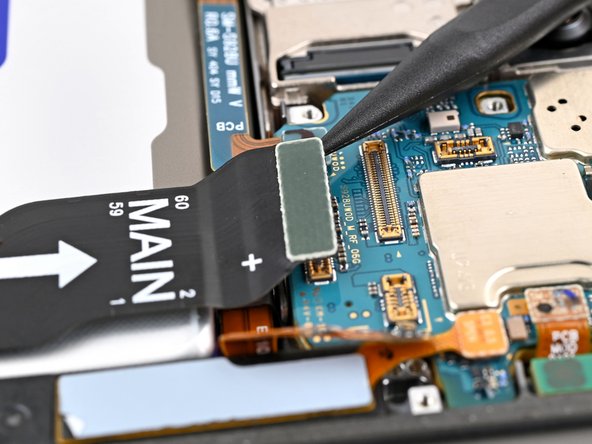
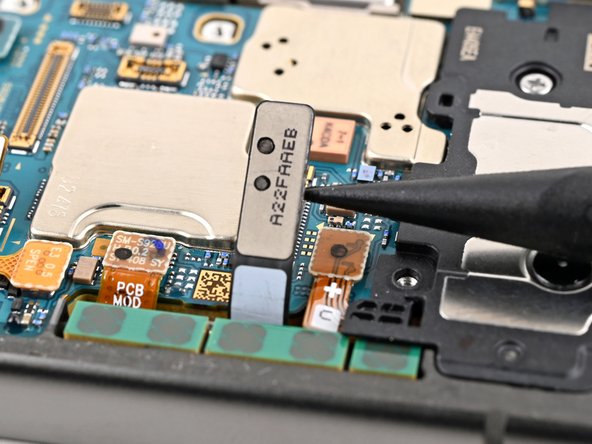
– Time to get disconnected – carefully use a spudger to pry up and release both interconnect cable press connectors from the motherboard. If you need help, you can always schedule a repair
Tools Used
Step 23

– Grab your spudger and give those interconnect cable press connectors on the daughterboard a gentle nudge to disconnect them. You got this!
Tools Used
Step 24
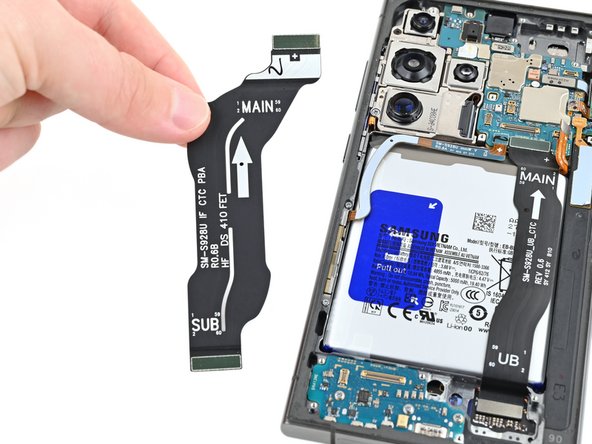

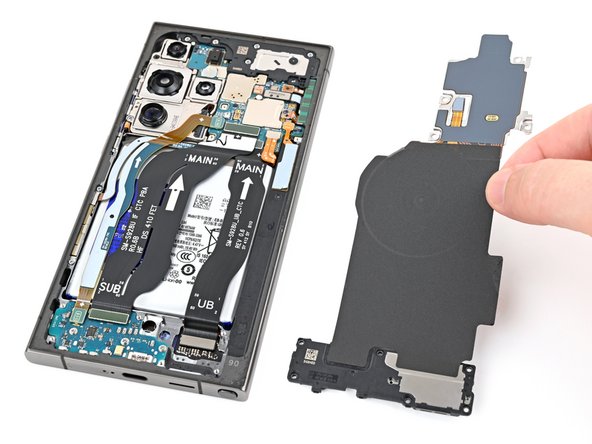
– Let’s get those interconnect cables out of the way! Gently grab them and remove them from the phone. It’s like a little dance with those cables, just be careful and you’ll be good to go!
Step 25

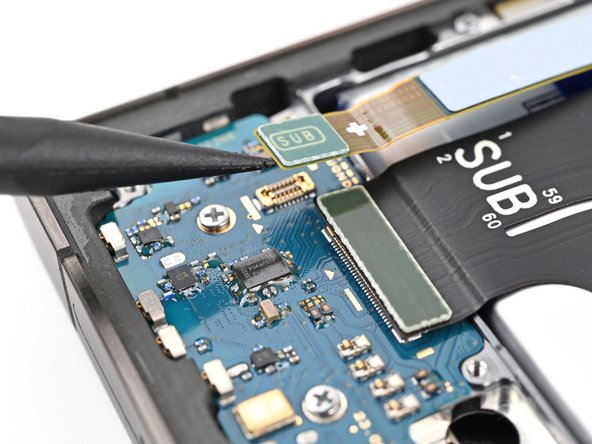
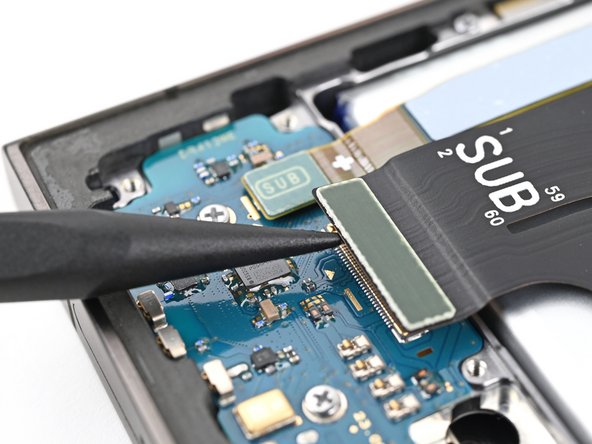
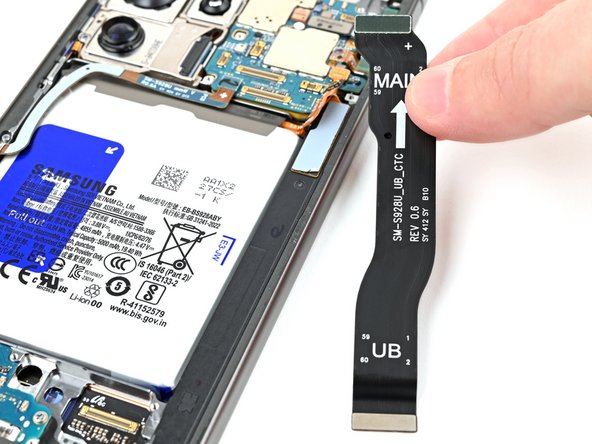
– Alright, let’s get this display cable connector disconnected! Grab your trusty spudger (or a thin, flat tool if you’re feeling adventurous) and gently pry up the connector. You’ll feel it pop loose. It’s like a little electronic handshake, saying ‘goodbye’ to the motherboard.
Tools Used

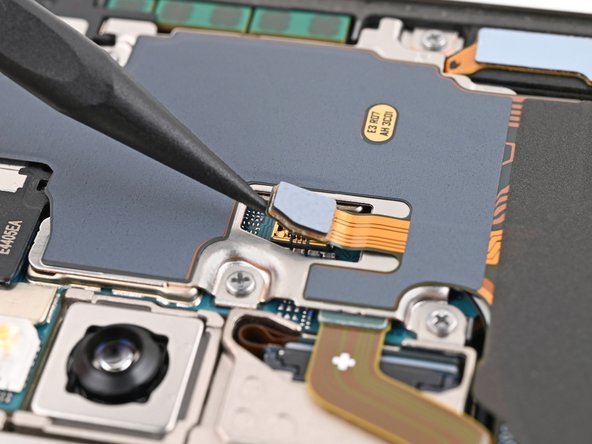
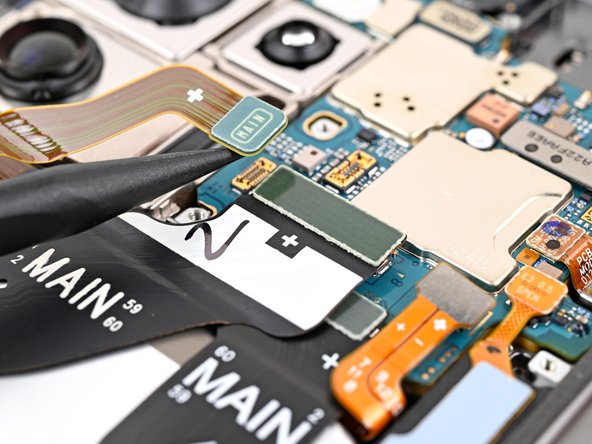
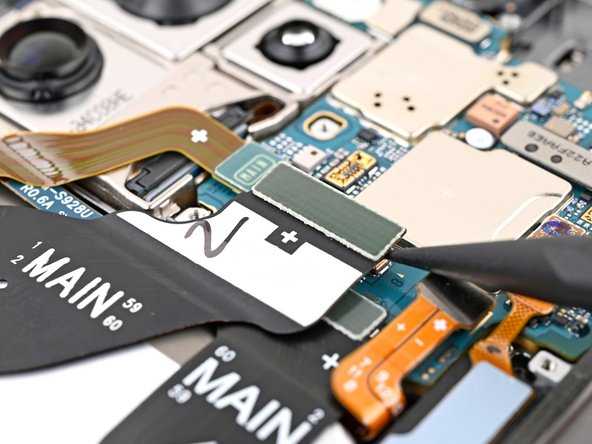
Step 27

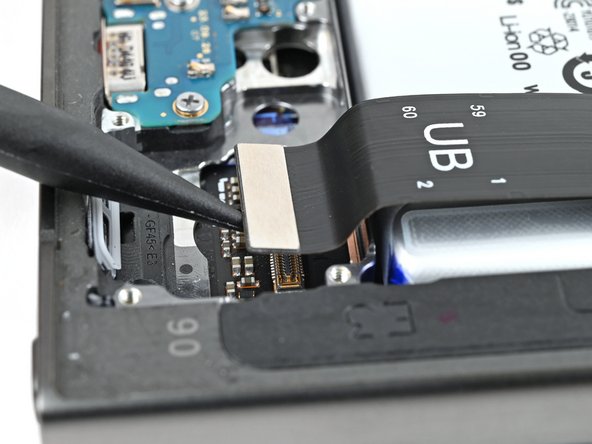
– Grab a spudger and gently pry up to disconnect the fingerprint reader cable from the motherboard. You’ve got this!
Tools Used
Step 28

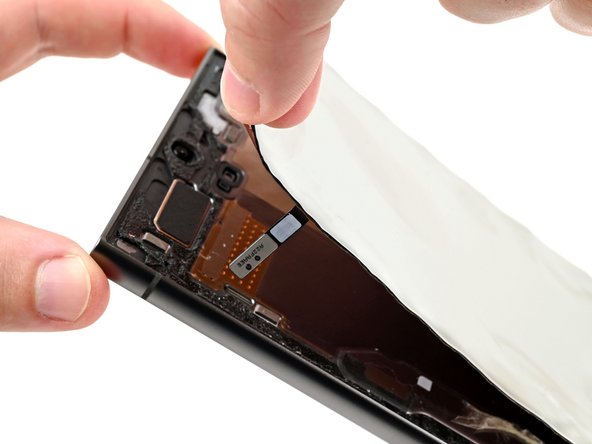
Hold off on slapping on that new adhesive just yet! You’ll want to keep the back cover removable for now while you tackle the screen replacement. The old adhesive has got your back for this part, so let it do its thing until you’re ready to seal it up for good.
– Put on that back cover like a snug little jacket to keep your phone’s internal organs safe and sound!
– Now give your phone a standing ovation by flipping it over, so the screen is facing a big round of applause (er, up).
Step 29

Find a nice flat spot near the top of your device where a suction cup can happily hang out.
– If your screen is really cracked up, grab some packing tape and lay down overlapping strips over the glass. This way, you’ll keep yourself safe and make it a breeze to take things apart.
Step 30

Heads up! Be gentle with that heat – your phone’s battery can get damaged if it gets too hot, so keep an eye on the temperature. If you need help, you can always schedule a repair
– Time to warm things up! Grab your hairdryer or heat gun and give the top edge of your screen a little love. We’re talking warm, but not too hot. Think of it like a warm hug for your device. You’ll know it’s ready when it feels a little toasty to the touch.
Tools Used
Step 31


Heads up, friend! We’re about to tackle the front glass, so let’s make sure we’re being super careful during the next few steps. You know, safety first! 😊
The space between the front glass and the frame is pretty narrow. Grab a slim and sturdy tool like an iFlex to gently pry it open just a bit.
– Be careful when handling the iFlex or similar metal tools – those edges are super sharp, so it’s best to grip them firmly by the handles to avoid any ouchies.
– When removing the front glass, it can shatter and send shards of glass flying everywhere. To stay safe, consider wearing some gloves and safety glasses. If you need help, you can always schedule a repair
Tools Used

Step 32

Be careful when using the iFlex or a similar tool – just insert it enough to create a tiny gap between the glass and the display panel. If you push it in too far, you might accidentally damage the front-facing camera. If you need help, you can always schedule a repair
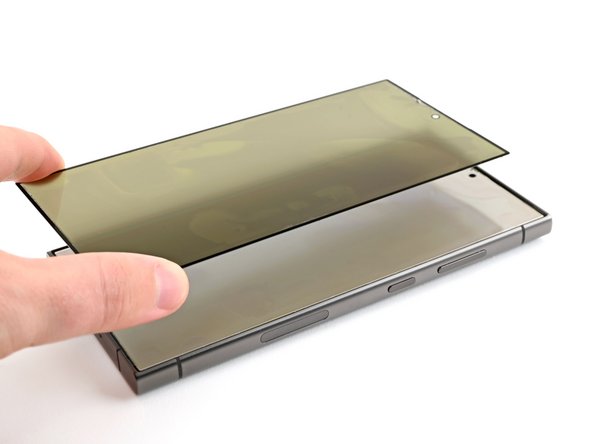
Don’t worry if the front glass starts to peel away from the display panel – it’s supposed to do that. The display might look a bit discolored, but that’s totally normal. You’ll be taking out the display panel in a later step, so just hang in there. If you need help, you can always schedule a repair
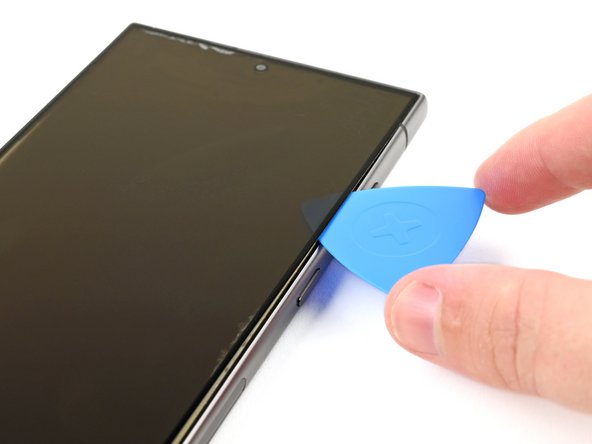
– Get ready to rock this screen replacement! First things first, stick a suction handle right in the middle of the top edge of your screen, as close to the edge as you can get.
– Now, slide in your iFlex (or a similar tool) between the top edge of the front glass and the frame. Make sure you’re going at a downward angle.
– Time to get those hands working! Use strong, steady pressure to lift the glass with the suction handle. At the same time, gently push the iFlex between the glass and the display panel. You got this!
Tools Used
Step 33

Using an iFlex is an option for the next step, but we recommend grabbing a plastic tool like an opening pick to minimize the risk of damaging that gorgeous glass. If you need help, you can always schedule a repair
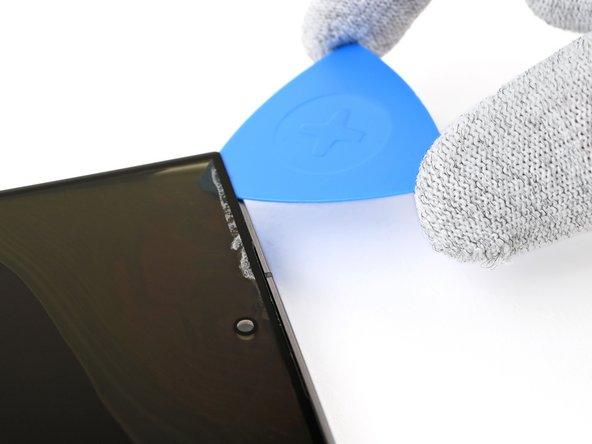
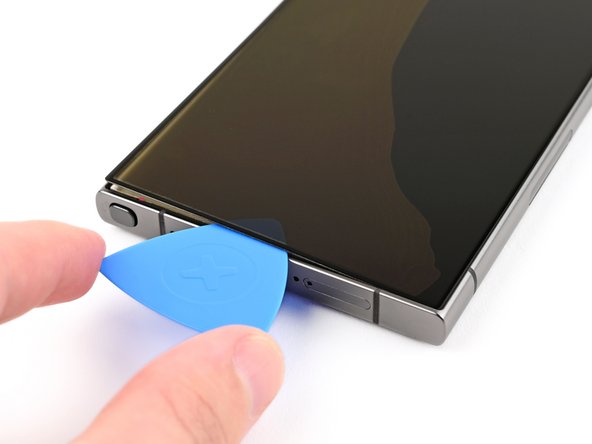
– Gently slide your iFlex or a similar tool into one of the top corners of the front glass until you’ve created a gap just big enough to pop in an opening pick.
– Once you’ve got that gap, carefully insert the opening pick and remove the iFlex. You’ve got this!
Step 34

If the adhesive is giving you a tough time, grab a hair dryer or heat gun and warm up the sides of the phone until they feel pleasantly cozy to the touch.
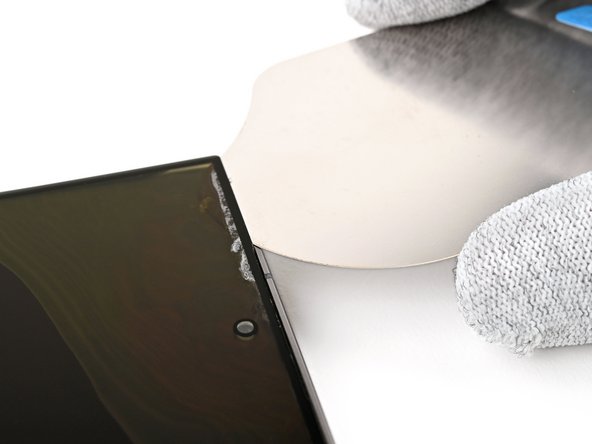
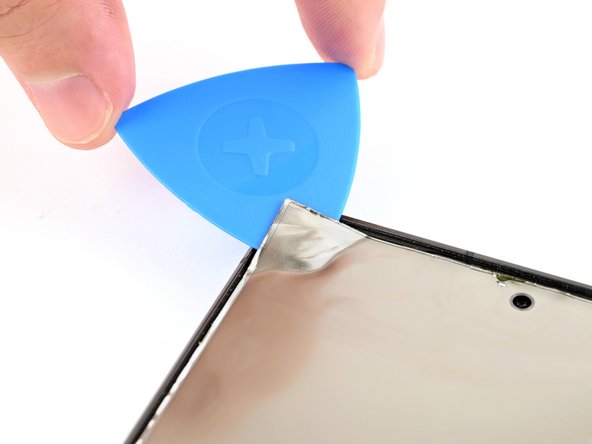
– Let’s get this party started! Slide the opening pick around the edges of the front glass to loosen up the adhesive holding it to the frame. You’re doing great!
Tools Used

Step 36

Having a tough time peeling off the adhesive? No worries! Grab a hair dryer or heat gun and give that display panel a little warmth to loosen things up.
– Slide an opening pick underneath the display panel with a gentle touch.
Tools Used
Step 37

The fingerprint reader is chilling near the top left corner of the display. Just be cool and don’t yank on the cable with your opening pick, you might mess up the motherboard. You know, just sayin’.
There are a few parts hanging out on the back of the bottom edge of the display panel. They’ve got some gaskets underneath them. Just slide the opening pick under these parts, but try not to peel up the gaskets. You’re a pro, you got this!
– Let’s get that display panel loose! Slide the opening pick around the edges, gently prying apart the adhesive holding it to the frame. Don’t be afraid to give it a little love—we’re in this together!
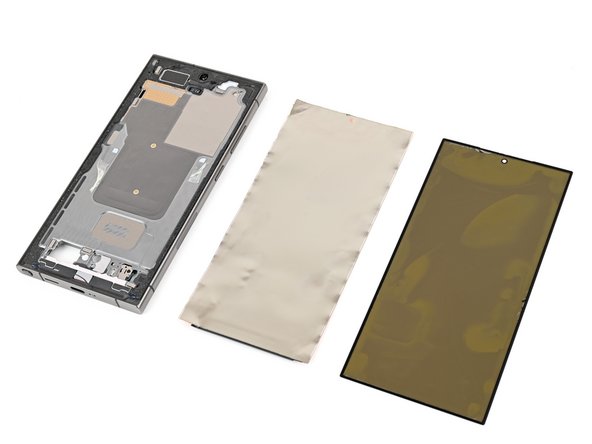
Step 38

– Get a good grip on your phone and carefully remove the back cover, making sure the fingerprint reader cable has some wiggle room.
– Now, grab the top left corner of the display panel and gently pry it away from the frame – this will help you thread the fingerprint reader cable out of its hole in the frame. If you need help, you can always schedule a repair
Step 39

Let’s get this display panel off! Use an opening pick to gently loosen the adhesive underneath, making sure you don’t bump the front camera. If you need help, you can always schedule a repair
– Take a deep breath and gently detach the display panel.