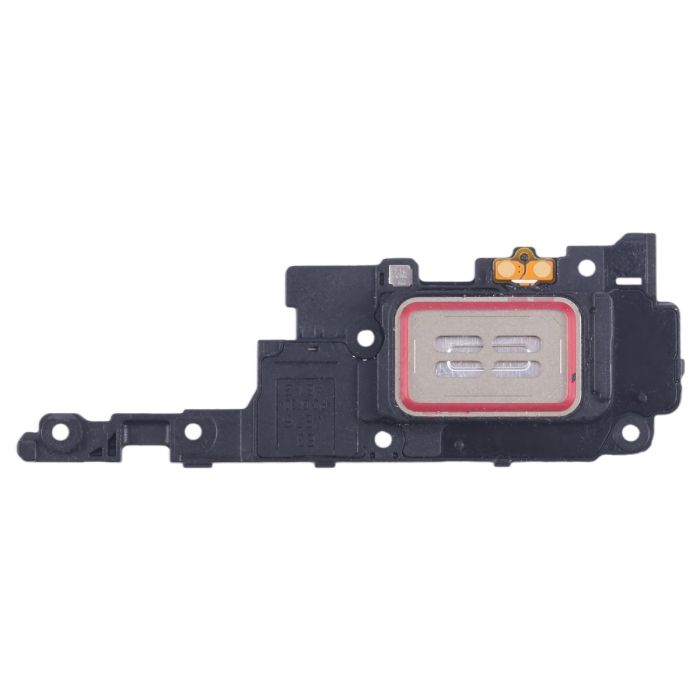
Samsung Galaxy S24 Ultra USB-C Port and Daughterboard Replacement
Duration: 45 minutes
Steps: 28 Steps
Get ready to tackle the replacement of the USB-C port and daughterboard in your Samsung Galaxy S24 Ultra! Since the USB-C port is soldered onto the daughterboard, swapping out either component means you'll be replacing the whole assembly. Let's dive in and get your device back in action!
Step 1


Let your phone’s battery dip below 25% before you dive in—lithium-ion batteries pack some punch when charged. Got a swollen battery? Handle it with care.
- First, unplug any cables attached to your phone. We don't want any wires in the way, right?
- Now, press and hold the side key and the volume down button together. Once the option shows up, tap 'Power off' to turn off your phone. Easy peasy!
Step 2

A hair dryer, heat gun, or even a hot plate can do the trick here—but go easy on the heat! Both your screen and battery are not fans of getting too toasty.
- Warm up your iOpener and set it on the right edge of the back cover for about two minutes. Let that gentle heat work its magic!
Tools Used


Step 3

Having trouble creating a gap? No worries—just give the heat a little more love to loosen up that adhesive. Just follow the iOpener instructions carefully so you don’t get carried away with the heat. Patience and a gentle touch make all the difference.
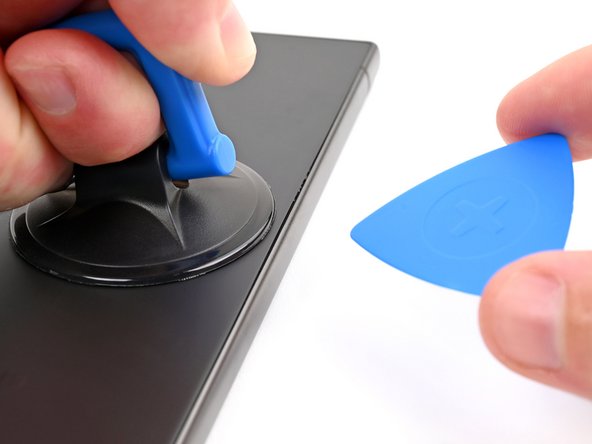
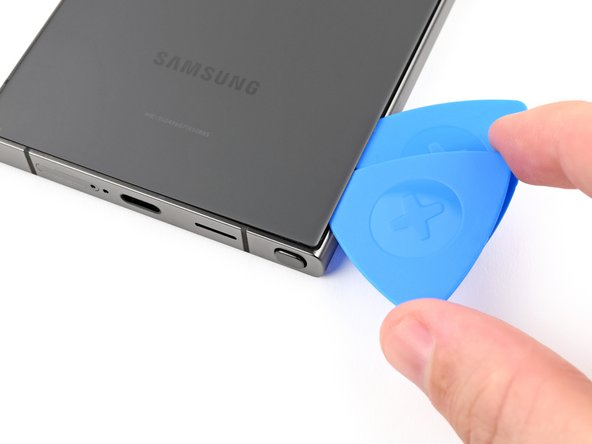
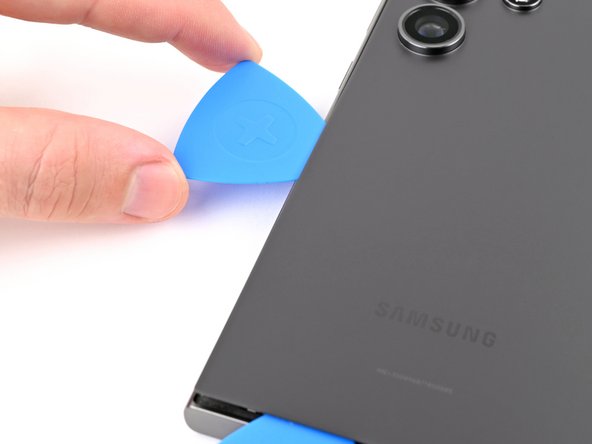
- Grab a suction handle and stick it on the back cover, aiming for the center of the right edge like a pro.
- Give that suction handle a good pull with some solid, steady strength to open up a little gap between the cover and the frame.
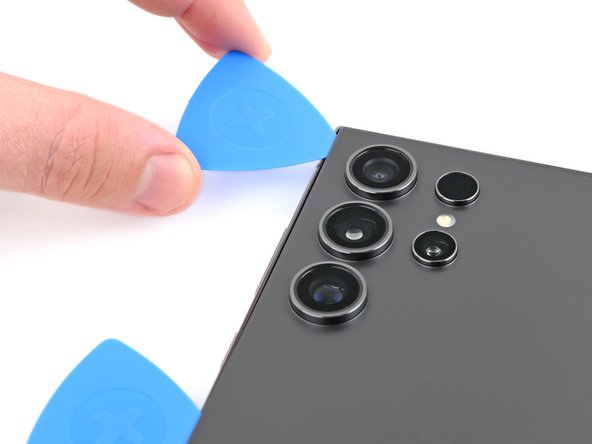
- Slide an opening pick into that gap and get ready to work your magic!
Tools Used

Step 4


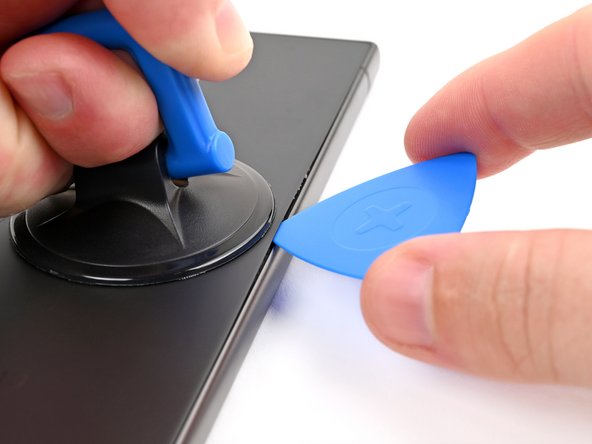
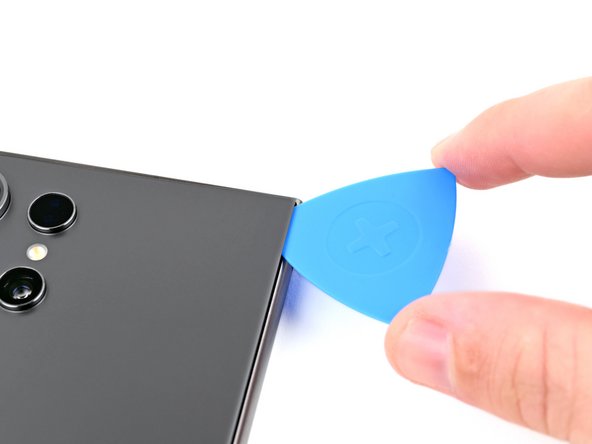
- Gently glide the pick back and forth along the right edge to break free the adhesive. Be steady, like you’re playing a delicate game of operation.
- Keep the pick near the bottom right corner to keep the adhesive from sealing back up on you. It’s like holding the door open just a crack so it doesn’t slam shut!
Step 5

- Warm up the bottom edge of the back cover with a heated iOpener for about two minutes. This helps loosen the adhesive and makes removal easier. If you need help, you can always schedule a repair.
Tools Used
Step 6
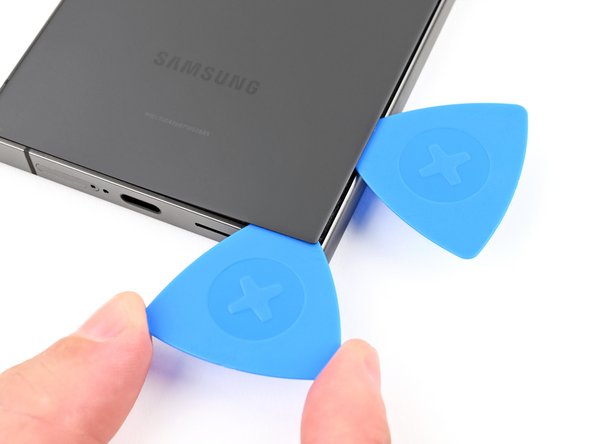

- Grab a second opening pick and slide it in next to the first one, right near the bottom of the right edge.
- Gently rotate the pick around the bottom right corner to break free the adhesive holding things together.
Step 7

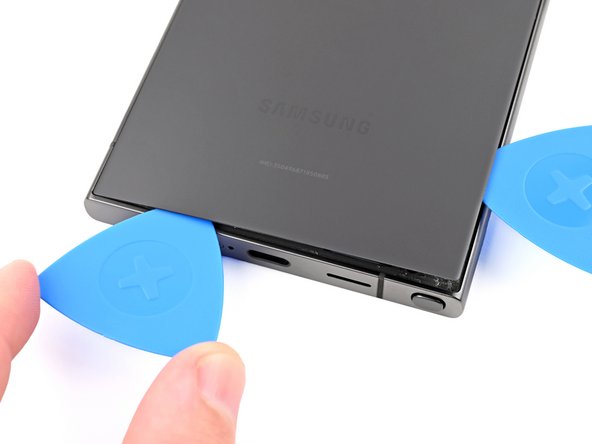
- Gently slide the opening pick along the bottom edge to break through the adhesive. Nice and easy!
- Keep the pick in place near the bottom left corner to make sure the adhesive doesn't sneak back together. Trust us, it's a game-changer!
Step 8

- Grab your heated iOpener and let it chill on the left edge of the back cover for about two minutes. Let it work its magic!
Tools Used
Step 9

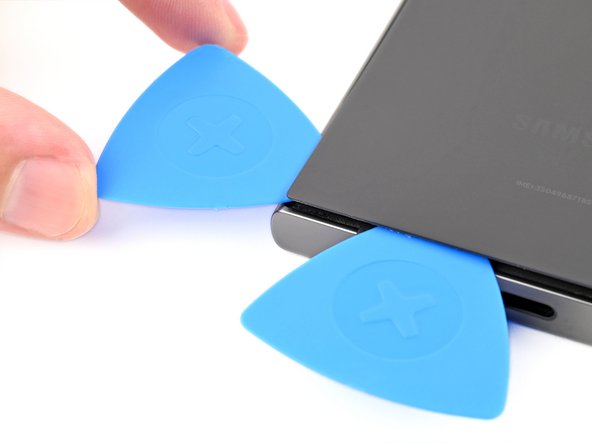
- Slip a third opening pick in next to the second, close to the bottom left corner. Then, gently wiggle it around the corner to loosen the adhesive and get the separation started.
Step 10

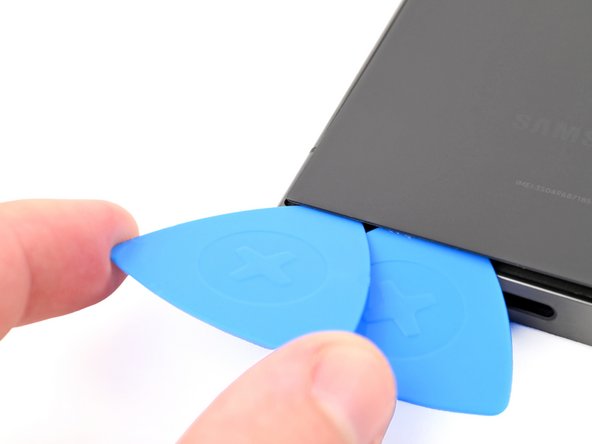
Be careful not to insert the pick more than 4 mm, or you might accidentally damage that super-important antenna cable!
- Glide your opening pick down the left edge to break up that sticky adhesive—just pause before you hit the power button.
- Keep the pick parked near the power button so the adhesive doesn’t get any clever ideas about sticking itself back together.
Step 11

- Place a heated iOpener along the top edge of the back cover and hold it there for about two minutes. This helps loosen the adhesive, making the next steps smoother. If you need a hand, you can always schedule a repair.
Tools Used
Step 12


- Slide an opening pick into the little gap at the top-right edge—think of it as giving the device a gentle high-five.
- Slowly spin the pick around that top-right corner; the adhesive will let go like it’s waving back at you.
Step 13

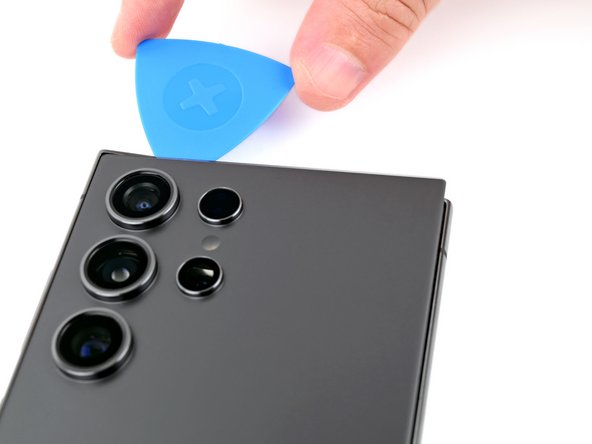
Keep that pick under 4 mm, folks! We want to avoid any mishaps with the sensor or camera hiding near the top edge. Let's keep it safe and sound!
- Glide your pick along the top edge to loosen up that sticky adhesive—easy does it!
Step 14
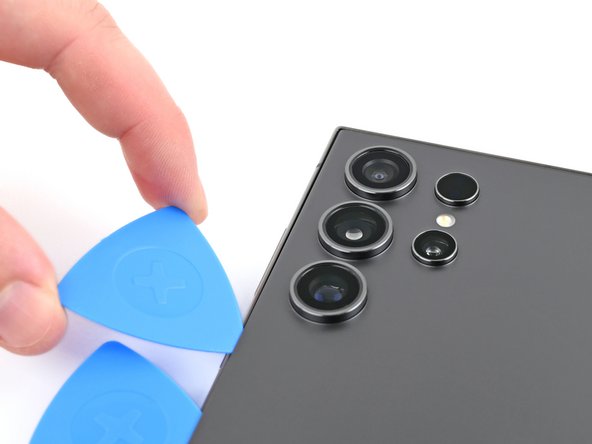

Keep your pick no deeper than 4 mm—going further might give your cameras a hard time!
- Gently wiggle the pick around the top left corner and glide it down the left edge to loosen the remaining adhesive. Keep it steady and patient—you're almost there! If you need a hand, you can always schedule a repair.
Step 15


If your cover's still clinging to the frame like a stage-five clinger, grab an opening pick and glide it around the edges to break up any stubborn adhesive.
Now’s your chance to power up your phone and check that everything’s working—think of it like a quick test drive before closing things up. When you’re done, shut it down completely so you’re good to go for the next steps.
- Start by carefully removing the back cover to get to the inside. During reassembly, take your time: use tweezers or your fingers to gently clear away any stubborn adhesive blobs. If they’re really sticking, a bit of heat can help loosen things up. For custom-cut adhesives, follow the specific guide provided. If you're using double-sided tape instead, refer to its particular instructions. Need a hand? You can always schedule a repair with Salvation Repair to get professional help.
Tools Used

Step 16
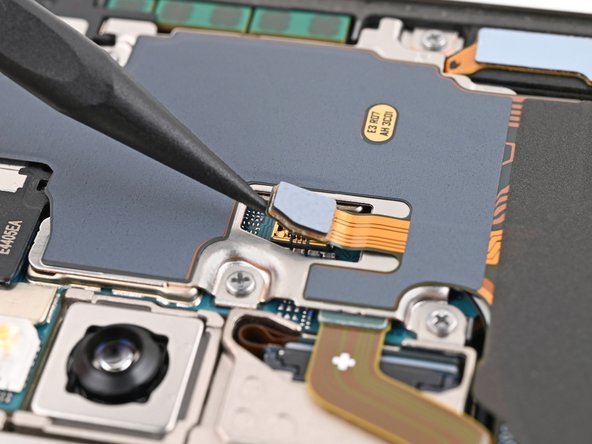

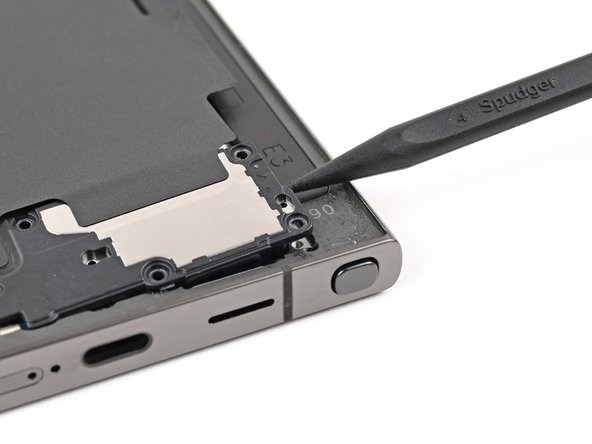
Look for the arrow printed on the board next to each press connector—that’s your go-to spot for prying. Stick to prying where the arrow points to keep those tiny surface-mounted parts right where they belong.
- Grab your trusty spudger and gently pop up the wireless charging coil’s connector from the motherboard. No need for superhero strength here—just a little finesse.
- When it’s time to reconnect, line up the connector with its socket like you’re matching puzzle pieces. Press down gently with your fingertip—first one side, then the other—until you hear that satisfying click. If it’s not cooperating, give it a wiggle, reposition, and try again. No forcing allowed—just a bit of patience and you’ll get it.
Tools Used

Step 17
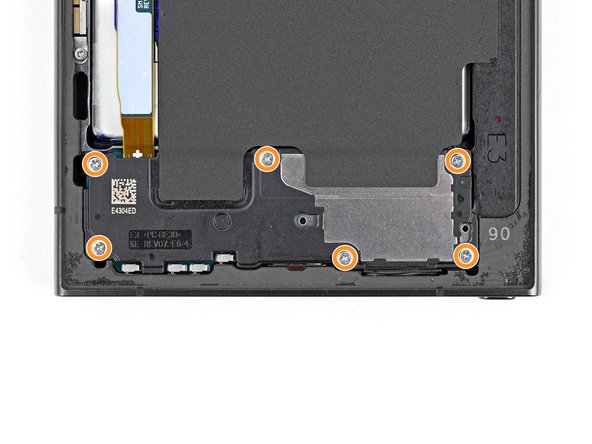

- Grab your Phillips screwdriver and let's get those ten 3.5 mm-long screws out. They're holding down both the wireless charging coil and the loudspeaker.
- You'll find four screws keeping the wireless charging coil in place.
- And there are six screws securing the loudspeaker. Piece of cake!
Step 18

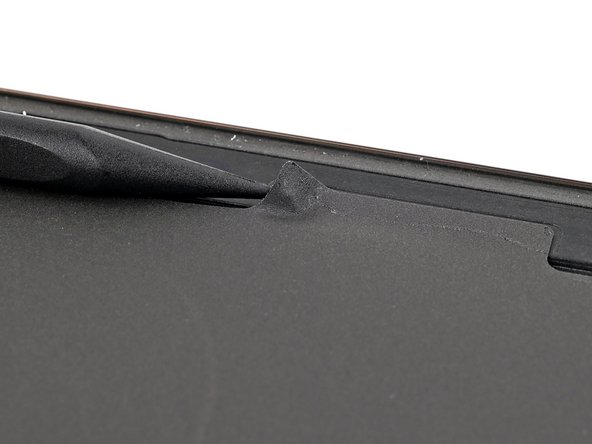
- Grab your spudger and gently lift a corner of the wireless charging coil tab that's stuck to the right side of the frame. Take it slow and steady—no need to rush!
Tools Used
Step 19


- Grab an opening pick and gently shimmy it between the tab and the frame until they part ways.
Step 20

Check out the arrow etched on the loudspeaker—it’s pointing right where you should start prying. Handy little tip!
- Slip the tip of a spudger into the gap between the right side of the loudspeaker and the frame. Gently pry upward to unclip and lift the loudspeaker away from the frame.
Tools Used
Step 21
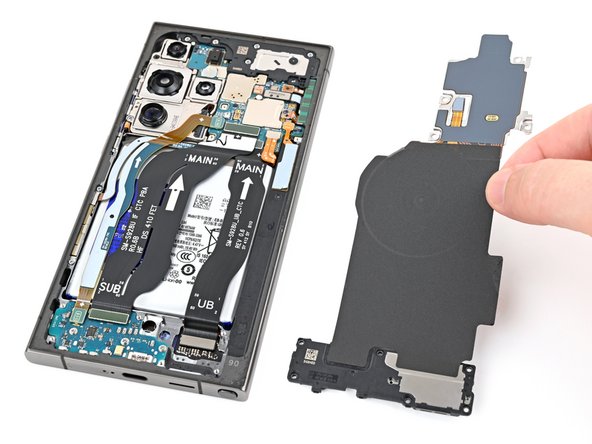

- Carefully detach the wireless charging coil and the loudspeaker from the frame. When reassembling, gently press around the loudspeaker's edges to snap it into place before securing it with screws. If you need help, you can always schedule a repair.
Step 22


- Let's get started! Use a spudger to carefully pry up and disconnect the battery press connector. Remember to take your time and be gentle to avoid any damage.
Tools Used
Step 23

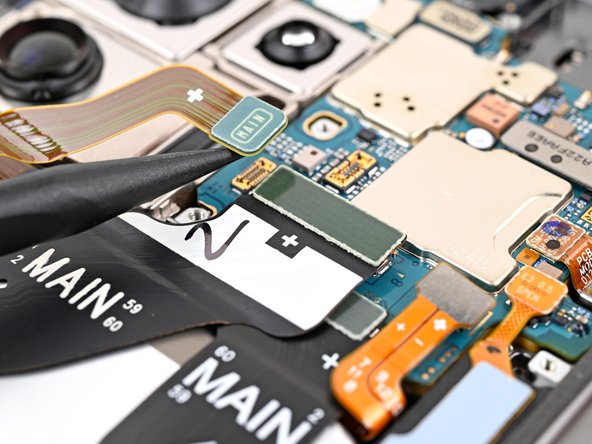
- Grab your trusty spudger and gently pop up both interconnect cable connectors from the motherboard—easy does it!
Tools Used
Step 24
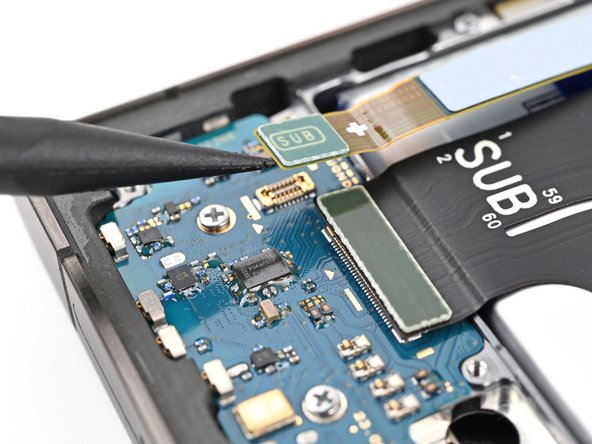

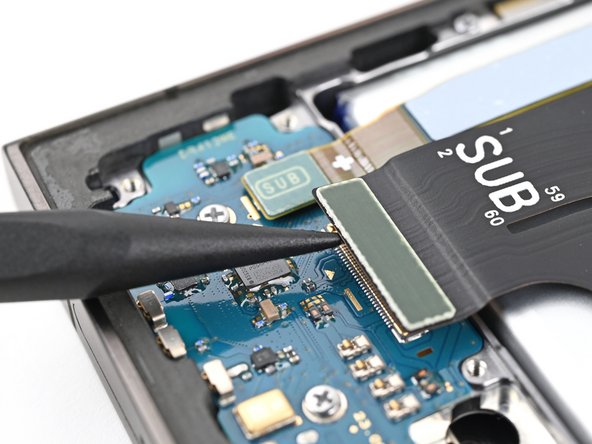
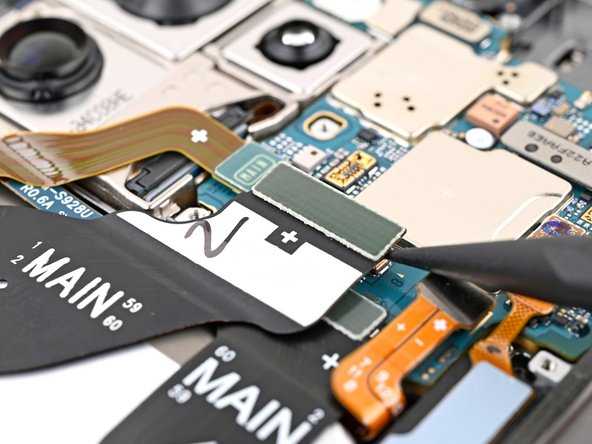
- Grab your trusty spudger and gently pry up those interconnect cable press connectors from the daughterboard. Disconnect them with care, and you'll be one step closer to your repair victory!
Tools Used
Step 25
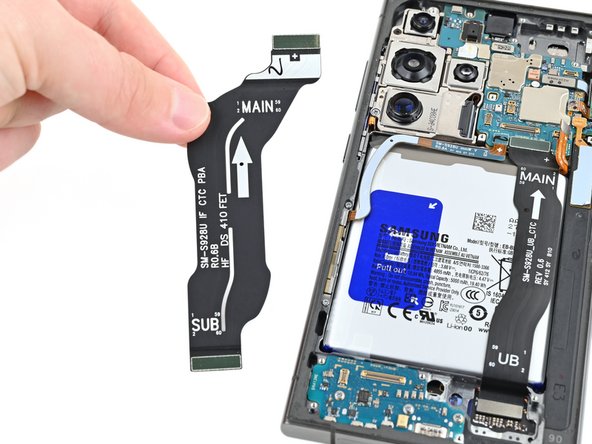

- Gently unplug those interconnect cables from your phone and set them aside like a pro.
Step 26

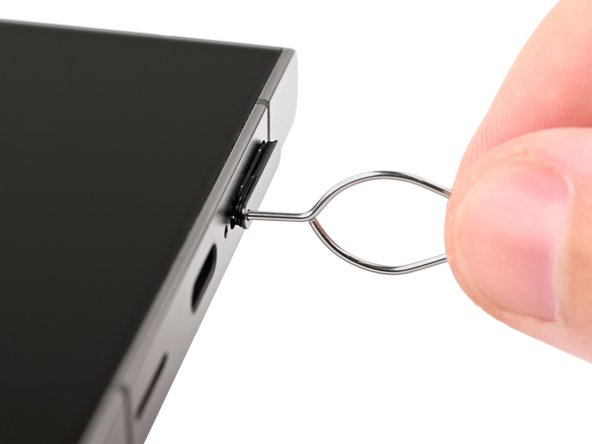
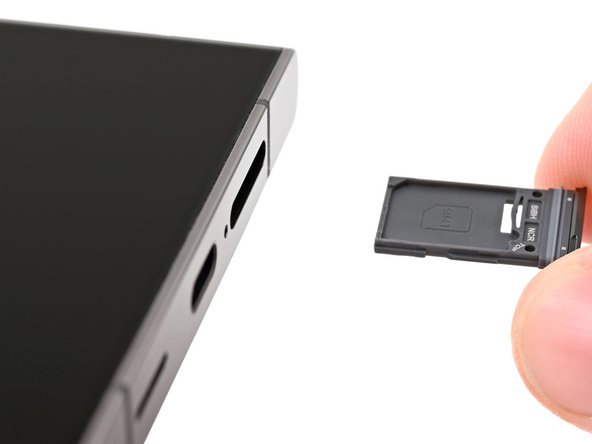
Oops! If your SIM eject tool ended up in a microphone hole, no need to panic. Chances are, your microphone is still perfectly fine.
- Grab a SIM eject tool, a tiny screwdriver bit, or even a straightened paper clip, and pop it into the tiny hole on the bottom edge of your phone’s SIM tray. Give it a gentle press—no need to go all Hulk—and the tray should pop out. Carefully pull out the SIM card tray, and you’re all set for the next step. If you need a hand, you can always schedule a repair.
Step 27

- Grab your Phillips screwdriver and take out the three 3.5 mm screws holding the daughterboard in place.
Step 28
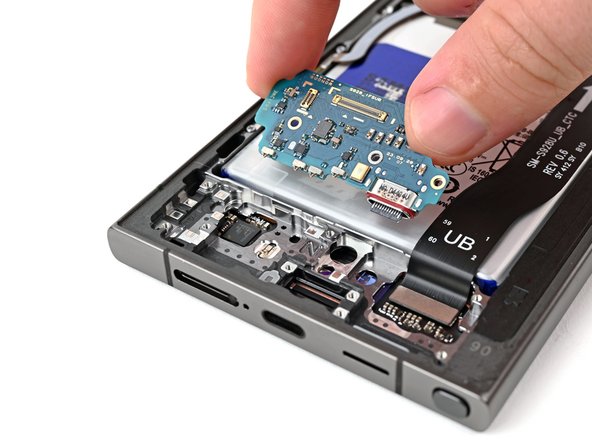

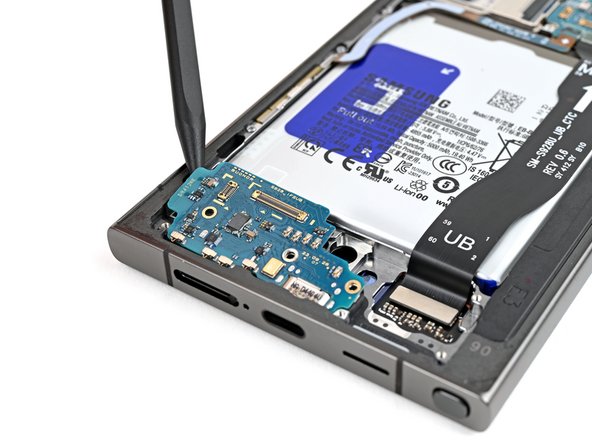
Avoid prying against the battery directly. Instead, tilt your spudger to gently work against the frame and keep things safe and sound.
- Grab a spudger and carefully use its point to lift up the top left corner of the daughterboard. Just a little nudge is all it needs!
- Gently remove the daughterboard. It's like freeing a tiny trapped treasure—no rush, just steady hands.
- When putting things back together, remember: insert the USB-C port at a slight angle into its spot before flattening the daughterboard against the frame. It'll click right back into place!