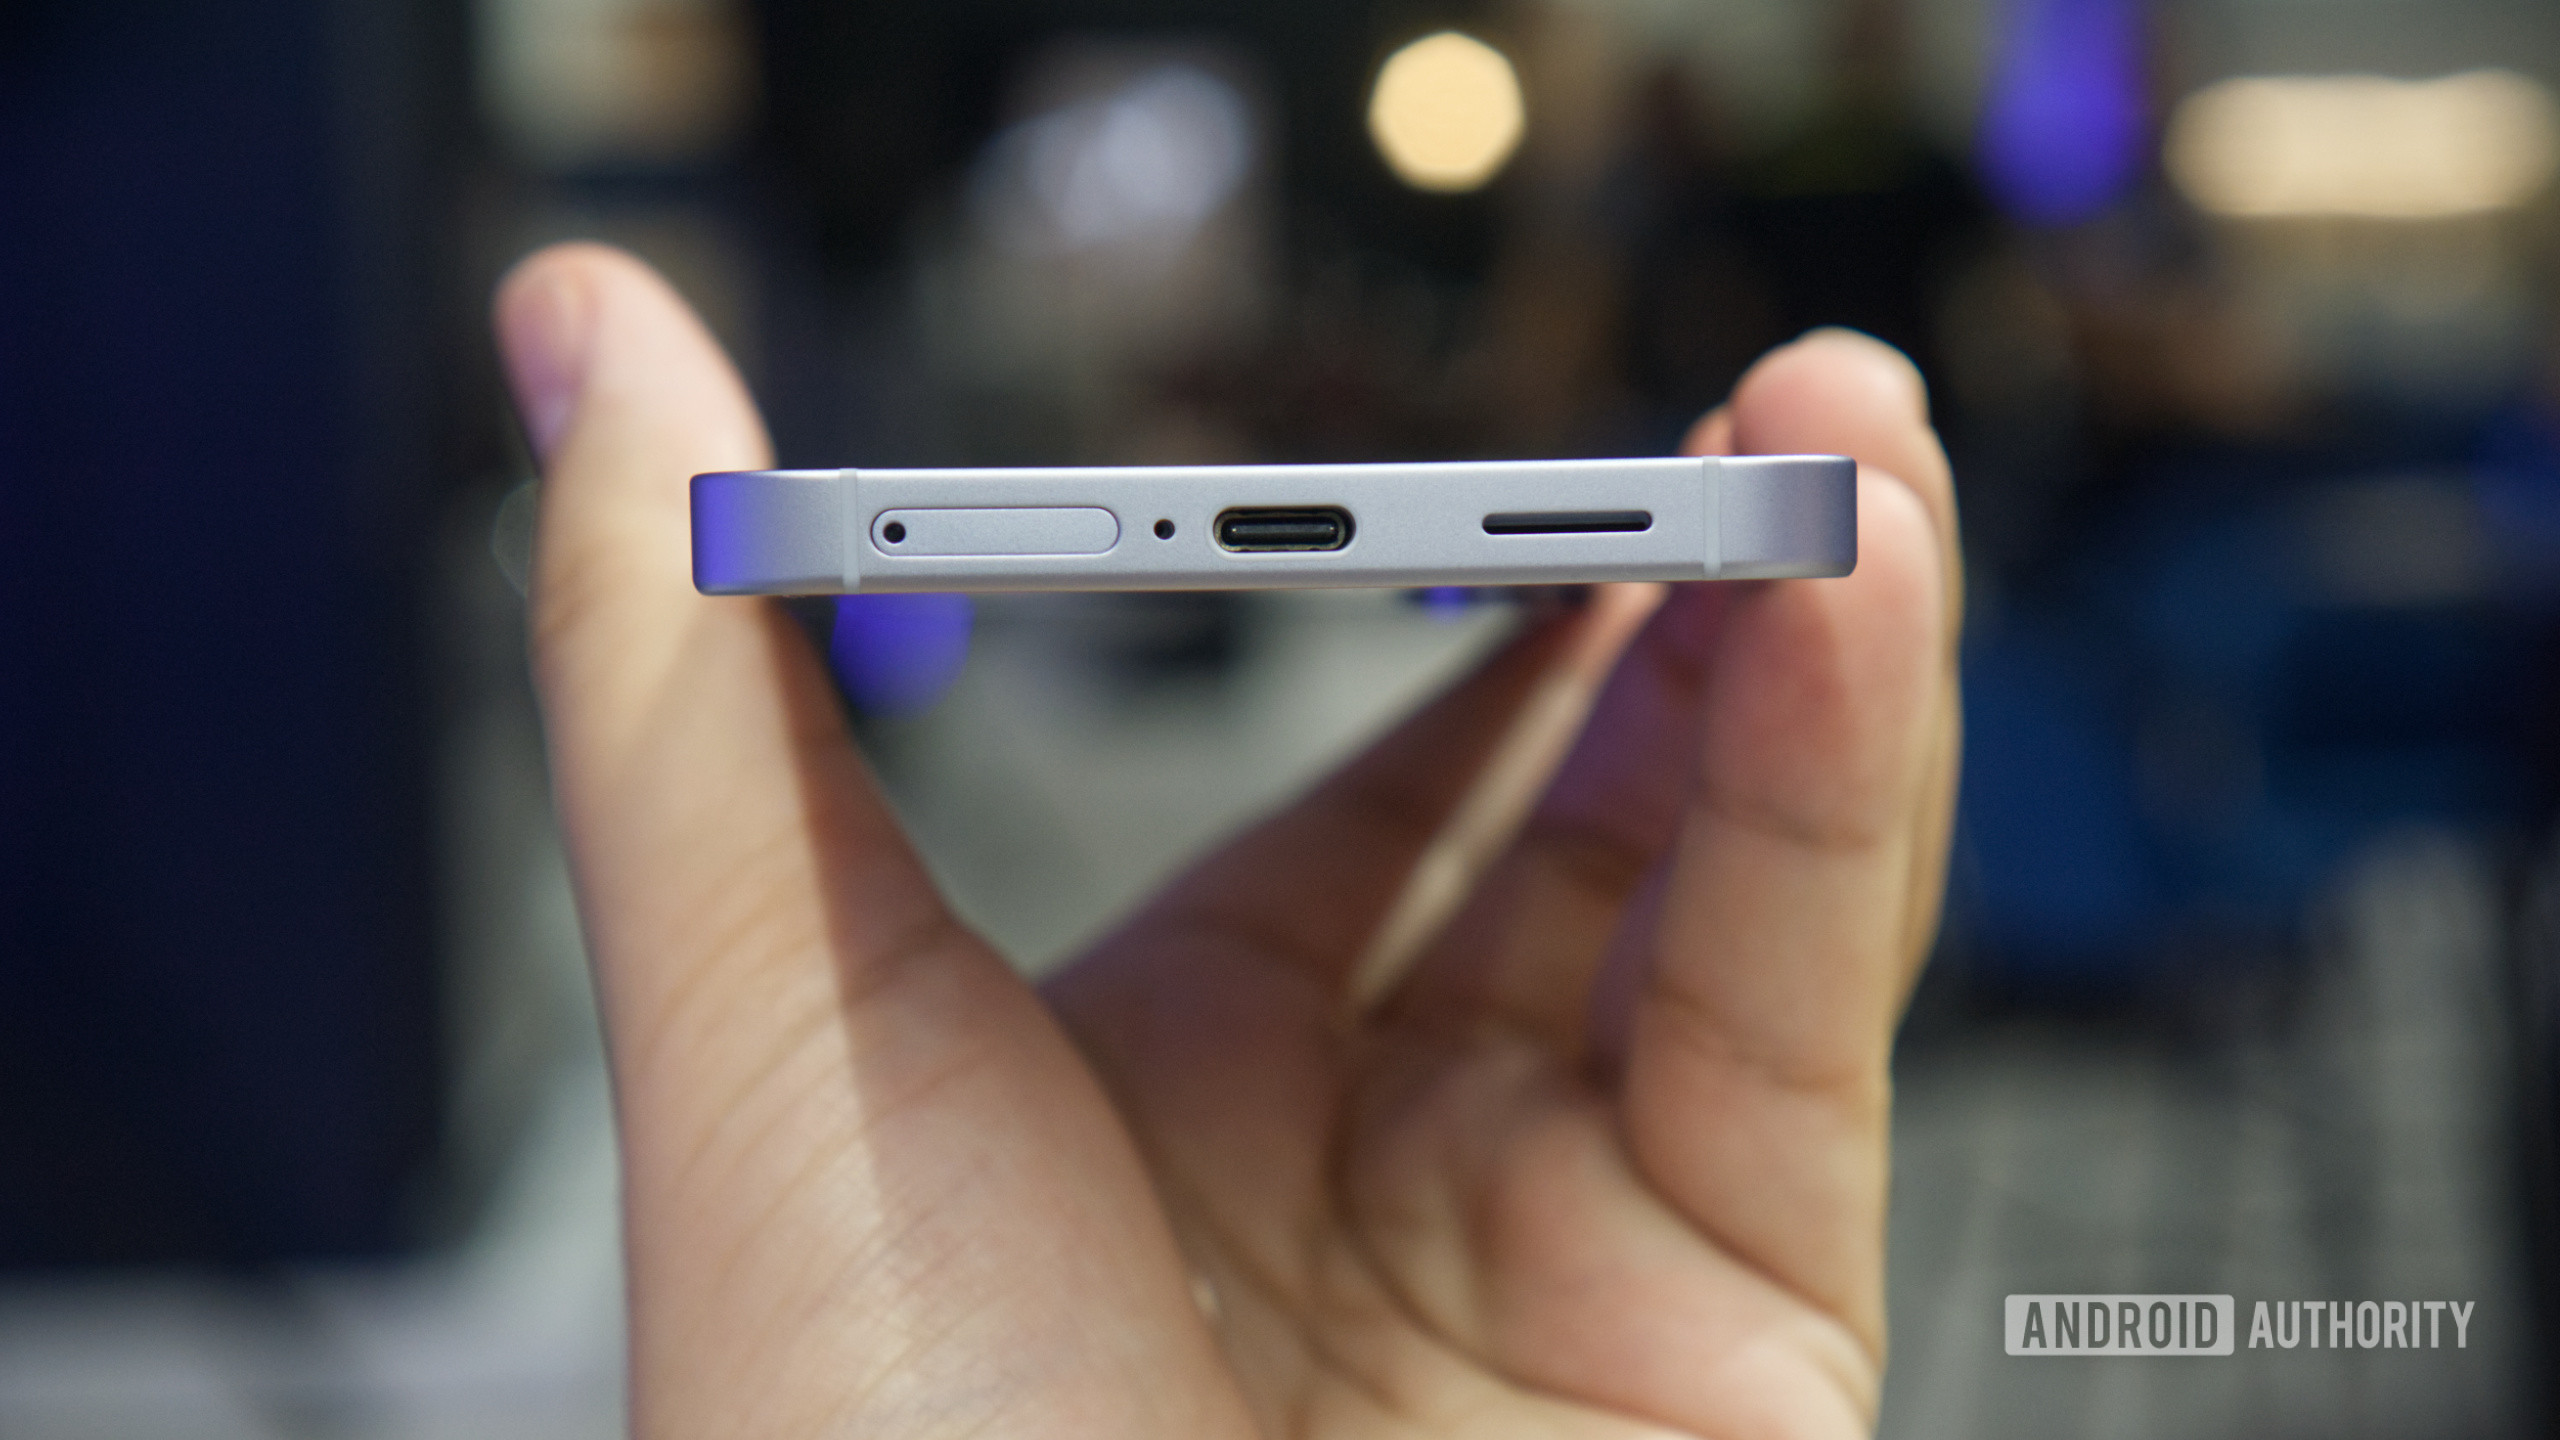
Samsung Galaxy S25 Edge 5G mmWave Antenna Replacement
Duration: 45 minutes
Steps: 16 Steps
Ready to bring your Samsung Galaxy S25 Edge back to life? This guide will walk you through replacing the 5G mmWave antenna. If your phone's having a tough time with cellular connectivity but still hangs tight to Wi-Fi, it's time for a little antenna TLC. Don't forget, you'll need some replacement back cover adhesive to make this repair go smoothly. And hey, if you need help along the way, you can always schedule a repair!
Step 1
Before diving into this repair, let that battery dip below 25%. A charged lithium-ion battery is like a drama queen—it can be a little fiery if mishandled!
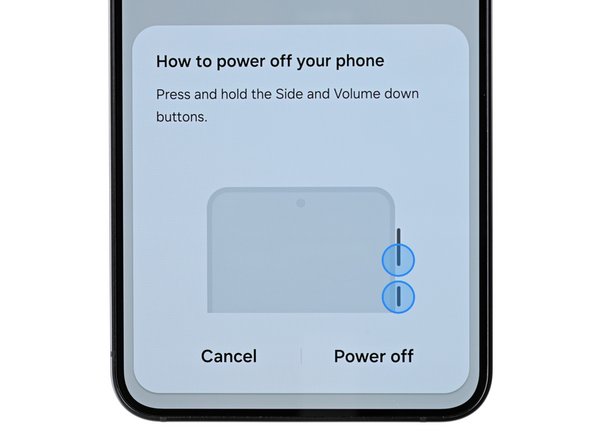
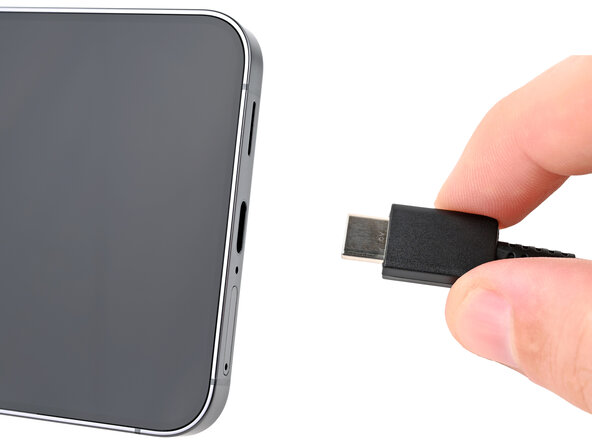
- Let's kick things off by turning off your phone completely and unplugging all those pesky cables. You're doing great!
Step 2
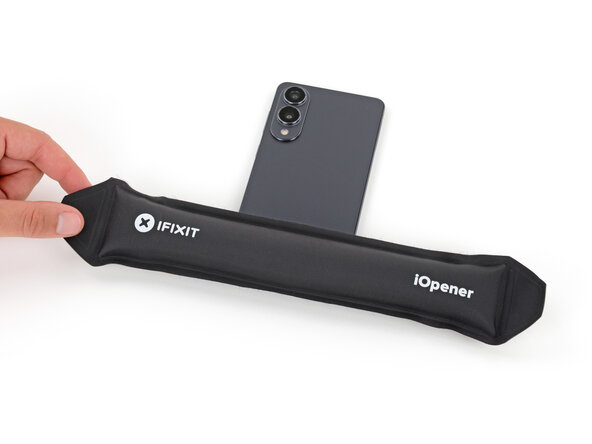
A touch of mild adhesive is keeping that back cover snug. Give it a little heat, and watch it soften up, making it a breeze to peel away.
You could also grab a hair dryer, heat gun, or hot plate to warm things up. Just be careful not to overdo it!
- Grab an iOpener and give it a little heat love, then place it right on the bottom edge of the back cover for two minutes. This will cozy up the adhesive and make it easier to work with!
Tools Used


Step 3
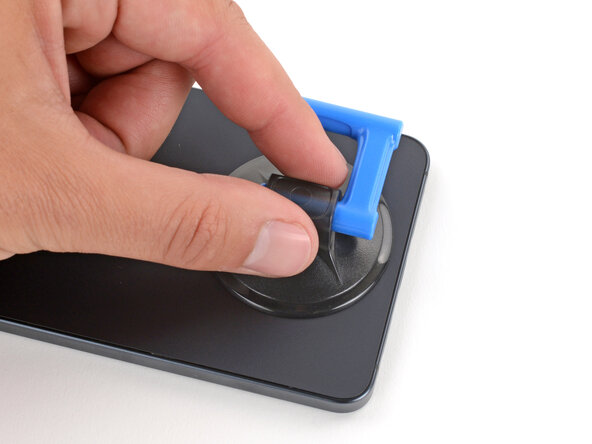
- Let's get started! Place a suction handle near the center of the back cover's bottom edge, as close to the edge as you can get. This will help you get a good grip and make the removal process smoother.
Tools Used

Step 4
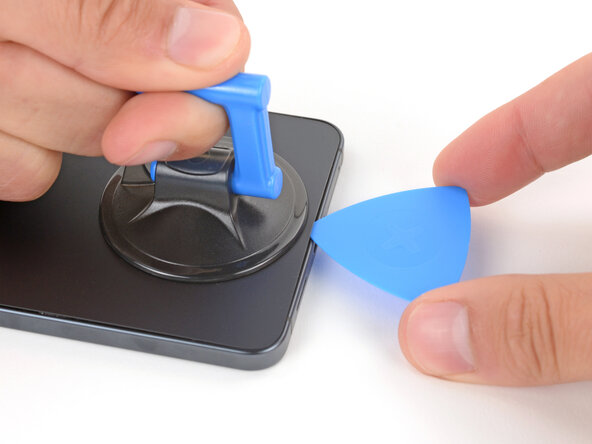
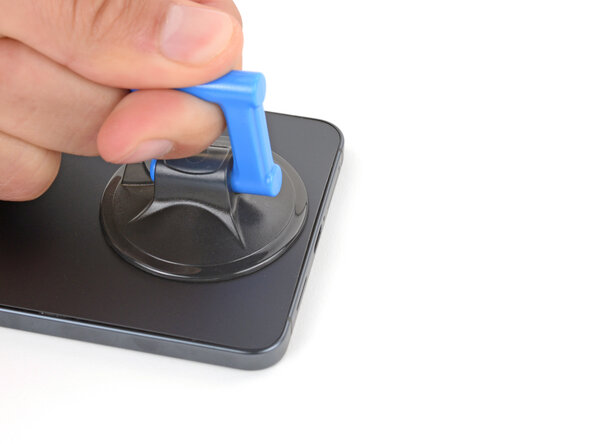
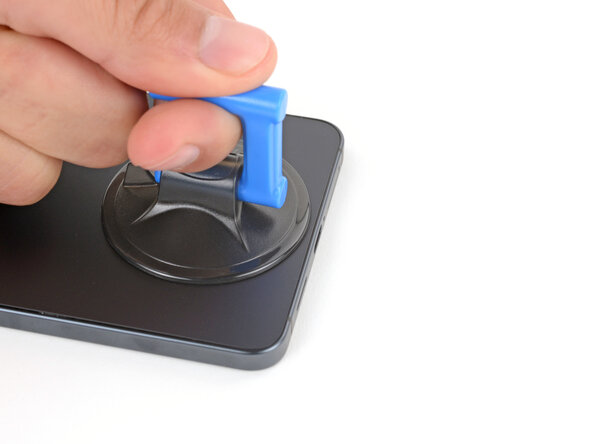
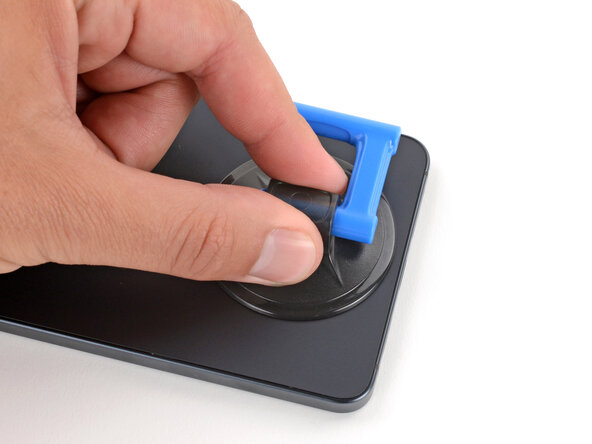
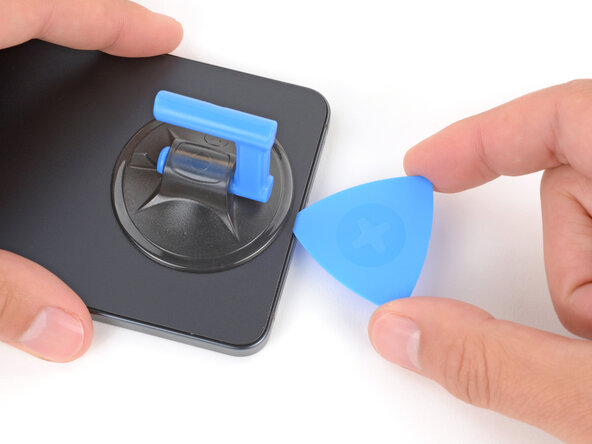
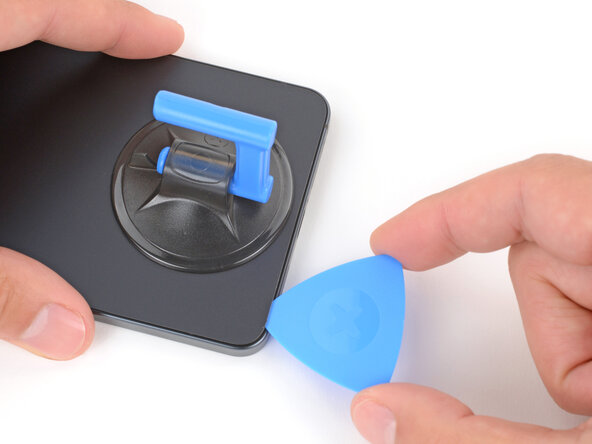
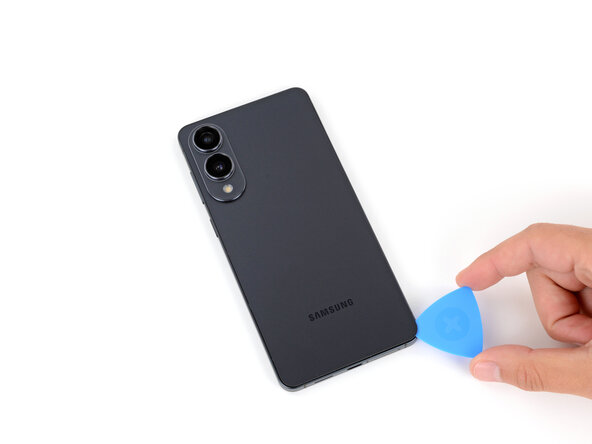
- Gently lift the suction handle with a nice, steady pull until you see a little gap between the cover and the frame. You've got this!
- Now, take that trusty opening pick and slide the tip into the gap you've just created. Easy peasy!
Tools Used
Step 5
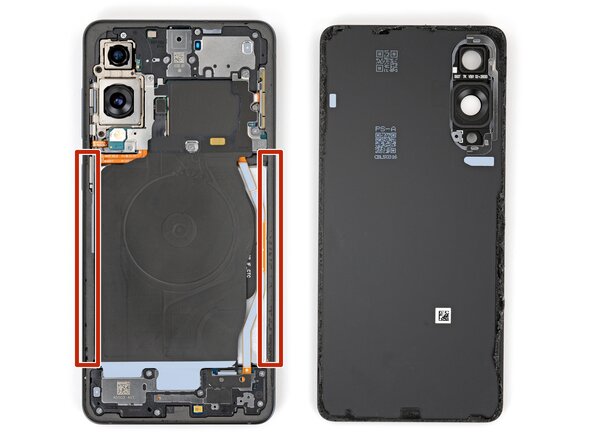
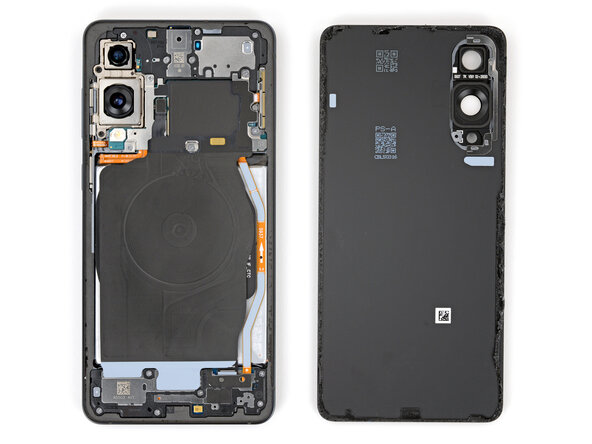
When you're working on prying apart the left and right edge adhesive, keep your pick under 3 mm deep to steer clear of messing up the wireless charging coil and interconnect cable. We believe in keeping your device safe while having a little fun!
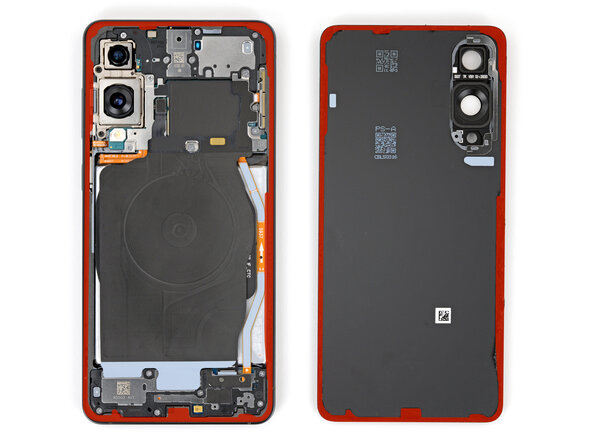
- The back cover is glued down around the edge of the frame. Check out this picture for a handy reference as you peel back that adhesive.
Step 6

If you're having a tough time getting that adhesive to budge, just crank up the heat a bit more and give it another go!
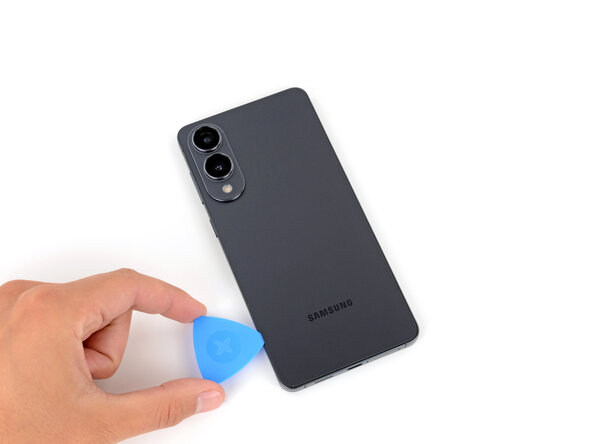
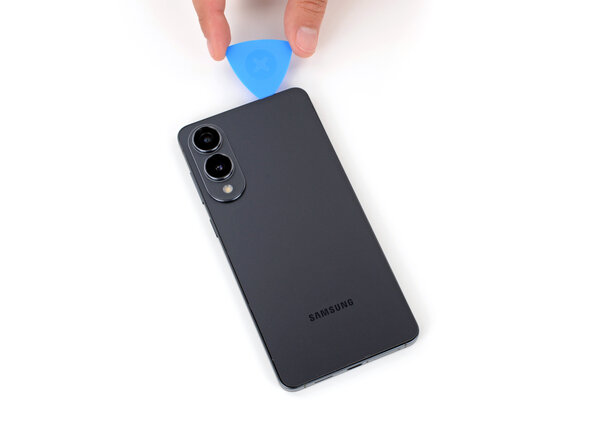
- Gently glide your opening pick along the bottom edge to break free the adhesive that's holding the back cover in place.
Step 7
Just a friendly reminder: keep your pick from diving too deep under those long left and right edges!
- Keep gliding your pick all around the back cover's edge to loosen up any leftover sticky stuff.
Step 8
If you're stuck, take a look around the edges for any leftover adhesive and grab your opening pick to help you pry it apart.
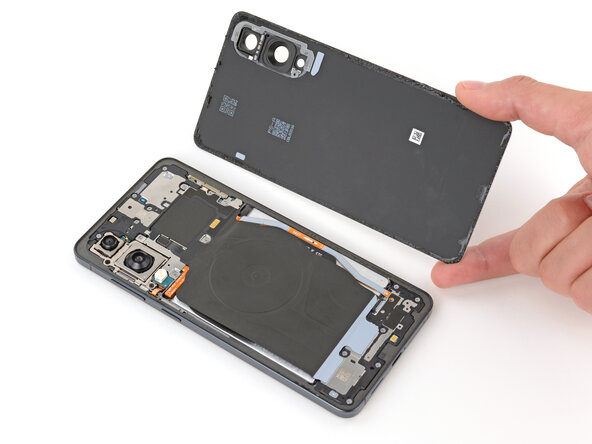
- Pop off that back cover like it's a lid on a soda can!
- Now, before you tuck everything back in, let's do a little check-up:
- This is the perfect moment to power on your phone and give all the features a test drive before you seal it up tight. Just don't forget to turn it off completely before diving back into the repair.
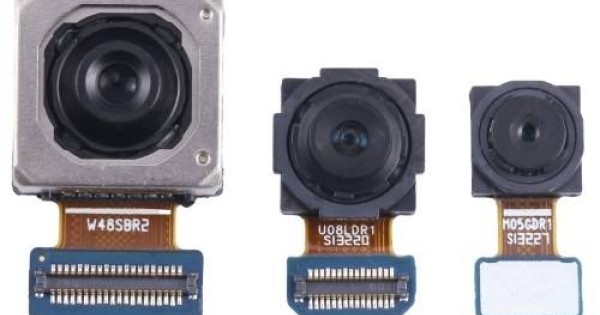
- Take a peek at those rear cameras—any smudges? A gentle wipe with a clean lint-free cloth should do the trick.
- Time to apply that replacement back cover adhesive! Slap it on either the frame or the back cover, whichever fits best. If it lines up with the back cover, follow this guide. If it's snug with the frame, check out this guide.
Step 9

Sliding the spudger under the connector can be a bit of a challenge. If you're finding it tough, give the tip of an opening pick a shot instead!
- Grab your trusty spudger and gently nudge it under the wireless charging assembly press connector. Give it a little lift to disconnect it from the top edge. You're doing great!
Tools Used

Step 10
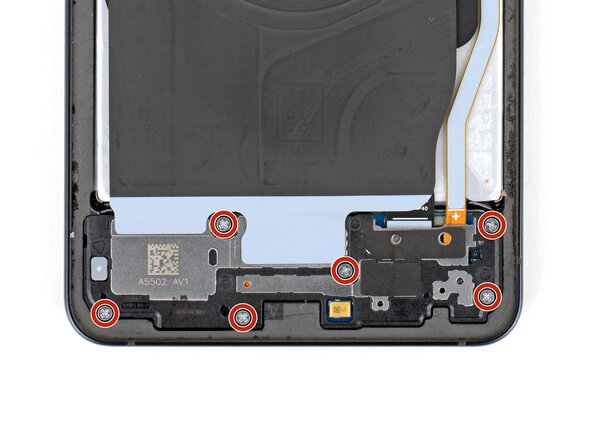
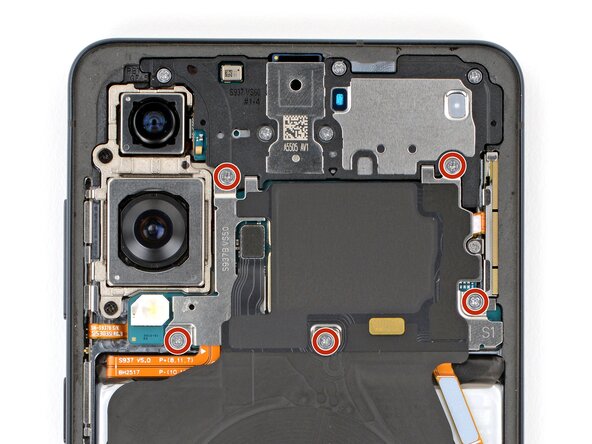
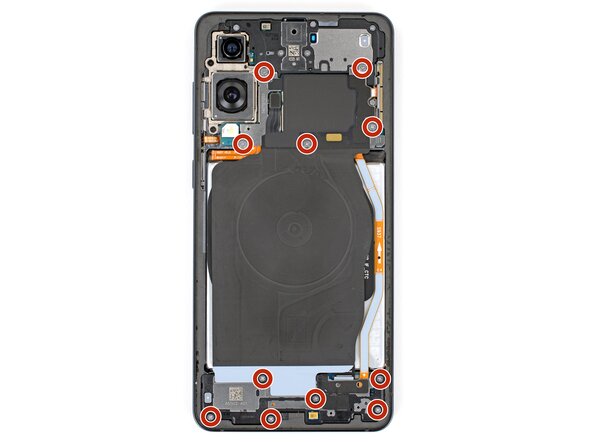
As you embark on this repair adventure, remember to keep a close eye on each screw and return it to its original home. You've got this!
- Grab a Phillips screwdriver and unscrew those eleven 2.8 mm screws holding the wireless charging and loudspeaker assembly in place. Easy does it—you're on your way! If you need a hand, you can always schedule a repair.
Step 11
The wireless charging coil is attached to the loudspeaker with some delicate tape, so it's a good idea to remove them together as one unit to avoid any potential damage. This will make the process easier and help you get the job done safely.
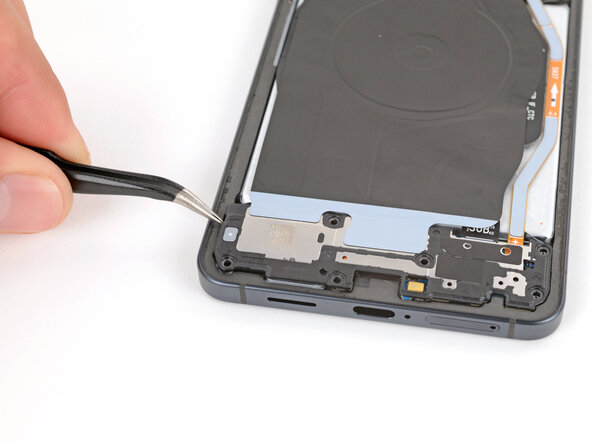
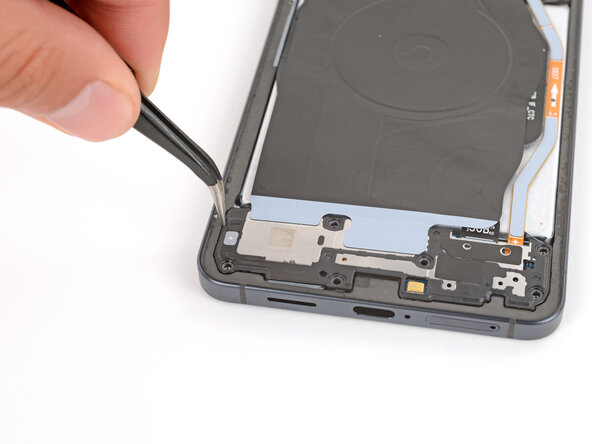
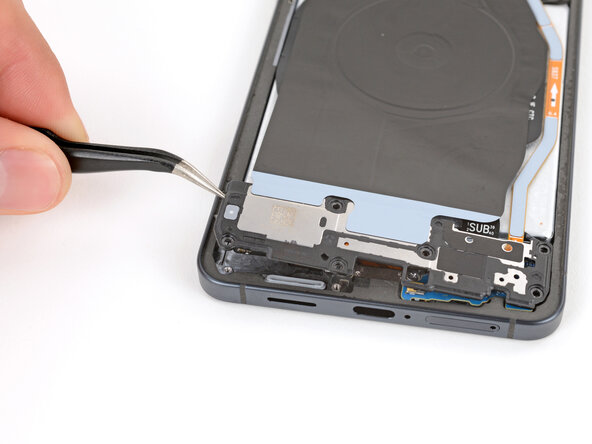
- Grab your trusty angled tweezers and gently pry up the loudspeaker from the notch on its left edge. It's like giving it a little nudge to say, 'Hey, time to come out!'
- When you're putting everything back together, give the loudspeaker a solid press around its edges to make sure those clips snap back into place. You've got this!
Tools Used

Step 12
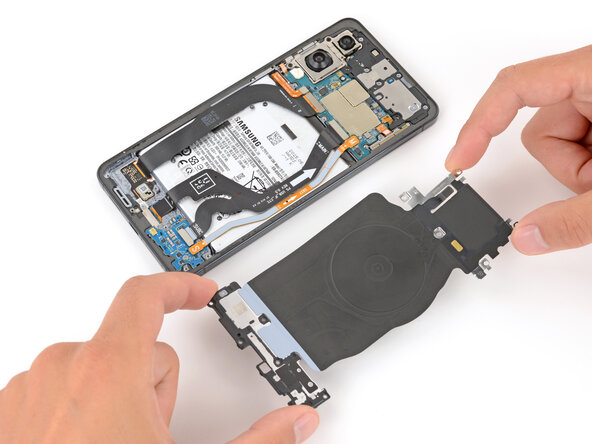
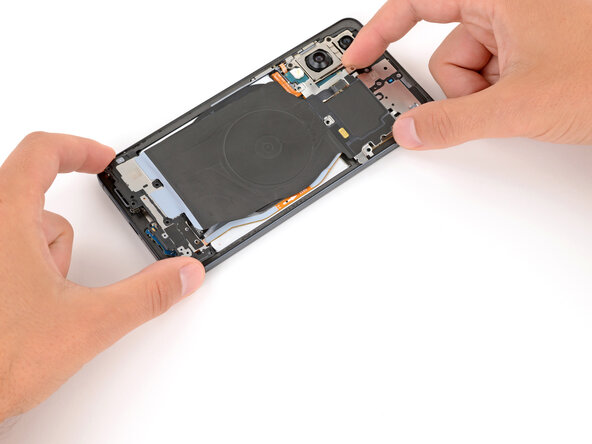
- Grab the wireless charging and loudspeaker assembly with both hands and gently lift it out. Easy does it!
Step 13
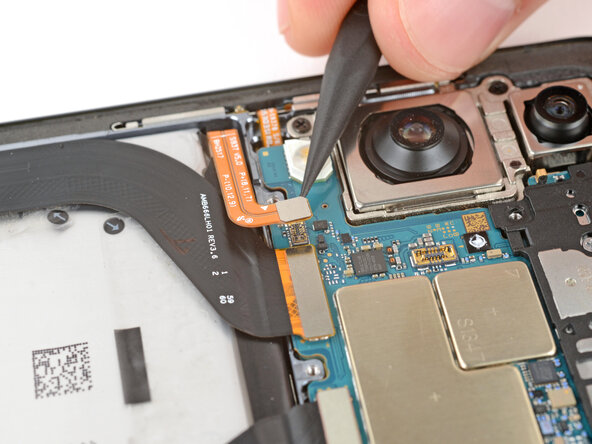
Each press connector is marked with a handy gold arrow on the board, guiding you to the perfect spot for prying—pretty cool, right? Just make sure to avoid prying in the wrong areas, as that could lead to some unfortunate damage to the delicate components on the board.
- Gently use the tip of a spudger to lift and disconnect the battery press connector.
Tools Used
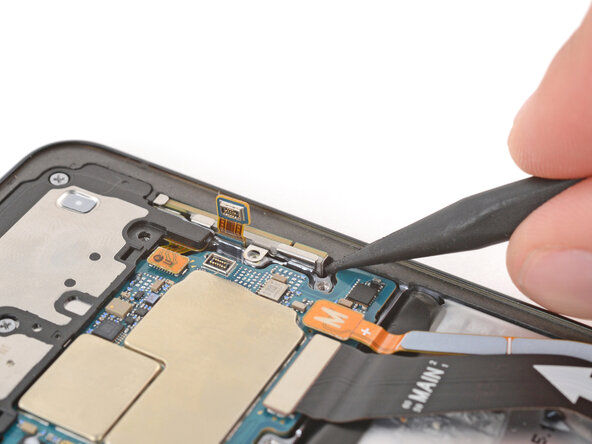
Step 14
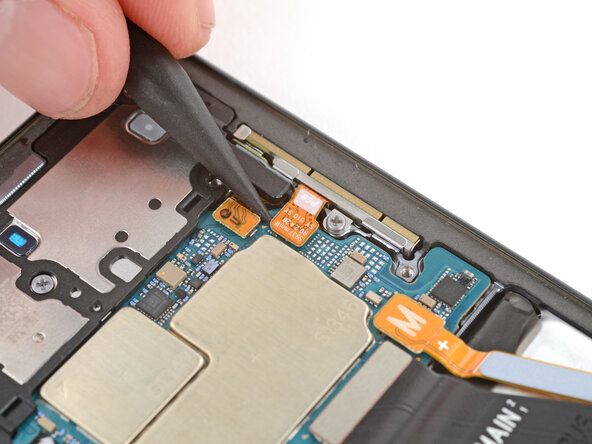
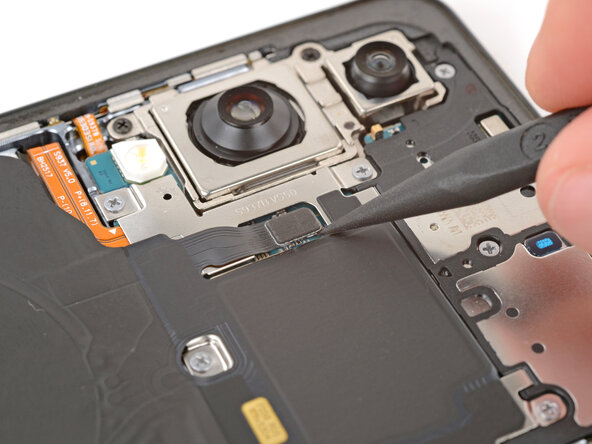
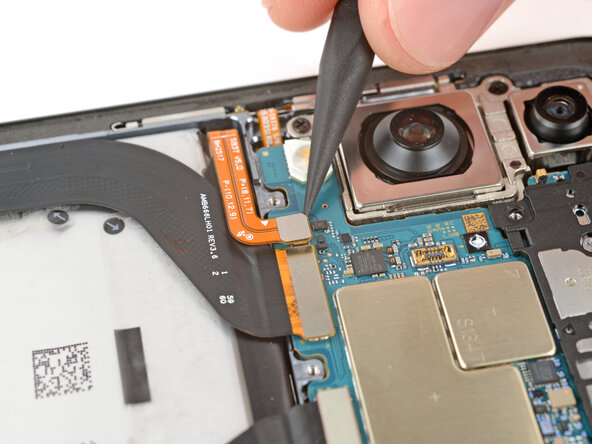
- Gently use the tip of a spudger to lift and disconnect the 5G mmWave antenna press connector. You've got this!
Tools Used
Step 15

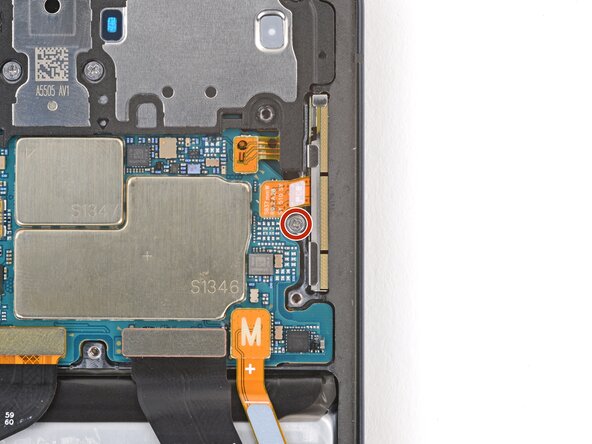
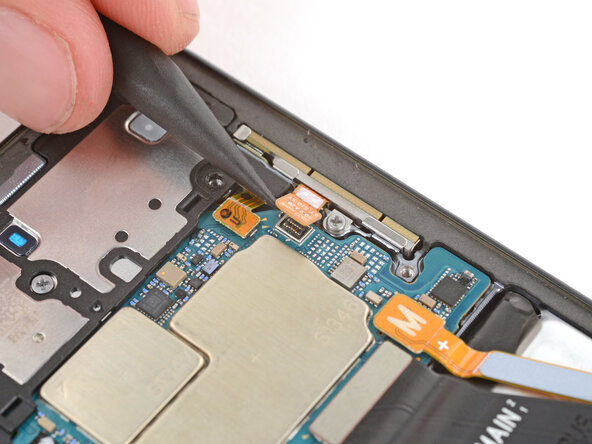
- Grab your trusty Phillips screwdriver and carefully remove the 2.5 mm-long screw that’s holding the 5G mmWave antenna in place. You've got this!
Step 16
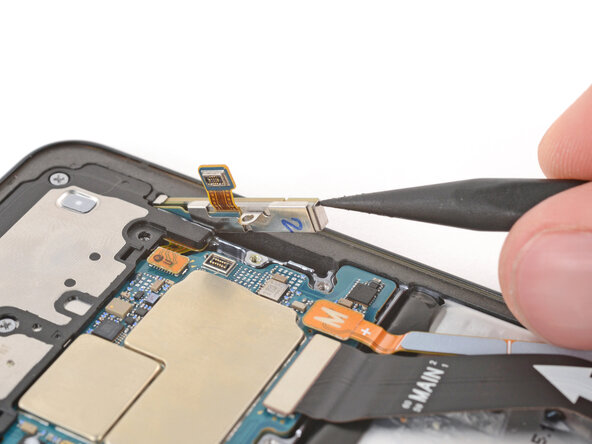
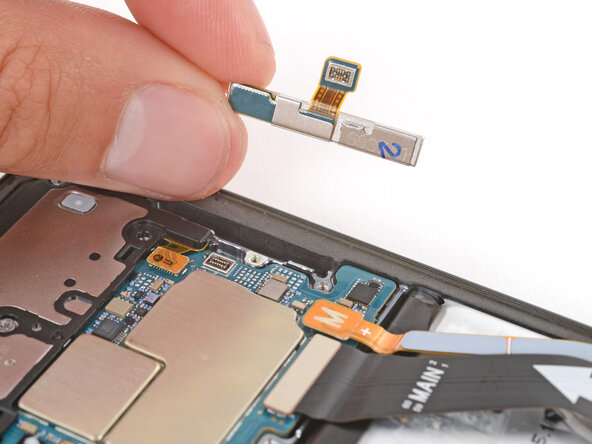
- Ready to bring your device back to life? Just reverse these steps and put it all back together!
- Got some old gadgets lying around? Make sure to drop them off at an R2 or e-Stewards certified recycler.
- Things didn’t go as smoothly as you hoped? No worries! Give some basic troubleshooting a shot, or you can always check in with our Answers Community for some extra help.
-