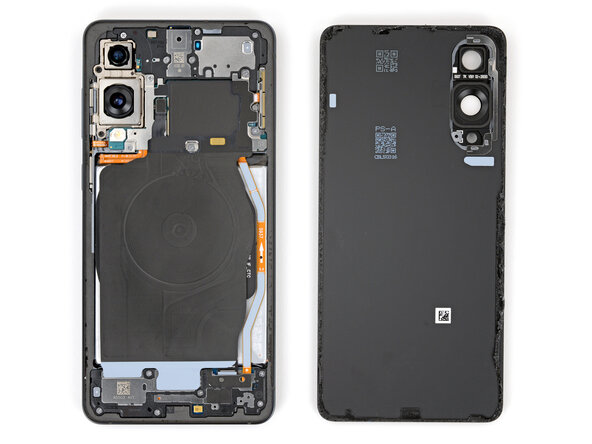
Samsung Galaxy S25 Edge Back Cover Replacement
Duration: 45 minutes
Steps: 8 Steps
Ready to give your Samsung Galaxy S25 Edge a makeover? Let’s dive into replacing that broken or cracked back cover! Just grab some replacement back cover adhesive, and you’ll be all set for this repair adventure. If you need help, you can always schedule a repair.
Step 1
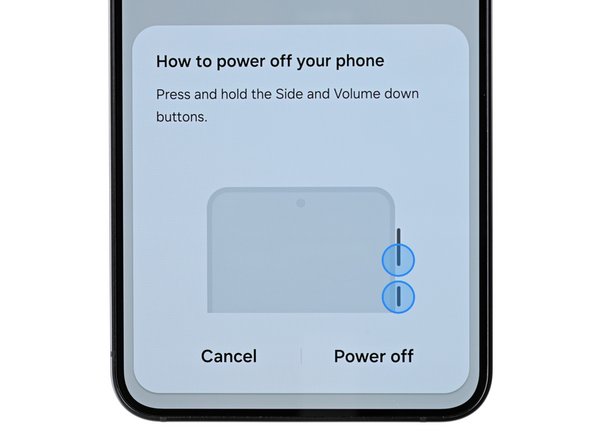
Before diving into this repair adventure, make sure your phone's battery is below 25%. Trust us, a charged lithium-ion battery can be a bit dramatic if it gets damaged!
- Totally shut down your phone and unplug all those pesky cables.
Step 2
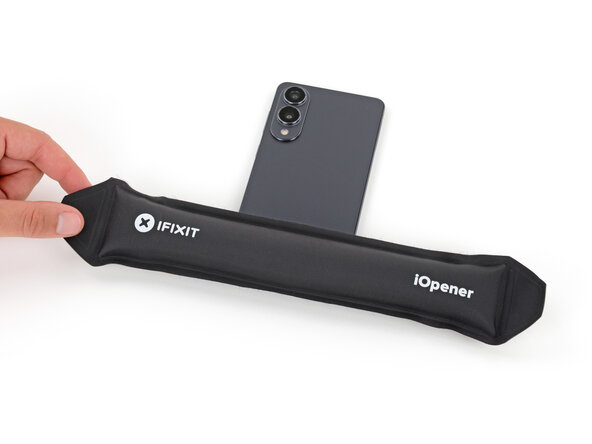
A bit of mild adhesive is holding the back cover in place. A little warmth will work wonders, softening that adhesive and making it a breeze to peel it off.
You can get creative with this too! A hair dryer, heat gun, or even a hot plate can be your best friends in warming up the cover.
- Grab your trusty iOpener and give it a warm-up session! Place it on the bottom edge of the back cover for a cozy two minutes. This will help loosen that pesky adhesive and make your repair a breeze!
Tools Used


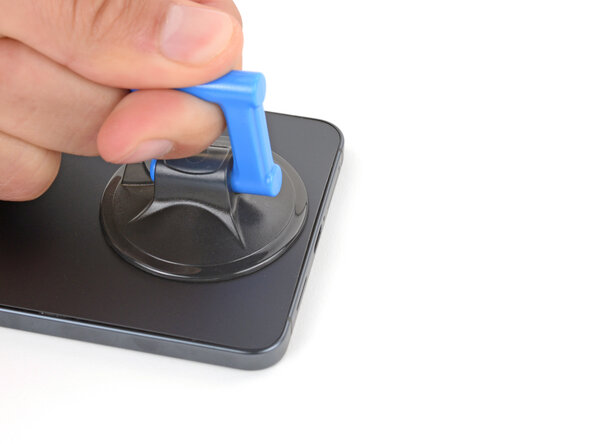
Step 3
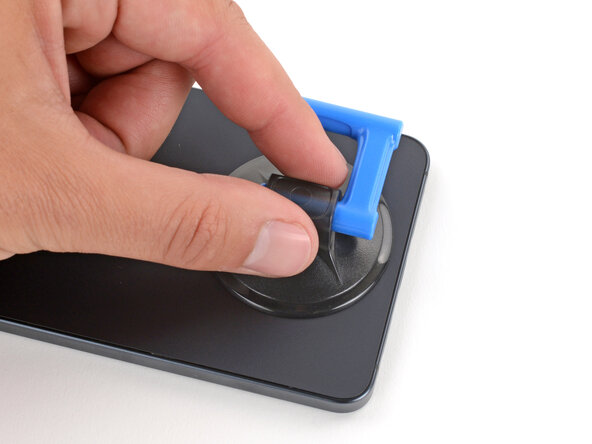
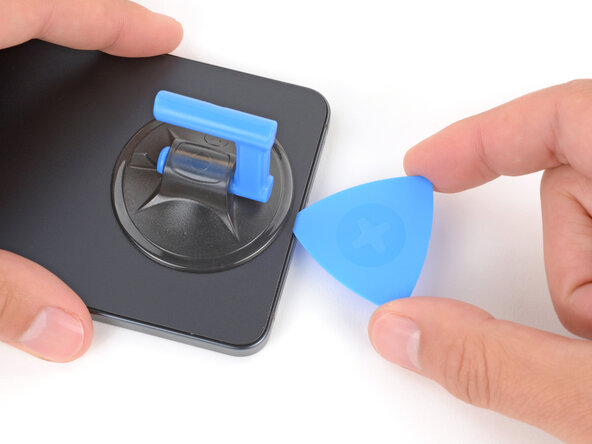
- Grab a suction handle and place it close to the bottom edge of the back cover, right in the center. Get as close to the edge as you can!
Tools Used

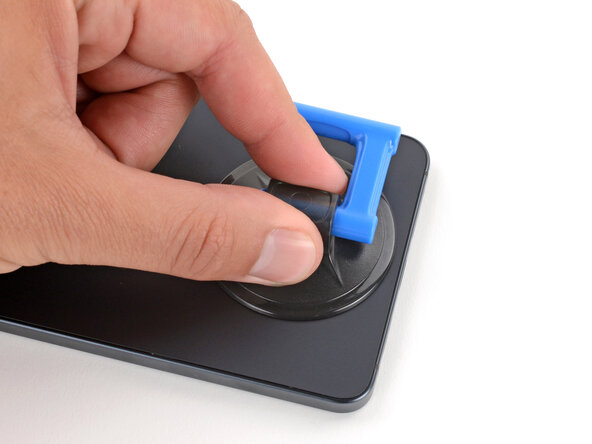
Step 4
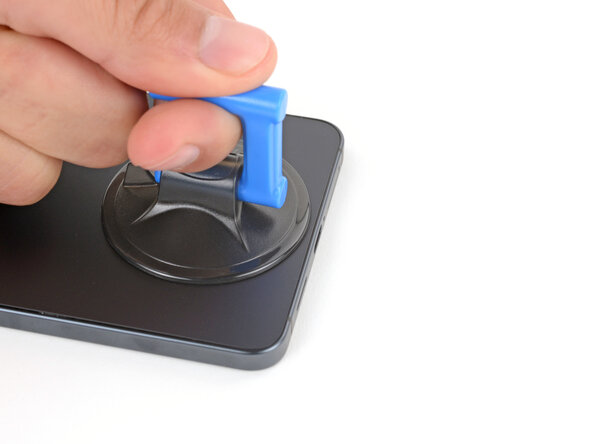
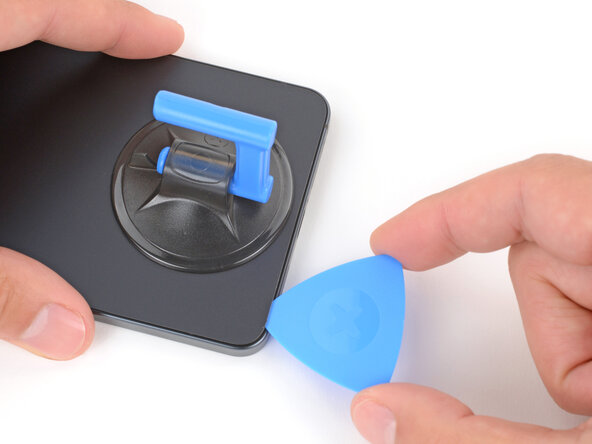
- Grip the suction handle firmly and pull upward with steady, confident pressure until you see a slight gap between the cover and the frame. Then, gently slide an opening pick into that gap to start lifting it away.
Tools Used
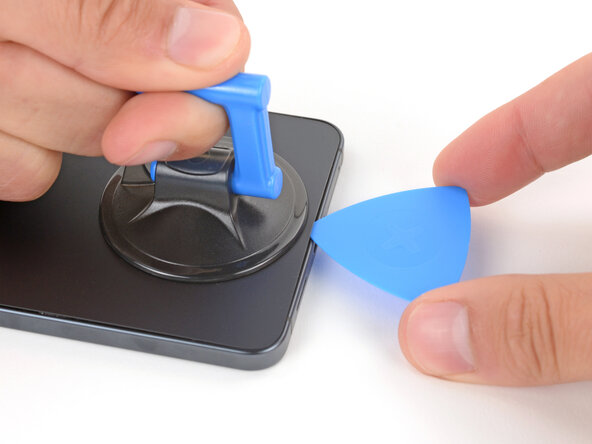
Step 5
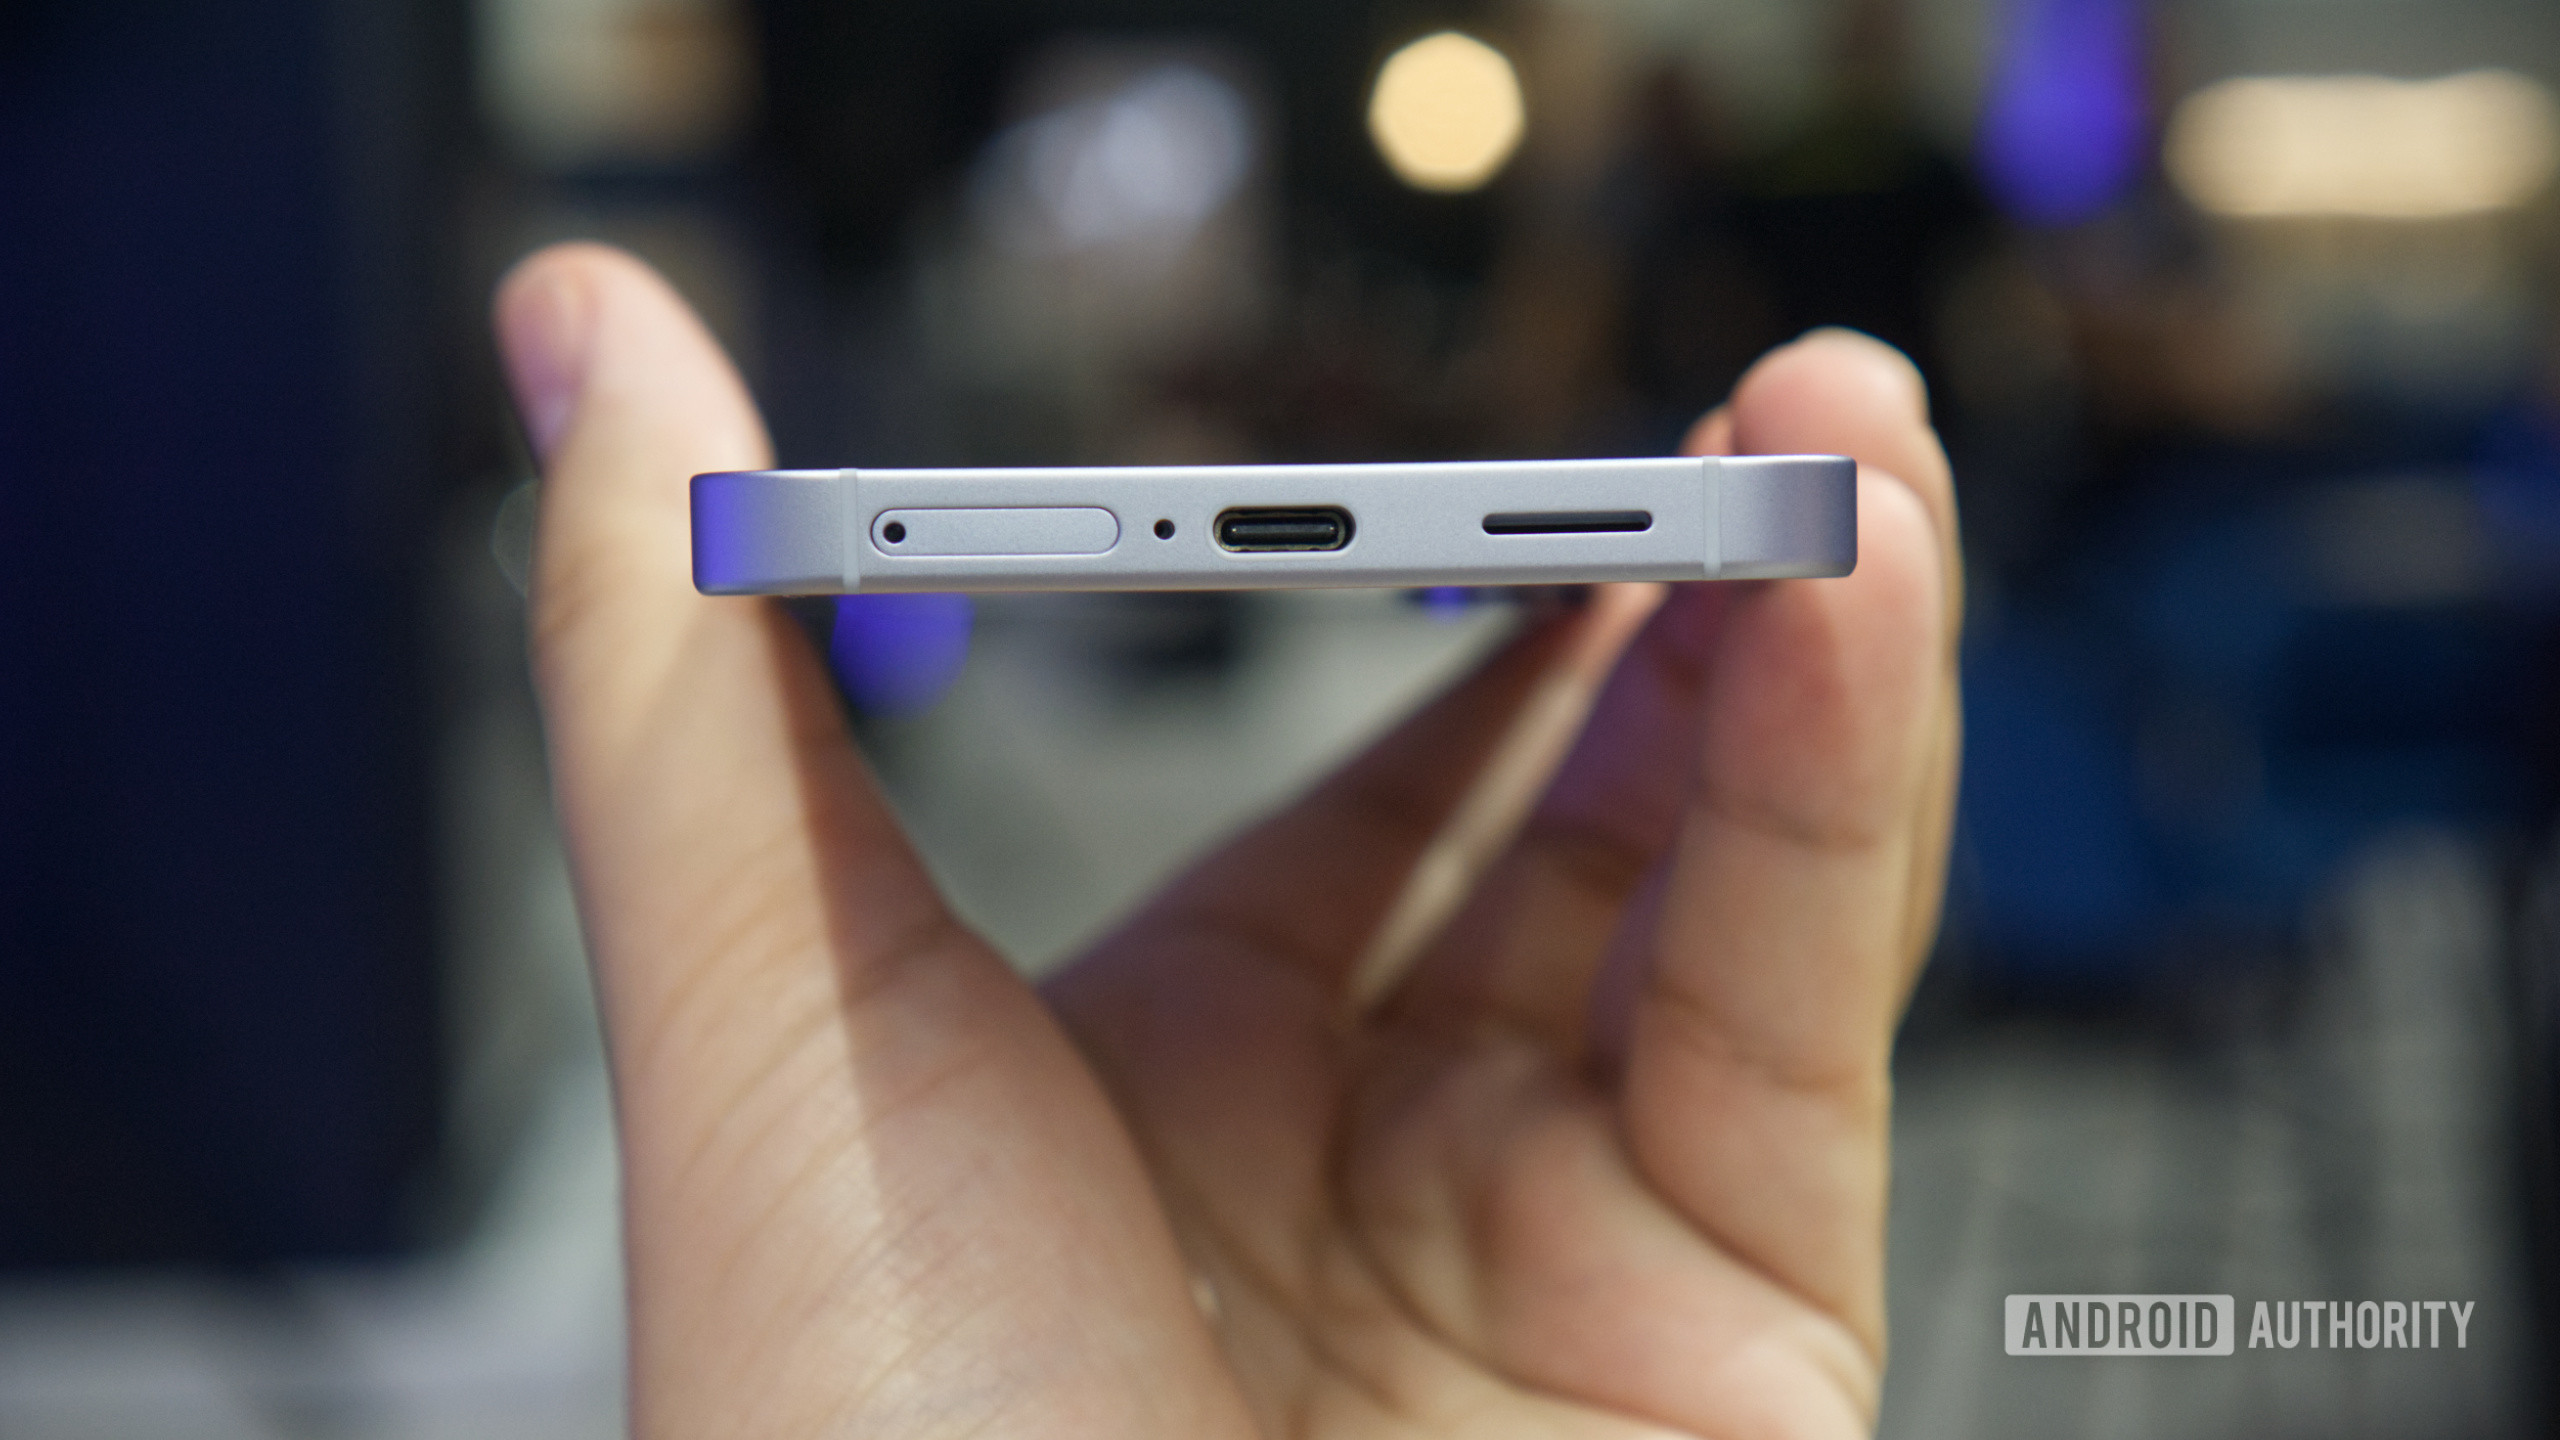
When you're peeling apart the left and right edge adhesive, remember to keep your pick no deeper than 3 mm. We want to keep the wireless charging coil and interconnect cable safe and sound!
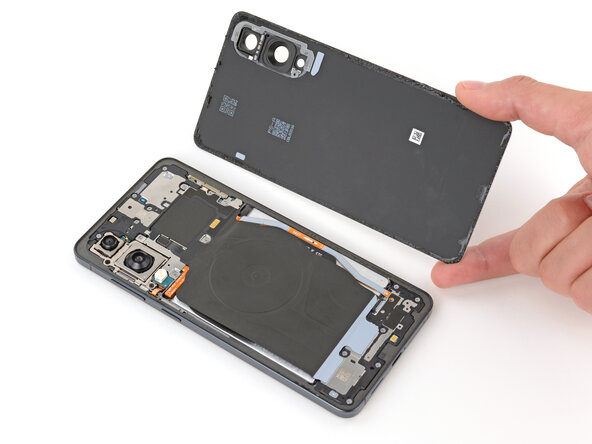
- The back cover is held in place with some sticky stuff all around the edges. Check out this picture to guide you as you peel away that adhesive. You've got this!
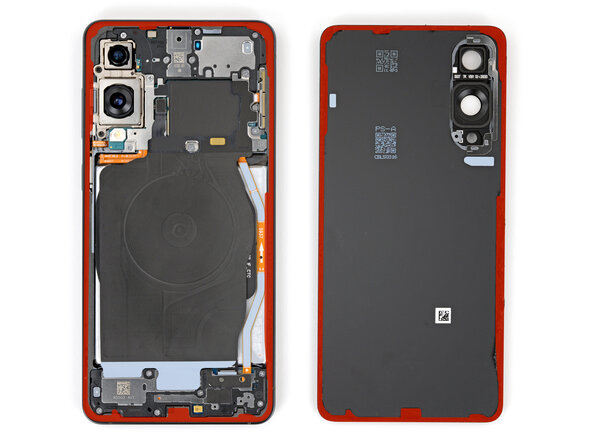
Step 6

If you're having a tough time peeling away that adhesive, just crank up the heat a bit and give it another go!
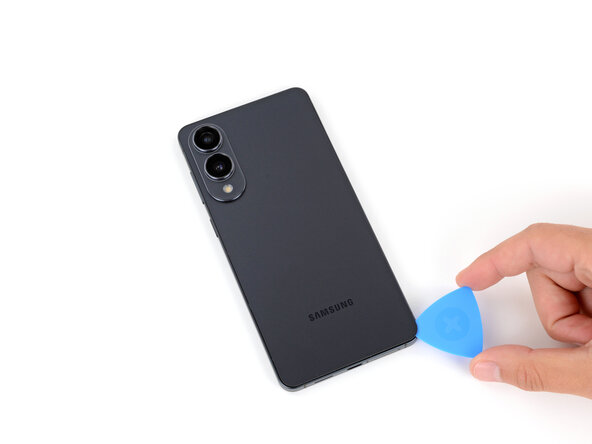
- Gently glide your trusty opening pick along the bottom edge to free the back cover from its adhesive hug.
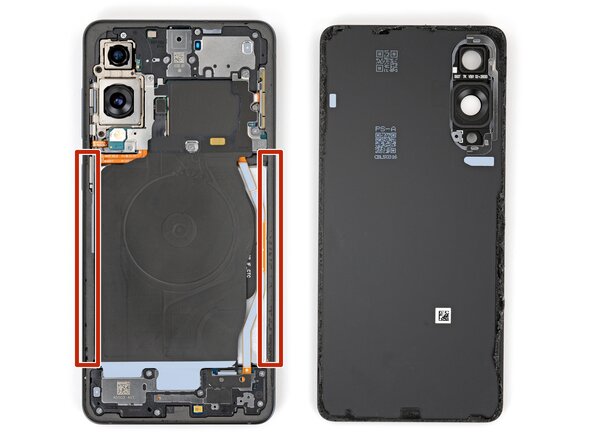
Step 7
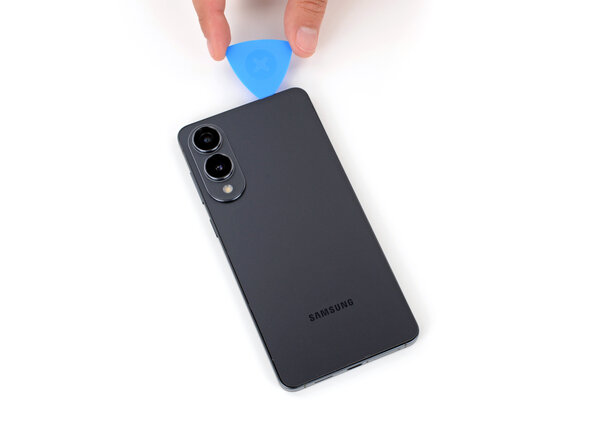
Hey there! Just a friendly reminder to keep your pick from diving too deep under those long left and right edges. We want to keep everything safe and sound!
- Keep gliding your pick around the entire edge of the back cover to loosen up all that stubborn adhesive. You've got this!
Step 8
If you're running into a bit of a snag, take a peek around the edges for any leftover adhesive. Grab your trusty opening pick and gently pry it apart!
- Uh-oh! Did the repair go a bit sideways? No worries! Give some basic troubleshooting a shot, or swing by our Answers Community for a little extra support.
-