Samsung Galaxy S25 Edge Earpiece Speaker Replacement
Duration: 45 minutes
Steps: 17 Steps
Got crackling, static, or silence during your calls on the Samsung Galaxy S25 Edge? It might be time to swap out that tired earpiece speaker. Grab some fresh back cover adhesive before you start, and follow these steps to bring your calls back to life. If you run into trouble, you can always schedule a repair.
Step 1
Make sure your phone's battery is below 25% before diving into this repair adventure. A fully charged lithium-ion battery can be a little too fiery if it gets damaged, and we definitely want to avoid that!
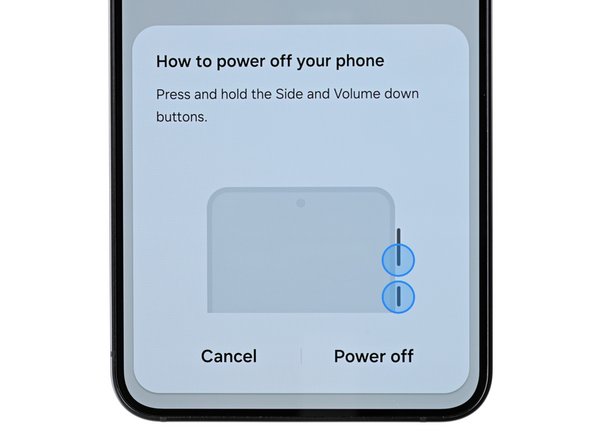
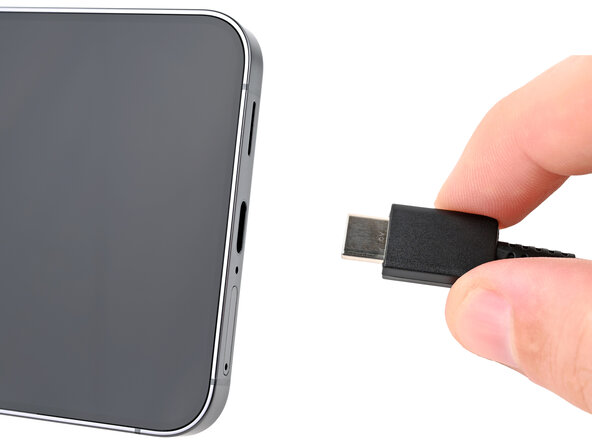
- Make sure your phone is completely turned off and all cables are unplugged.
Step 2

The back cover is held on by a little bit of adhesive magic. A bit of heat will work wonders, softening that adhesive and making it a breeze to pop off.
You can use a hair dryer, heat gun, or even a hot plate to give that cover a warm hug.
- Warm up an iOpener and place it on the bottom edge of the back cover for a cozy two minutes to get that adhesive all nice and soft.
Tools Used


Step 3
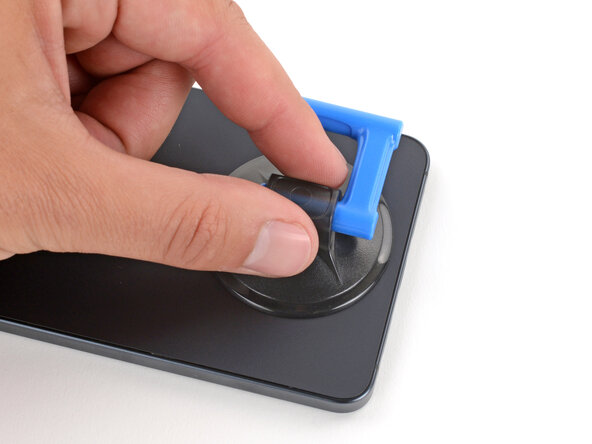
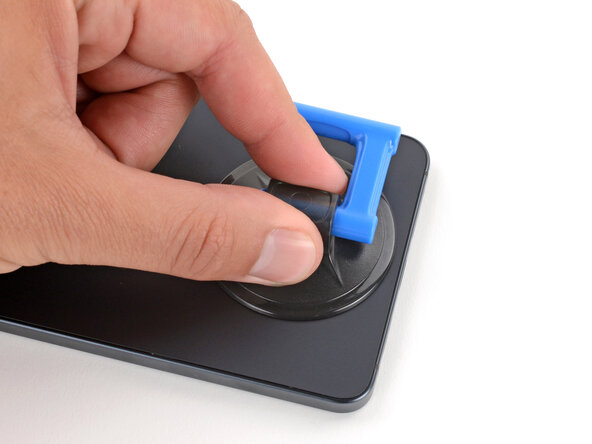
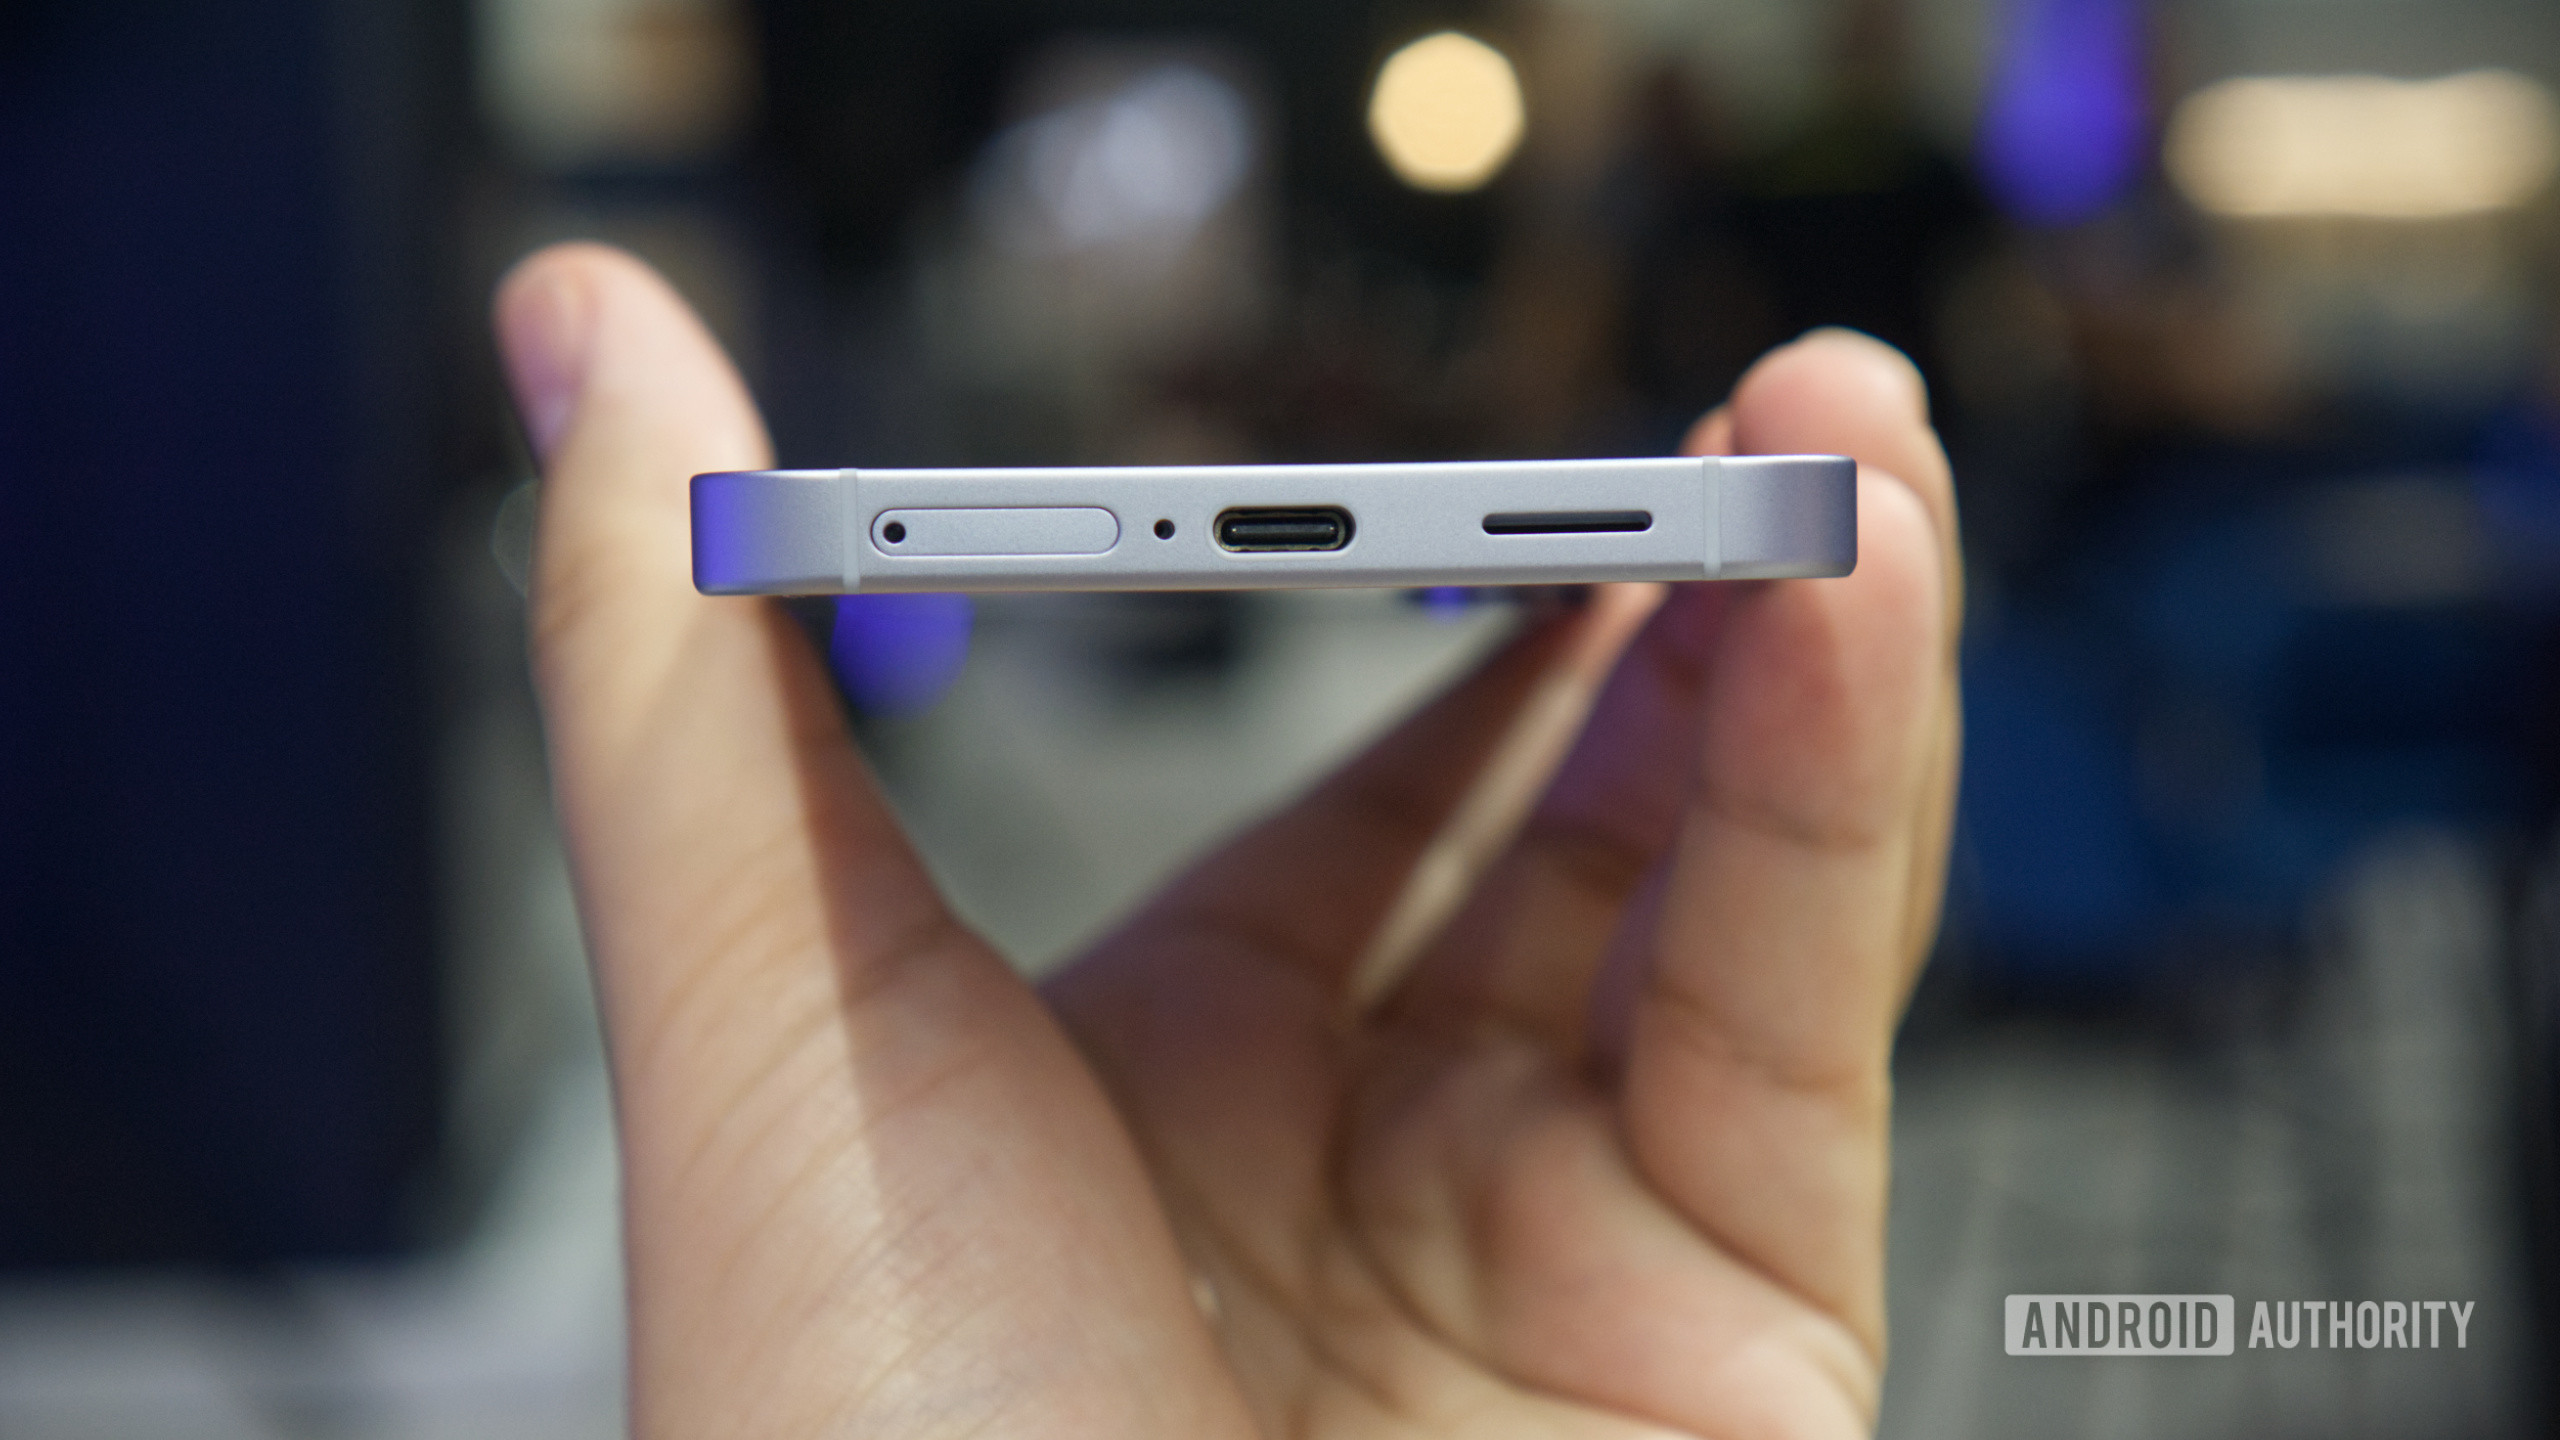
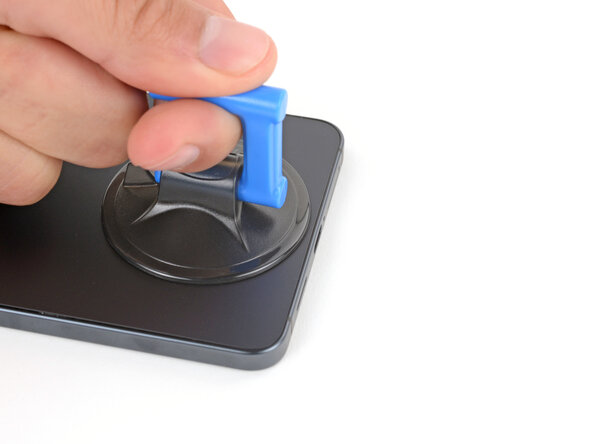
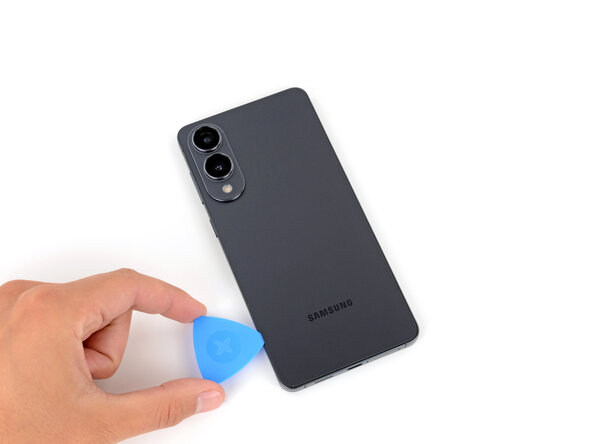
- Stick the suction handle near the bottom edge of the back cover, right up close to the edge.
Tools Used

Step 4
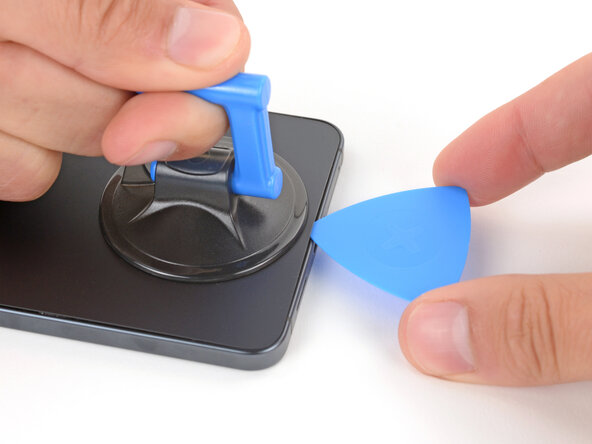
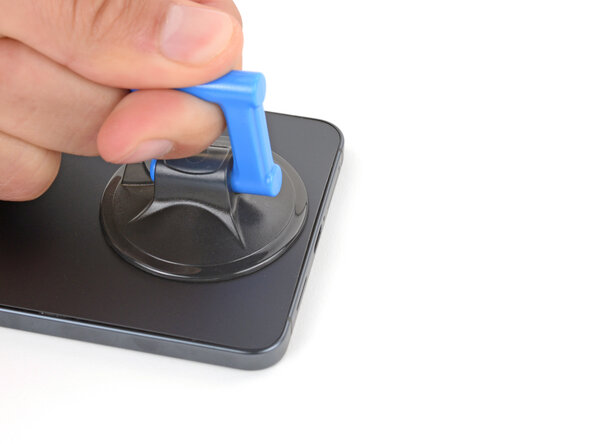
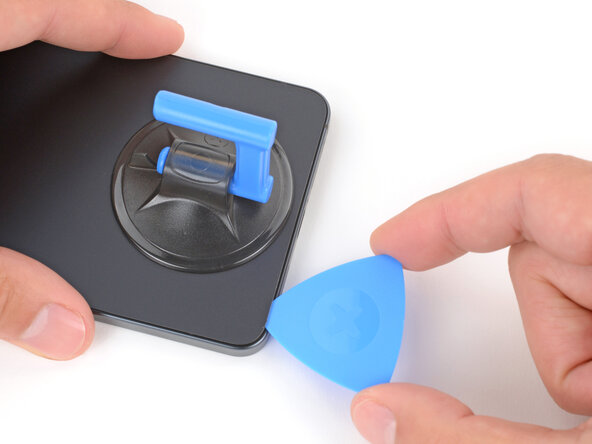
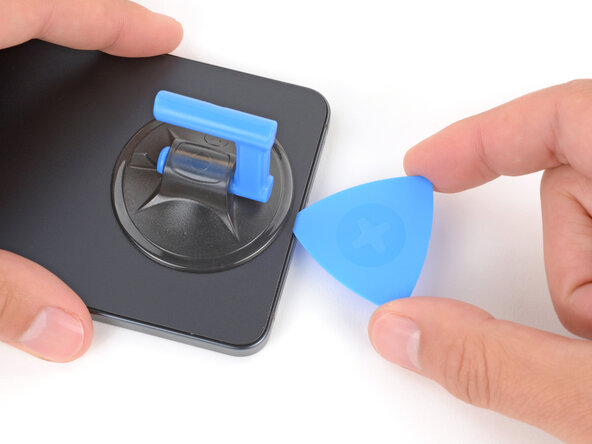
- Get a grip on that suction handle and pull up with some serious strength until you see a gap start to form between the cover and the frame. You got this!
- Now it's time to bring in the reinforcements - insert the tip of an opening pick into the gap you just created. Easy does it!
Tools Used
Step 5
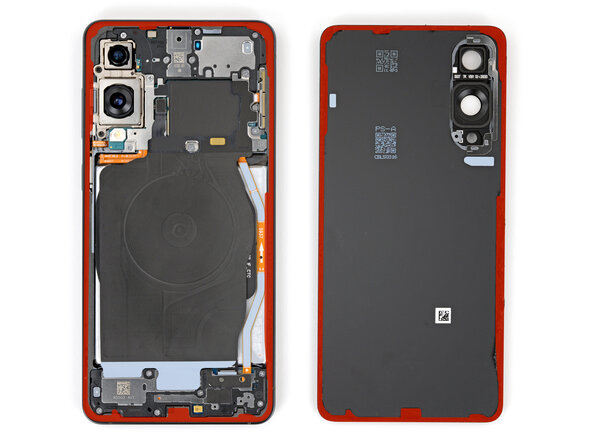
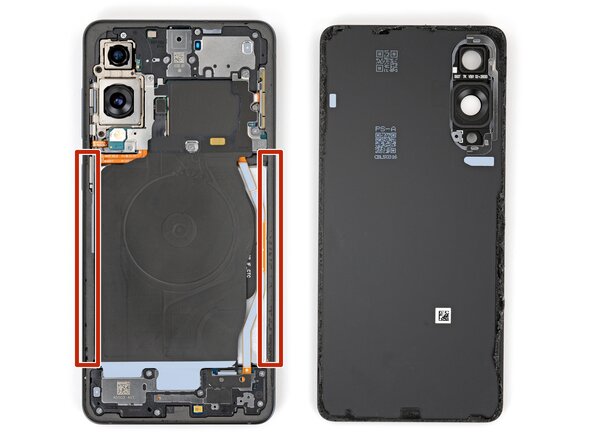
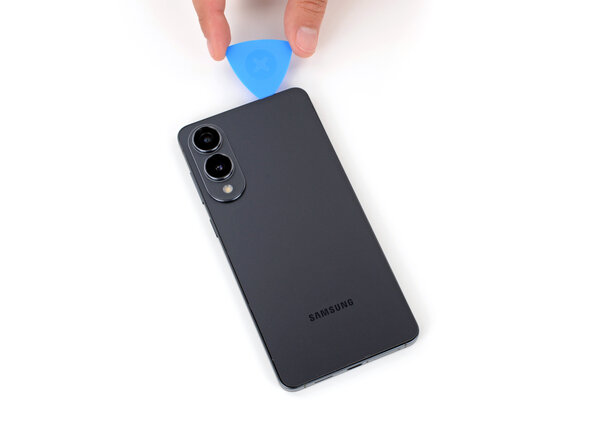
As you gently pry apart the left and right edge adhesive, remember to keep your pick no deeper than 3 mm. This little tip helps you steer clear of messing with the wireless charging coil and interconnect cable!
- The back cover is held in place by adhesive all around the edge. Take a look at this picture to see where that sticky stuff is hiding as you work your way around.
Step 6

Stuck with that adhesive? No worries! Just crank up the heat a bit more and give it another go!
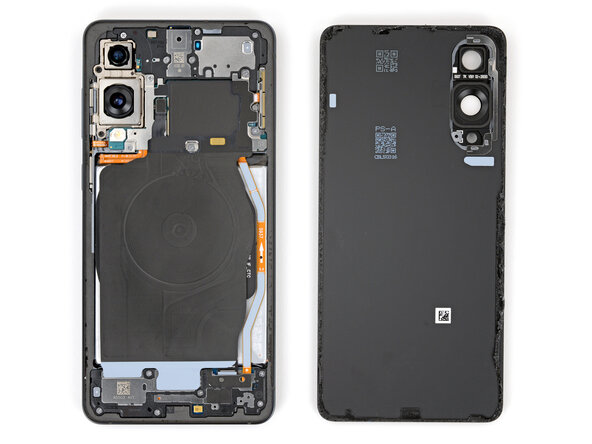
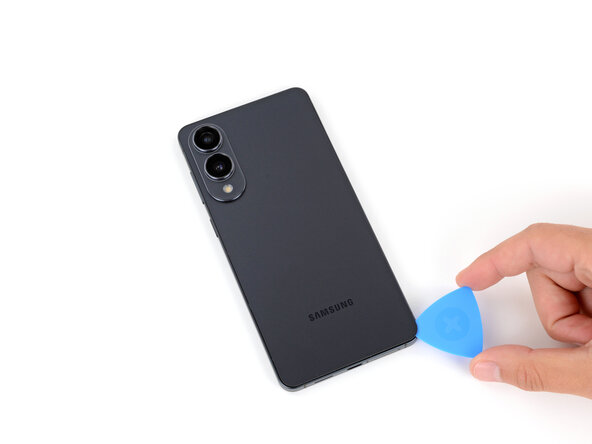
- Gently slide your opening pick along the bottom edge to loosen the adhesive holding the back cover. Keep it steady and work your way around—patience is key! If you need help, you can always schedule a repair.
Step 7
Just a friendly reminder: don't shove your pick too far under the long left and right edges. Keep it gentle and steady!
- Keep gliding your pick all around the edges of the back cover to break free any leftover adhesive. You've got this!
Step 8
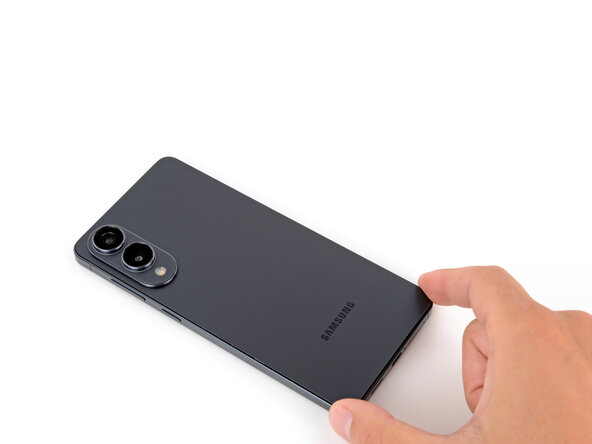
If things aren't budging, do a quick lap around the edge—there might be some stubborn adhesive still hanging on. Glide your opening pick along the sides to finish the job.
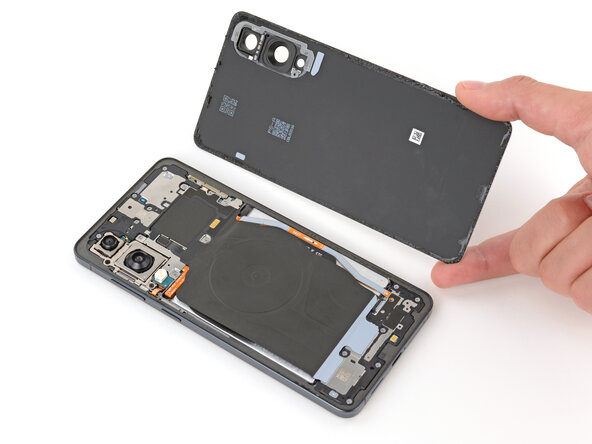
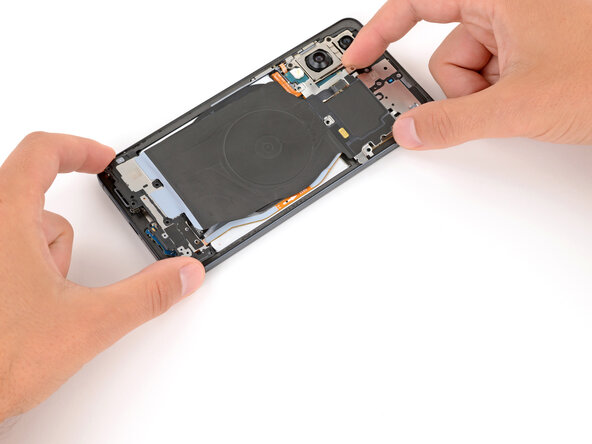
- First up, let's get that back cover off, shall we?
- While you're putting everything back together:
- Now's a perfect time to power on your device and give all the functions a quick test run before sealing things up. Just remember to turn it off completely before diving back in!
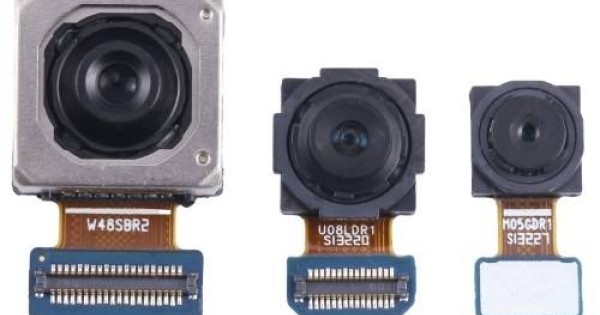
- Take a moment to check your rear cameras for any pesky smudges. If you spot any, just give them a gentle wipe with a clean, lint-free cloth.
- When it's time to apply your replacement back cover adhesive, make sure to check if it aligns better with the frame or the back cover. Use those cutouts and contours to find the sweet spot. If it fits the back cover, follow this guide. If it fits the frame, use this guide.
Step 9

Slipping the spudger under the connector can be a little awkward. If it's giving you a hard time, try switching to the tip of an opening pick—it might just do the trick!
- Gently pop up the wireless charging assembly press connector from the top edge using the pointy end of your spudger. Easy does it—just lift and disconnect!
Tools Used

Step 10
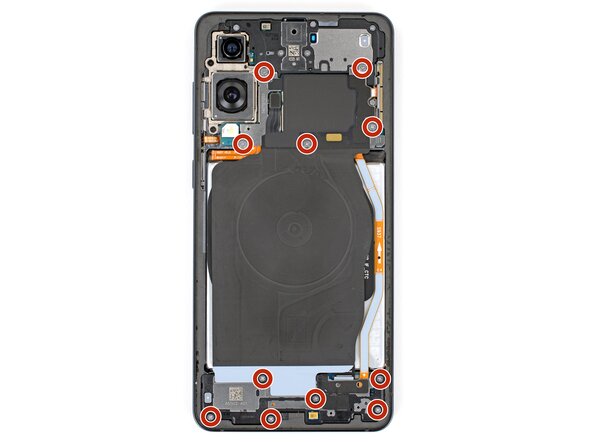
As you dive into this repair adventure, remember to keep an eye on each screw. They'll want to return to their original home, just like a boomerang!
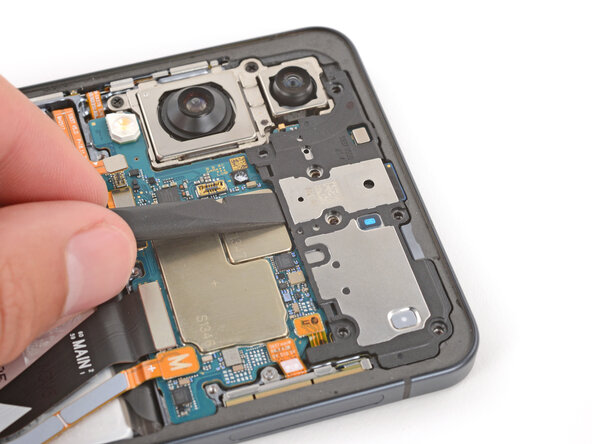
- Grab your trusty Phillips screwdriver and get ready to tackle those eleven 2.8 mm-long screws holding the wireless charging and loudspeaker assembly in place. You've got this!
Step 11
The wireless charging coil and loudspeaker are held together with some pretty delicate tape, so it’s best to take them out as a team. This way, you dodge any accidental damage and keep things smooth.
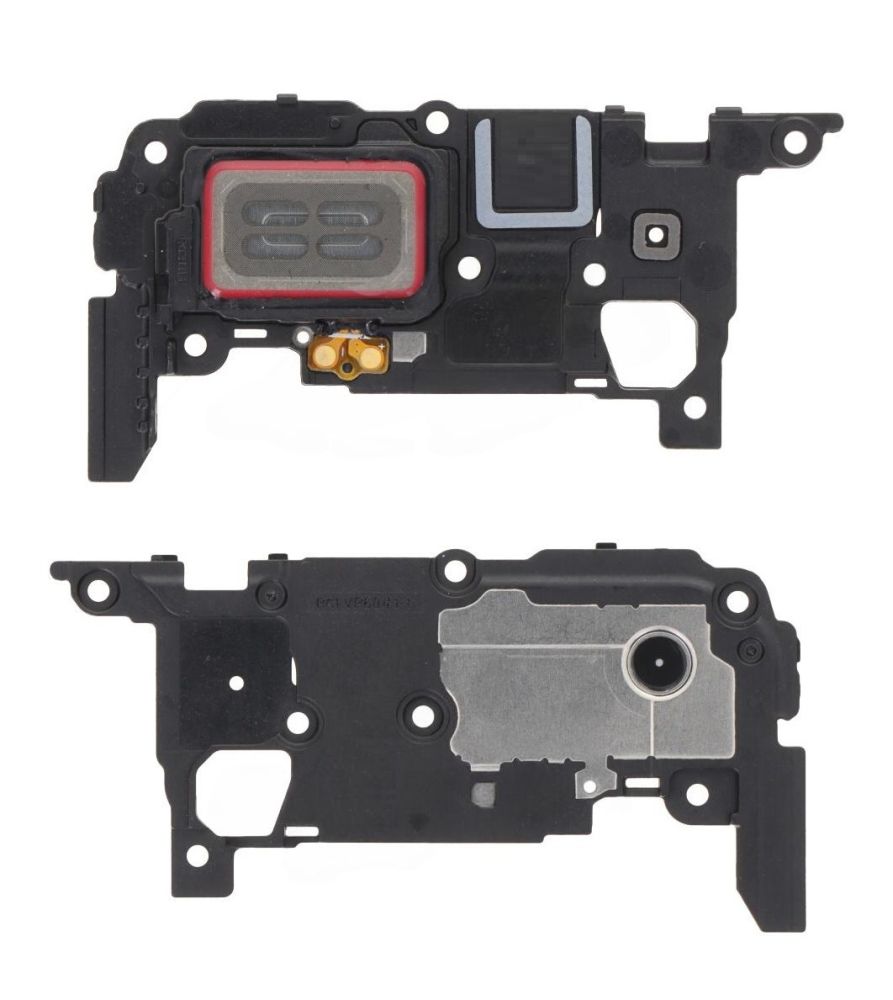
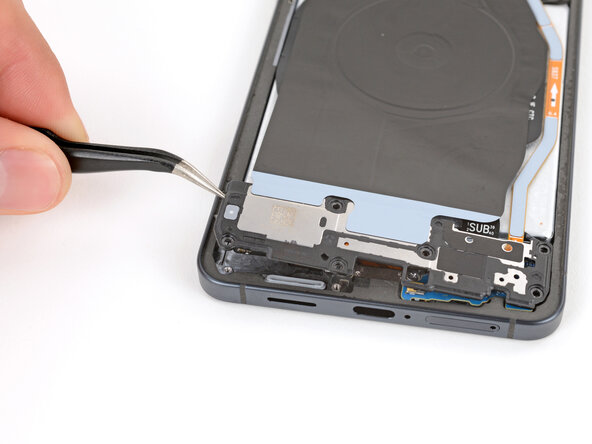
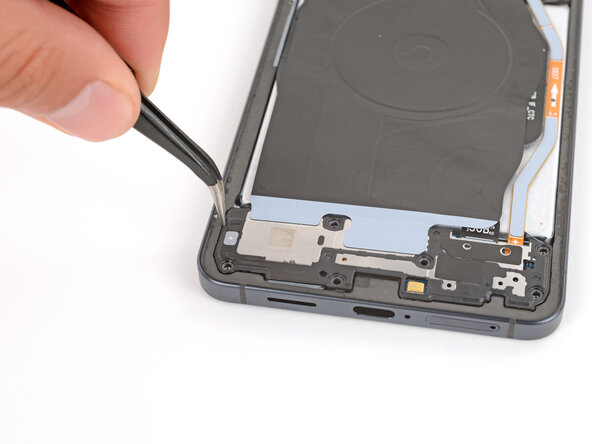
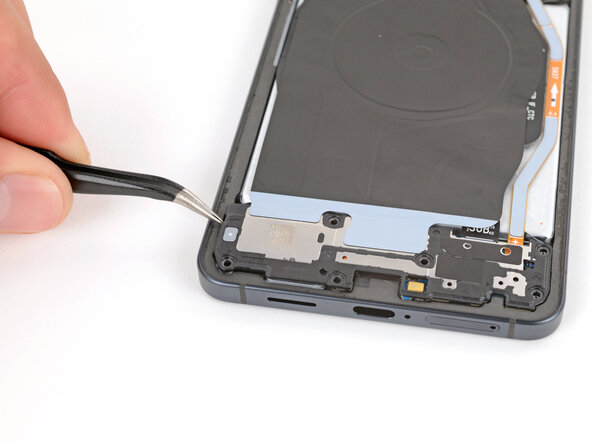
- Grab your angled tweezers and gently pop up the loudspeaker by hooking the notch on its left side. Take it slow and smooth—no need to wrestle it!
- When putting everything back together, give a firm press all around the loudspeaker’s edge to snap those clips right into place.
Tools Used

Step 12
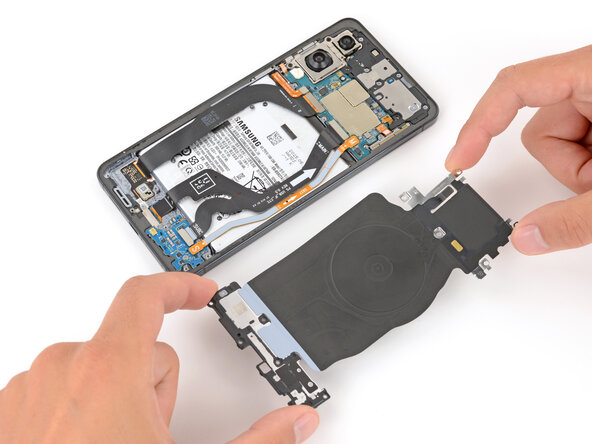
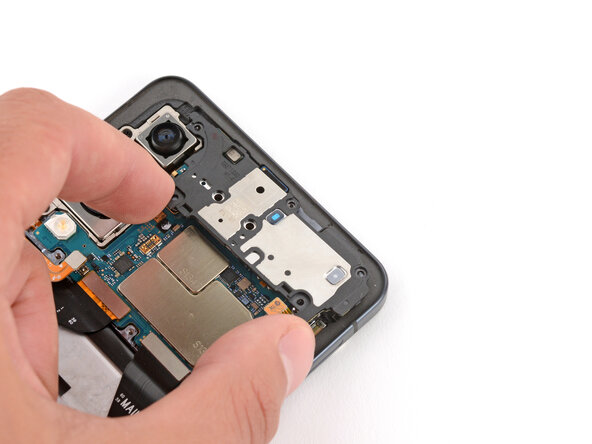
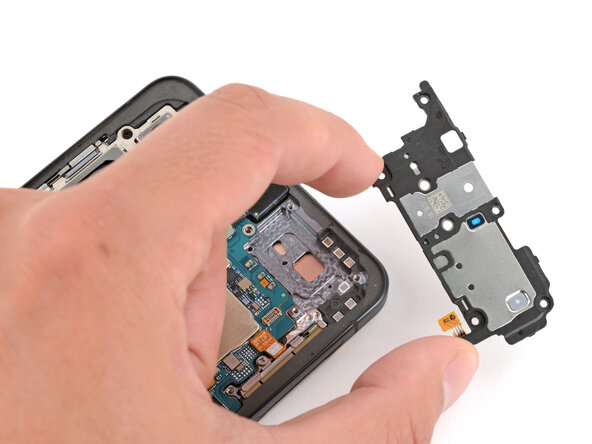
- With a gentle touch, use both hands to carefully lift and take out the wireless charging and loudspeaker assembly. Remember, teamwork makes the dream work!
Step 13
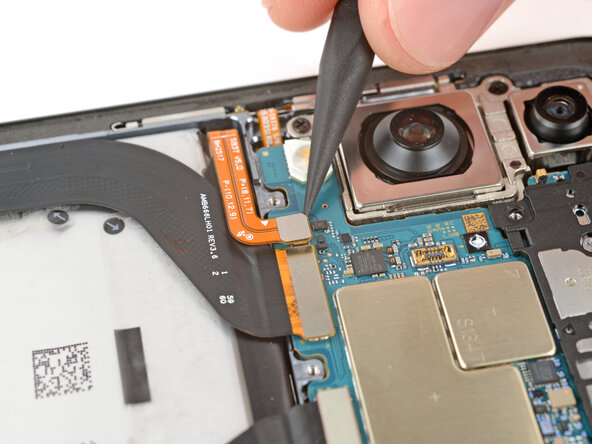
Each press connector features a handy gold arrow on the board, guiding you to the right spot for prying—how cool is that? Just remember, if you pry in the wrong place, you might end up damaging those delicate surface-mounted components. So, keep an eye out for that arrow!
- Grab your trusty spudger and gently nudge up the battery press connector to disconnect it. You've got this!
Tools Used
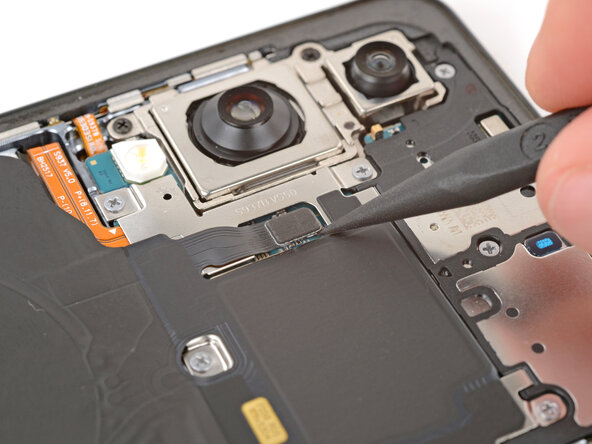
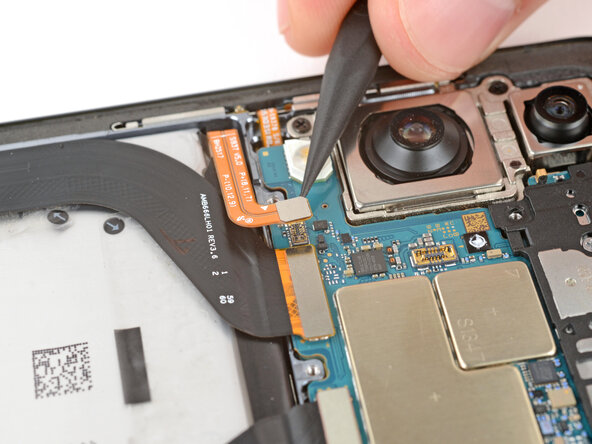
Step 14
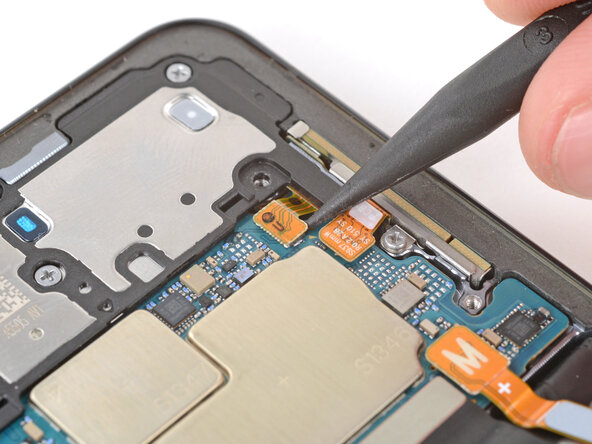
- Grab your trusty spudger and gently wiggle it in to lift up and disconnect that earpiece speaker press connector. You're doing great!
Tools Used
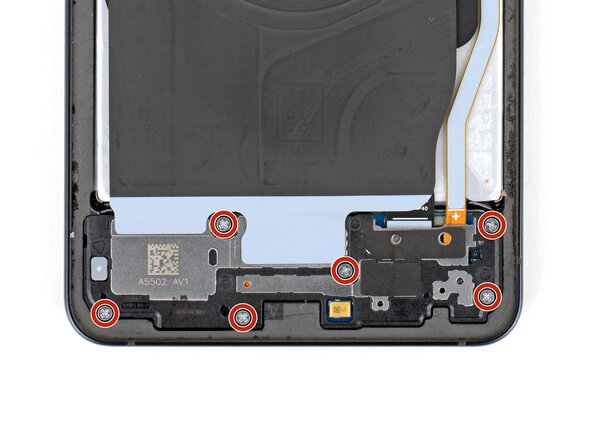
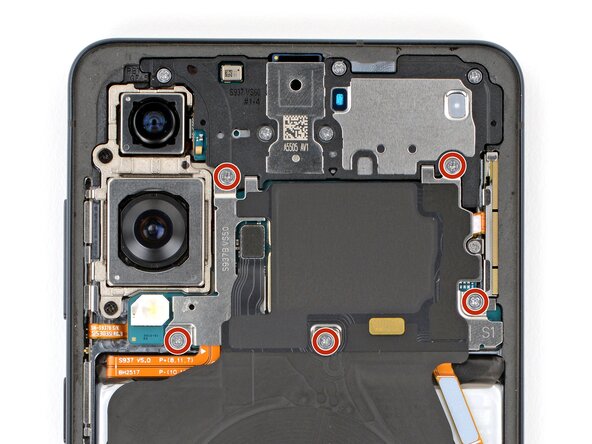
Step 15
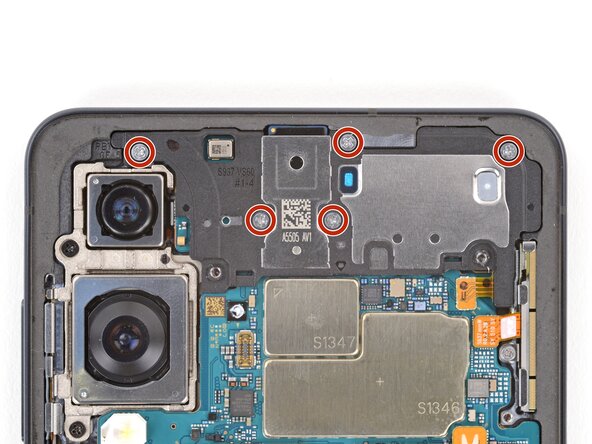
- Grab your Phillips screwdriver and take out the five 2.8 mm screws holding down the earpiece speaker.
Step 16
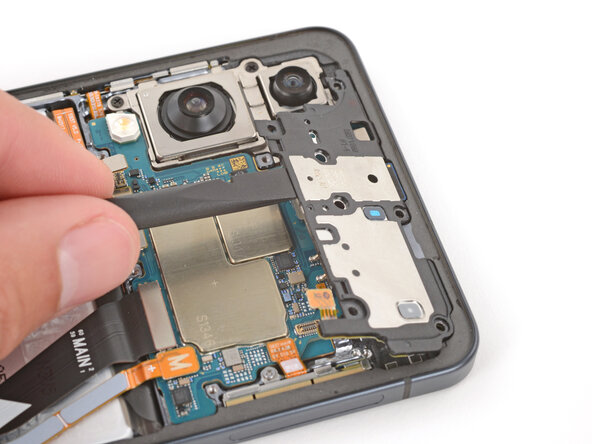
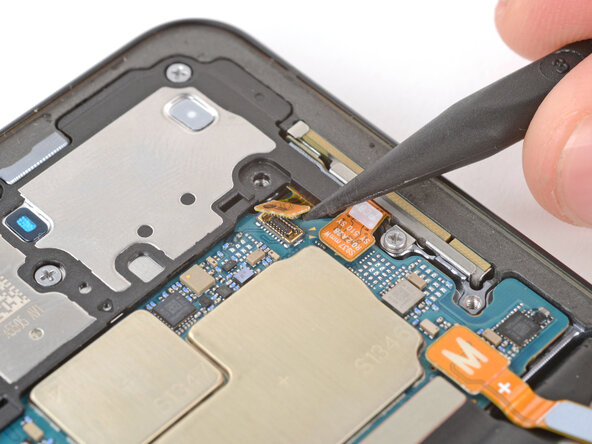
- Grab your trusty spudger and use its flat end to gently lift and unclip the earpiece speaker from its cozy spot at the center of the bottom edge.
- When you're putting everything back together, give a firm press around the edges of the earpiece speaker to make sure those clips are nice and secure.
Tools Used
Step 17
- Compare your new replacement part to the original one to make sure everything matches up—you might need to swap over some components or peel off any adhesive backing from the new part before installing it.
- To put everything back together, just follow these steps in reverse. Easy peasy!
- Don't forget to responsibly recycle your e-waste with an R2 or e-Stewards certified recycler.
- If things didn't quite go as planned, try some basic troubleshooting or reach out to our Answers Community for some expert help. And if you're really stuck, you can always schedule a repair with us at Salvation Repair.
-