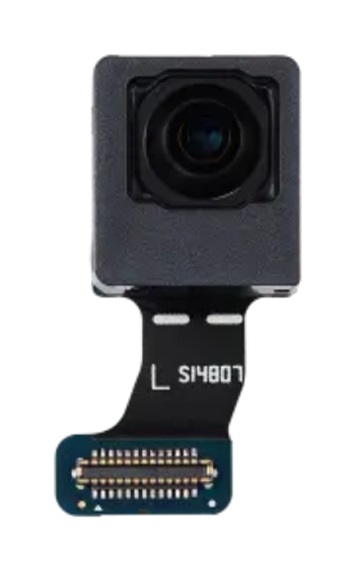
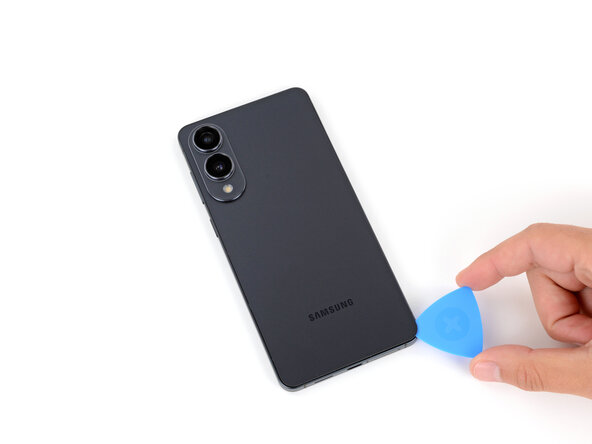
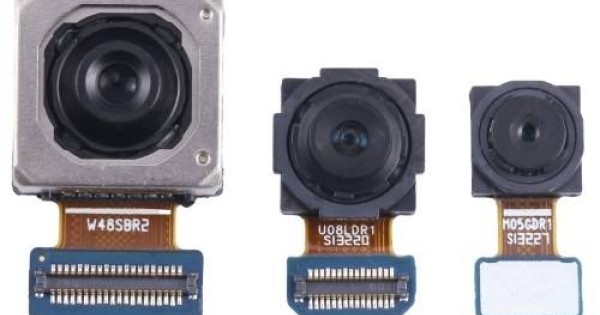
Samsung Galaxy S25 Edge Front Camera Replacement
Duration: 45 minutes
Steps: 21 Steps
Ready to swap out the front camera (you know, the selfie one) in your Samsung Galaxy S25 Edge? If your selfies are looking a bit fuzzy or your camera is having a tough time focusing, it might be time for a new one! Just a heads up, you'll need some replacement back cover adhesive to get this repair done. If you need help, you can always schedule a repair.
Step 1
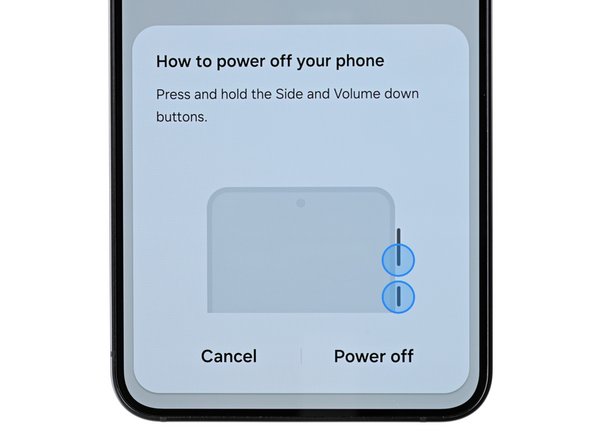
Before diving into this repair adventure, make sure your phone's battery is below 25%. A lively lithium-ion battery can be a bit unpredictable if it gets banged up while still charged. Safety first, folks!
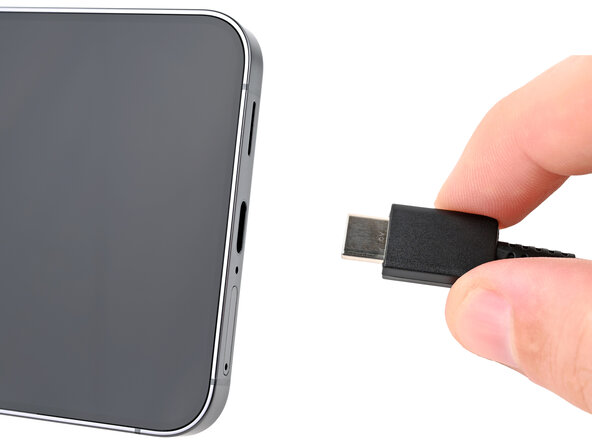
- Turn off your phone all the way and disconnect any cables or chargers hanging around.
Step 2
The back cover is held on with some mild adhesive. A little heat will loosen things up and make it easier to lift off.
Try using a hair dryer, heat gun, or even a hot plate to warm up the cover before popping it off.
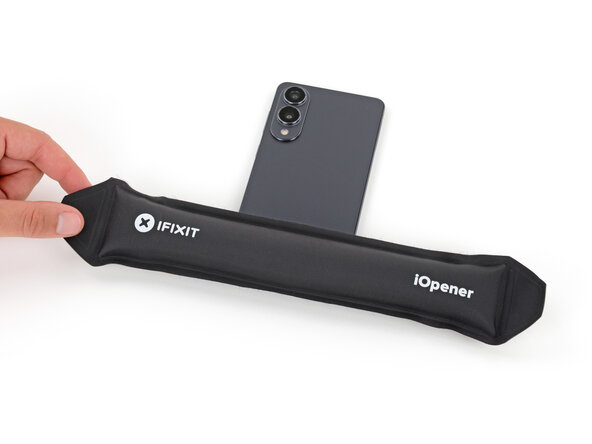
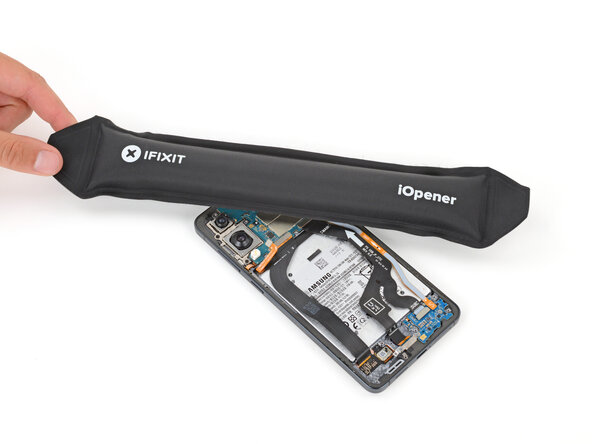
- Warm up an iOpener and place it on the bottom edge of the back cover for about two minutes to loosen up that sticky adhesive. It's like giving your phone a mini spa treatment before you dive in.
Tools Used
Step 3
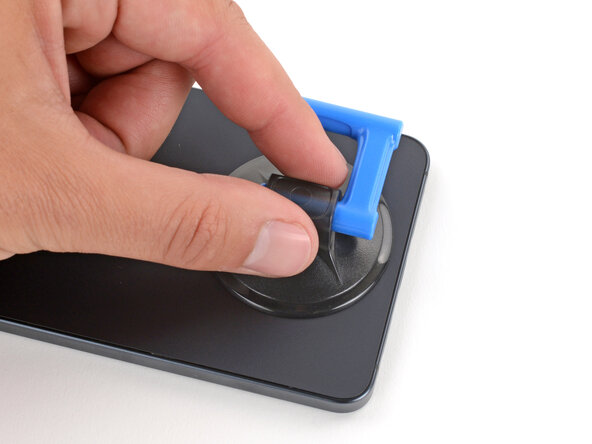
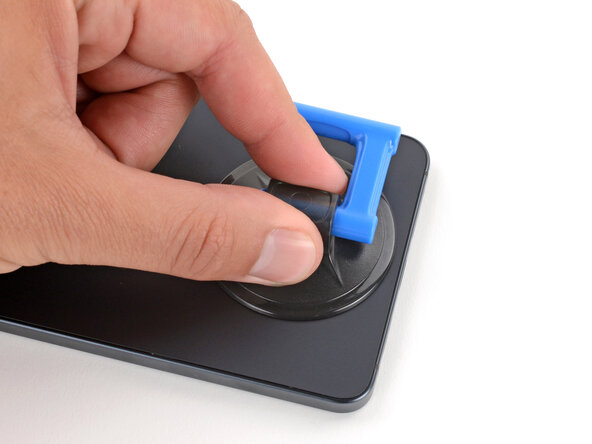
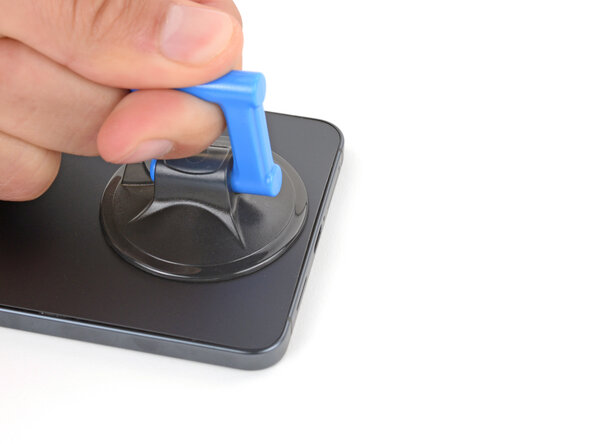
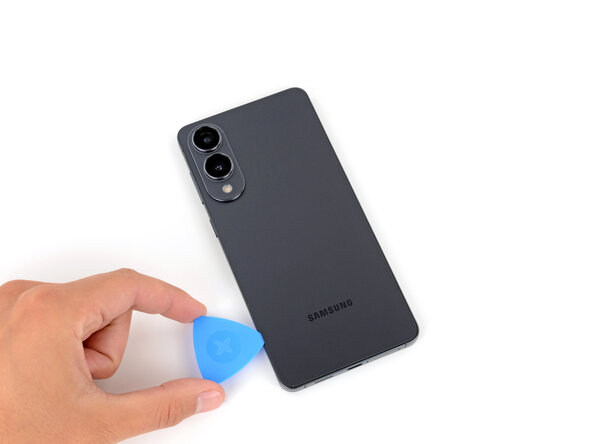
- Grab a suction handle and place it right in the middle of the back cover's bottom edge, getting as close to the edge as you can. You're doing great!
Tools Used
Step 4
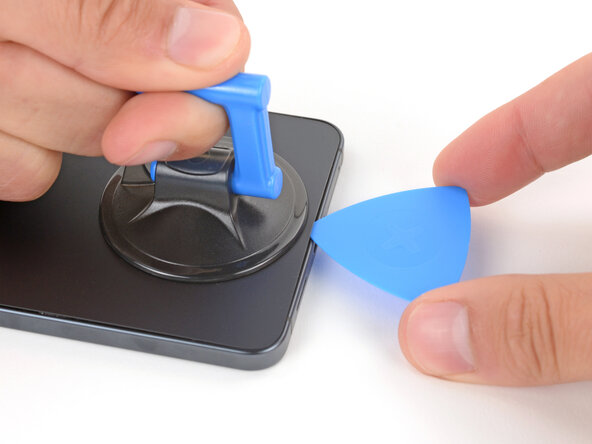
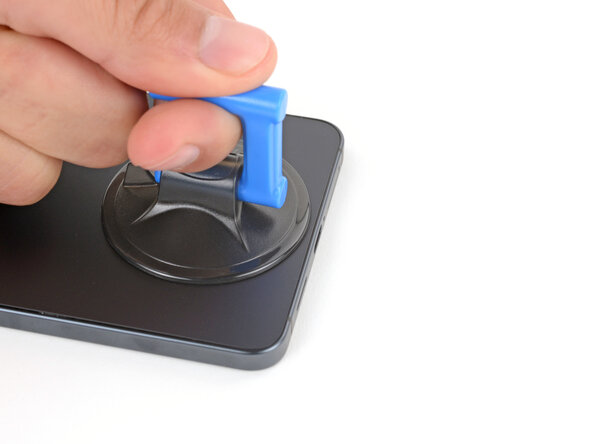
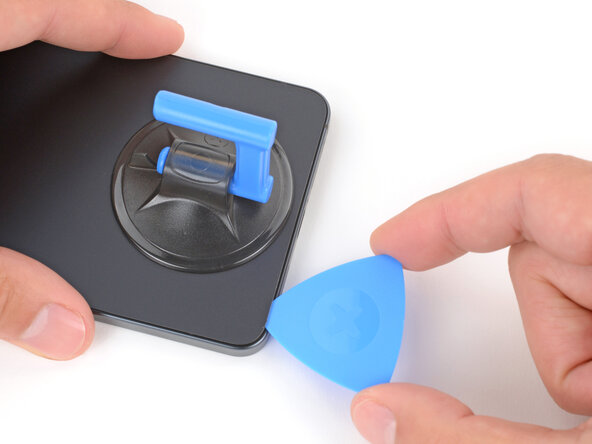
- Gently lift the suction handle with a firm, even pull until you notice a gap between the cover and the frame. You're doing great!
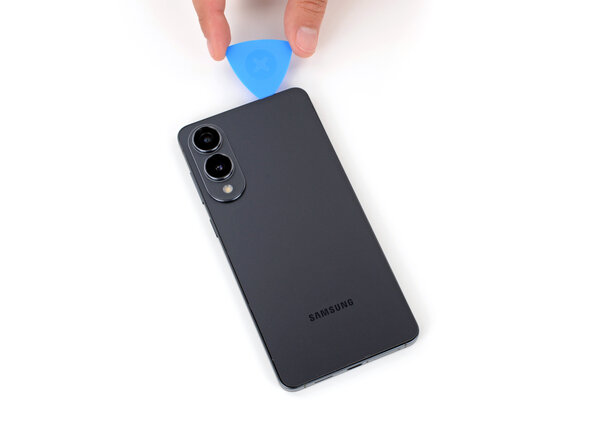
- Slide the tip of your opening pick into that gap you created. Keep going, you're almost there!
Tools Used
Step 5
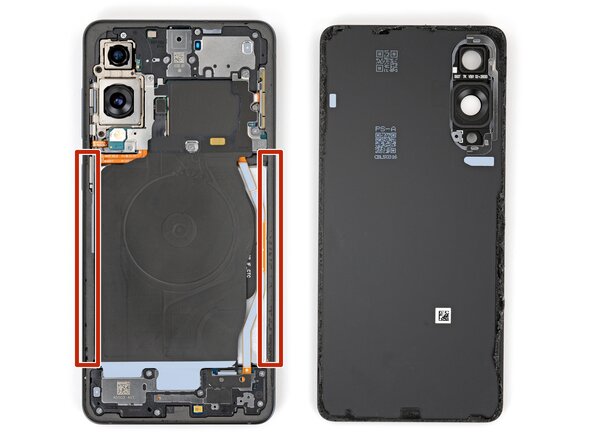
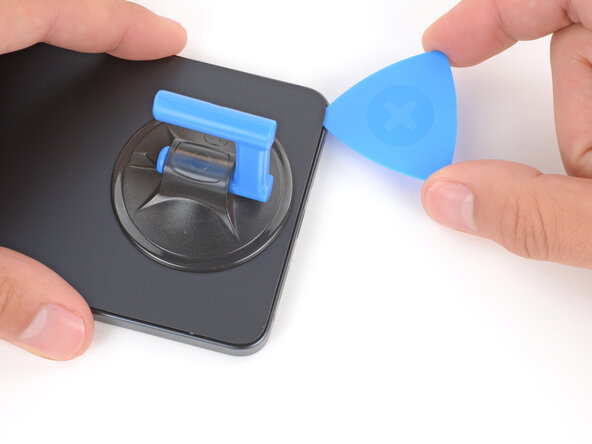
When peeling away the left and right edge adhesive, be gentle—don't slide your pick more than 3 mm to keep the wireless charging coil and interconnect cable safe from harm.
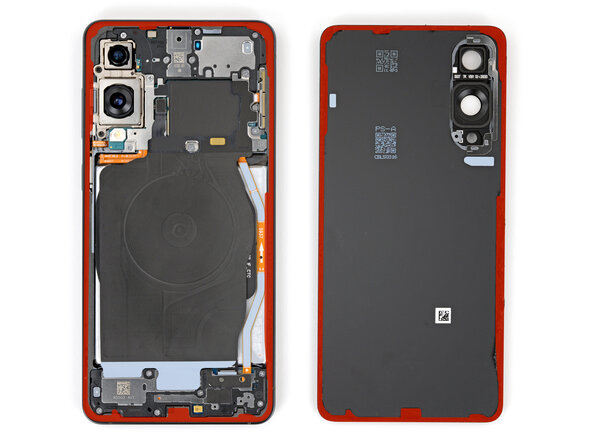
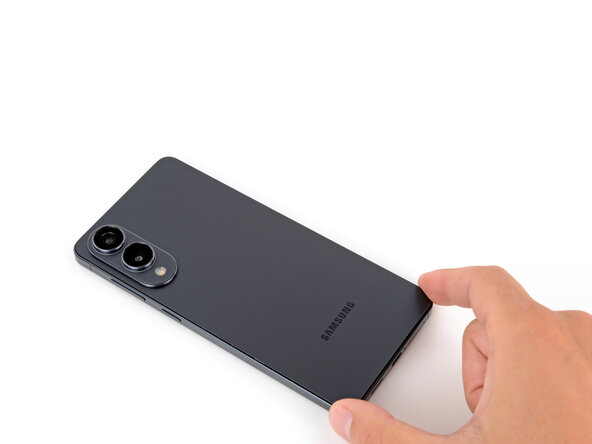
- The back cover is held in place with adhesive all around the edge. Check out this picture while you work your way around and loosen things up.
Step 6
If the adhesive is giving you a hard time, just crank up the heat a bit and give it another go!
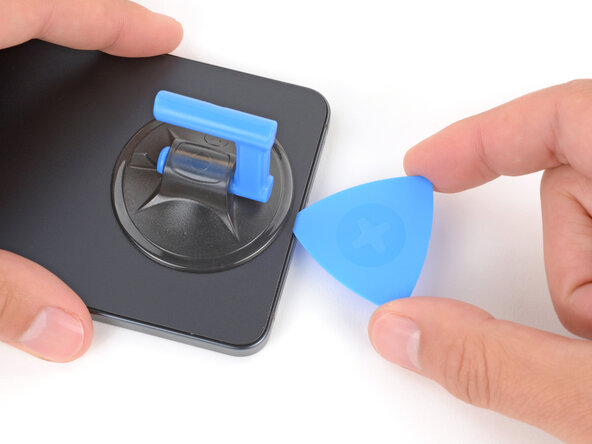
- Gently glide your opening pick along the bottom edge to break free the adhesive holding the back cover in place.
Step 7
Just a friendly reminder: don't go jamming your pick too deep under those long left and right edges. Keep it light and breezy!
- Keep gliding that pick around the entire edge of the back cover, working to detach any leftover adhesive. You're doing great!
Step 8
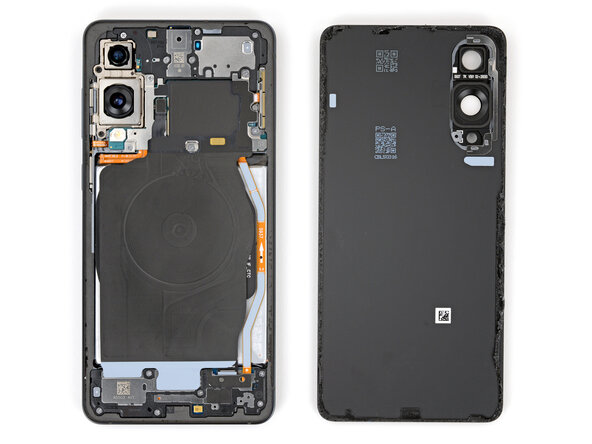
If you're running into a snag, take a look around the edges for any leftover adhesive and grab your opening pick to help pry it apart.
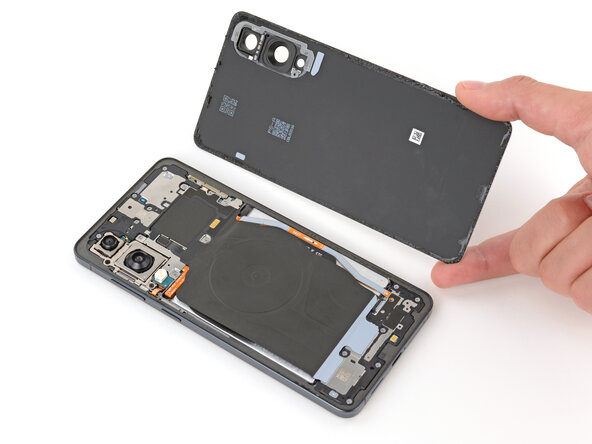
- First, let's get that back cover off. It's time to see what's inside!
- When you're putting it all back together, remember:
- Now's the perfect time to power on your phone and test everything out. Make sure it's all working smoothly before you seal it up. Don't forget to power it back down completely before moving on.
- Take a quick look at your rear cameras and give them a gentle wipe with a clean, lint-free cloth if they're looking a bit smudgy.
- Your new back cover adhesive will either go on the frame or the back cover itself. Use the cutouts and contours to figure out where it fits best. If it matches up with the back cover, follow the guide for that. If it matches the frame, use the other guide.
Step 9
Sliding the spudger under the connector can be a bit of a puzzle. If you're facing a challenge, give the tip of an opening pick a whirl instead!
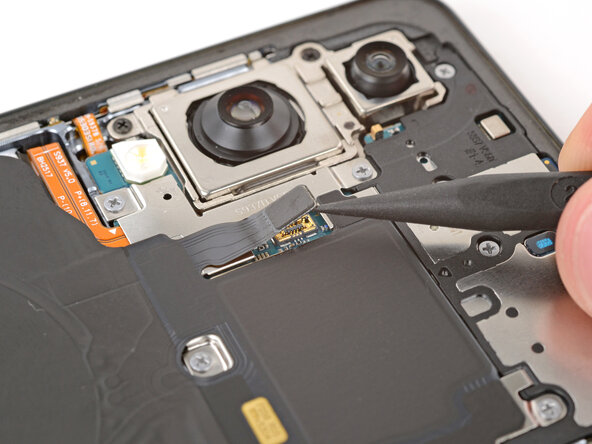
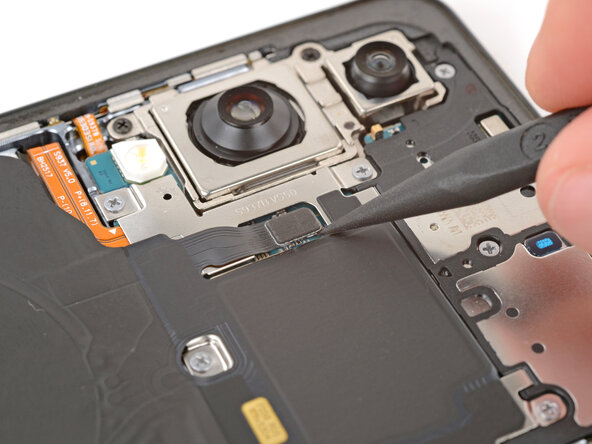
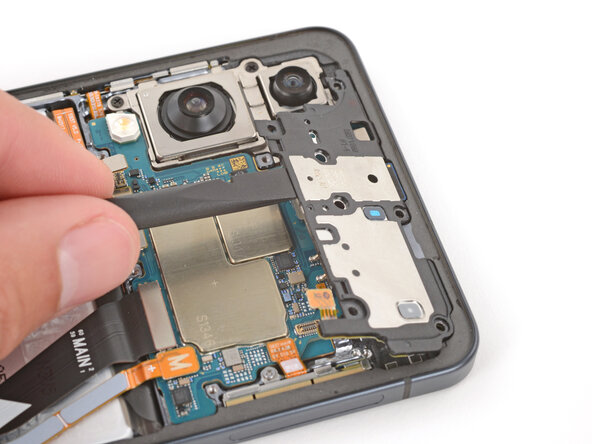
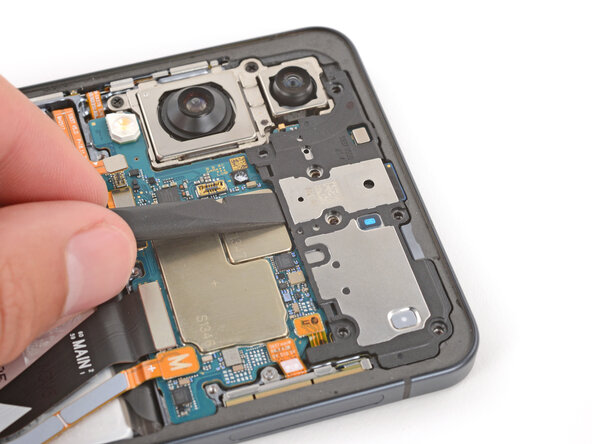
- Grab that trusty spudger and gently nudge it under the wireless charging assembly press connector at the top edge. Give it a little pry to disconnect it. You're doing great!
Tools Used
Step 10
As you go along, keep tabs on every screw—make sure it returns to its original spot. Keeping things organized helps everything come together smoothly and saves you from hunting down misplaced bits later.
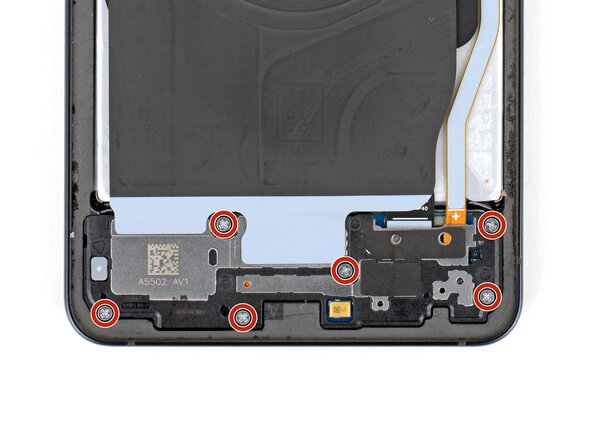
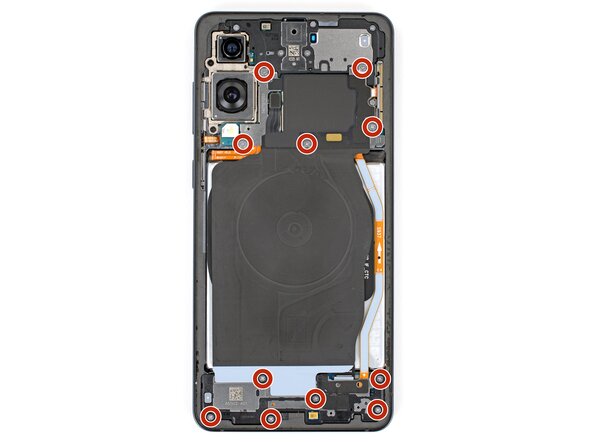
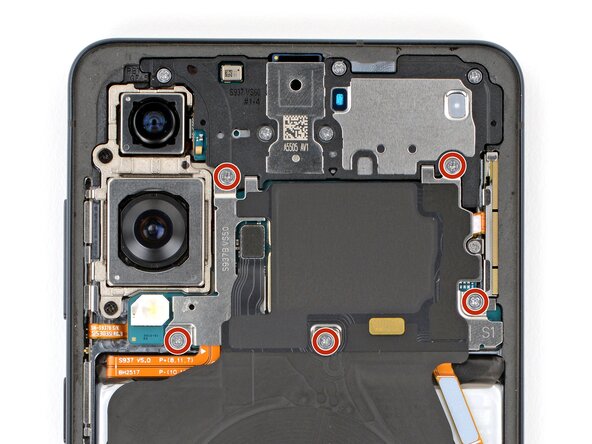
- Grab your trusty Phillips screwdriver and get ready to tackle those eleven 2.8 mm-long screws holding the wireless charging and loudspeaker assembly in place. You've got this!
Step 11
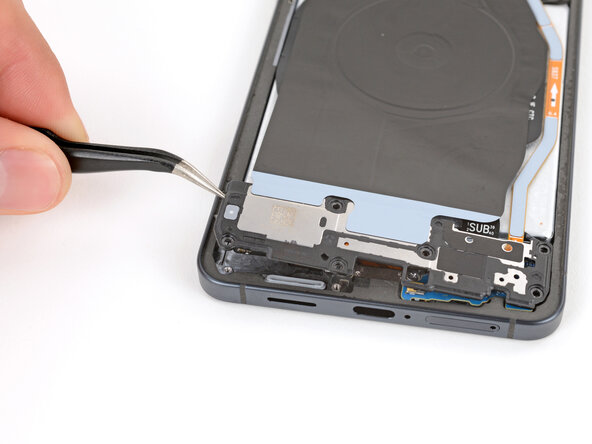
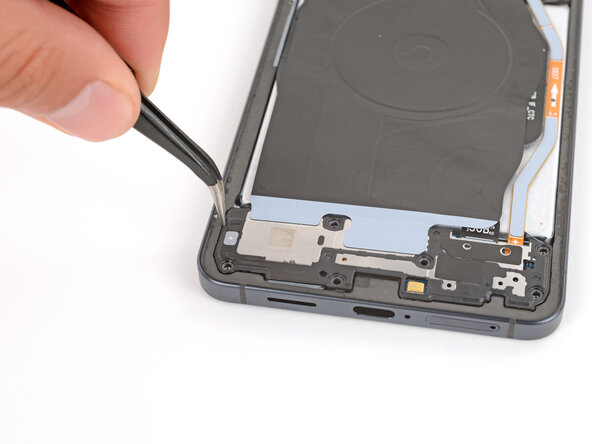
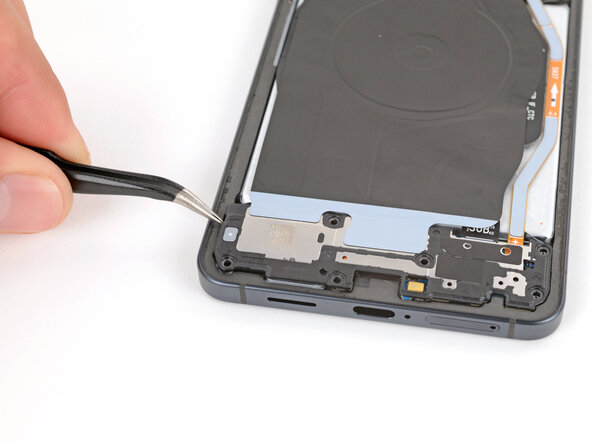
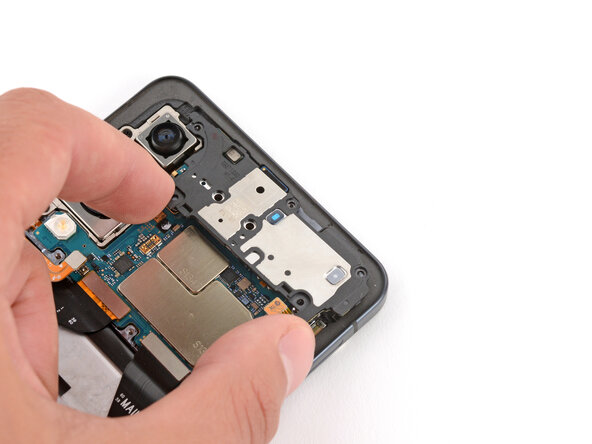
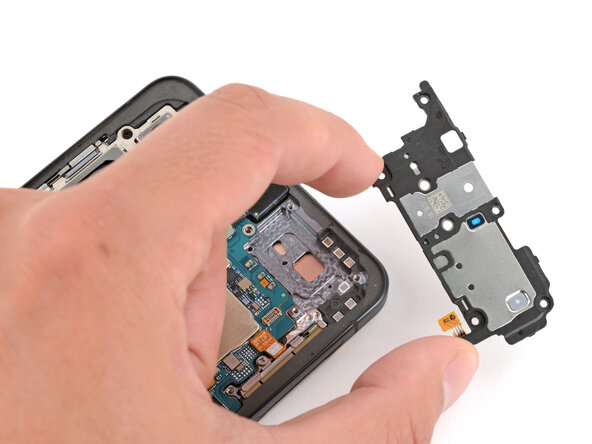
The wireless charging coil is attached to the loudspeaker with some pretty delicate tape. To keep things breezy and avoid any mishaps, it's best to remove both the coil and the loudspeaker together as one nifty assembly.
- Grab those angled tweezers and gently pry up the loudspeaker from the notch on its left edge. It's like giving it a little lift!
- When you're putting it all back together, make sure to press down firmly around the edges of the loudspeaker to snap those clips back in place. You've got this!
Tools Used
Step 12
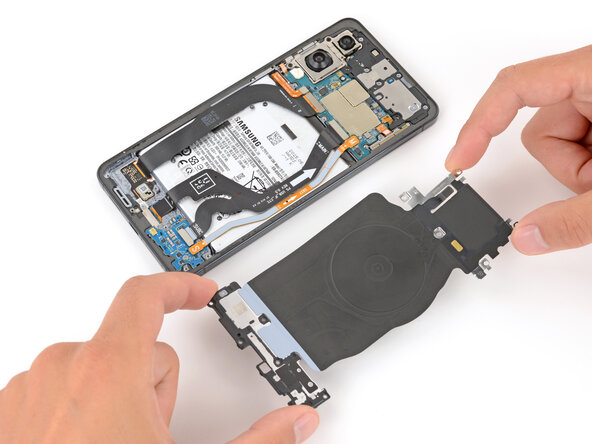
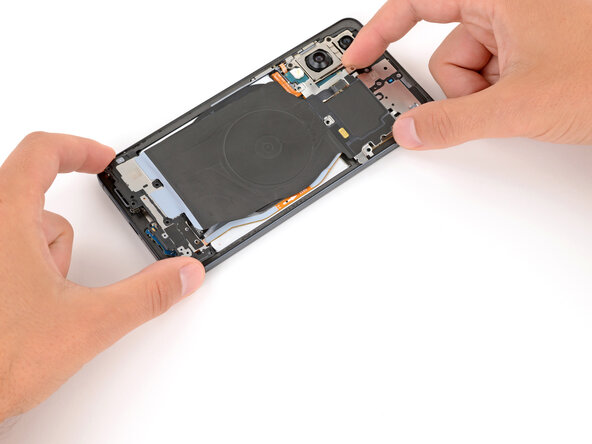
- Time to get a grip - literally! Use both hands to carefully lift and remove the wireless charging and loudspeaker assembly.
Step 13
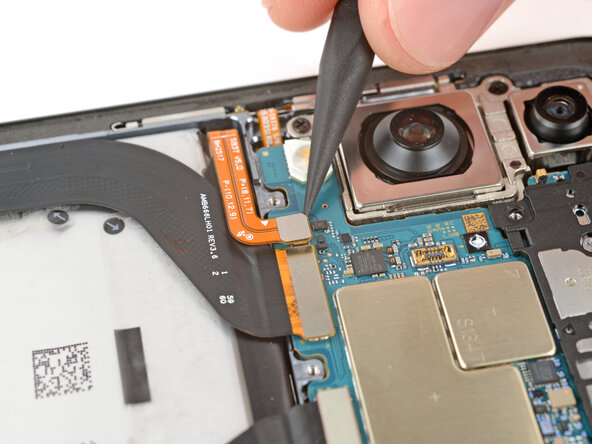
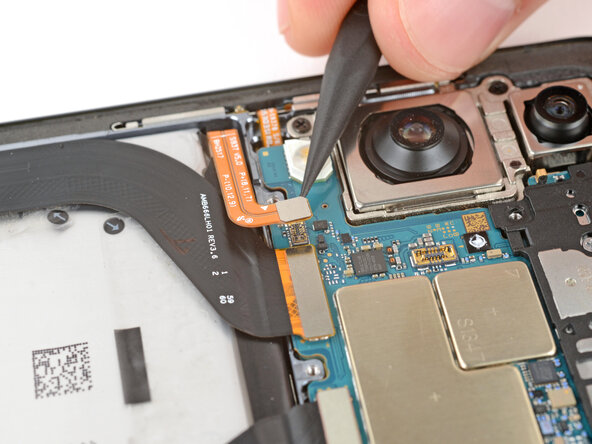
- Grab your trusty spudger and gently nudge up to disconnect the battery press connector. You've got this!
Each press connector has a handy gold arrow on the board that points out the right spot to pry—simple, right? Prying at the wrong place can easily damage those delicate surface-mounted parts, so pay attention to the guide's cues. If you need help along the way, you can always schedule a repair.
Tools Used
Step 14
- Grab your trusty spudger and gently wiggle it under the earpiece speaker press connector. With a little finesse, pry it up and disconnect it. You've got this!
Tools Used
Step 15
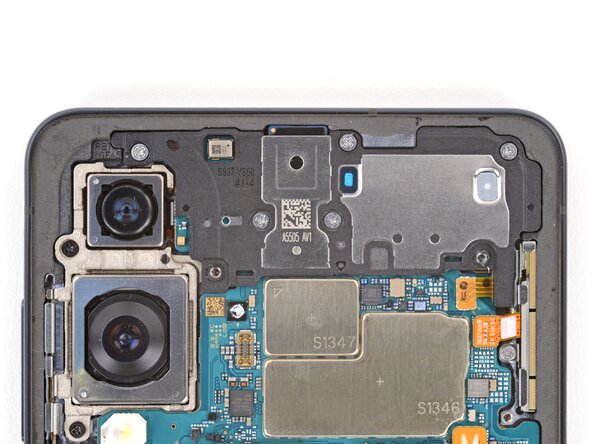
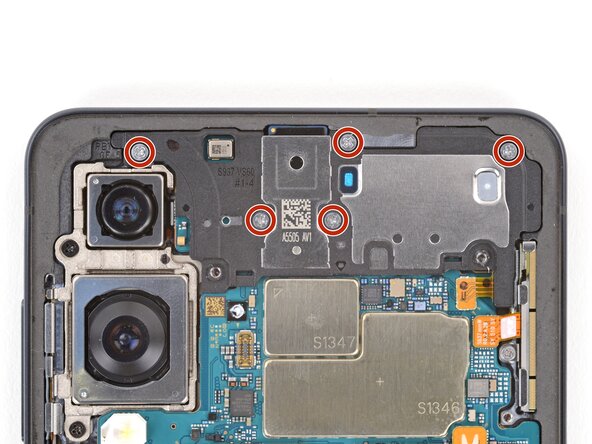
- Grab your Phillips screwdriver and get ready to unscrew! Remove the five 2.8 mm screws holding in the earpiece speaker. If you need help, you can always schedule a repair.
Step 16
- Take the flat end of your spudger and carefully pop up the earpiece speaker from the middle of its lower edge. A gentle wiggle works wonders here.
- When you’re putting things back together, make sure to press firmly around the edge of the earpiece speaker to snap those clips back into place.
Tools Used
Step 17
- Gently lift out the earpiece speaker and set it aside.
Step 18
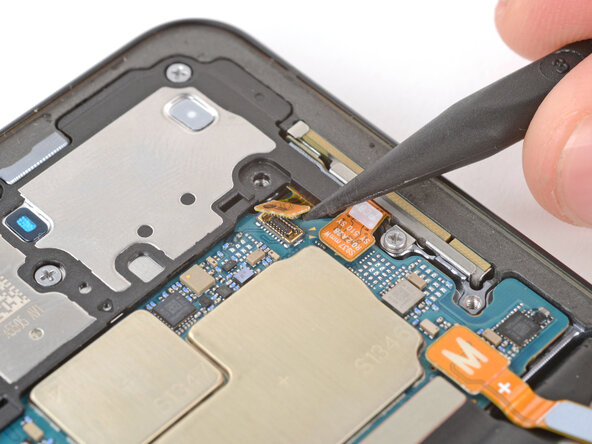
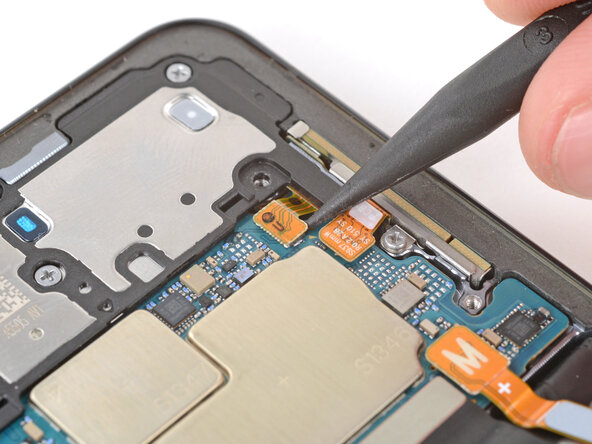
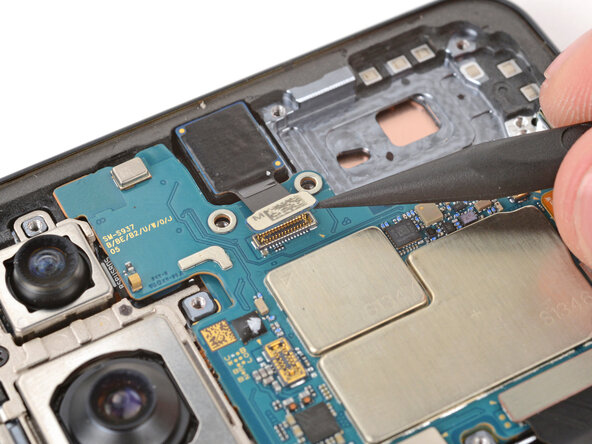
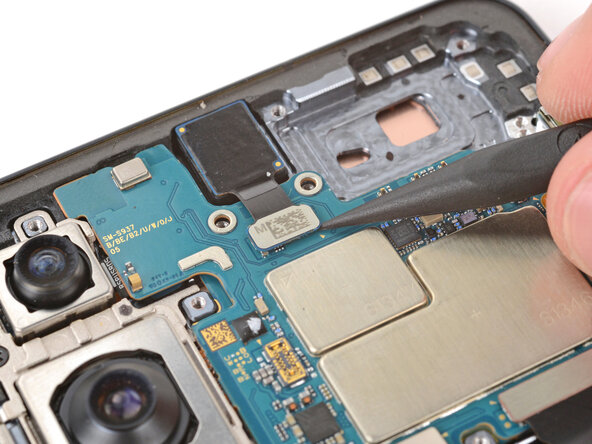
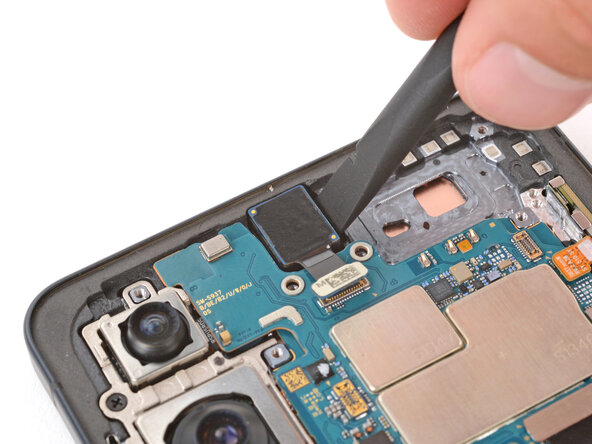
- Time to get up close and personal with that front camera press connector! Use the point of a spudger to carefully pry it up and disconnect it.
Tools Used
Step 19
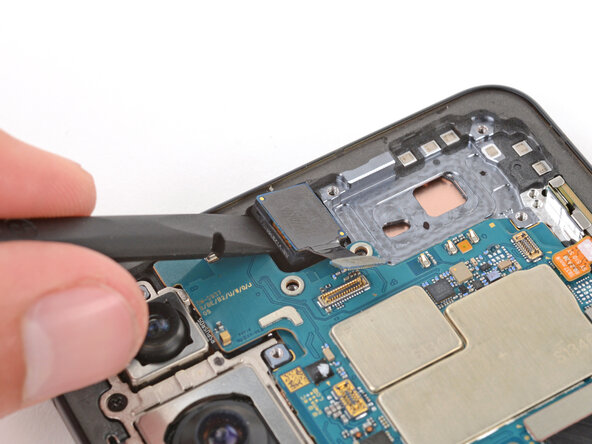
The front camera is stuck in its spot with a strong adhesive that's similar to epoxy - don't worry, it's not impossible to remove!
If the adhesive is being stubborn, try gently heating the camera with a hair dryer or heat gun to loosen it up. Easy does it!
- Warm up your iOpener and park it on the front camera for a couple of minutes to loosen up the sticky stuff.
Tools Used
Step 20
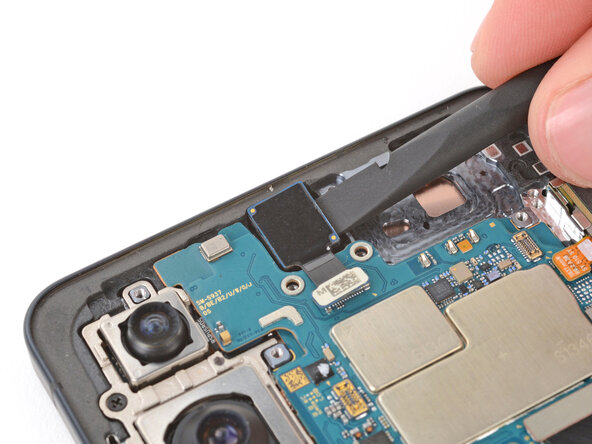
- Take the flat end of your spudger and gently work it under both sides of the front camera. Wiggle back and forth until the adhesive lets go—slow and steady wins the race!
Tools Used
Step 21
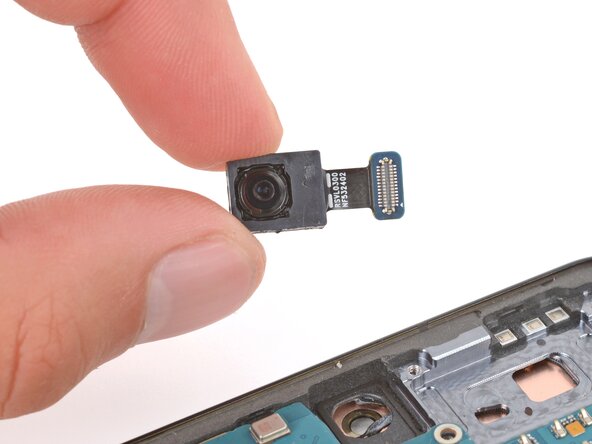
- Check out your shiny new replacement part and give it a little comparison with the original—you might need to swap over some bits or peel off those pesky adhesive backings before diving in!
- Time to put your device back together! Just retrace your steps like a pro.
- Got some e-waste? Don't let it go to waste! Take it to an R2 or e-Stewards certified recycler.
- Things not going as planned? No worries! Try some basic troubleshooting or reach out to our Answers Community for a helping hand.
-
