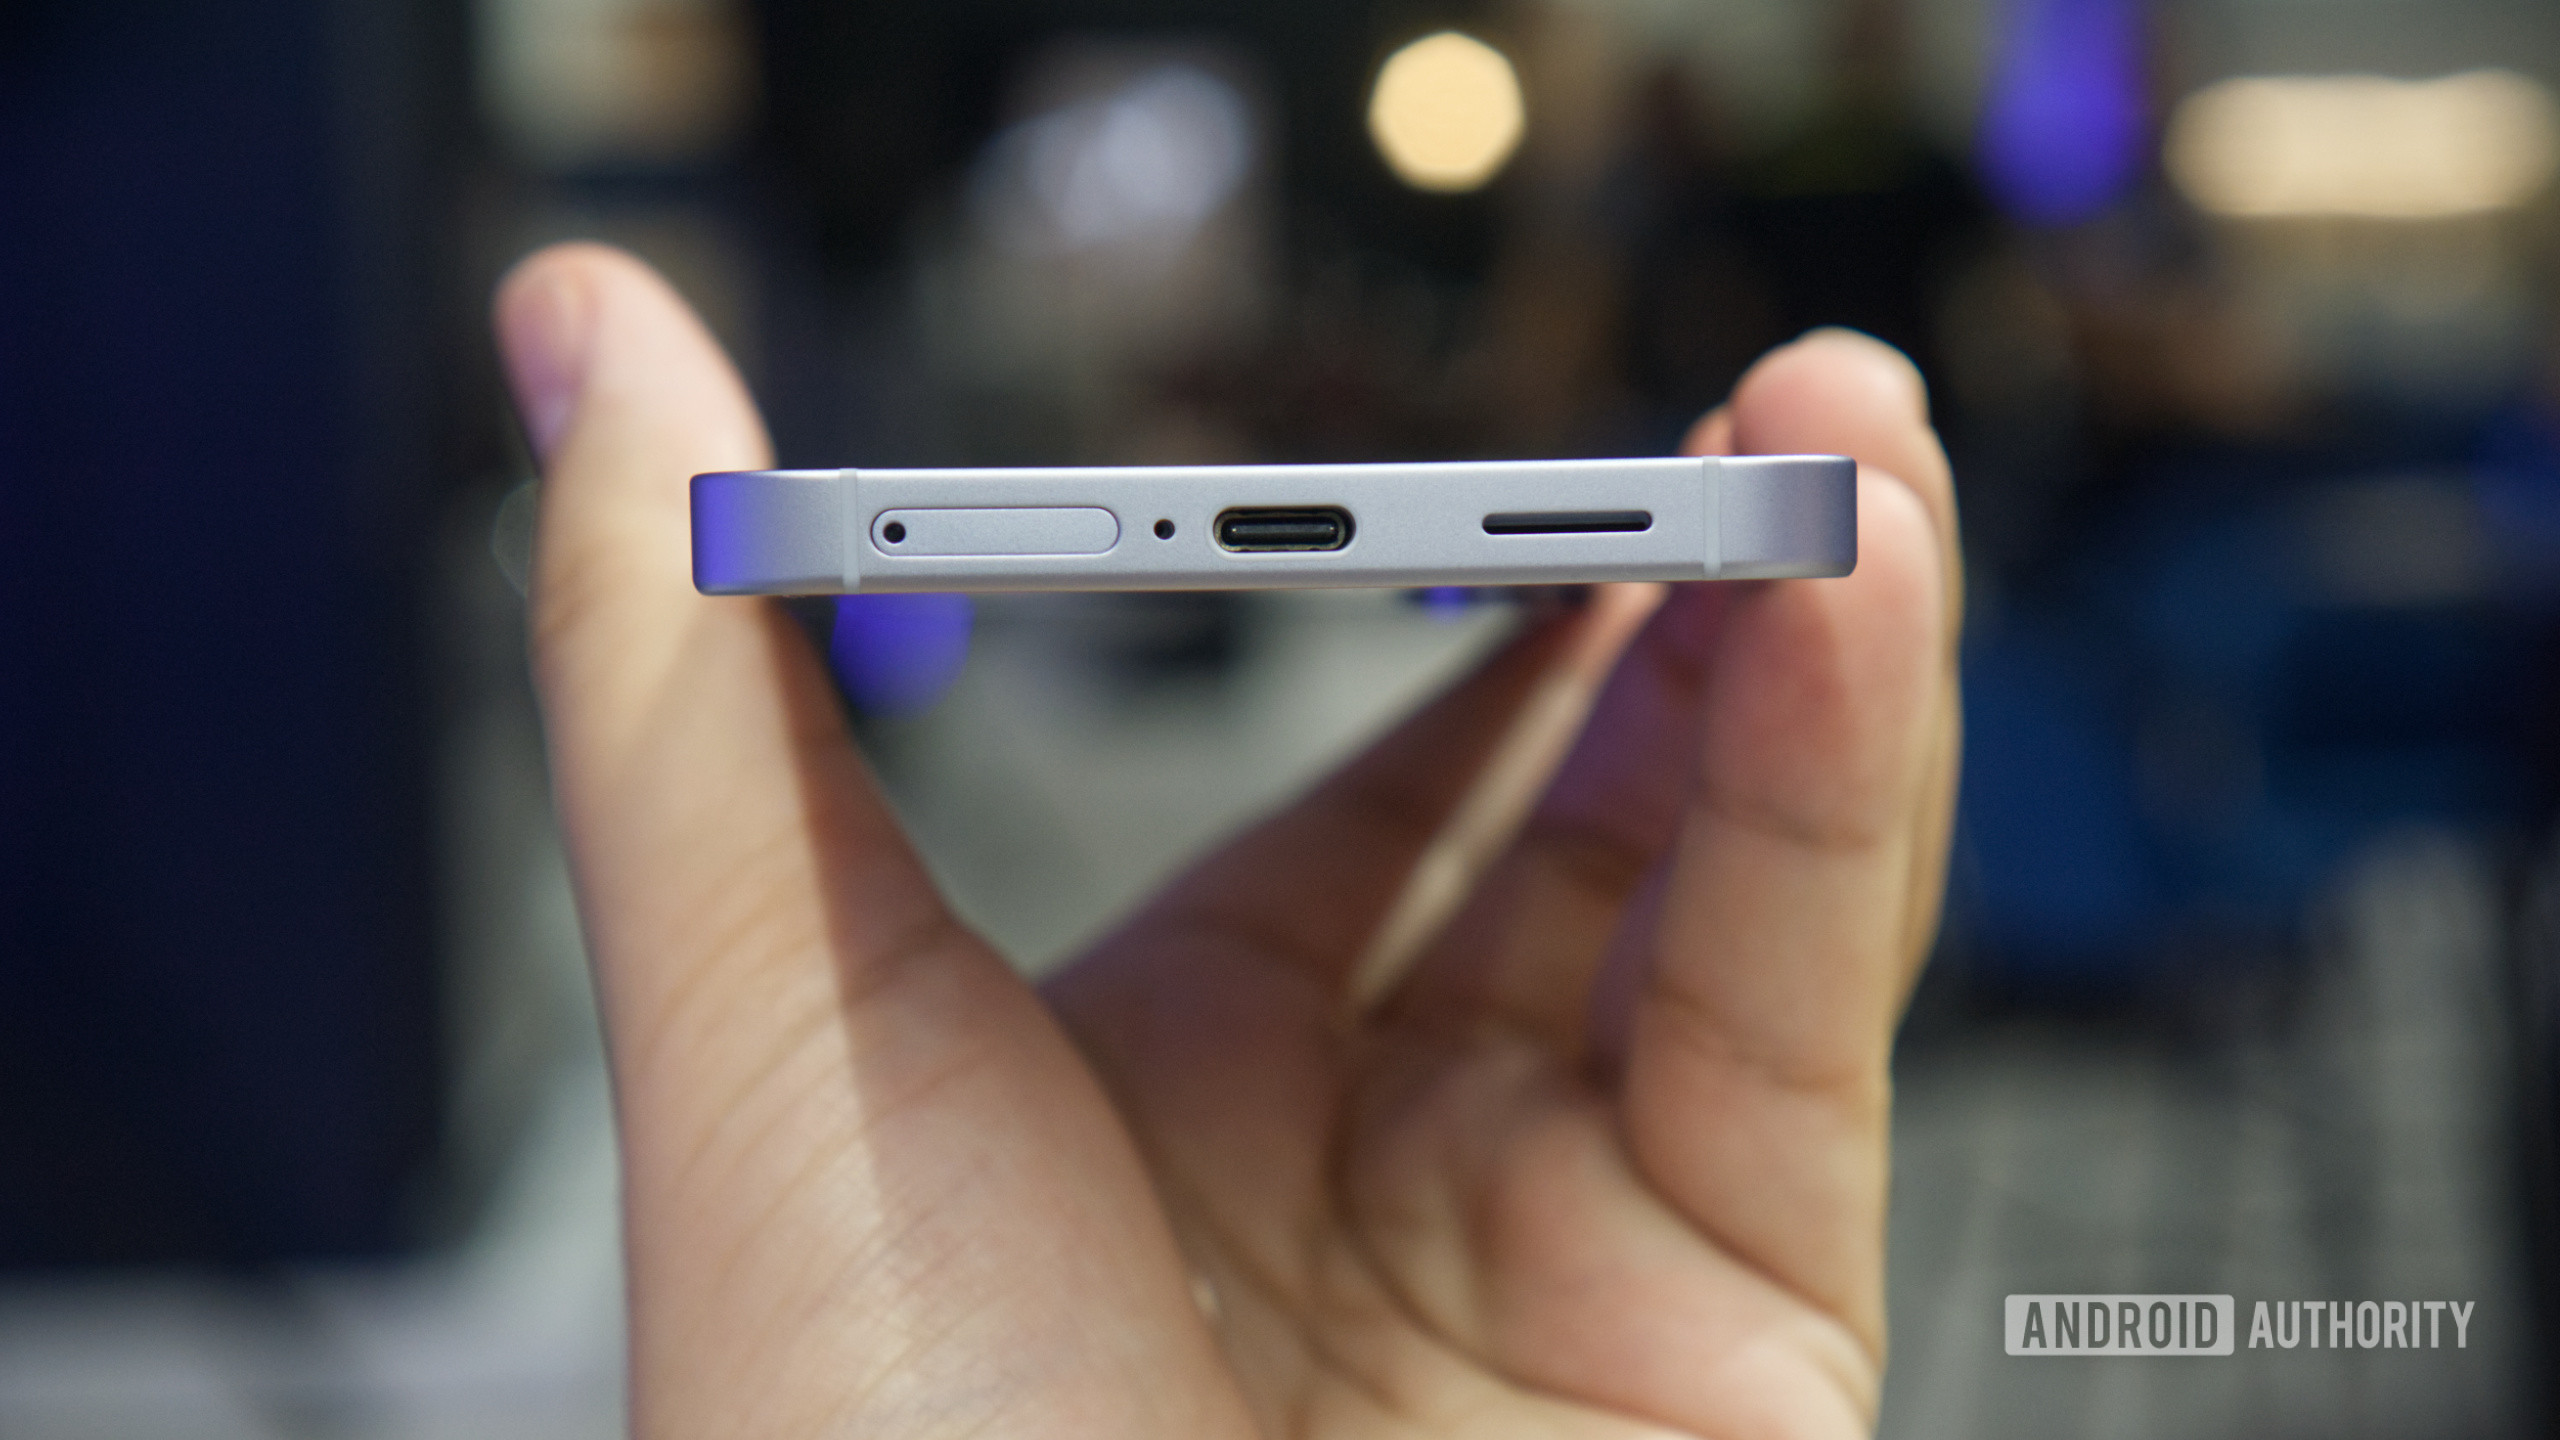
Samsung Galaxy S25 Edge Wireless Charging and Loudspeaker Assembly Replacement
Duration: 45 minutes
Steps: 12 Steps
Get ready to give your Samsung Galaxy S25 Edge a little TLC! This guide will walk you through replacing the wireless charging assembly and loudspeaker assembly. If your phone's charging is acting up or if your loudspeaker sounds more like a kazoo than a concert, it’s probably time for a swap! Plus, if you're only looking to replace one part, this guide has got you covered. Just make sure to grab some replacement back cover adhesive to stick everything back together. If you need help, you can always schedule a repair!
Step 1
Before diving into this repair adventure, let that battery dip below 25%! A fully charged lithium-ion battery can be a bit of a drama queen if it gets damaged, so let's keep things safe and sound.
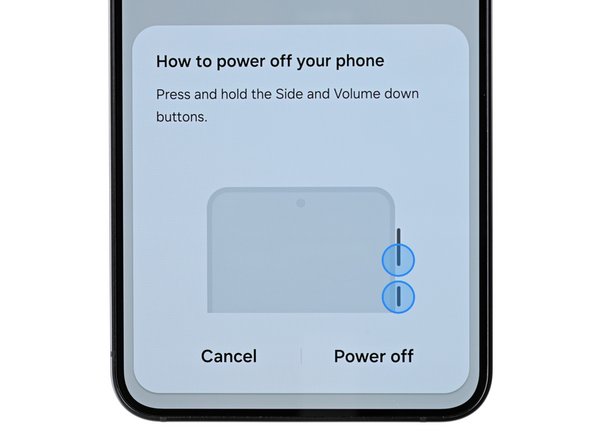
- Power down your device completely and disconnect all cables. Keep it unplugged and off while you get ready for the next step.
Step 2

- Grab your trusty iOpener and give it a good heat-up. Once it's nice and warm, place it gently on the bottom edge of the back cover for about two minutes. This will help loosen that stubborn adhesive, making your next steps a breeze!
The back cover is held on with some gentle adhesive. To make it easier to open up, warming it up will loosen that sticky stuff. You can use a hair dryer, heat gun, or hot plate—whatever's handy—to warm things up. Just be careful not to get it too hot. If you need a hand with the whole process, you can always schedule a repair.
Tools Used


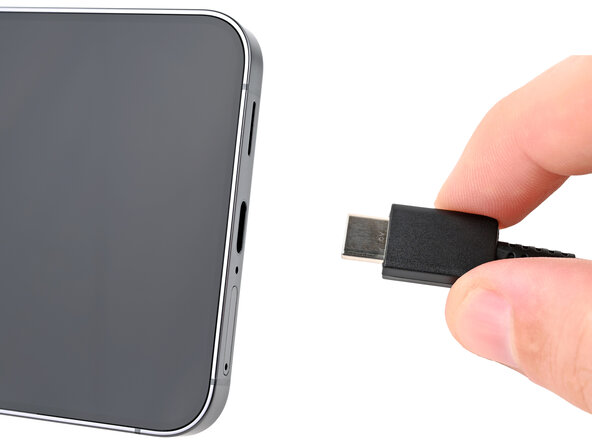
Step 3
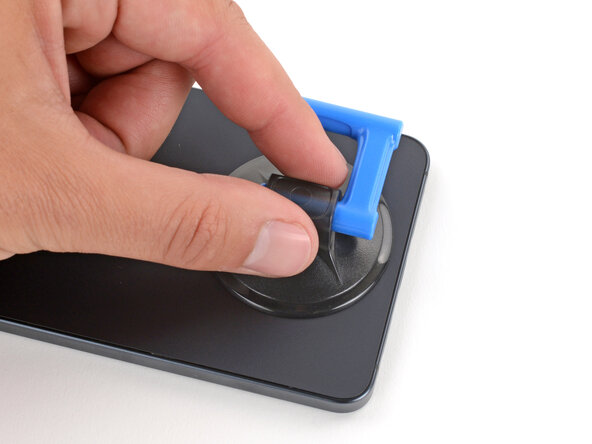
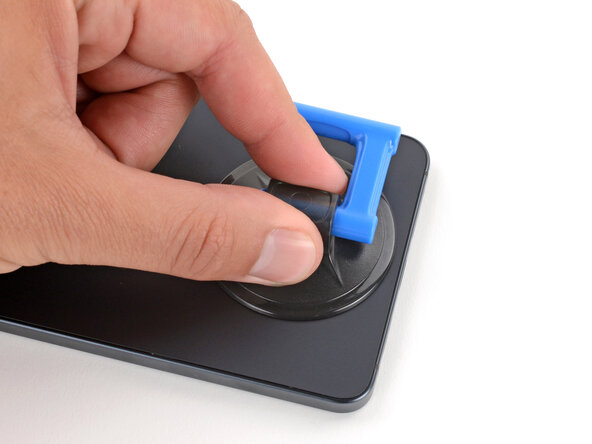
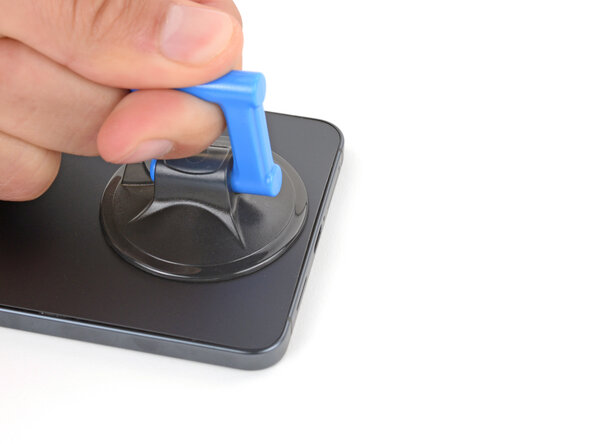
- Grab a suction handle and place it snugly near the middle of the lower edge of the back cover, making sure to get as close to the edge as you can.
Tools Used

Step 4
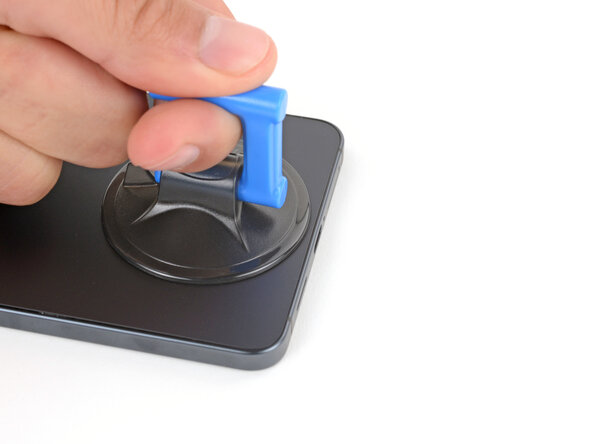
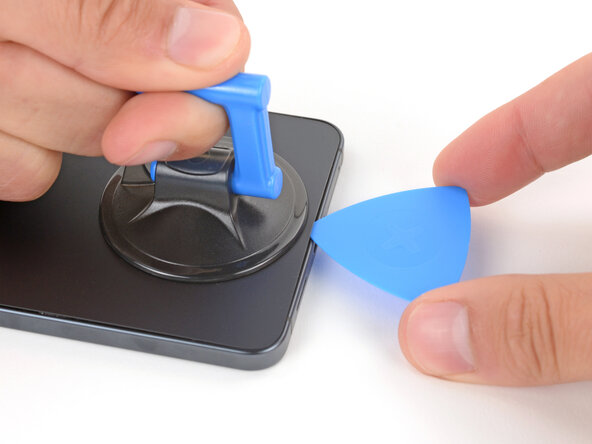
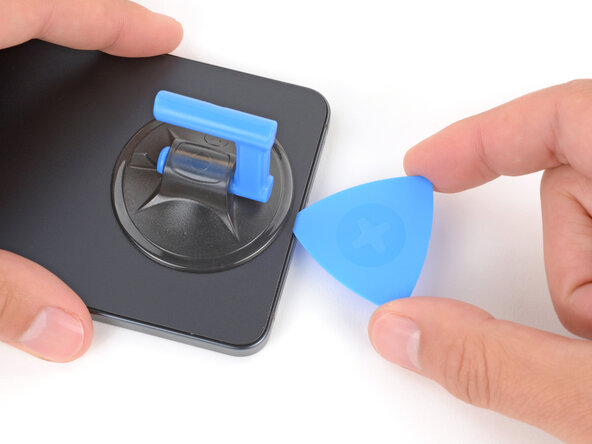
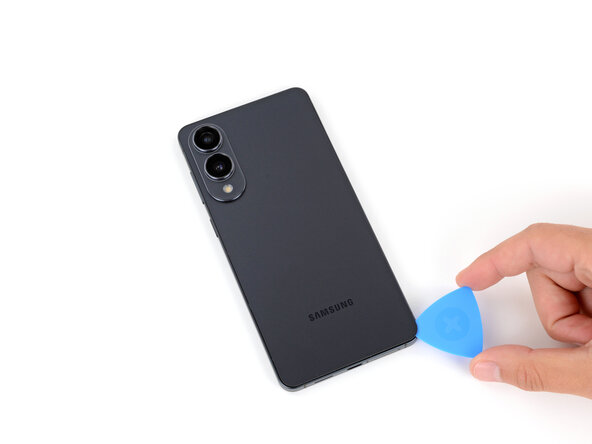
- Give that suction handle a good, firm tug until you see a little gap pop up between the cover and the frame. You're doing great!
- Slide the tip of your trusty opening pick into that gap you've just created. Keep it steady!
Tools Used
Step 5
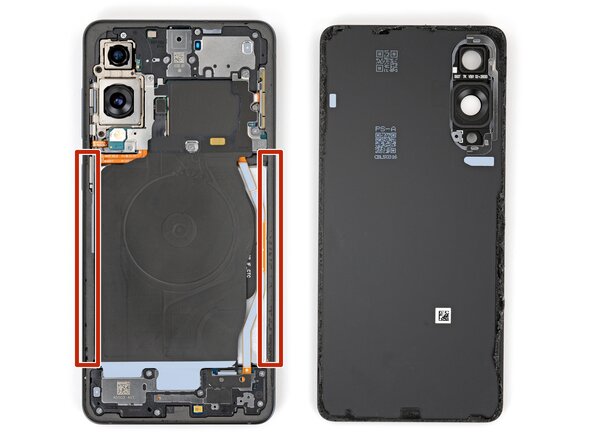
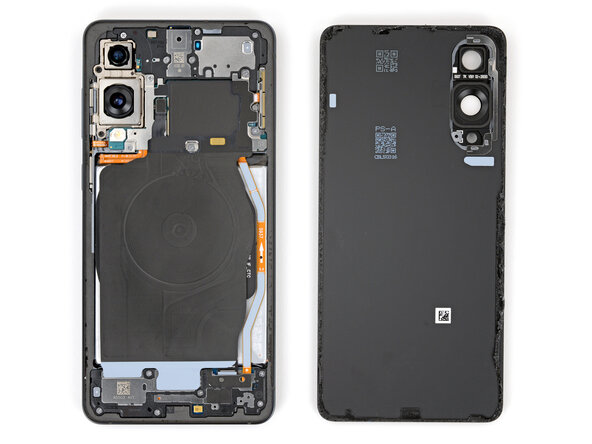
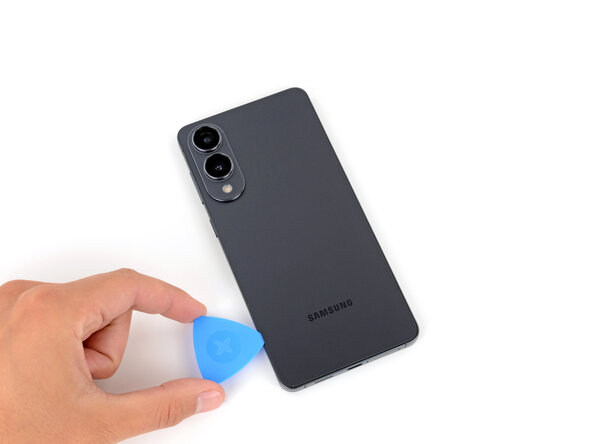
When you're working on prying apart the left and right edge adhesive, remember to keep your pick under 3 mm deep. We want to avoid any mishaps with the wireless charging coil and interconnect cable—no one likes surprises in their repairs!
- The back cover is held in place by some sticky adhesive all around the edge of the frame. Check out this image as a guide while you work to peel away that adhesive!
Step 6

Having trouble peeling away the adhesive? Crank up the heat a bit more and give it another shot. Sometimes a little extra warmth makes all the difference in getting that sticky stuff to cooperate.
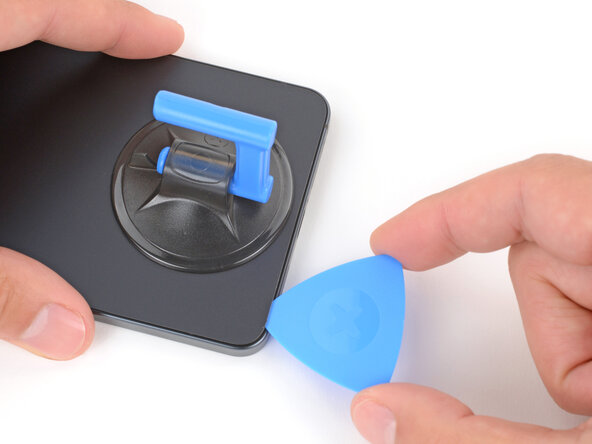
- Gently glide your opening pick along the bottom edge to break free the adhesive that's holding the back cover in place. You've got this!
Step 7
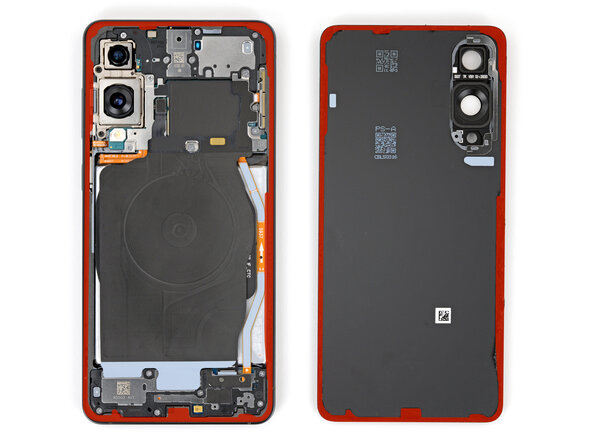
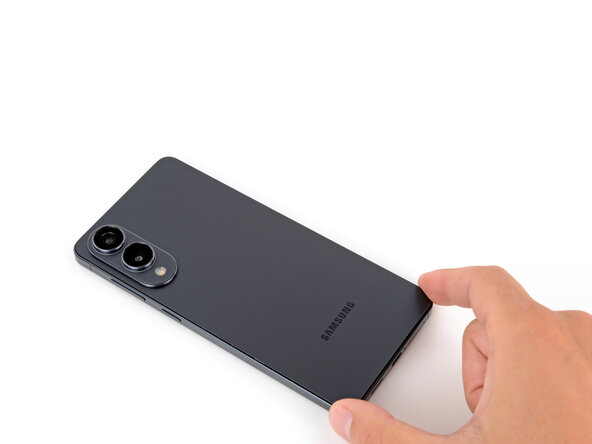
Just a friendly reminder: keep your pick from diving too deep under those long left and right edges. We want to keep things smooth sailing!
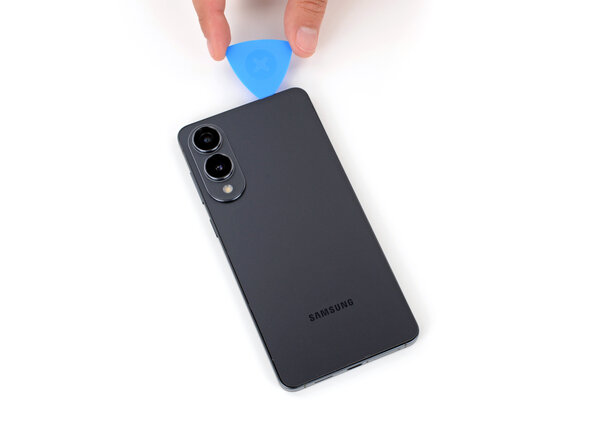
- Keep gliding your pick around the whole edge of the back cover to break free all that last sticky stuff.
Step 8
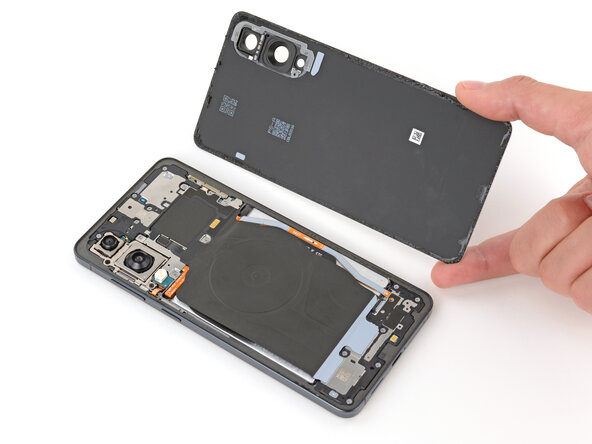
Having a bit of a tough time? No worries! Just take a peek around the edges for any leftover adhesive and grab your trusty opening pick to gently pry it apart.
- Start by removing the back cover. During reassembly, it's a smart move to power on your device and run through all functions before sealing everything back up—just to make sure everything's working. Remember to fully shut down the device before you continue. Take a moment to check your rear cameras for any smudges and give them a gentle wipe with a clean, lint-free cloth if needed. When applying the new back cover adhesive, align it carefully with either the frame or the back cover—use the cutouts and contours to find the best fit. If the adhesive lines up with the back cover, follow this guide; if it matches the frame, follow that guide instead. For more complex steps or if you need a hand, you can always schedule a repair.
Step 9

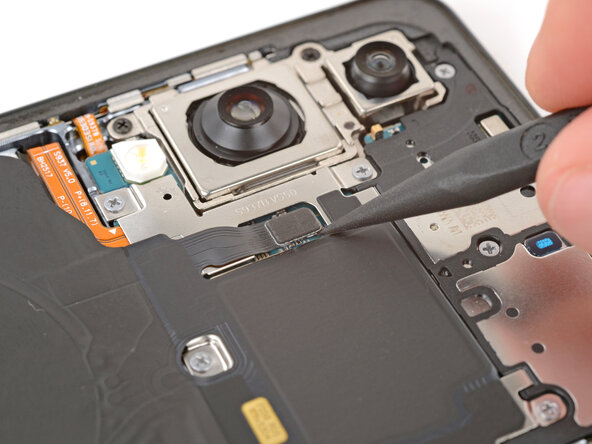
Getting the spudger under the connector can be a bit of a balancing act. If you're finding it tough, give the tip of an opening pick a shot instead—sometimes a little alternative leverage does the trick. Keep at it, and if you need a hand, you can always schedule a repair.
- Grab your trusty spudger and gently nudge up to disconnect the wireless charging assembly press connector from its top edge. You're doing great!
Tools Used

Step 10
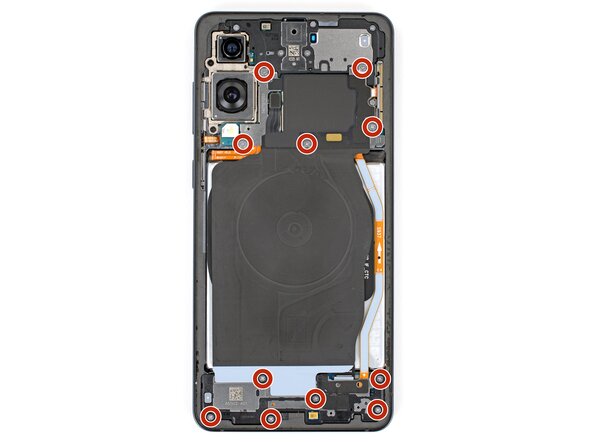
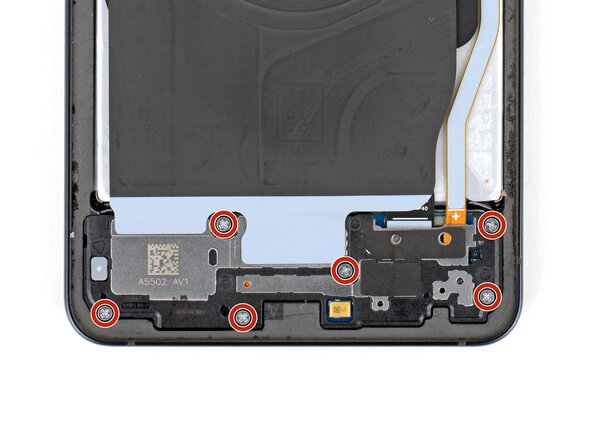
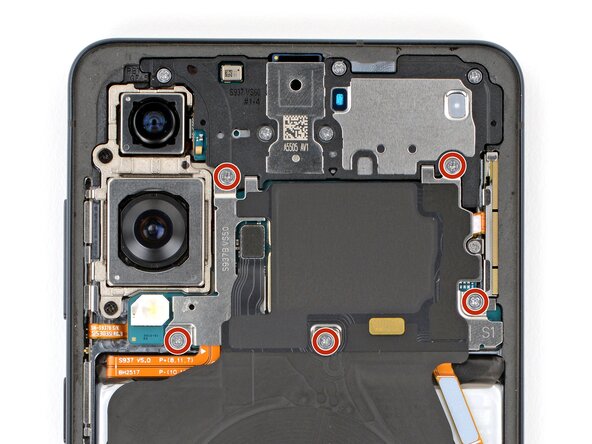
Give every screw a VIP ticket back to its original spot—mixing them up is not a party you want to host.
- Grab your Phillips screwdriver and take out the eleven 2.8 mm screws holding down the wireless charging and loudspeaker assembly.
Step 11
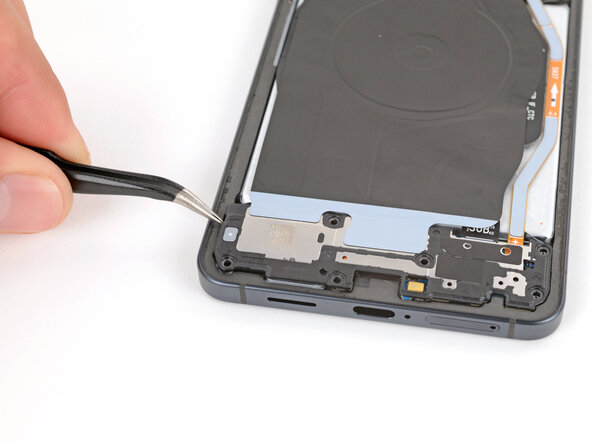
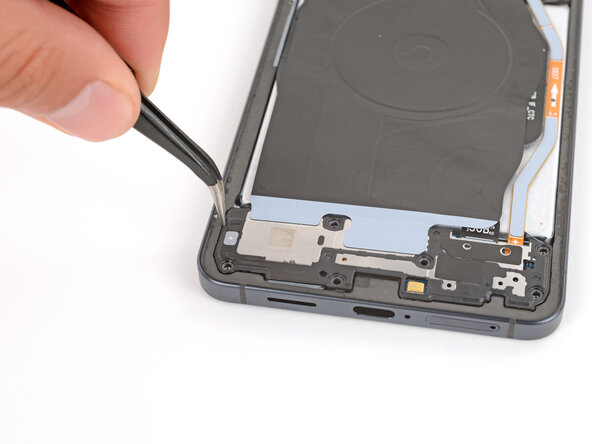
Let's tackle this step together! The wireless charging coil is stuck to the loudspeaker with some delicate tape. To avoid any damage, it's best to remove both the coil and the loudspeaker as one piece - it's easier and safer that way.
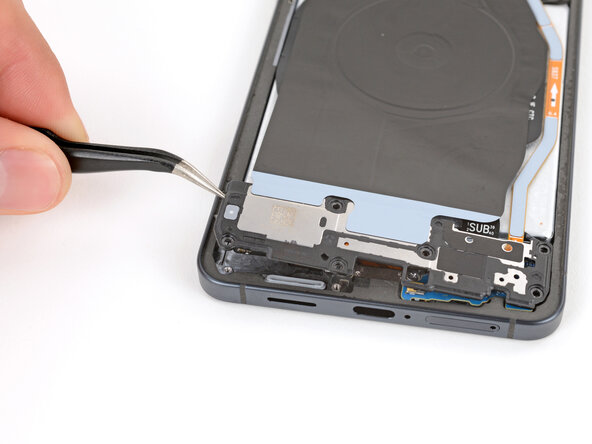
- Grab those angled tweezers and gently lift up the loudspeaker from the notch on its left side. You've got this!
- When putting everything back together, make sure to press down firmly around the edges of the loudspeaker to snap those clips back into place. You've got the skills!
Tools Used

Step 12
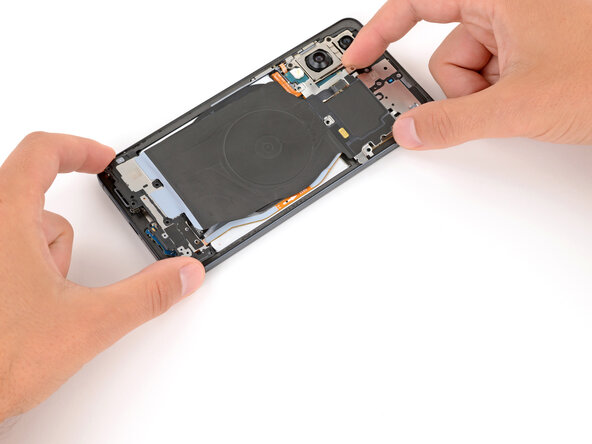
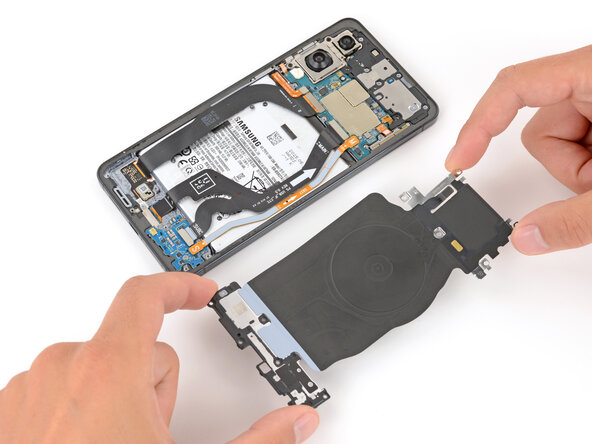
- Grab your device with both hands and gently lift out the wireless charging and loudspeaker assembly. You've got this!