Samsung Galaxy S5 Mini Daughterboard Replacement Guide – Step-by-Step DIY Tutorial
Duration: 45 minutes
Steps: 9 Steps
Alright, let’s roll up those sleeves and dive into fixing this! We’re here to guide you through every step like a trusty sidekick, making this repair as smooth as butter. So grab your tools and let’s show that device who’s boss! Remember, if you run into any trouble along the way, you can always schedule a repair.
Step 2

– Start by popping out that battery! And if you’ve got the SIM card and SD card in there, go ahead and take those out too. You’re making great progress!


Step 6


– Unscrew all the screws.
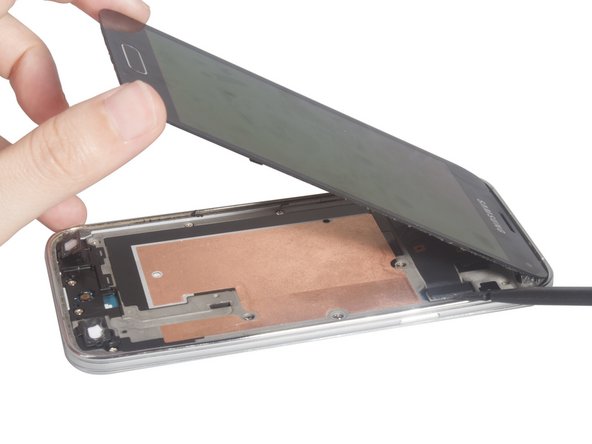
Step 7

– Yo, pop off that mid-plate!
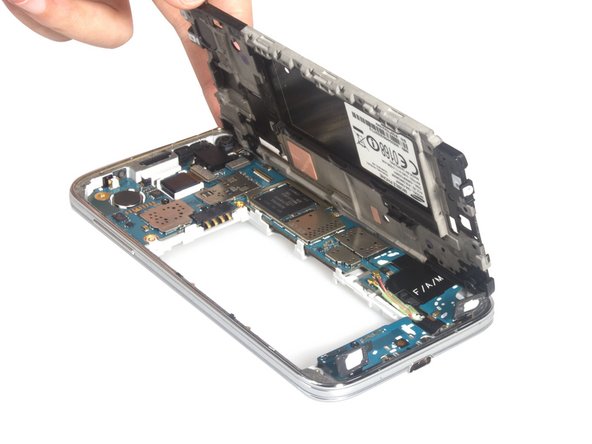
Step 8
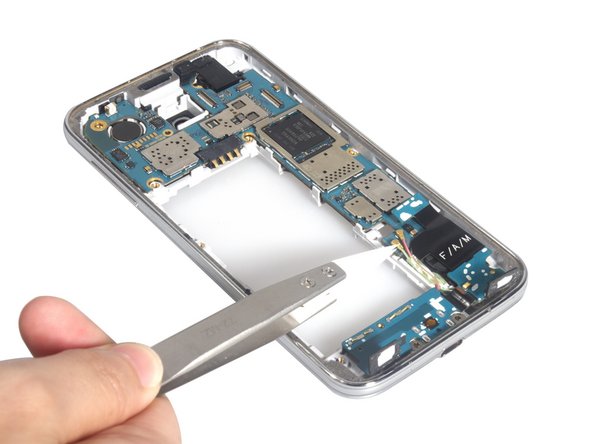


– Unscrew the mysteries, unhitch that USB board flex connector, and disconnect those funky antenna cable connectors. You got this!
Step 9


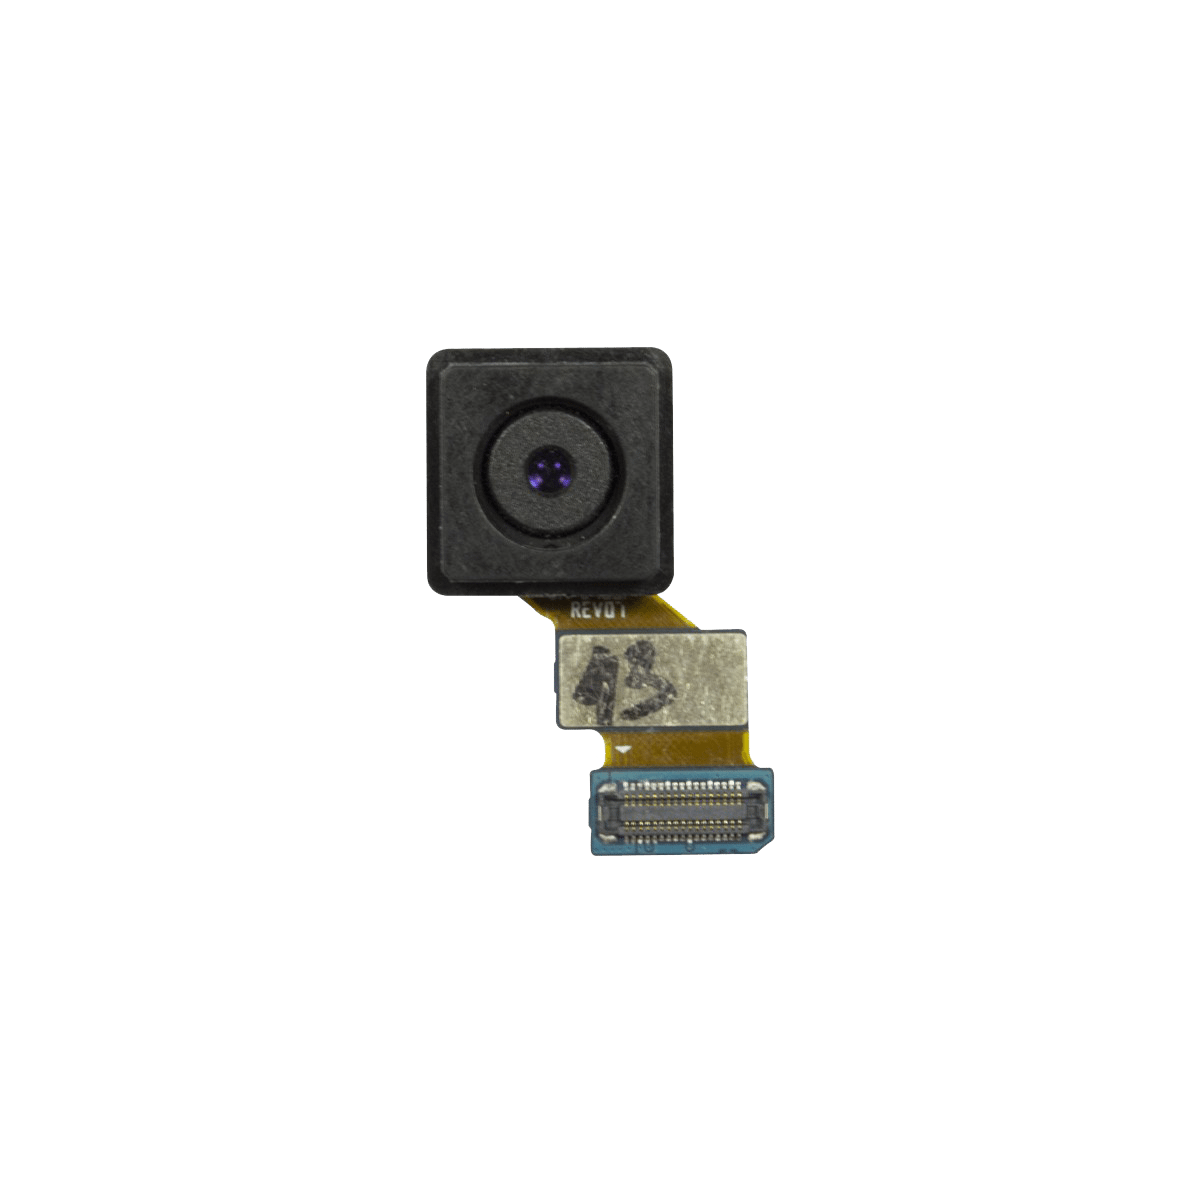
– Get ready to rock the repair scene by delicately removing the daughterboard and giving those signal cables a good clean! Next up, bring in the new USB charging board fit for a Samsung Galaxy S5 Mini superstar.