Samsung Galaxy S6 Edge Rear Camera Lens Glass Replacement
Duration: 45 minutes
Steps: 4 Steps
So, after just a month with my shiny new Galaxy S6 Edge, my photos started looking extra fuzzy. A quick look at the back revealed the culprit: the camera glass was totally shattered.
Step 1


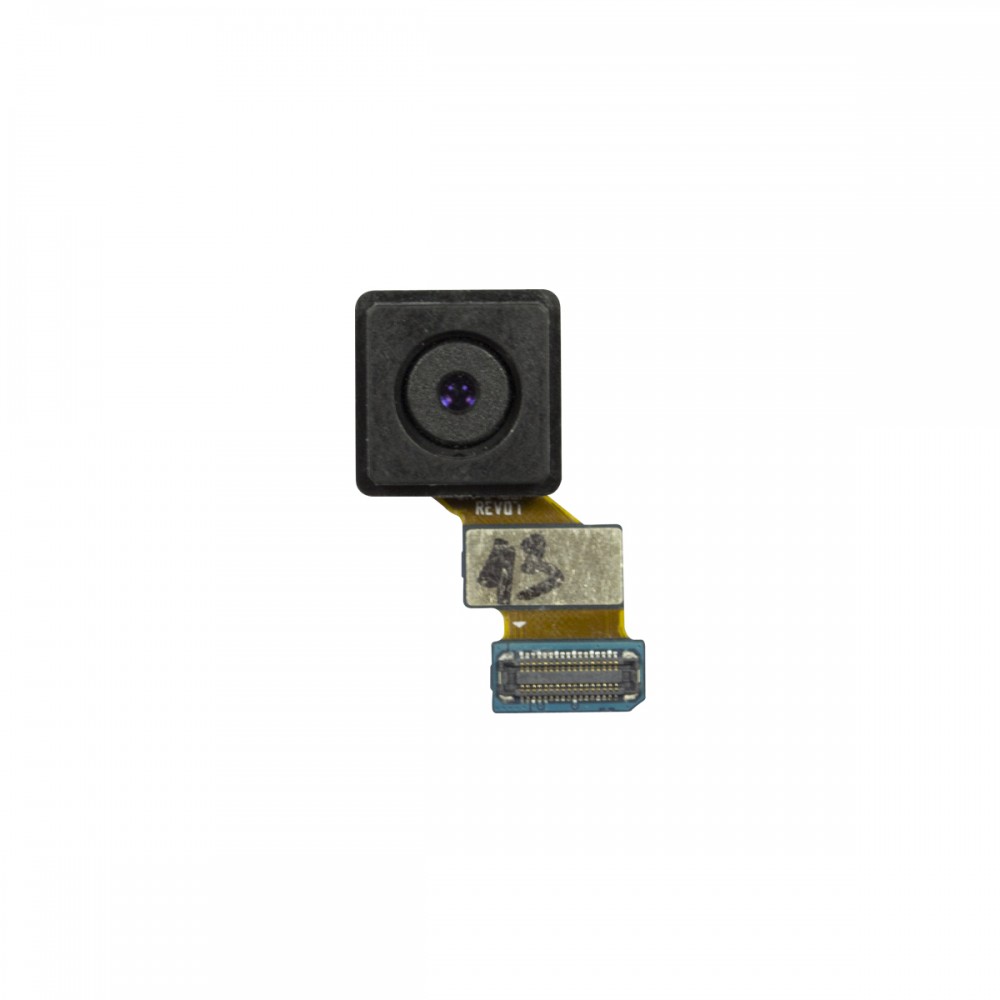
- Handle the broken glass with care—nobody wants tiny shards getting stuck near the camera! Double-check the camera lens itself to make sure it’s still in good shape. If the lens needs swapping, you’d have to take off the back cover. Luckily, that wasn’t needed in this case.
Step 2


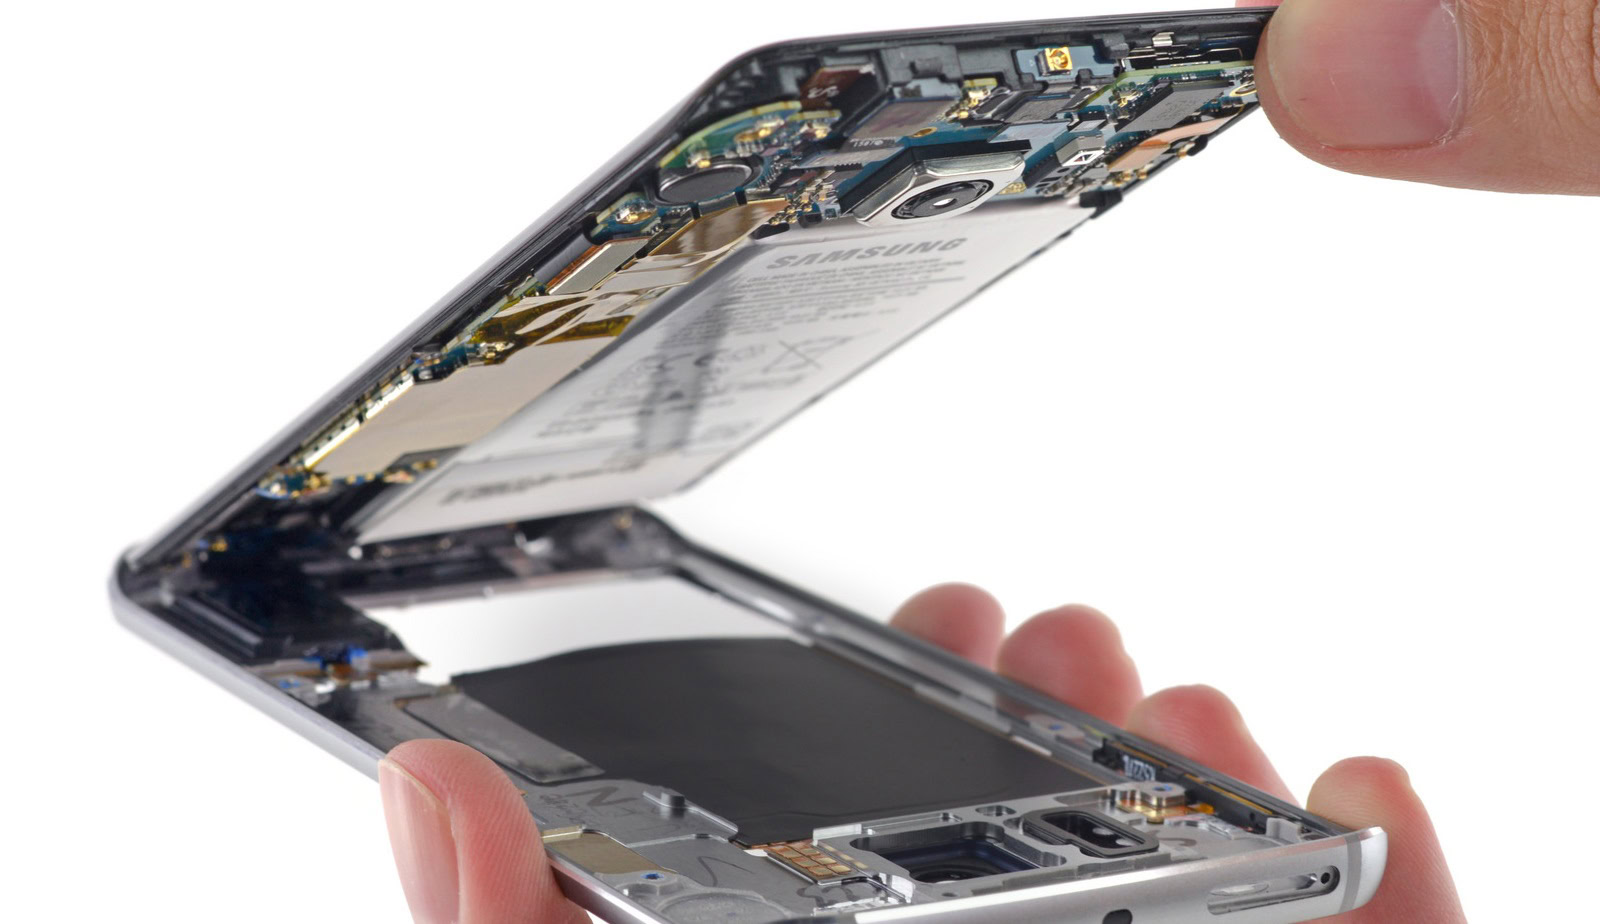
- Once you've cleared away the glass, grab those trusty tweezers (the kind that come with the iOpener set work great) and start lifting off as much of the old glue as you can. Warming things up with the iOpener will make the glue way easier to peel off, so go ahead and give that a try.
Step 3


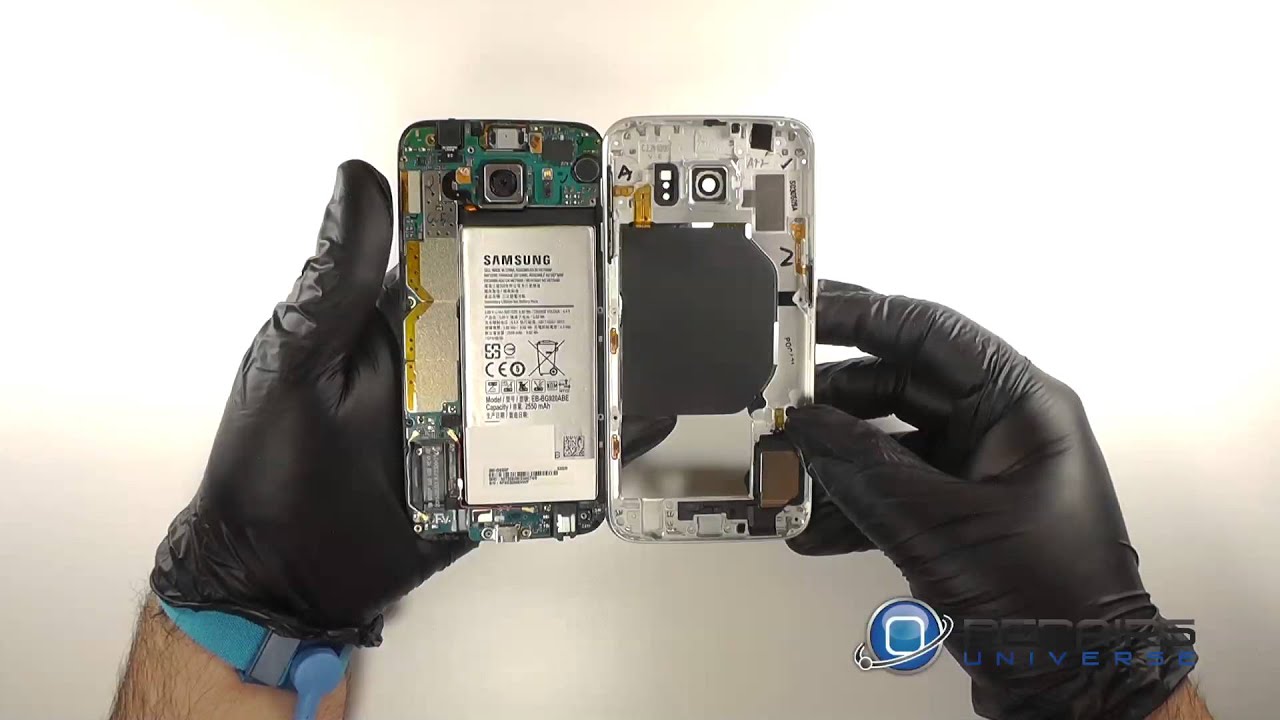
- When you're getting your replacement glass, don't forget to grab a fresh piece of glue tape to keep that glass snug and secure. Trust me, the old glue just won't cut it—it's not going to stick or lay flat enough to keep your new glass perfectly aligned with the camera dome.
- I decided to leave the center section in while applying the glue tape. This little trick helps avoid any accidental stickiness to the camera. Sure, I could have removed the circle first, which would have saved me from an awkward prying session later, but hey, it's all about choosing your battles!
Step 4


- http://www.witrigs.com/oem-camera-glass-...
- You're all done! Great job tackling this repair!
- If you run into any tricky spots, feel free to schedule a repair for a helping hand.