Samsung Galaxy S6 Edge Rear Camera Lens Glass Replacement Guide
Duration: 45 minutes
Steps: 4 Steps
Hey there! Just a friendly reminder to be careful while you’re working on your device. It’s super important to handle everything gently and keep those tiny screws in a safe place. If you run into any snags or need a helping hand, remember, you can always schedule a repair. You’ve got this!
Guess what? You’ve got a shattered glass over your camera on your Galaxy S6 Edge! Don’t fret, though, just rock on over to schedule a repair and let our repair experts handle it!
Step 1


– Handle the broken glass with care. Keep those shards from slipping inside and getting cozy with the camera. Double-check if the camera lens needs replacing. If so, you’ll have to pop off the back cover. Lucky for me, I didn’t have to do that for my repair. If you need help, you can always schedule a repair.
Step 2


– First, clear out all the glass. Next, get rid of as much old glue as possible. A pair of tweezers, like those in the iOpener set, works great. I used the iOpener to make the glue easier to pull off. If you need help, you can always schedule a repair
Step 3


– When buying your replacement glass, make sure to get some fresh glue tape to secure it. Trust me, the old glue won’t cut it—it just won’t stick or lie flat enough for your new glass to stay snug against the camera dome.
– I opted to keep the center section in place while applying the glue tape to avoid it getting stuck to the camera. Alternatively, you could remove the circle before placing the tape to avoid having to pry it out afterward. Choose your own adventure!
Step 4


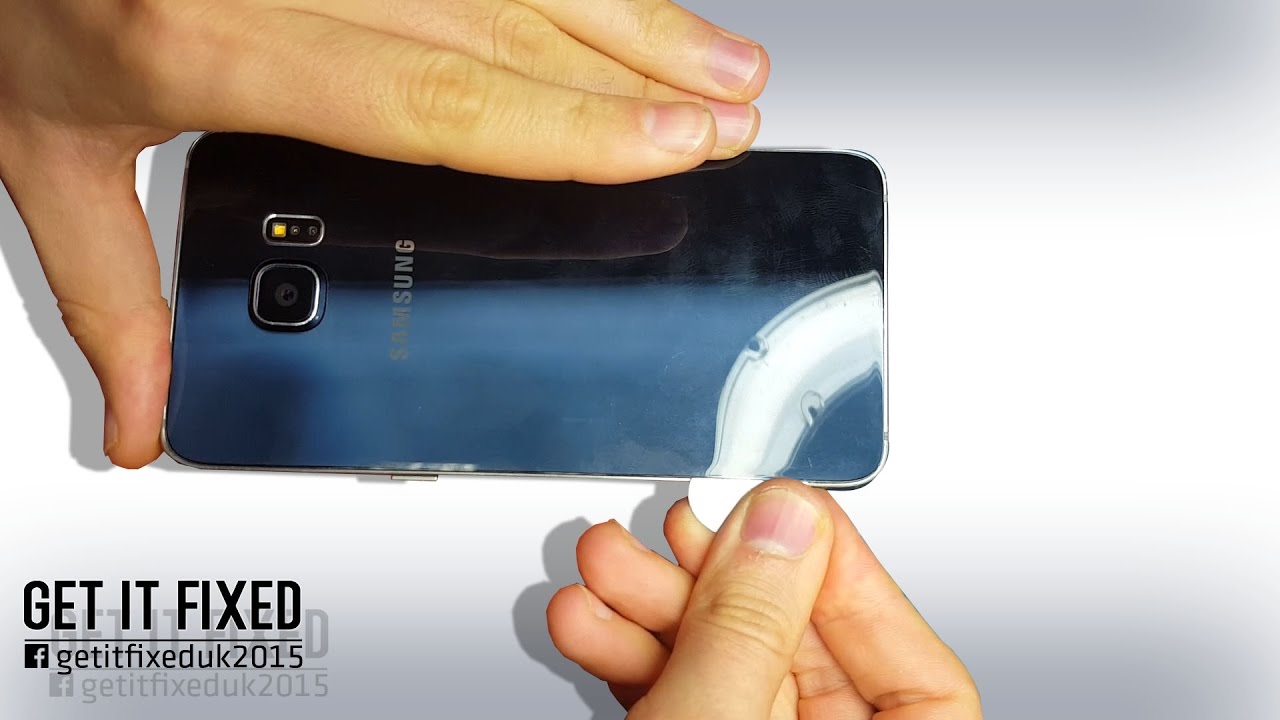
– First things first, gently peel off the protective plastic from BOTH sides of your replacement glass. It’s super easy to forget the backside—trust me, I almost ended up sticking the plastic to my phone! That would have been a disaster for my new glass.
– Once the plastic is off, carefully grab the glass with your tweezers or a small suction tool and place it inside the camera dome. Give it a firm press to ensure the edge is flush or even a tad lower than the dome’s edge.
– I gave my glass a quick clean and let the warm iOpener chill on top to heat up the glue. Not sure if it really helped with the grip after cooling, but it definitely made the glass sit more evenly.
– And just like that, my first phone repair adventure comes to a close! I hope this guide has made you feel a bit more confident about tackling this repair on your own. If you need help, you can always schedule a repair.