Samsung Galaxy S6 Edge Rear Glass Adhesive Replacement
Duration: 45 minutes
Steps: 9 Steps
This guide was tested on a Samsung Galaxy S6 (not Edge), but the steps are exactly the same. Just make sure you grab S6 Edge adhesive and match it to the adhesive you remove from the back glass—since it might be a little different from what's shown here. If you need help along the way, you can always schedule a repair.
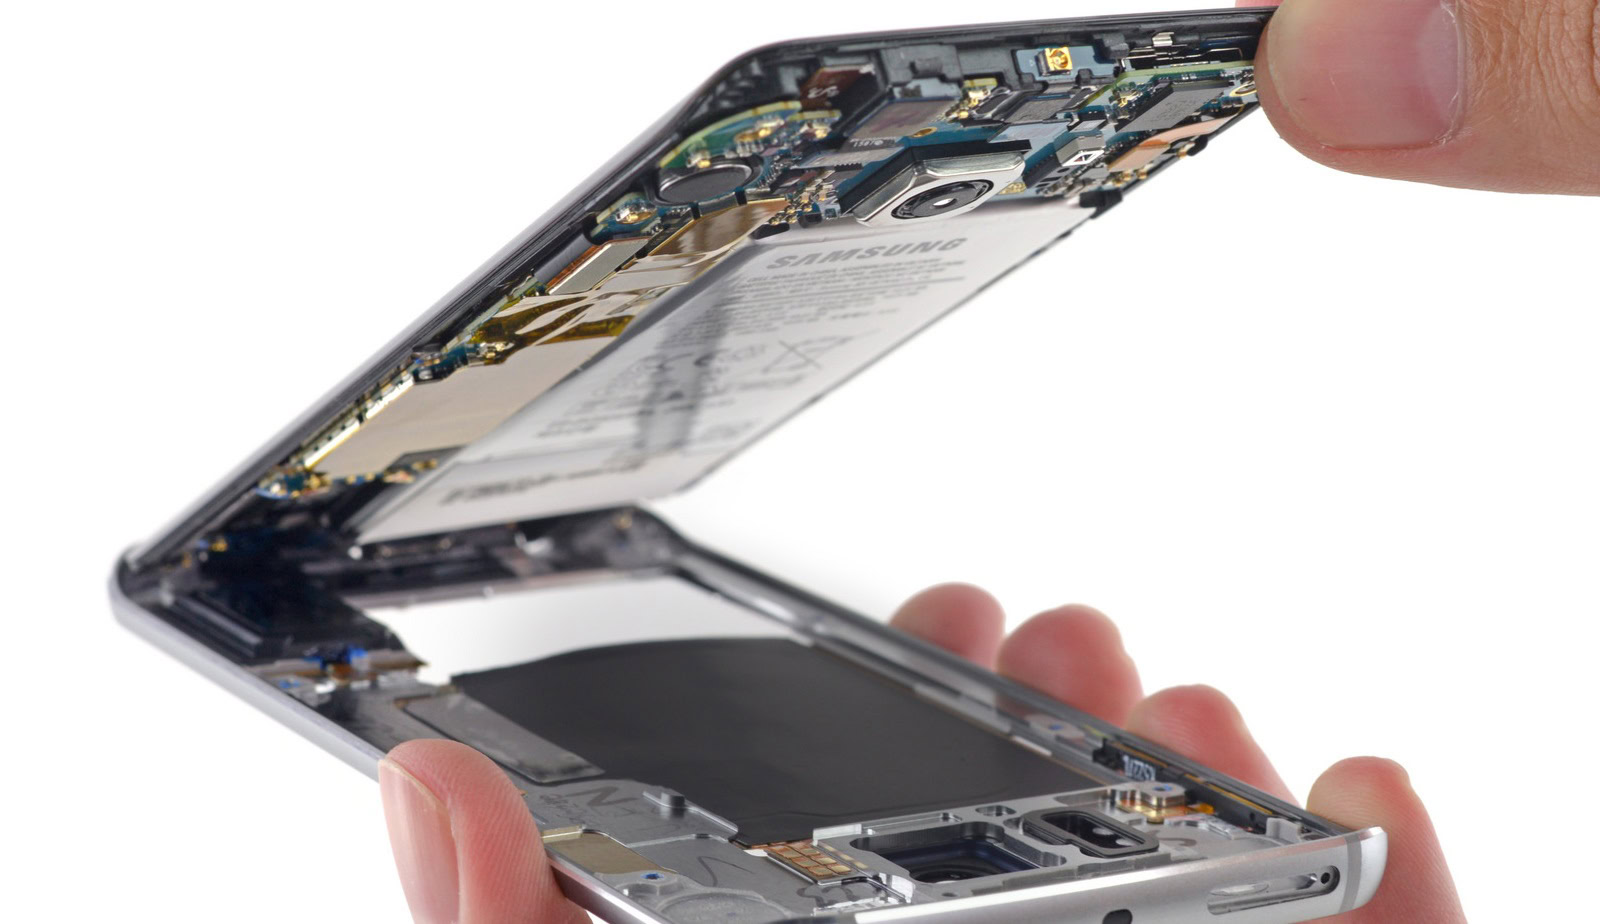
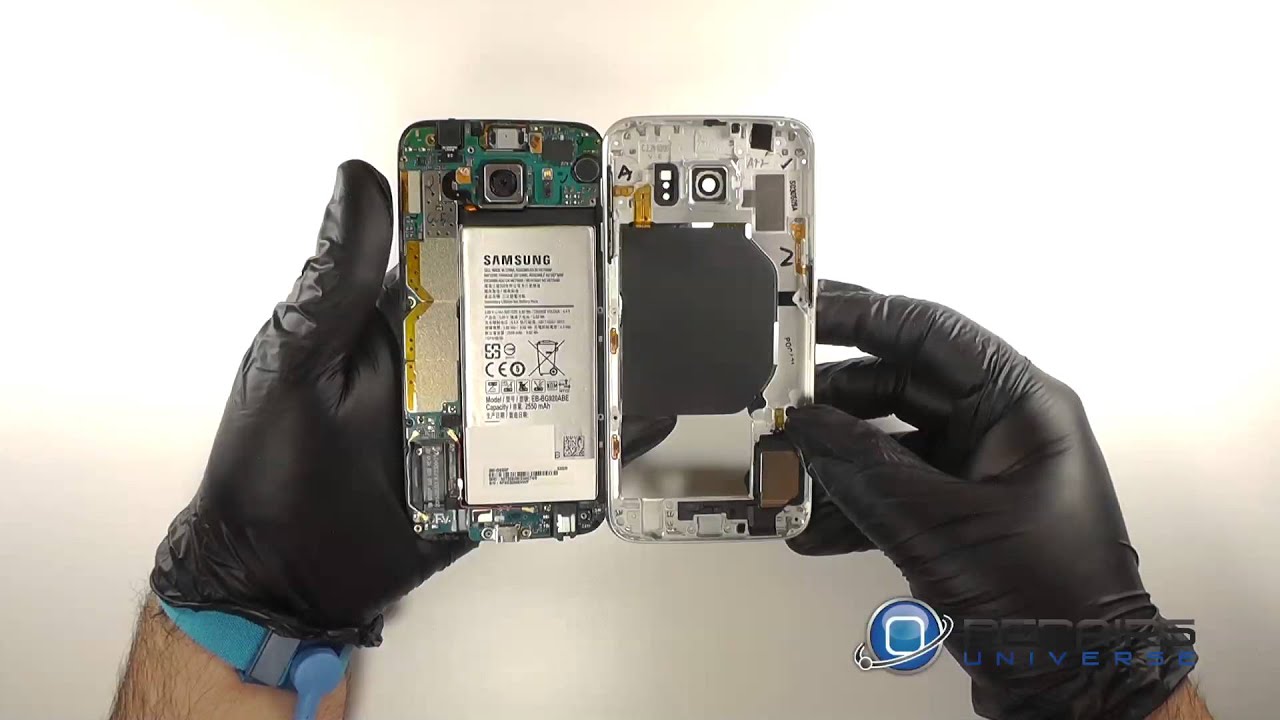
Getting that rear glass panel off your Galaxy S6 Edge? It's a bit of a sticky situation since removing it will wreck the adhesive holding it tight. But don’t worry, we've got you covered with this guide to swap out the adhesive tape on your S6 Edge rear glass! Most adhesive strips will arrive in a package looking pretty standard, but keep an eye out for differences in film dimensions and colors. Before diving in, give that glass panel a little TLC by cleaning off any leftover adhesive with a q-tip and some trusty isopropyl alcohol. Just a heads up, we did this guide on a Samsung Galaxy S6 (not the Edge), but the steps are exactly the same! Make sure to snag the right S6 Edge adhesive that matches what you peeled off the glass, as it might not look like the stuff in this guide. If you need help, you can always schedule a repair.
Step 1


Step 2


Step 3


Step 4


Step 5


Step 6


Step 7


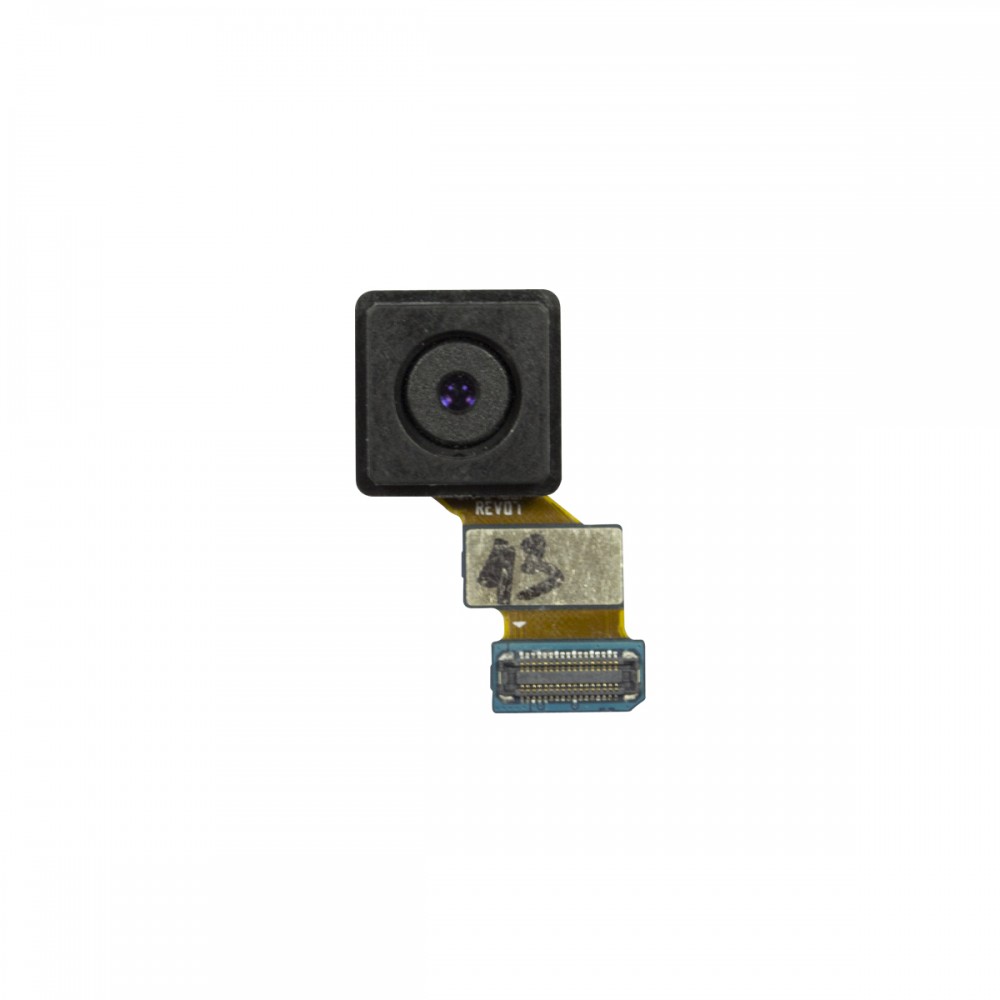
Tools Used

Step 8


Step 9