Samsung Galaxy S6 Edge Rear Glass Replacement
Duration: 45 minutes
Steps: 10 Steps
Alright, folks! We're diving into the world of repair with our trusty Samsung Galaxy S6 (non Edge) as our example. But don't fret, the steps are the same if you're handling the S6 Edge too! Just make sure to grab that S6 Edge adhesive, and check that it matches what you peeled off the back glass. Sometimes, the adhesive can be a bit different from what you see here, so double-check before you go all in!
Ready to tackle that rear glass panel on your Samsung Galaxy S6 Edge? This guide is here to help you swap out that damaged panel or simply pop it off to reach other components. Just a heads up—removing the rear glass will break the adhesive holding it snug, so keep that in mind! Follow along to get that rear glass back in place. While this guide showcases a Samsung Galaxy S6 (non-Edge), don’t worry—the steps are exactly the same! Just make sure you snag some S6 Edge adhesive that matches what you took off, as they can vary. If you need help, you can always schedule a repair.
Step 1


For carousel microwaves: Ensure that the plate is spinning like a pro! If your iOpener gets a little too cozy, it might overheat and cause some trouble. Stay cool and keep that plate moving!
Before diving into your repair adventure, give your microwave a quick clean! Trust us, you don't want any sticky leftovers getting cozy with your iOpener.
- Pop your iOpener right in the middle of the microwave—front and center!
Tools Used

Step 2

Keep an eye on that iOpener – don't let it get too hot! Overheating could cause it to pop. Aim for a max of 100˚C (212˚F).
If the iOpener looks puffed up or swollen, just leave it alone! It's not a touch-friendly moment.
If the iOpener still feels too warm to handle in the center, give it some time to cool down. It should stay toasty for about 10 minutes. Once it's ready, you can heat it up again!
The time it takes to heat your iOpener depends on your microwave's wattage, so you might need to adjust accordingly. You'll know it's ready when it’s just a smidge too hot to handle!
- Give that iOpener a quick zap in the microwave for thirty seconds!
- As you work through the repair, remember to keep the iOpener cozy. When it starts to cool down, just pop it back in the microwave for another thirty seconds at a time.
Tools Used
Step 3

Heads up—the iOpener gets pretty toasty! Handle with care, and grab an oven mitt if you want to keep those fingers cool.
- Time to get started! Remove the iOpener from the microwave, holding it by one of the flat ends to avoid the hot center. Handle with care!
Tools Used
Step 4


Watch out! The iOpener is going to be pretty toasty, so make sure to grab it only by the end tabs. Stay safe and happy repairing!
No microwave? No problem! Just follow this step to warm up your iOpener using some boiling water.
- Grab a pot or pan and fill it with enough water to cover your iOpener.
- Bring the water to a boil, then turn off the heat. No need to keep it bubbling.
- Drop your iOpener into the hot water for 2-3 minutes, making sure it’s completely underwater.
- Use some tongs to fish the iOpener out—no burned fingers, please.
- Give your iOpener a good towel-dry so it’s not dripping.
- You’re all set! If you need to reheat the iOpener, just repeat the process: boil the water, turn off the heat, and soak the iOpener for a couple of minutes.
Tools Used
Step 5


You can use a hair dryer, heat gun, or hot plate for this step, but keep an eye on the heat! Overheating your phone can be a bummer, especially for the OLED display and the internal battery, as they don't like high temps. Stay cool and take your time! If you need help, you can always schedule a repair.
Opening your phone? Just a heads up: you'll be breaking those waterproof seals! So, make sure to have some replacement adhesive on hand, or be super careful to keep liquids away when you put it back together without replacing the adhesive.
If your glass is a jigsaw puzzle of cracks, slap some packing tape over the whole panel! It'll keep things together while you work your magic during the removal.
You might find yourself reheating and reapplying the iOpener a few times to ensure your phone gets nice and toasty. Just follow those iOpener instructions and avoid turning your phone into a little campfire!
- Place your warm iOpener on the back panel for about two minutes to help loosen that stubborn adhesive around the glass edge.
- Now, move the iOpener to heat up the rest of the back panel for another two minutes to complete the job.
Tools Used
Step 6


If you'd like to make things a little easier in the next few steps, drop a bit of isopropyl alcohol into the gap after inserting the pick. It’ll help loosen up that sticky adhesive for you.
- Once the rear glass is nice and warm to the touch, grab a suction cup and place it near the bottom edge of the glass.
- Gently pull on the suction cup to create a small gap beneath the glass, then carefully slide an opening pick into the gap.
Step 7


Pro tip: Once you’ve got that pick in there, it might be a good idea to leave it in place and grab another one to keep the momentum going. That pick will help stop the glue from trying to make a reappearance while you work your way through the next steps.
Keep the rear glass nice and toasty! If you notice the glue starting to cool and harden, don’t hesitate to apply some heat to keep it soft and easy to separate.
- Gently glide that pick along the bottom edge of your phone, slicing through the adhesive that's holding the rear glass in place. You're almost there!
Step 8


- Keep the heat and cutting groove going on the other three sides of the device, just like you did before—it’s a team effort!
- Slip an opening pick under each edge to keep that adhesive from playing tricks on you and resealing.
Step 9


- Grab your trusty opening pick and gently slide it through any stubborn adhesive that’s still hanging around.
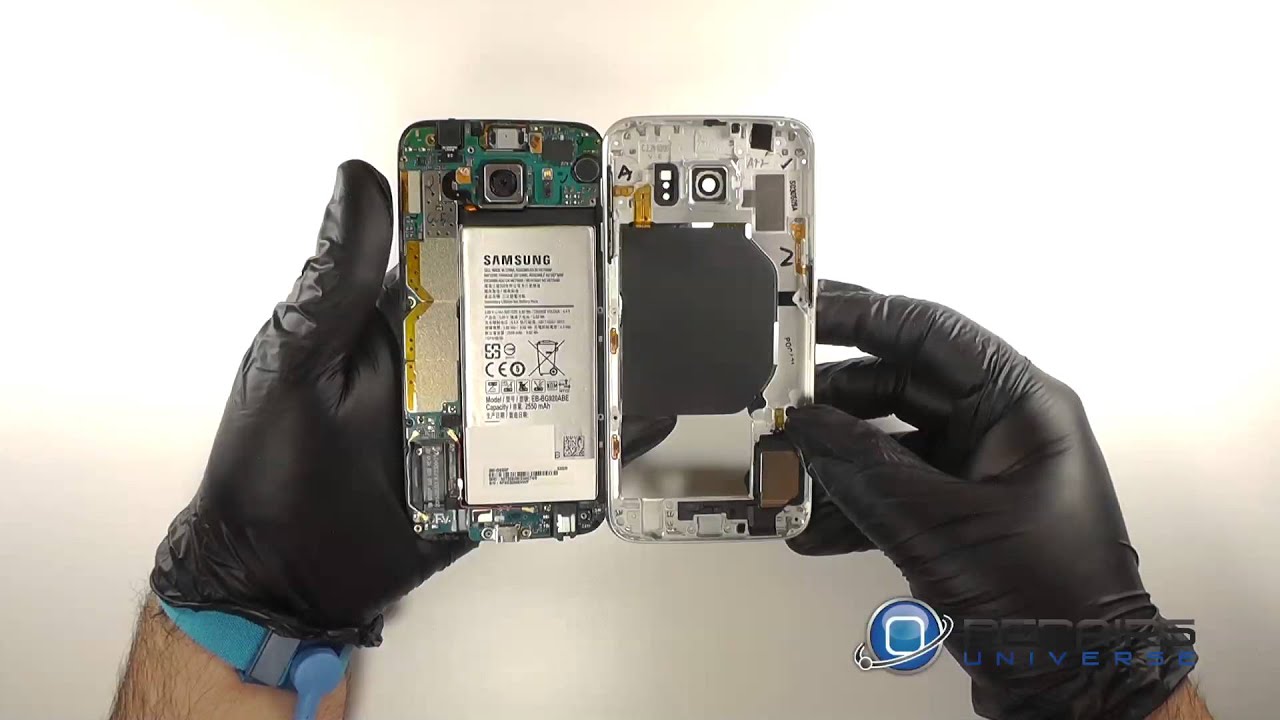
- Carefully take off the rear glass to reveal the inner workings of your device.
Step 10


- Let's get that new rear glass on your device!
- If you're putting back the old rear glass or using a fresh piece without adhesive pre-installed, just follow along with this guide.
- Grab your tweezers and gently peel away any leftover adhesive from your phone's chassis.
- Next, it’s time to clean up! Use high concentration isopropyl alcohol (at least 90%) and a lint-free cloth. Remember to swipe in one direction only – no back and forth! This will prep the surface perfectly for the new adhesive.
- Now, peel off the adhesive backing from the new rear glass. Carefully align one edge of the glass with the phone chassis, and then press it down firmly. You've got this!