Samsung Galaxy S6 Edge: Step-by-Step Earpiece Assembly Replacement
Duration: 45 minutes
Steps: 23 Steps
Hey there! Just a quick heads-up: make sure to handle your device with care during the repair process. A gentle touch goes a long way in keeping things smooth and scratch-free. And remember, if you need help, you can always schedule a repair. You’ve got this!
This rad, easy-peasy step-by-step guide is gonna show ya how to swap out that earpiece assembly, complete with earpiece speaker, proximity, and those sweet gesture sensors in your Samsung Galaxy S6 Edge. Aight, we’re talkin’ ’bout takin’ off the rear glass here – that ain’t no big thing, just gotta know what’s up. It might seem like the glass breaks the adhesive bond, but check out this guide to get that baby back on without a hitch.
Step 1


Keep that tool out of the microphone hole—it’s a no-go zone! Check out the outline of the SIM tray for guidance.
– Grab a paper clip or SIM eject tool and gently slide it into the tiny hole in the SIM card slot located on the top of your phone.
– Give it a little push to pop out that SIM card tray.
– Carefully pull the SIM card tray out of the phone, and voila!
Step 2


For carousel microwaves: Ensure the plate spins smoothly. If your iOpener gets stuck, it may overheat and burn. If you need help, you can always schedule a repair.
It’s a good idea to give your microwave a little scrub before we dive in. Any leftover gunk on the bottom might decide to hitch a ride on your iOpener, and we don’t want that!
– Time to give the iOpener the spotlight! Place it right in the heart of the microwave.
Tools Used

Step 3

Keep your cool—don’t overheat the iOpener during repair! Overheating can make it burst. Don’t heat it beyond 100˚C (212˚F).
Stay clear of the iOpener if it looks swollen.
If it’s still too hot to handle in the middle, keep using it while waiting for it to cool down a bit more before reheating. A nicely heated iOpener should stay warm for up to 10 minutes.
Depending on your microwave’s wattage, cook time might vary. The iOpener’s ready when it’s just a tad too hot to hold comfortably. If you need help, you can always schedule a repair.
– Pop the popcorn, we’re getting this party started – heat the iOpener for a quick thirty seconds.
– Like a warm hug, keep that iOpener cozy throughout the repair. If it starts to cool off, just pop it back in the microwave for another short thirty seconds. You got this!
Tools Used
Step 4

Hey there, just a heads-up – the iOpener is going to be super hot, so handle it with care! If you want, you can even rock an oven mitt for extra protection.
– Carefully take the iOpener out of the microwave, gripping one of the flat ends to steer clear of the hot center. Stay safe and keep it cool!
Tools Used
Step 5


Careful now! The iOpener is going to be quite toasty, so make sure to grip it only by those end tabs.
If heating up an iOpener seems like too much work, just reach out and let our repair wizards help you out by scheduling a repair today!
– Grab a pot or pan and fill it with enough water to give your iOpener a nice, cozy bath.
– Turn up the heat and bring that water to a boil, then switch off the heat. Safety first!
– Gently place your iOpener into the warm water for about 2-3 minutes. Make sure it’s fully submerged so it can soak up all that warmth.
– Using tongs (because we’re all about safety here), carefully lift the heated iOpener out of the water.
– Give your iOpener a good towel dry – we want it to be nice and dry before it goes to work.
– And there you have it! Your iOpener is all set and ready to tackle those repairs. If you ever need to reheat it, just repeat the process: boil the water, turn off the heat, and let it soak for 2-3 minutes again.
Tools Used
Step 6


Feeling a bit dramatic? Well, save the heat for the phone’s enemies! Remember, a hair dryer, heat gun, or hot plate can help, just don’t turn up the heat too high—our phone’s display and battery prefer a cool vibe. Keep the heat low and the spirits high during this repair dance!
Cracking open your phone means its waterproof seals are done for. Be sure to have some replacement adhesive handy before you start, or be extra careful to keep your phone away from liquids if you reassemble without new adhesive.
If your screen is shattered, put some packing tape over the entire panel to hold it together while you remove it.
You might need to reheat and reapply the iOpener multiple times to get the phone warm enough. Follow the iOpener instructions to avoid overheating.
– Place the warm iOpener over the back panel for about two minutes to help loosen up the adhesive hugging the edges of the glass.
– Move the iOpener around to warm up the rest of the panel for another two minutes.
Tools Used
Step 7


Now, for a little trick – once the tool is in, you might want to jazz it up with a splash of isopropyl alcohol in the groove to loosen up the sticky stuff in the next moves.
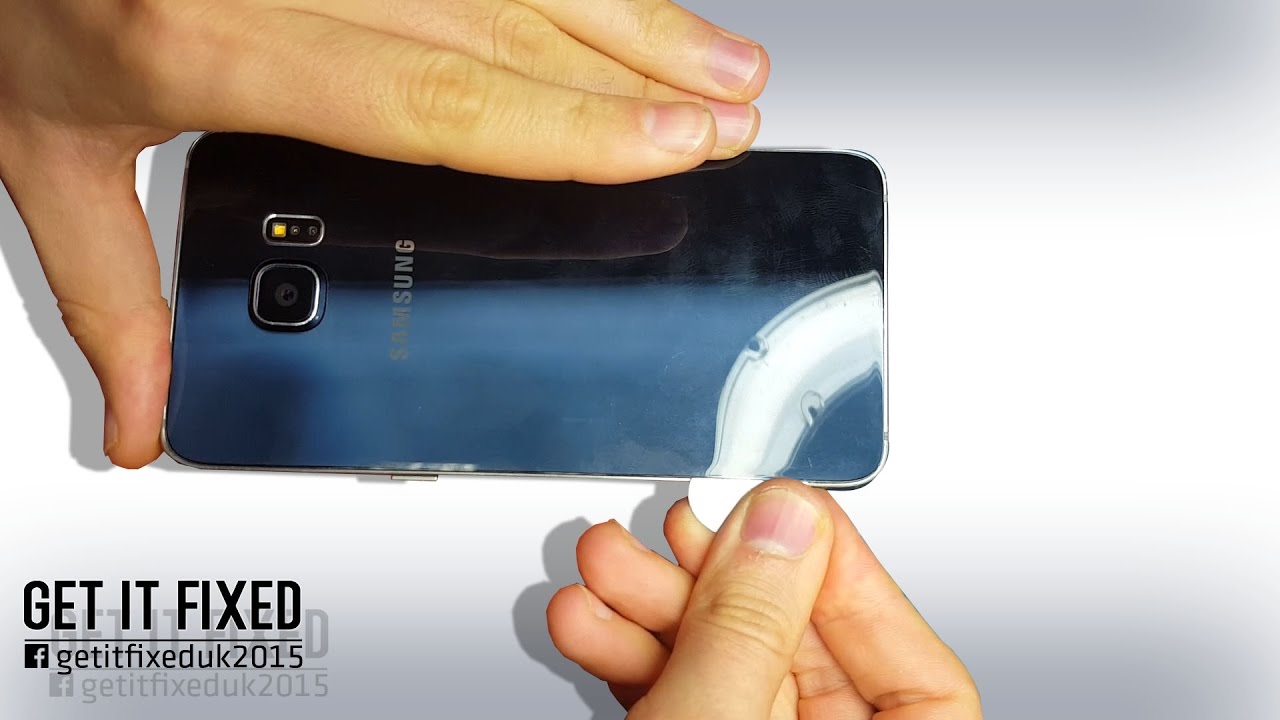
– Once the rear glass is nice and toasty, stick a suction cup near the bottom edge of the glass.
– Pull up on the suction cup to create a tiny gap underneath the rear glass, then slip an opening pick into the gap.
Step 8


Leave that pick in place for now and grab another one to keep the flow going. Keeping the pick there stops the glue from sticking back together.
Warm up the rear glass again as needed to keep the glue soft and manageable.
– Glide the pick along the bottom edge of your phone to slice through the adhesive holding the rear glass in place.
Step 9


– Heat and cut through the other three sides of the phone.
– Slide an opening pick under each edge to keep the adhesive from sticking back together.
Step 10


– Grab your trusty opening pick and gently work your way through any stubborn adhesive holding things in place.
– Next up, carefully take off the rear glass and reveal the inner workings!
Step 11


– Ready to give your device a new stylish look with a rear glass makeover?
– If you’re sticking with the old rear glass or using one without pre-installed adhesive, don’t worry, we’ve got your back!
– Grab those trusty tweezers and delicately remove any leftover adhesive from your device’s chassis.
– Time to show those adhesion areas some love by giving them a good scrub with high concentration isopropyl alcohol (at least 90%) and a lint-free cloth. Remember, swipe in one direction like a pro, no back and forth shenanigans!
– Peel off the backing of the fresh rear glass, make sure it’s perfectly aligned with the phone chassis, and then give it a firm press onto your device. Voila! New look, new you!
Tools Used

Step 12

– Get ready to dance with your tools as you remove the thirteen 3.3 mm Phillips #00 screws from the midframe.
Step 13


– Gently press down on the back of the battery, then lift up on the edges of the midframe to detach it from the rest of the phone.
Step 14


– Grab your trusty spudger’s flat end and gently disconnect that battery ribbon cable from the motherboard. You’ve got this!
Tools Used


Step 16


– Get your trusty spudger and delicately disconnect the two antenna interconnect cables from the motherboard.
Tools Used
Step 17


– To kick things off, gently separate the display ribbon cable from the motherboard using the trusty, flat end of the spudger.
Tools Used
Step 18


– Gently unplug the earpiece ribbon cable from the motherboard, and give yourself a little high-five for being one step closer to repair success!
Step 19


Hey there! Just a friendly reminder that the motherboard is a bit of a diva when it comes to ESD sensitivity—so treat it with the love and care it deserves! It’s a good idea to rock an anti-static bracelet while you’re handling those delicate components to keep them safe from any static surprises.
Oh, and one more thing! When you’re working on the motherboard, remember not to lift it all the way out just yet. There’s a ribbon cable hiding underneath that needs to be disconnected first. Take it slow and steady!
– Hold the motherboard firmly by its edges at the top of the device.
– Carefully lift the motherboard away from the display, ensuring not to strain the daughterboard ribbon cable.
Step 20


– Unplug the daughterboard ribbon cable from the bottom of the motherboard. It’s a little tricky, but you’ve got this!
Step 21


Hey there! Just a heads-up, it’s best to leave the board as is, since it’s firmly connected to the earpiece speaker assembly. Take it easy and let’s get this repair done smoothly!
– Lift the earpiece assembly board out of its groove above the earpiece speaker. If you need help, you can always schedule a repair.
Step 22


– Gently take off the EMI shield that’s cozying up to the proximity and gesture sensors.
Step 23


– Gently wiggle the earpiece speaker assembly free from the phone, making sure to treat those cables with care – they’re more delicate than they look!