Samsung Galaxy S6 Power Button Replacement Guide: Step-by-Step DIY Repair
Duration: 45 minutes
Steps: 21 Steps
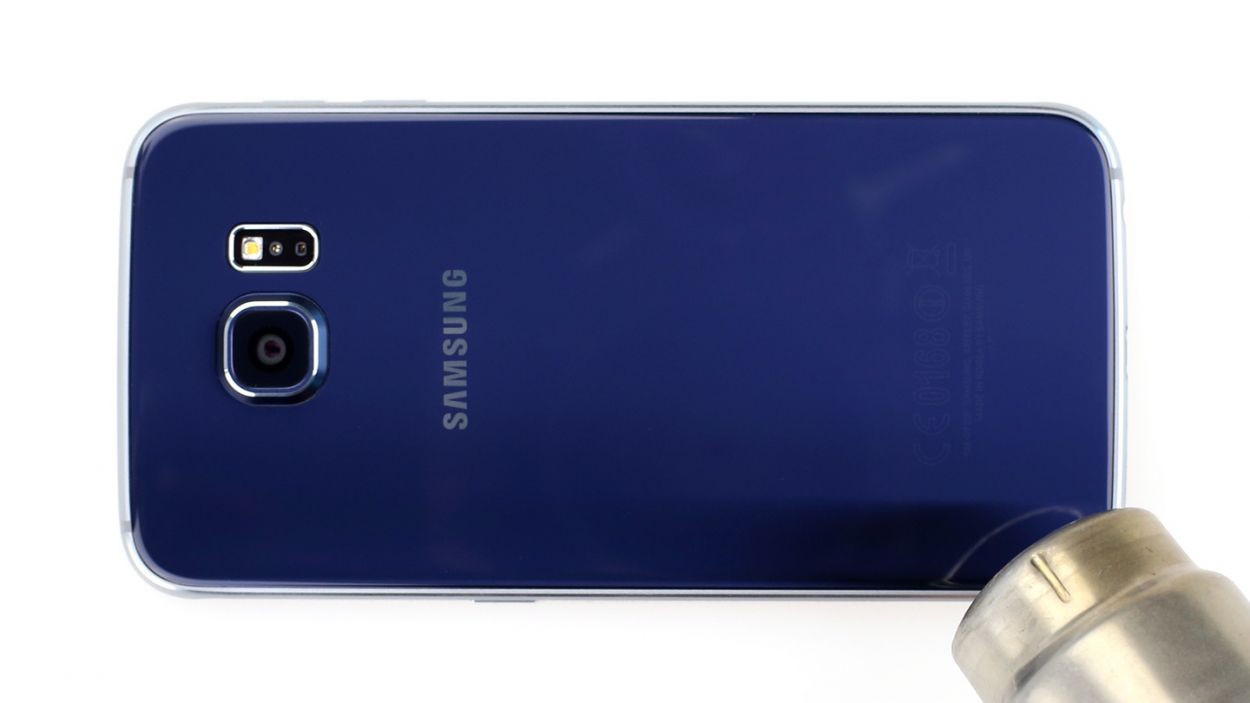
Ready to tackle the power button replacement on your Samsung Galaxy S6? Let’s dive in! We’ll start by carefully removing the rear glass. Just a heads up, this step will break the adhesive that keeps it snugly in place. But don’t worry, we’ll guide you through the process of reattaching it like a pro. If you need help, you can always schedule a repair.
Step 1


Be gentle when handling the SIM card tray—too much pressure could lead to unwanted damage!
– Grab a paper clip or your trusty SIM eject tool and pop it into the little hole on the SIM card slot, which is located on the power button side of your phone.
– Give it a gentle press to make the SIM card tray come out and say hello!
Step 2

– Pop out the SIM card tray from your phone. It’s easier than it sounds—just give it a gentle pull and you’re good to go!
Step 3


For carousel microwaves: Make sure the plate spins without any resistance. If your iOpener gets stuck, it could overheat and burn out. Keep things moving smoothly, or you might end up with more than just a snack to fix! If you need help, you can always schedule a repair
Before you dive in, give your microwave a quick clean-up. Trust us, you don’t want any pesky gunk clinging to the iOpener as you work your magic.
– Pop the iOpener right into the middle of the microwave.
Tools Used

Step 4

Just a friendly reminder to keep the iOpener from getting too hot during your repair adventure! If it overheats, it might go boom! So, let’s keep it under 100˚C (212˚F), okay?
If the iOpener looks like it’s been working out and is a bit swollen, give it a break and don’t touch it.
If the center of the iOpener is still too toasty to handle, hang tight and let it cool down a bit before you give it another heat session. A well-heated iOpener should stay cozy for about 10 minutes!
Depending on your microwave’s wattage, you might need to adjust the heating time a bit. The iOpener is ready when it feels just a tad too hot to handle.
– Microwave the iOpener for 30 seconds to heat it up.
– As the iOpener cools down, keep it warm by popping it back in the microwave for another 30 seconds at a time throughout the repair process.
Tools Used
Step 5

The iOpener will be seriously hot, so handle it with care. If it feels a bit too toasty, grab an oven mitt for extra comfort.
– Grab the iOpener from the microwave, making sure to hold it by the flat ends to keep your cool, avoiding that hot center.
Tools Used
Step 6


Get ready to handle the iOpener with care as it’s going to be bringing the heat – make sure to hold onto it only by the cool end tabs!
If microwaves aren’t in your kitchen arsenal, don’t fret! Just pop your iOpener into a pot of boiling water to warm it up.
– Grab a pot or pan and fill it up with enough water to completely dunk that iOpener.
– Get the water bubbling hot, then turn off the heat. Safety first!
– Carefully drop the iOpener into the steaming water for about 2-3 minutes. Make sure it’s fully submerged—it’s a swimming lesson for the iOpener!
– Using tongs, fish out the hot iOpener from the water. Watch out, it’s toasty!
– Give the iOpener a good towel dry—no one likes a soggy iOpener!
– You’re all set! If you ever need to warm up the iOpener again, just repeat the water boiling routine for another 2-3 minutes.
Tools Used
Step 7


– Place the heated iOpener on the back panel for around two minutes to loosen the adhesive around the glass edges.
– Slide the iOpener to heat the rest of the panel for another two minutes. If you need help, you can always schedule a repair.
Feeling the heat? You can use a hair dryer, heat gun, or hot plate to warm things up, but be gentle with it. Remember, your phone’s OLED screen and battery don’t dig an impromptu sauna session. If things get tricky, you can always schedule a repair.
Opening your phone will challenge its waterproof barriers. Be ready with replacement glue or wrap the glass panel with packing tape before proceeding for protection against liquids. Remember to heat and reapply the iOpener safely to loosen the phone and avoid burns. Struggling? No worries! Just schedule a repair and our tech friends will help you out!
Tools Used
Step 8


If you feel like it, after slipping the pick in place, try adding a few drops of isopropyl alcohol into the opening. It’ll loosen up that sticky adhesive so the next steps will be a breeze!
– When the rear glass is nice and toasty, grab a suction cup and pop it near the bottom edge of the glass.
– Gently pull on the suction cup to create a little gap beneath the rear glass, then slide in an opening pick to keep that gap open.
Step 9


Once you’ve made some progress, it might be a good idea to keep that pick in place and grab yourself a second one as you move forward. Keeping the first pick in can help stop the glue you just released from sticking back together.
Feel free to reheat the rear glass whenever necessary to keep that glue nice and warm, preventing it from cooling down and becoming stubborn.
– Gently glide the pick along the bottom edge of your phone to cut through the adhesive holding the rear glass in place. You’ve got this!
Step 10


– Stay on the groove! Heat and slice away around the other three sides of your phone.
– Keep those opening picks groovin’ under each edge to stop that adhesive from closing back up.
Step 11


– Grab your trusty opening pick and gently slice through any stubborn adhesive that’s still hanging on.
– Carefully lift off the rear glass and set it aside.
Step 12


– Ready to put on some fresh rear glass? Let’s get to it!
– If you’re reusing the old rear glass or using one without adhesive already on it, check out this guide.
– Start by using tweezers to carefully remove any leftover adhesive from the phone’s body.
– Now, grab some high-concentration isopropyl alcohol (at least 90%) and a lint-free cloth. Gently clean the areas where the new adhesive will go—just swipe in one direction to get that surface nice and prepped. No back-and-forth action here!
– Peel off the adhesive backing from the new rear glass, then align one edge with the phone’s chassis. Press down firmly to set the glass in place. You got this!
Tools Used

Step 13

– Time to roll up those sleeves and get those fingers moving! Unscrew the thirteen 3.5mm Phillips #00 screws that are holding the midframe to the phone like they’re trying to keep a secret. If you need help, you can always schedule a repair!
Step 14


Bon voyage, brave repairer! Before taking the next step, make sure you’ve given the SIM card tray a little vacay. Also, watch those window shelves, champ. Pop that opening pick and slide it in without giving mixed signals to the glass and display, kapeesh?
– Grab hold of the midframe assembly with confidence!
– Gently lift up on the midframe assembly while applying pressure on the battery to separate it from the rest of the phone.
– In case separating the midframe is proving to be a challenge, consider warming the edges of the display with an iOpener to soften the adhesive.
– As you raise the midframe, watch out for any potential snags on the audio jack or charging port.
– Once the midframe begins to come apart, use an opening pick along the phone’s edges to separate the top section of the midframe.
– To ensure the headphone jack stays safe and sound, start by removing the top part of the midframe before pushing it down to detach from the jack.
Tools Used
Step 15

– Gently lift the midframe assembly to free it from the rest of the phone. You’ve got this!
Step 16


Just gently take out the power button bracket from the socket. The ribbon cable is still connected to the midframe, so be careful not to yank it too hard, or it might get damaged.
– With your trusty angled tweezers in hand, gently grasp the power button bracket and give it a little tug to free it from its cozy socket.
Tools Used
Step 17


No need to yank the whole assembly from the power button bracket. The adhesive on the spring contacts is tougher than the cable’s. If you need help, you can always schedule a repair
– Gently lift the power button ribbon cable until just the spring contacts are holding on to the midframe.
Step 18


– Slide the sharp edge of the spudger beneath the power button’s contact points.
– Gently press to lift the connector up.

Step 20


– Grab that spudger, use the pointy end, and nudge the power button out of the midframe like a pro! And hey, if you hit a snag, you can always schedule a repair.
Step 21

– Grab your trusty tweezers and carefully pluck out the power button. If you need help, you can always schedule a repair
Tools Used