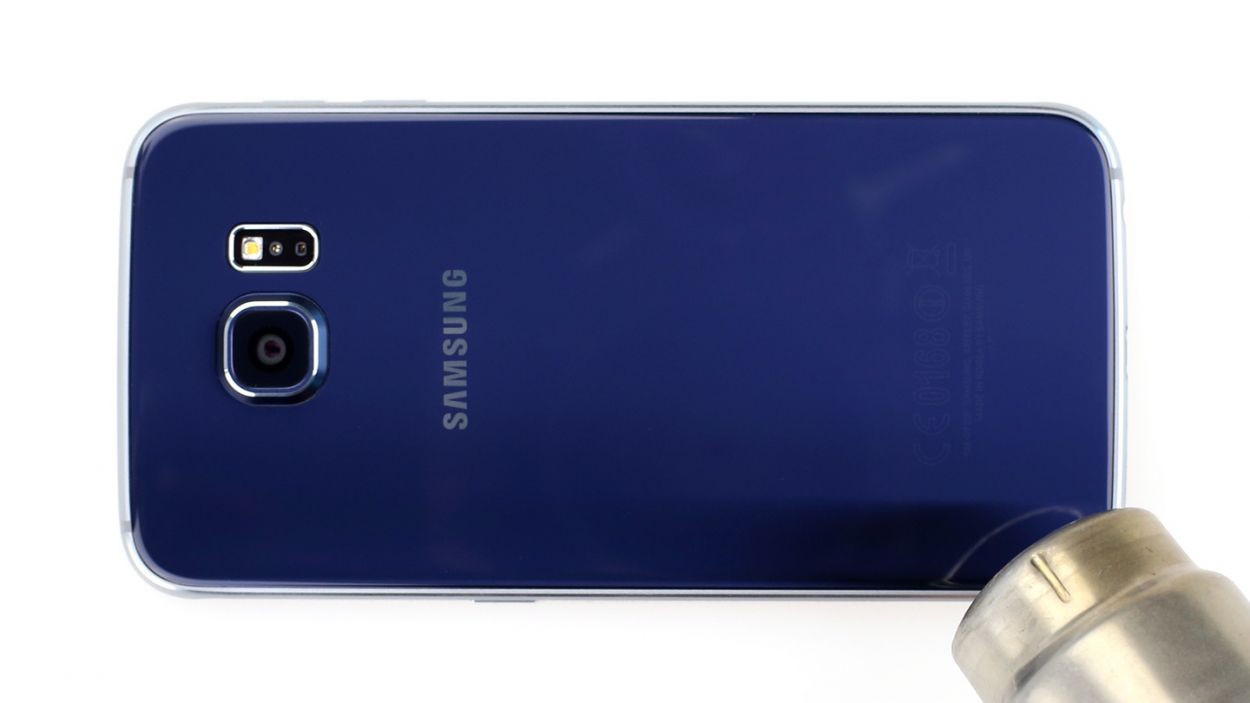
Samsung Galaxy S6 Rear Glass Replacement Guide: Step-by-Step DIY Repair Tutorial
Duration: 45 minutes
Steps: 10 Steps
Hey there! Just a friendly reminder to take your time and double-check everything as you go. If you hit a snag or need a hand, don’t hesitate to schedule a repair. You’ve got this!
Be the hero of your Samsung Galaxy S6! Say goodbye to that old, damaged rear glass panel by following this guide. Remember, when you remove the rear glass, you’re setting free the adhesive that’s been holding it in place. Fear not, just stick to this easy-peasy guide, and you’ll have that rear glass back on in no time!
Step 1


For those awesome carousel microwaves: Ensure the plate spins like a boss. If your iOpener decides to play hard to get, it might just throw a little heat tantrum. But hey, we’ve got your back!
It’s a good idea to give your microwave a quick clean before diving in. Any leftover gunk on the bottom might just hitch a ride on the iOpener, and we don’t want that!
– Pop the iOpener in the middle of the microwave.
Tools Used

Step 2

Hey there! Just a friendly reminder to keep an eye on your iOpener during the repair—overheating can lead to a burst (yikes!). Make sure it doesn’t exceed 100˚C (212˚F).
If your iOpener looks a bit puffed up, steer clear and don’t touch it.
If the middle of the iOpener is still too hot to handle, just keep using it while you wait for it to cool down a bit before reheating. A well-heated iOpener should stay toasty for about 10 minutes. You’ve got this!
The time needed may vary based on your microwave’s wattage, so keep an eye on it! Your iOpener is good to go when it’s just about too hot to handle. Stay safe and have fun!
– Give that iOpener a warm-up in the microwave for thirty seconds. It’s like a spa day for your repair tool!
– As you work through the repair, keep an eye on the iOpener. When it starts to cool down, pop it back in the microwave for another thirty seconds. Repeat as needed to keep the good vibes going!
Tools Used
Step 3

Watch out! The iOpener can get pretty toasty, so handle it with care. An oven mitt might just be your new best friend!
– Carefully take the iOpener out of the microwave, making sure to grip one of the flat ends to steer clear of that hot center. Stay cool and safe!
Tools Used
Step 4


Hold onto the iOpener carefully as it will be toasty hot! Make sure to grip it only by the end tabs.
No microwave? No problem! Just pop your iOpener into boiling water.
– Grab a pot or pan and fill it up with enough water to give your iOpener a nice, cozy bath.
– Heat that water until it’s bubbling like it’s excited to see you. Once it’s boiling, turn off the heat.
– Gently place your iOpener in the hot water for about 2-3 minutes. Make sure it’s taking a nice dip and is fully submerged.
– Using tongs (because safety first!), carefully pull the heated iOpener out of the water.
– Give your iOpener a good towel dry – we want it to look sharp!
– And voilà! Your iOpener is all set to go! If it needs a little warmth later, just repeat the process: boil the water, turn off the heat, and let it soak for 2-3 minutes again.
Tools Used
Step 5


You can use a hair dryer, heat gun, or hot plate, but remember to keep it cool! Overheating your phone can lead to some serious heat damage for the OLED display and internal battery. Stay chill while you fix it!
Yay! You’re on your way to fixing your device! If water got in the mix, make sure to replace that sticky stuff before you start, or be extra careful ’round the wet stuff, aight? Also, use that magic heater to get your phone nice and toasty, but don’t forget to stay cool too!
– Place the warm iOpener on the back panel for about two minutes to help loosen that stubborn adhesive around the glass edges.
– Move the iOpener to heat up the rest of the panel for another two minutes, giving it some extra love.
Tools Used
Step 6


If you’re feeling adventurous, after inserting the pick, consider adding a few drops of isopropyl alcohol into the gap to help loosen the adhesive for the next steps. It’s like giving your device a little spa treatment before the big reveal!
– Once the rear glass is feeling warm and cozy, grab a suction cup and place it near the bottom edge of the glass.
– Gently pull on the suction cup to create a little gap beneath the rear glass, then slide an opening pick into that gap.
Step 7


Once you’re done here, keep the pick in place and grab another one for the next step. Leaving it in helps keep the glue from re-sticking. Genius, right?
Re-heat the back glass as you go, so the glue doesn’t cool and harden. Easy peasy!
– Gently glide the pick along the bottom edge of your phone to cut through the adhesive holding the rear glass in place. You’ve got this!
Step 8


– Now, let’s keep the momentum going! Just like before, repeat the heating and cutting magic on the other three sides of your phone.
– And remember, slide an opening pick under each edge to keep that pesky adhesive from sticking back together.
Step 9


– Grab an opening pick and gently glide it through any stubborn adhesive that’s still hanging on.
– Carefully lift off the rear glass and set it aside.
Step 10


– Get ready to install that new rear glass:
– If you’re reusing the old glass or using new glass without pre-installed adhesive, check out this guide.
– Grab your trusty tweezers and remove any leftover adhesive from the phone’s chassis.
– Clean up the adhesion areas with high concentration isopropyl alcohol (at least 90%) and a lint-free cloth. Remember, swipe in one direction only, not back and forth, to prep the surface for new adhesive.
– Carefully peel the adhesive backing off the new rear glass, line up one edge of the glass against the phone chassis, and press the glass firmly onto the phone.
Tools Used