Samsung Galaxy S7 Active Battery Replacement
Duration: 45 minutes
Steps: 12 Steps
Heads Up!
Ready to breathe new life into your Samsung Galaxy S7 Active SM-G891AZAAATT? This guide is here to help you swap out that tired battery! Whether your battery has seen better days after a drop, a splash, or just too many charging cycles, it’s time for a change. Plus, you’ll need to pull out the battery to get to most other parts of your phone. No special skills required—just a little patience and care! Just a quick heads-up: make sure your phone is powered off and unplugged from the charger before you dive in. If you need help, you can always schedule a repair.
Step 1

Yikes, your phone’s heating up! Avoid handling it with your bare hands.
– Warm up the adhesive on the screen by using a blow dryer directly on it.
Step 2

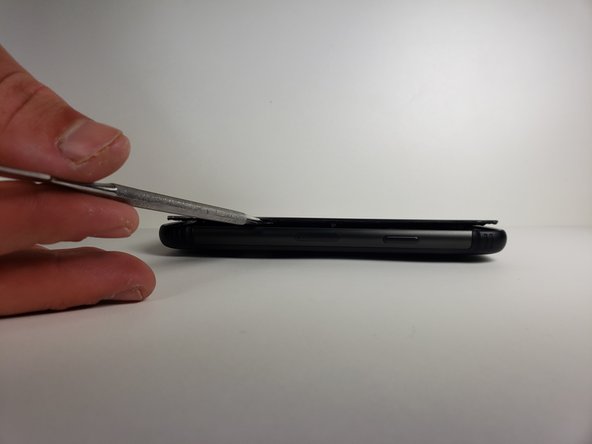
Using multiple metal spudgers can make it way easier to separate the screen from the sealing adhesive on the frame.
Keep in mind that reassembling your phone might affect its water resistance. If you need help, you can always schedule a repair
– Let’s get started by carefully inserting the metal spudger between the screen and the frame. This will help you begin to separate them, and we’ll take it from there. If you need help, you can always schedule a repair
Tools Used

Step 3

Want to make sliding your metal spudger easier? Try applying the blow dryer as you slide for smooth sailing!
– Gently glide the metal spudger all around the phone at least once for a smooth start.
Tools Used
Step 4

Don’t forget to give your hands a proper wash with warm water and soap once you’re done.
– Get a good grip and lift that screen up with your hands!
Step 5

– Grab hold of your trusty Phillips #000 screwdriver and get ready to loosen up a single screw.
Tools Used

Step 6

– Grab those tweezers and delicately remove the small plastic cover that you just unscrewed.
Tools Used

Step 7

– Grab your trusty tweezers and delicately remove the other small plastic cover with a touch of finesse!
Tools Used
Step 8

– Grab your trusty Phillips head #000 and carefully remove the eleven screws highlighted in the photo. You’ve got this!
Step 9

– Grab those tweezers and gently detach the highlighted components from the motherboard. You’ve got this!
Tools Used
Step 10

– Time to get a little hands-on – use tweezers to carefully remove the middle button and its connection to the motherboard. If you need help, you can always schedule a repair
Tools Used
Step 11


– Grab a metal spudger and gently lift off the mid frame and battery from the motherboard.
Tools Used
Step 12
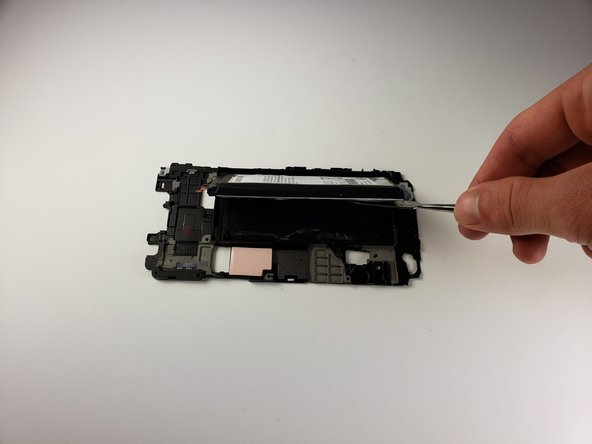

– Get ready to rock and roll by using a spudger to gracefully separate the battery from the midframe.
– Ready to bring new life to your device? Dive in and let’s breeze through this guide for installing a fresh battery and adhesive.