Samsung Galaxy S7 Active Front Camera Replacement Tutorial
Duration: 45 minutes
Steps: 18 Steps
Before you start, make sure you’ve got the right tools for the job. If you need help, you can always schedule a repair
Get ready to jazz up your Samsung Galaxy S7 Active by swapping out that front camera!
Step 1
Your phone is feeling a bit toasty, so it’s best to keep your hands off it for now!
– Heat up the adhesive holding the screen by directing a hairdryer onto it. Need a helping hand? Feel free to schedule a repair anytime!
Step 2
Using more than one metal spudger makes separating the screen from the adhesive a breeze!
Heads up: after putting your phone back together, it might not be as watertight as it was before. If you need help, you can always schedule a repair.
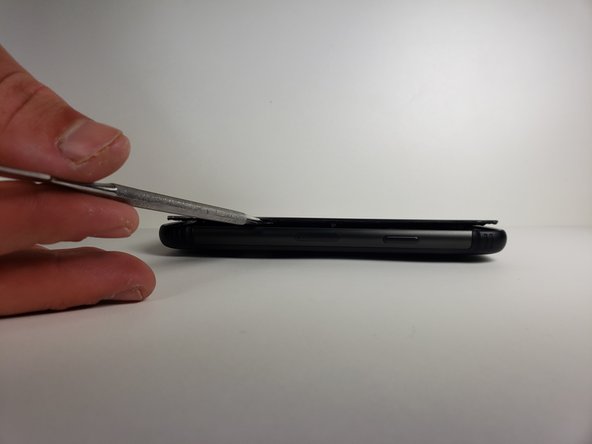
– Slide the metal spudger gently between the screen and the frame to start separating them like a pro! If you run into any trouble, remember, you can always schedule a repair.
Tools Used
Step 3
To make it a breeze to slide your metal spudger, just give a little love to the area you’re working on with a blow dryer. It’ll help things glide along smoothly!
– Give that metal spudger a twirl around the phone at least once.
Tools Used
Step 4
Make sure to give those hands a good scrub with hot water and soap once you’re all done!
– Gently raise the screen using your hands.
Step 5
– Grab your trusty Phillips #000 screwdriver and remove that one lone screw. If you need help, you can always schedule a repair.
Tools Used
Step 8
– Alright, let’s get cracking on this! Grab a Phillips head #000 and remove those eleven screws you see marked in the photo.
Step 9
– Grab your trusty tweezers and carefully detach the highlighted parts from the motherboard. If you need help, you can always schedule a repair
Tools Used
Step 10
– Grab those tweezers and gently lift out the middle button along with its connection to the motherboard. You’ve got this!
Tools Used
Step 11
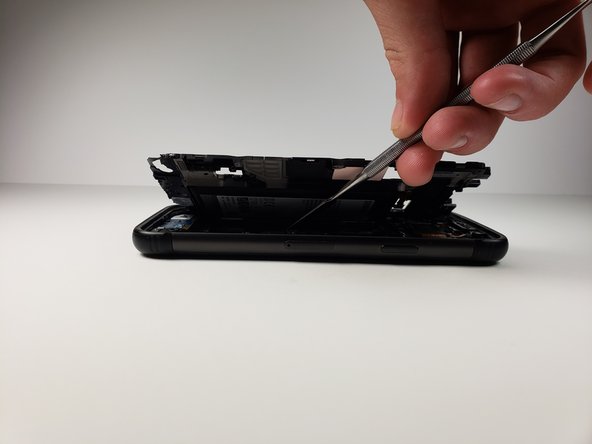
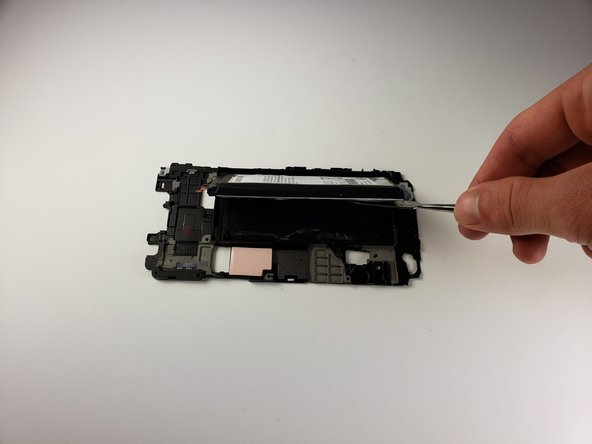
– Grab a trusty metal spudger and gently pry the mid frame and battery away from the motherboard. You’ve got this!
Tools Used
Step 13
The connector should pop off just like a lego brick.
– Grab your trusty tweezers and delicately disconnect the front camera from the battery.
Tools Used
Step 14
– Grab your trusty Phillips 000 screwdriver and carefully unscrew the little dude that’s hiding the proximity sensor. You’ve got this!
Step 15
– Time to get up close and personal – use tweezers to carefully remove the proximity sensor.
– Set it aside for now, you’ll get back to it later. If you need help, you can always schedule a repair
Tools Used
Step 17
Chill, the motherboard’s still friends with the circuitry down there. Be a light touch!
– Grab those hands and a trusty metal spudger to gently lift the motherboard from its cozy spot in the phone.
– Next, use that spudger to carefully disconnect this connection. You’re doing great!
Tools Used
Step 18
To get started, you’ll need to flip the motherboard over from its original position. If you need help, you can always schedule a repair
– Time to get a little handy – use tweezers to carefully disconnect the front camera from the motherboard. If you need help, you can always schedule a repair
Tools Used


