Samsung Galaxy S7 Active Motherboard Replacement Guide: DIY Tutorial
Duration: 45 minutes
Steps: 17 Steps
Heads up! Before diving into this repair, make sure you’ve got all the tools you need. If you hit any snags, don’t hesitate to schedule a repair for some expert help.
Get your hands on the fun with this guide to swappin’ out the brain of your Samsung Galaxy S7 Active! Have no fear, the talented tech folks at schedule a repair have got your back if you need extra help.
Step 1
Whoa there! Your phone’s feeling a bit toasty. It’s best to keep your hands off it for now.
– Warm up the adhesive on the screen by giving it a gentle blow with a hair dryer right on the surface.
Step 2
Using multiple metal spudgers can make it a whole lot easier to separate the screen from the sealing adhesive on the frame.
Keep in mind that reassembling your phone might affect its water resistance. If you need help, you can always schedule a repair
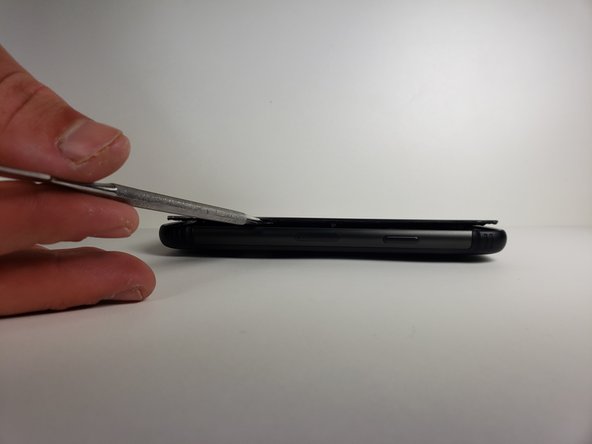
– Let’s get started by carefully inserting the metal spudger between the screen and the frame. This will help you begin to separate them, and we’ll take it from there. If you need help, you can always schedule a repair
Tools Used
Step 3
To make your life a little easier while sliding that metal spudger, try warming up the area with a blow dryer first. It’ll help things glide along smoothly!
– Gently glide that trusty metal spudger around your phone at least once. You got this!
Tools Used
Step 4
Don’t forget to give those hands a good scrub with hot water and soap when you’re done!
– Gently raise the screen using your hands, giving it a little lift like you’re helping a friend up from the couch.
Step 5
– Grab your trusty Phillips #000 screwdriver and twist out that lone screw with ease!
Tools Used
Step 8
– Grab your trusty Phillips head #000 and gently remove the eleven screws highlighted in the photo. You’ve got this!
Step 9
– Grab those tweezers and pop off the highlighted bits from the motherboard. If you need help, you can always schedule a repair.
Tools Used
Step 10
– Grab your trusty tweezers and gently remove the middle button along with its connection to the motherboard.
Tools Used
Step 11
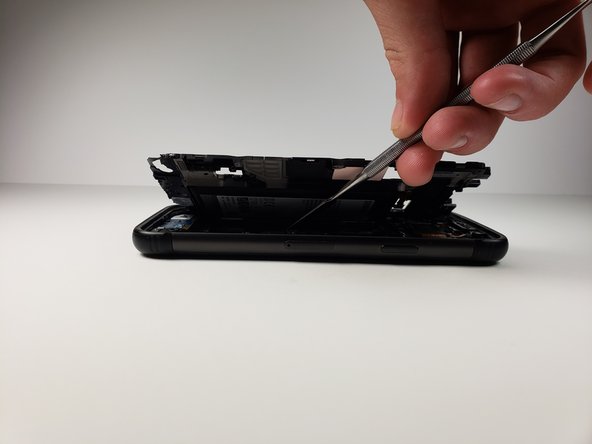
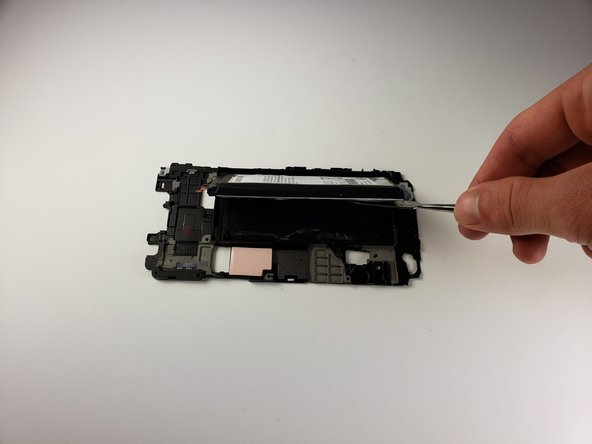
– Get your trusty metal spudger and gently remove the mid frame and battery from the motherboard.
Tools Used
Step 13
The connector should pop apart just like a Lego piece. Keep it fun and easy!
– Grab your trusty tweezers and gently unplug the front camera from the battery. You’ve got this!
Tools Used
Step 14
– Grab your trusty Phillips 000 screwdriver and pop out the screw that’s guarding the proximity sensor. If you need help, you can always schedule a repair.
Step 15
– Grab your trusty tweezers and gently lift out the proximity sensor. You’ve got this!
– Now, just set it aside for a moment while we tackle the next step.
Tools Used
Step 17
Handle with care, there’s still a connection hiding underneath the motherboard. If you need help, you can always schedule a repair.
– With your hands and a metal spudger, carefully lift the motherboard out of the phone. If you need help, you can always schedule a repair.
– Use a metal spudger to pop off this connection. If you need help, you can always schedule a repair.
Tools Used


