Samsung Galaxy S7 Edge Display Adhesive Replacement Guide: Step-by-Step
Duration: 45 minutes
Steps: 8 Steps
Ready to give your Samsung Galaxy S7 edge a brand new look? This guide will walk you through replacing the display or screen adhesive, whether you’re using a three-piece set or a full one. It’s a smooth ride, so don’t sweat it! If you need help with any part of the process, you can always schedule a repair. This guide is best used alongside the Galaxy S7 Edge display assembly replacement guide.
Step 1
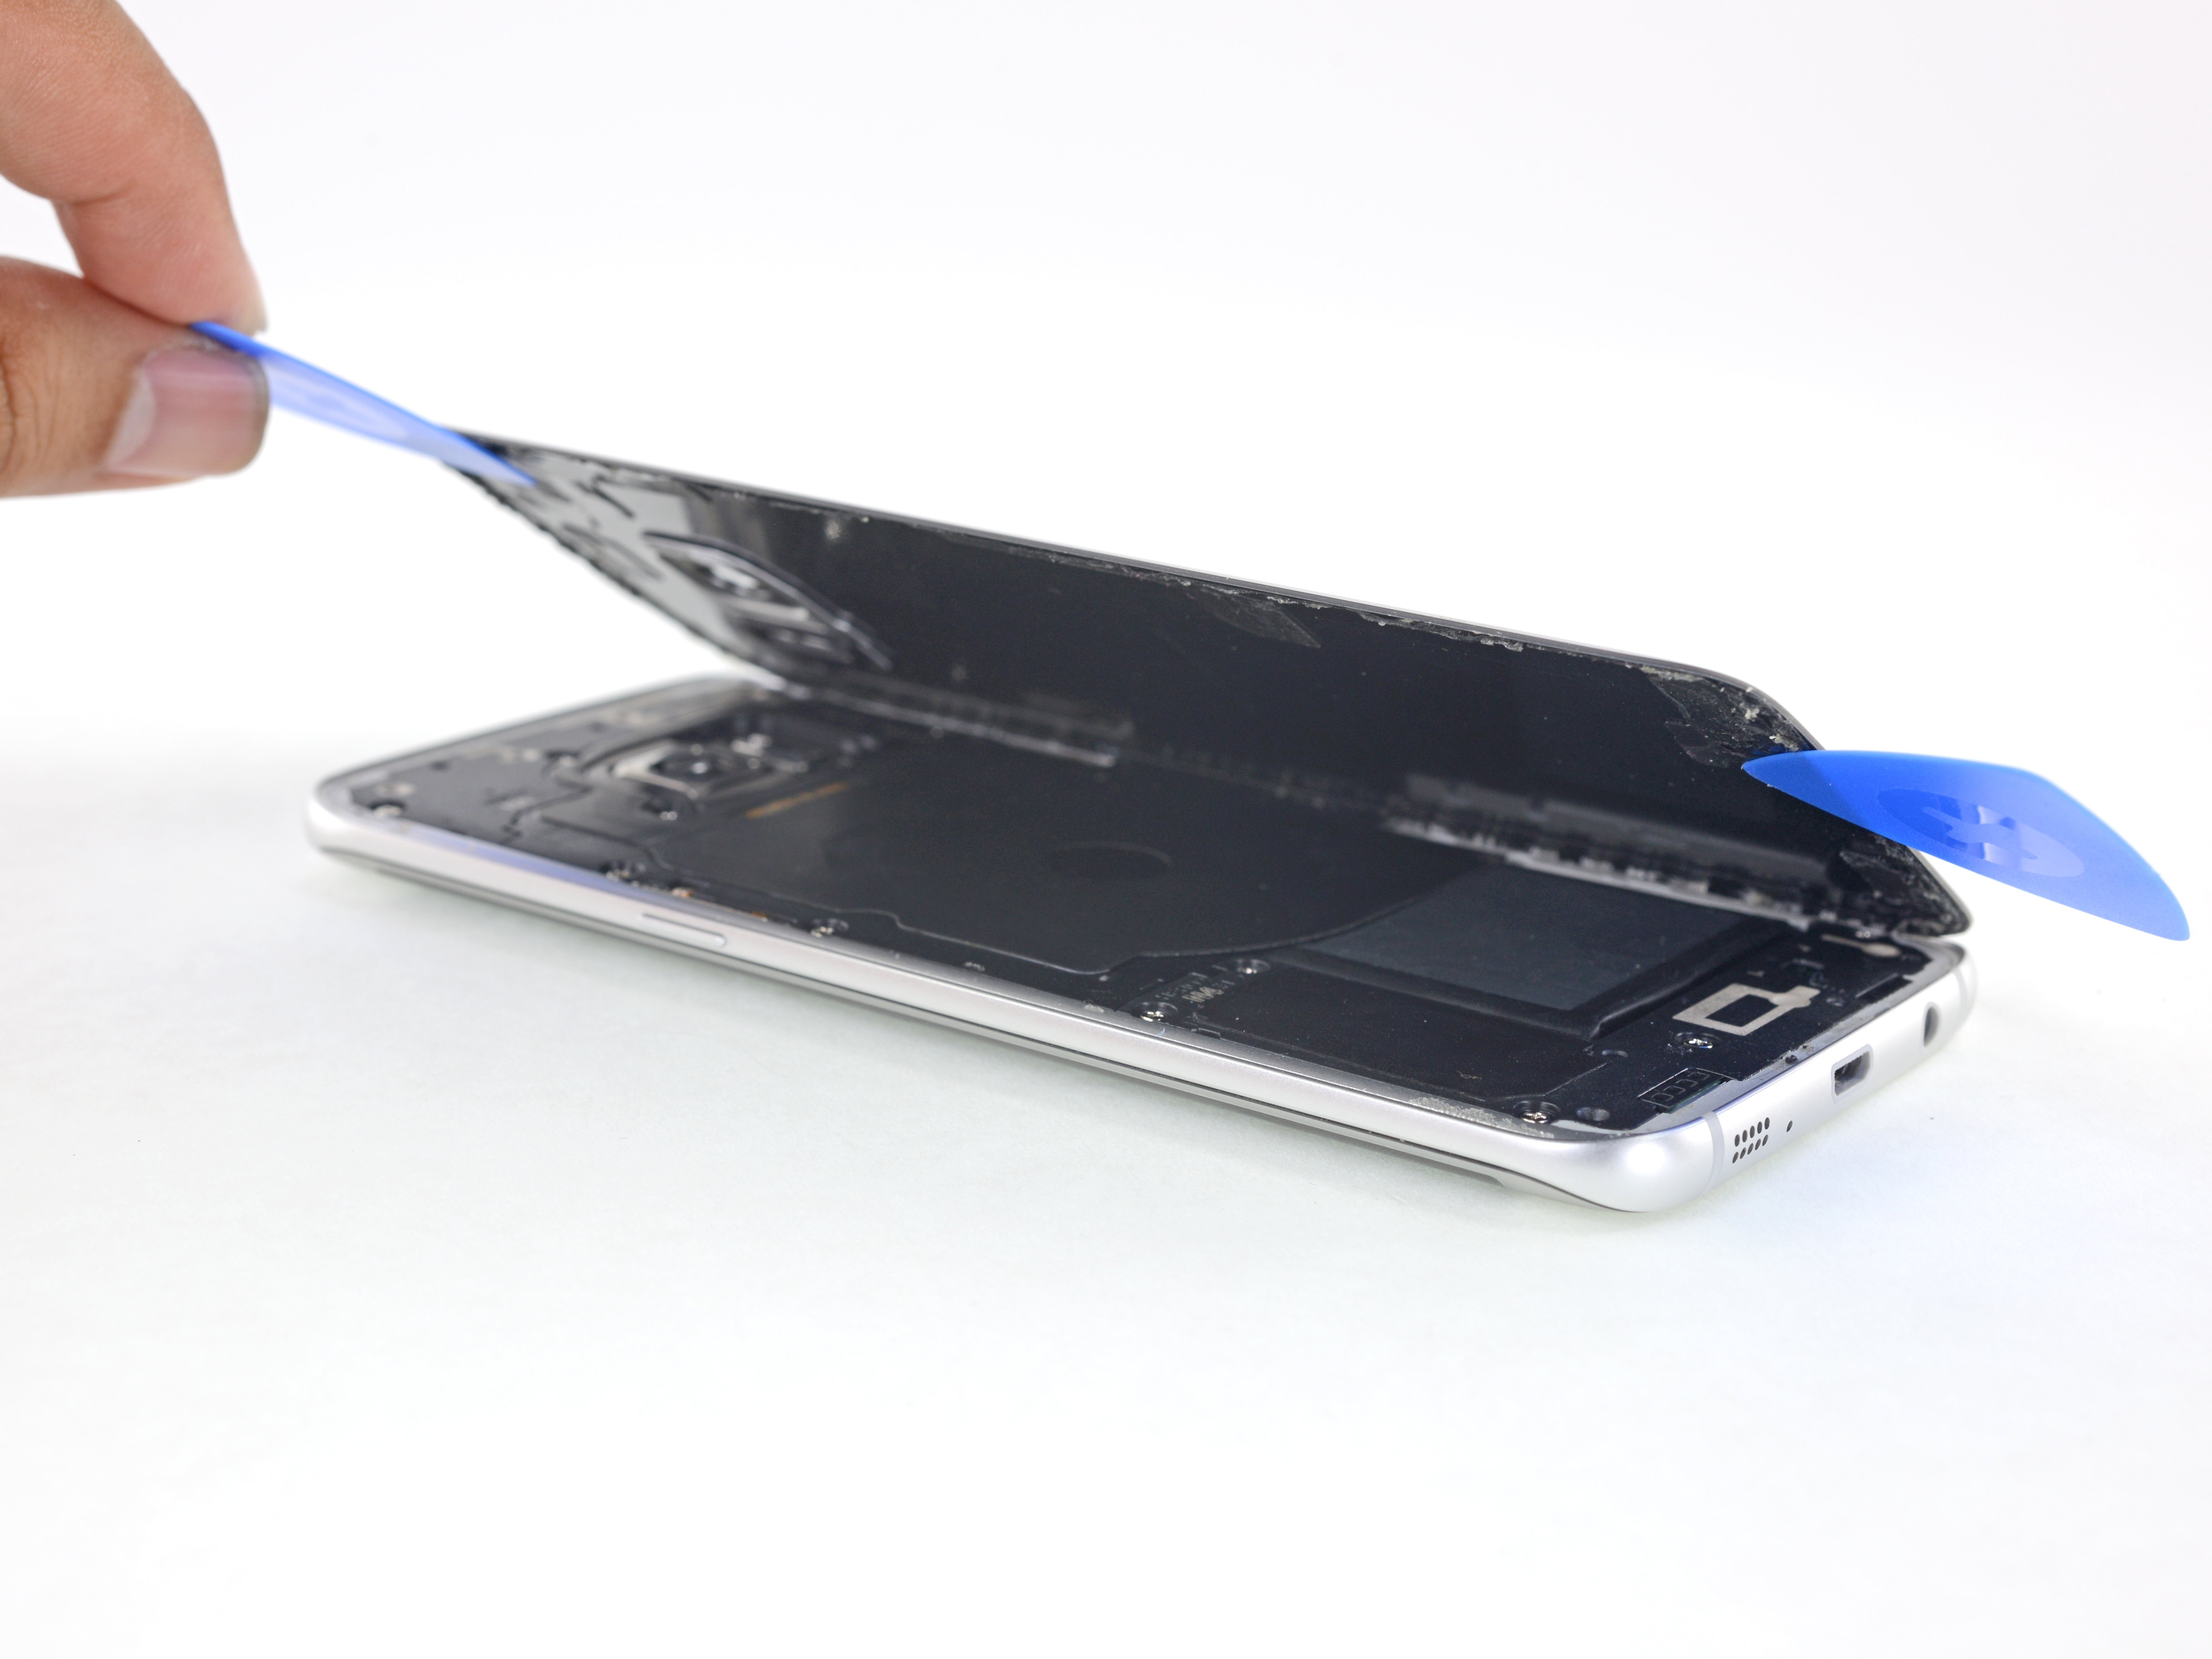
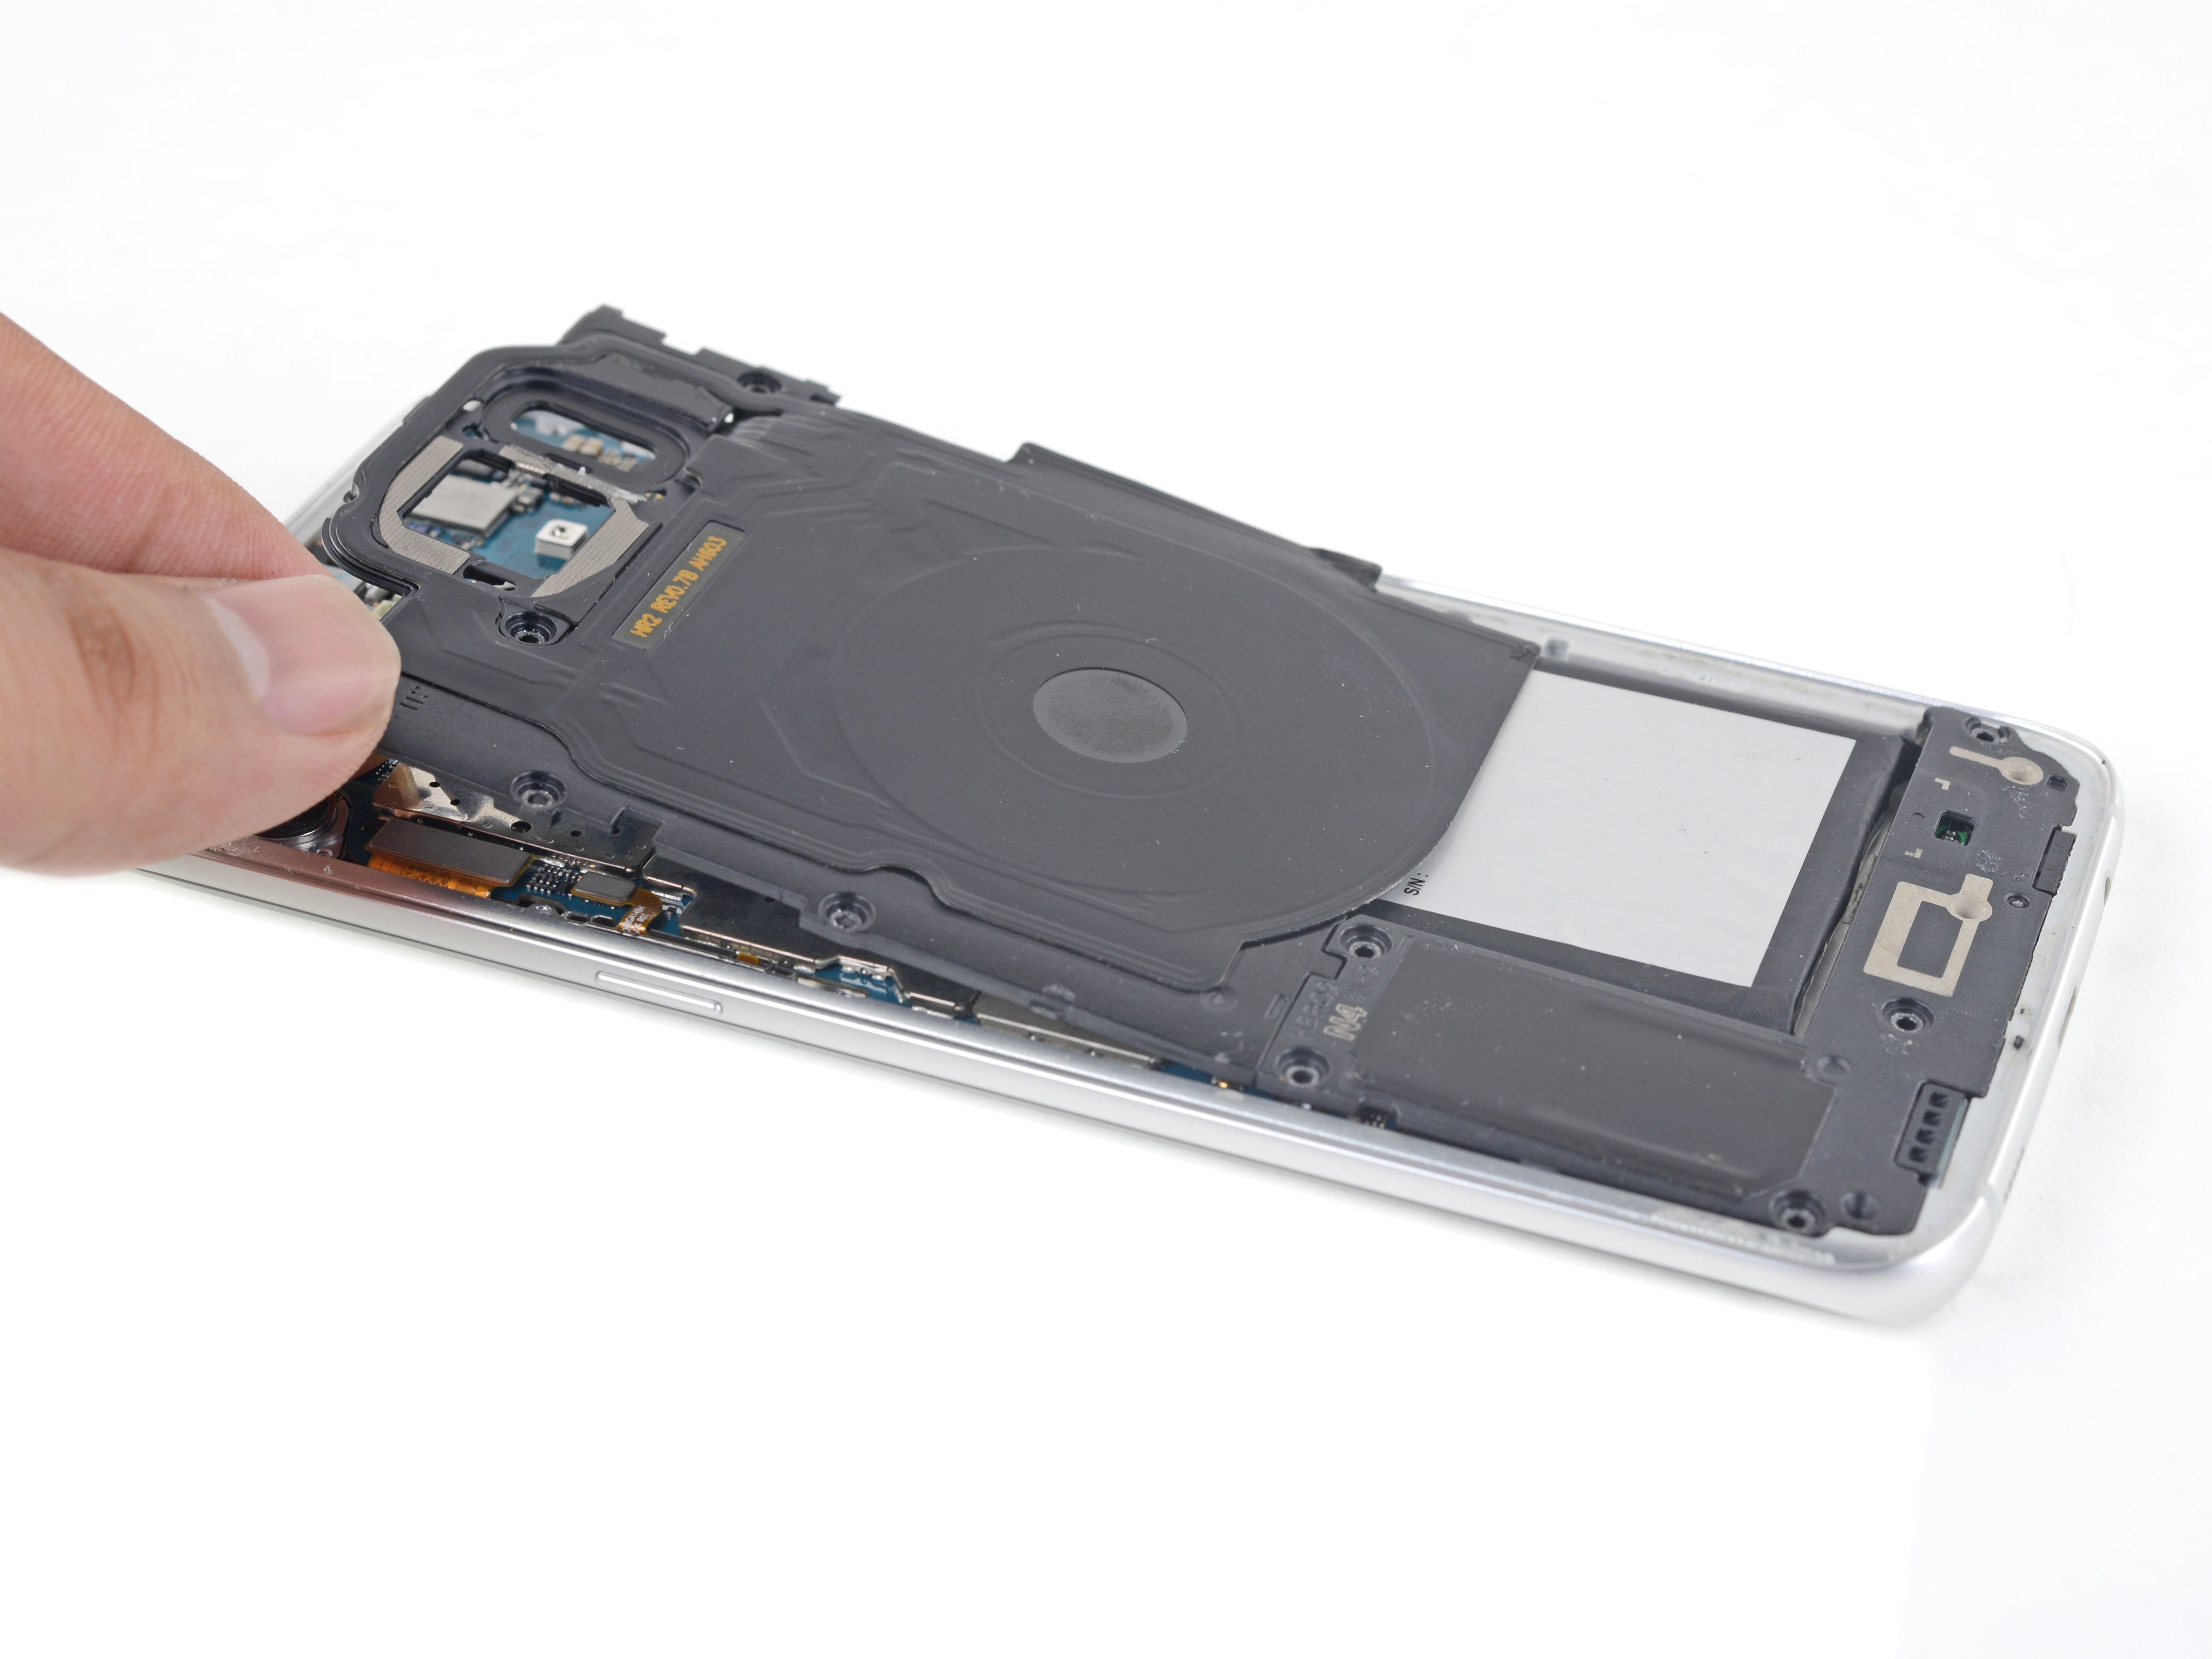
Leaving behind any glue or glass bits? That could keep your new display from fitting just right and might even lead to some damage. Let’s keep it clean for a smooth installation!
Be gentle with those capacitative buttons – they’re thin and fragile. If the adhesive surrounding them is still in good shape, it’s best to leave it alone and not remove it. If you need help, you can always schedule a repair
– Time to say goodbye to any sticky residue and bits of dirt hanging out on your phone frame! Grab some high concentration isopropyl alcohol (over 90%) and a lint-free cloth, and give that adhesion surface a nice, clean wipe-down.
– Hold your horses! Don’t touch that sneaky recessed strip of adhesive hiding beneath the fingerprint sensor cable. If there’s any adhesive stuck on top of it, gently peel away the upper layer, but keep the hidden strip safe.


