Samsung Galaxy S7 Edge Display Assembly Replacement
Duration: 45 minutes
Steps: 32 Steps
If the frame looks a little worse for wear or has taken a bit of a bend
Ready to tackle a Samsung Galaxy S7 Edge display swap? This guide walks you through swapping out just the screen, leaving your frame and battery right where they are. Heads up: that curved edge and stubborn adhesive make opening up the device a bit of a wrestling match. Take your time, use heat, be patient, and repeat the process until the adhesive finally gives in. Quick tip: some new screens come already attached to a new frame (aka chassis), which means you'll need to move everything inside your phone and pop in a fresh battery. Double-check your replacement part before starting! If your frame is bent or damaged, swap it out so your shiny new screen fits snug and doesn’t get squished. Heads up—removing the display from the frame will destroy the old screen, so don’t start unless you’re committed to a new one. Got a seriously shattered screen? Wear eye protection and slap some tape or a screen protector on to keep glass shards under control.
Step 1
At the top edge, you'll spot two holes—one's the real deal, nestled inside a long rectangular cutout. Just make sure you're lining up with the correct hole before proceeding.
- Grab a SIM card opening tool, the trusty SIM eject bit, or a simple paperclip. Now, locate that tiny hole at the top edge of your phone.
- Gently press in the tool to get the tray to pop out like magic!
- Now, go ahead and pull the SIM/SD card combo tray from your phone. You're doing great!
Step 2
You can use a hair dryer, heat gun, or hot plate to warm things up, but keep it chill—too much heat can mess with the OLED screen and battery. Handle with care!
Popping open your phone will break its waterproof seals. Make sure you have some replacement adhesive on hand before diving in, or be extra careful to keep your phone away from liquids if you’re putting it back together without new adhesive.
You might need to warm up the iOpener a few times to get your phone nice and toasty. Just follow the iOpener’s instructions so you don’t accidentally overheat anything.
- Warm up an iOpener and press it against one of the longer edges of the phone for about two minutes. Let the heat work its magic!
Tools Used
Step 3
Getting the suction cup to stick on the curved part of the glass can be a bit tricky.
If the phone’s back cover is cracked, the suction cup might not hold well. Try using some strong tape to lift it, or carefully superglue the suction cup in place and let it set before moving on.
Because of the curved glass, you’ll be pushing upward instead of sliding the tool parallel to the phone’s surface.
If it’s being stubborn, warm it up a little more to soften the adhesive and give it another shot. The glue cools down fast, so heating it a few times might be necessary.
- Once the back is nice and warm to the touch, grab a suction cup and place it as close to the heated edge of the phone as you can—just watch out for that curved part.
- Gently lift on the suction cup and slide an opening pick underneath the rear glass to start prying it up.
Step 4
- Now that you've got that pick snugly inserted into the glass, it's time to give it a little extra love! Reheat and pop the iOpener back on there to loosen up that stubborn adhesive.
Tools Used
Step 5
Take your time and be gentle—no need for a race! If you find that the sliding is putting up a fight, just give it another round of heat with the iOpener and try again. You've got this!
- Gently slide the opening pick along the phone's edge to loosen the adhesive like a pro.
- Keep that pick in place, then grab another one for the next move. Leaving it there stops the glue from sticking back together too soon.
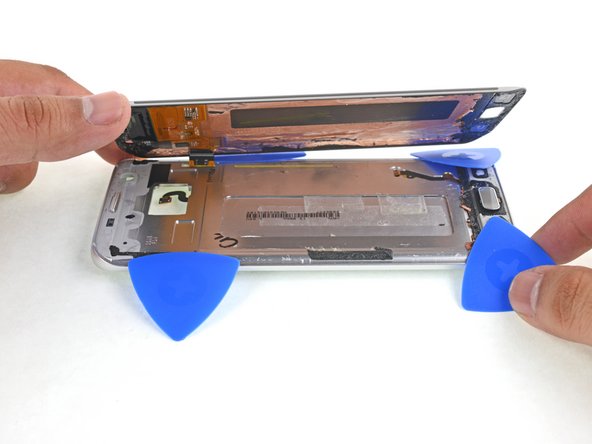
Tools Used
Step 6
- Repeat the heating and cutting steps on the other three edges of the phone. Keep an opening pick on each side as you move along so the adhesive doesn’t seal back up. If you need help, you can always schedule a repair.
Step 7
- Gently lift the glass and carefully peel it away from the phone. Keep it steady and go slow to avoid damage.
Step 8
Want to keep things simple? You can pop the back cover back on without fussing over new adhesive. Just clear away any big bits of old glue that might stop the cover from sitting perfectly. Once it's on, give it a little heat and some gentle pressure to lock it in place. It might not be waterproof anymore, but don't worry—it's usually strong enough to do the job!
Before you seal everything up with new adhesive, make sure to power on your phone and check your repair. It's a good idea to test it out first!
- To put on a new back cover: If you're reusing your old back or using one without pre-applied adhesive, follow these steps. First, use tweezers to carefully remove any leftover adhesive from the phone's frame. Then, clean the contact surfaces with high-concentration isopropyl alcohol (90% or above) and a lint-free cloth—this will help the new adhesive stick properly. Next, peel off the backing from the new rear glass, carefully align one edge with the phone chassis, and press the glass firmly into place. If you need help, you can always schedule a repair.
Tools Used
Step 9
- Unscrew the twelve 3.5 mm Phillips screws—take your time, it’s not a race!
Step 10
- Find the little notch on the bottom left of the upper antenna – that's your cue to gently pry it out of the phone.
- Carefully remove the upper antenna.
Step 11
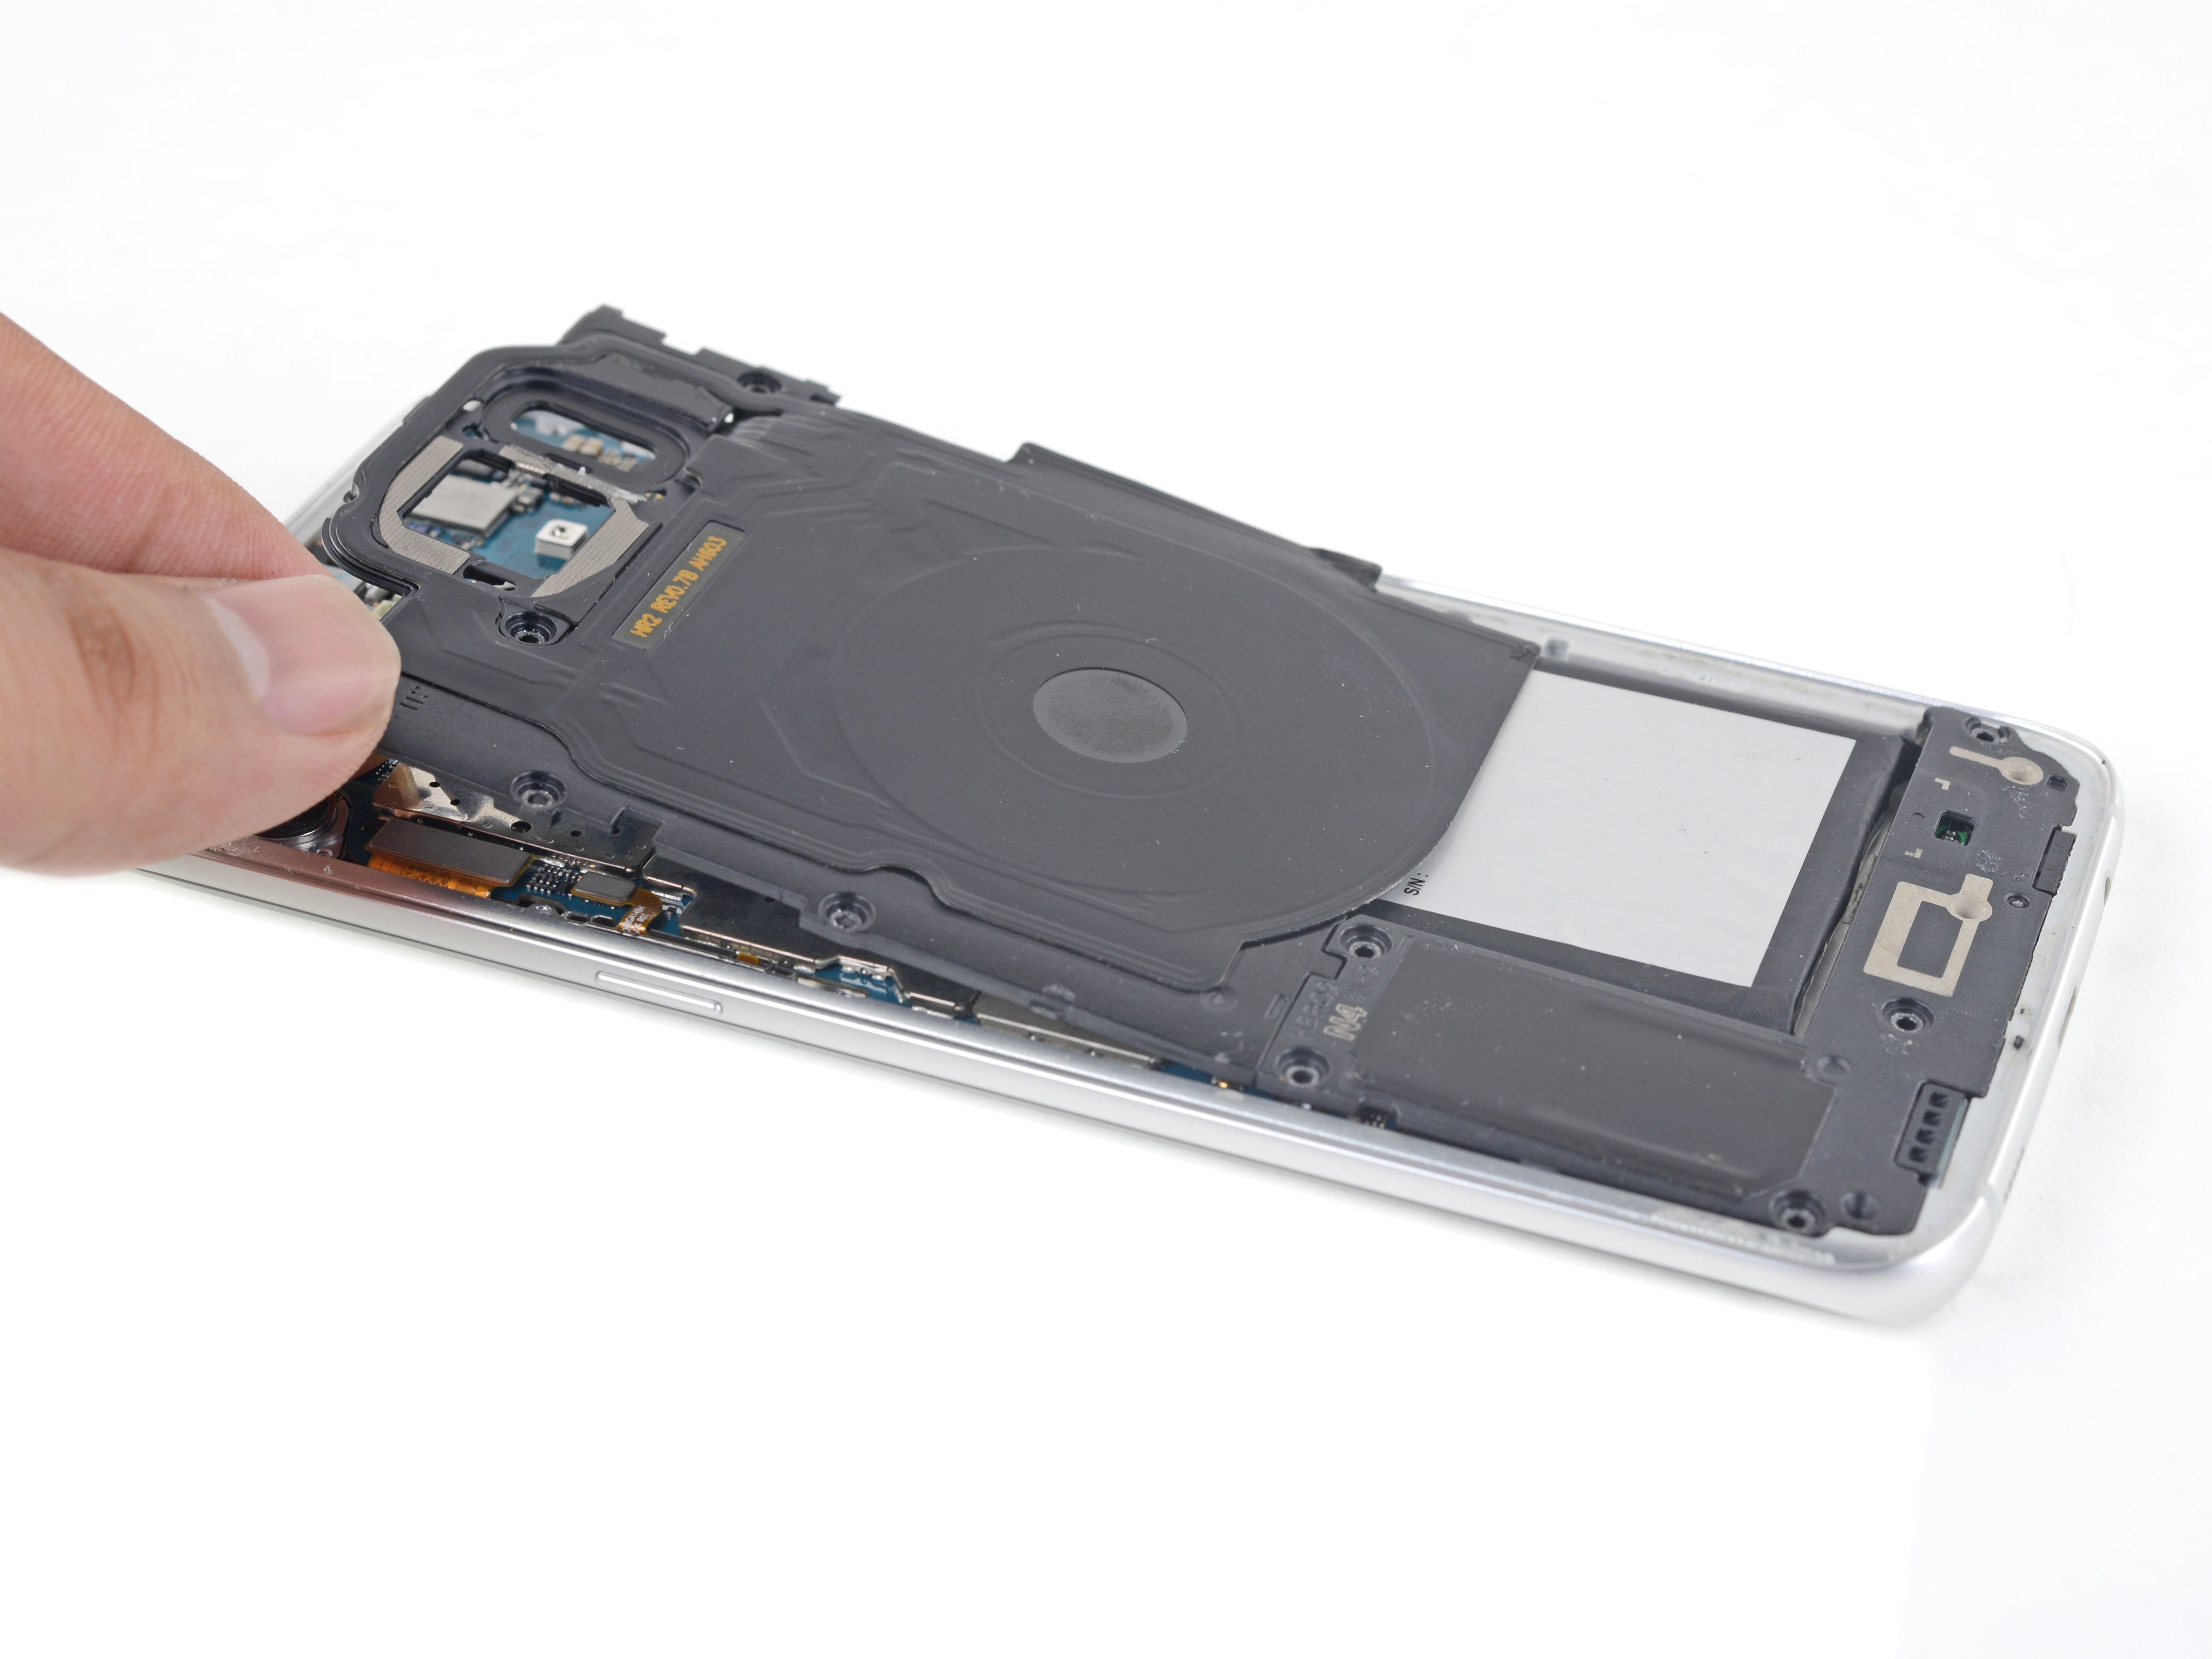
- Gently lift up the wireless charging coil and set it aside—like giving your phone a quick breather.
Step 12
- Gently lift out the loudspeaker and set it aside—like you're giving it a well-deserved break.
Step 13
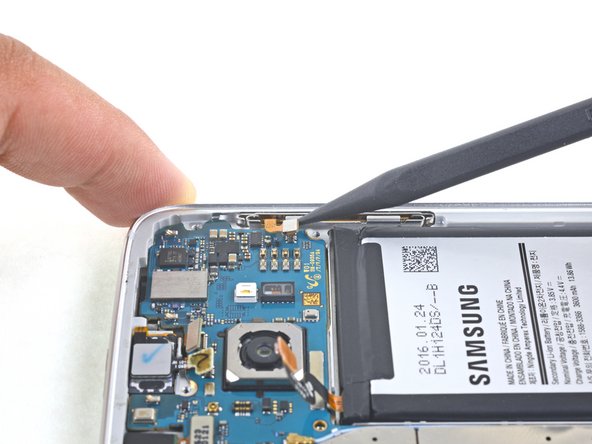
- Gently pry the battery connector loose using the flat end of your trusty spudger.
Tools Used
Step 14
- Grab the flat end of a spudger and gently pry to disconnect the display cable. Keep it smooth and steady—no rush! If you need a hand with any part of this process, you can always schedule a repair.
Tools Used
Step 15
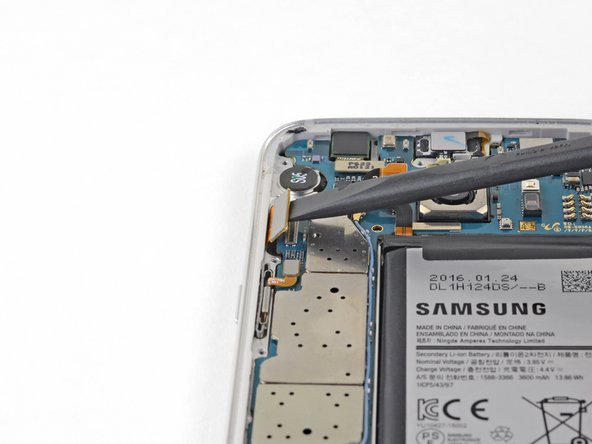
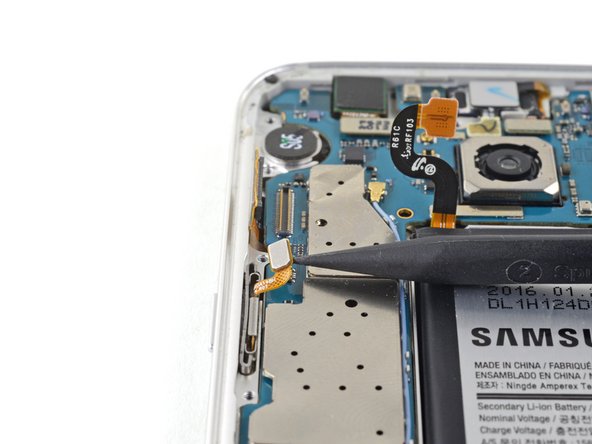
- Gently pry up the power button cable using the pointed end of your trusty spudger.
Tools Used
Step 16
- Gently use the spudger’s pointed tip to separate those red and white antenna cables. A little finesse goes a long way, so take your time and don't force it!
Tools Used
Step 17
- Gently pop the home button connector loose with the flat end of your spudger—like giving it a tiny high five.
Tools Used
Step 18
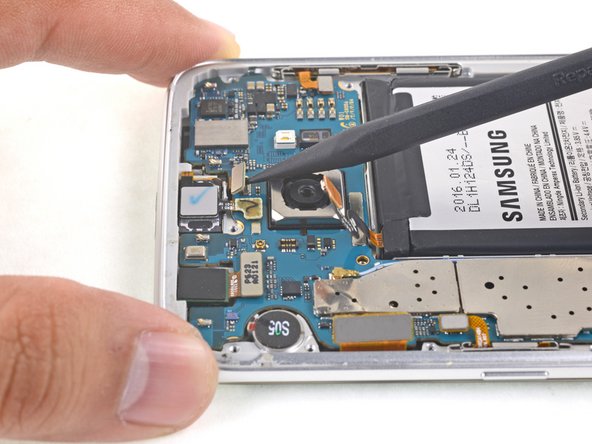
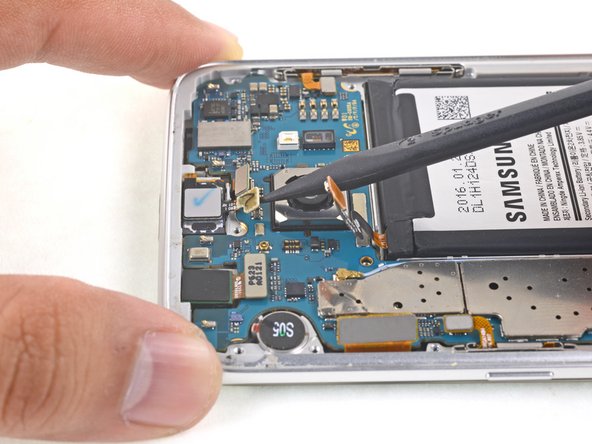
- Grab your spudger's pointed end and gently disconnect the front-facing sensory array cables. Keep it smooth and steady—you're doing great! If you need a pro hand, you can always schedule a repair.
Tools Used
Step 19
- Grab your spudger and gently use the pointed end to disconnect the volume button cable. A little finesse goes a long way here!
Tools Used
Step 20
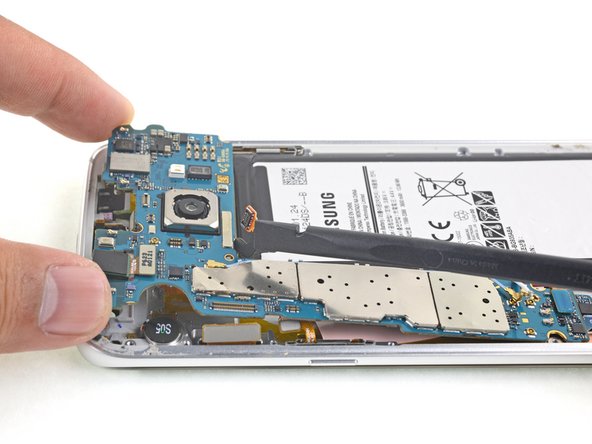
Be careful not to pull the motherboard all the way out; it's still attached to the daughter board by a cable, and we wouldn't want anyone to get tangled up in that connection.
- Grab your spudger and gently wedge the flat end underneath the motherboard. Take it slow—no need to rush!
- Once it's loose, carefully grip the edges of the motherboard and lift it up. Use the spudger to nudge any cables out of the way. Patience is key here!
Tools Used
Step 21
- Grab your trusty spudger and gently slide the flat end beneath the daughterboard ribbon cable to disconnect it from the motherboard's underside. You're doing great!
- Now, it's time to lift out the motherboard with care. You've got this!
Tools Used
Step 22
You can also use a hair dryer, heat gun, or hot plate—just keep an eye on the heat! Overheating can mess with the OLED display and the battery, so take it easy and keep things cool.
While you're giving that adhesive some time to relax, take a peek at the next step to get a sense of where you'll be prying. It's like a little sneak preview!
You might find yourself reheating and reapplying the iOpener a couple of times to ensure your phone is nice and warm. Just remember to follow those iOpener instructions carefully to keep it cool, literally.
- Warm up an iOpener and place it on the top edge of the display to loosen things up.
Tools Used
Step 23
- The edges of the display assembly are held in place by some seriously tough foam adhesive strips.
- There’s a layer of strong double-sided tape covering the entire copper surface underneath.
- The capacitive buttons stick right onto the display and are pretty delicate—easy to tear—so make sure to keep them intact since you’ll need to reuse them during the repair.
Heads up! Some parts of the phone are a bit touchy, so take it slow and keep an eye out to avoid any accidental bumps or scrapes.
While swapping out the OLED panel and display cable for a fresh new look, make sure to keep the capacitive buttons intact—these little guys need some extra TLC, so handle them gently to avoid damage. If, by chance, a button or ribbon cable takes a tumble and breaks, no worries—you can replace the entire daughterboard assembly, which comes with new capacitive buttons already in place. Need a hand? You can always schedule a repair with Salvation Repair to get it done smoothly.
Step 24
Because that adhesive is super sticky, you might need to try a few times. Follow the iOpener heating steps and keep going through the heat-suction-lift cycle until you can slip a pick in there.
If your screen is seriously cracked, slap some tape over it first, then use strong tape to carefully lift the display.
It might take a bit of muscle, but you only need to create a tiny gap with the suction cup to get your tool in.
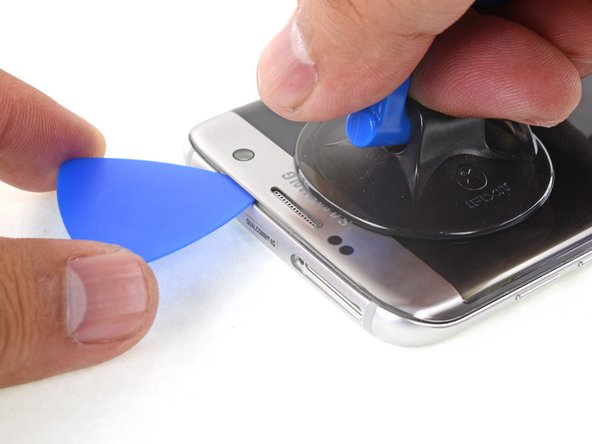
- Once the edge starts to heat up, place the suction cup near the top edge, making sure it doesn't cover the speaker grill.
- Gently pull on the suction cup to create a small gap at the top edge of the display.
- Carefully slide an opening pick into that gap. Just be cautious not to go in more than 0.25 inches.
Tools Used
Step 25
- Once you've got the opening pick in place, grab your heated iOpener and gently press it against the top edge again. This will help loosen up that stubborn adhesive, making the next steps a whole lot smoother.
Tools Used
Step 26
Be careful not to push the pick in too deep; it could put a hurt on your front-facing camera or earpiece speaker!
- Gently slide the opening pick along the top edge of the display, making sure not to push it in more than 0.25 inches.
- Keep the pick in place at the top edge to stop the adhesive from snapping back together.
Step 27
Heads up: the display cable hangs out just above the midpoint on the right side—try not to go too deep with your pick or you might snag it.
There’s a good bit of adhesive sticking the display to the frame, so take your time and carefully slice through as much of it as you can.
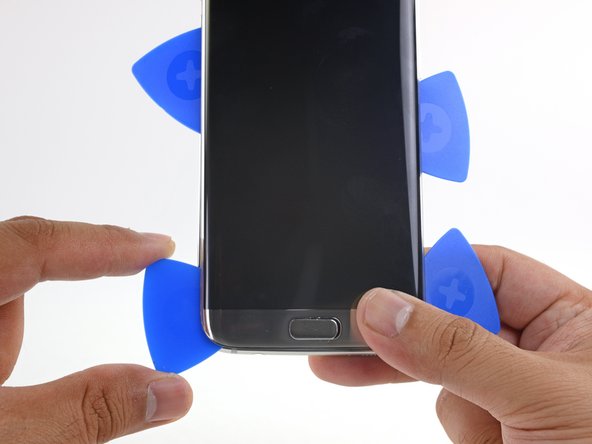
- Now, repeat that heating and cutting magic along the long edges of the phone. But hold off on the bottom edge for now—no need to cut it just yet!
- As you move along to the next edge, make sure to leave an opening pick in place. This will keep the adhesive from sealing itself back up on you. Smart move!
Step 28
This nifty pick lets you glide between the display and the touch button without worrying about wrecking that button cable.
- Slide an opening pick into the bottom right corner—just ease it in, no need to rush.
- Gently wiggle the pick, letting its edge work upward against the back of the display to slice through that sticky adhesive.
- Once you've made it through the corner, let the pick chill there. It'll keep the adhesive from sticking back together.
Step 29
- Slip an opening pick into the bottom left corner—think of it as your backstage pass to the inside.
- Work the pick in gently, angling the sharp side up so it glides along the back of the display like a pro.
- When you’ve sliced through the adhesive in the left corner, leave the pick there to keep things from sticking back together.
Step 30
Keep that display assembly in place! There's a display cable weaving its way through the midframe connecting everything, and we definitely don't want to disrupt that.
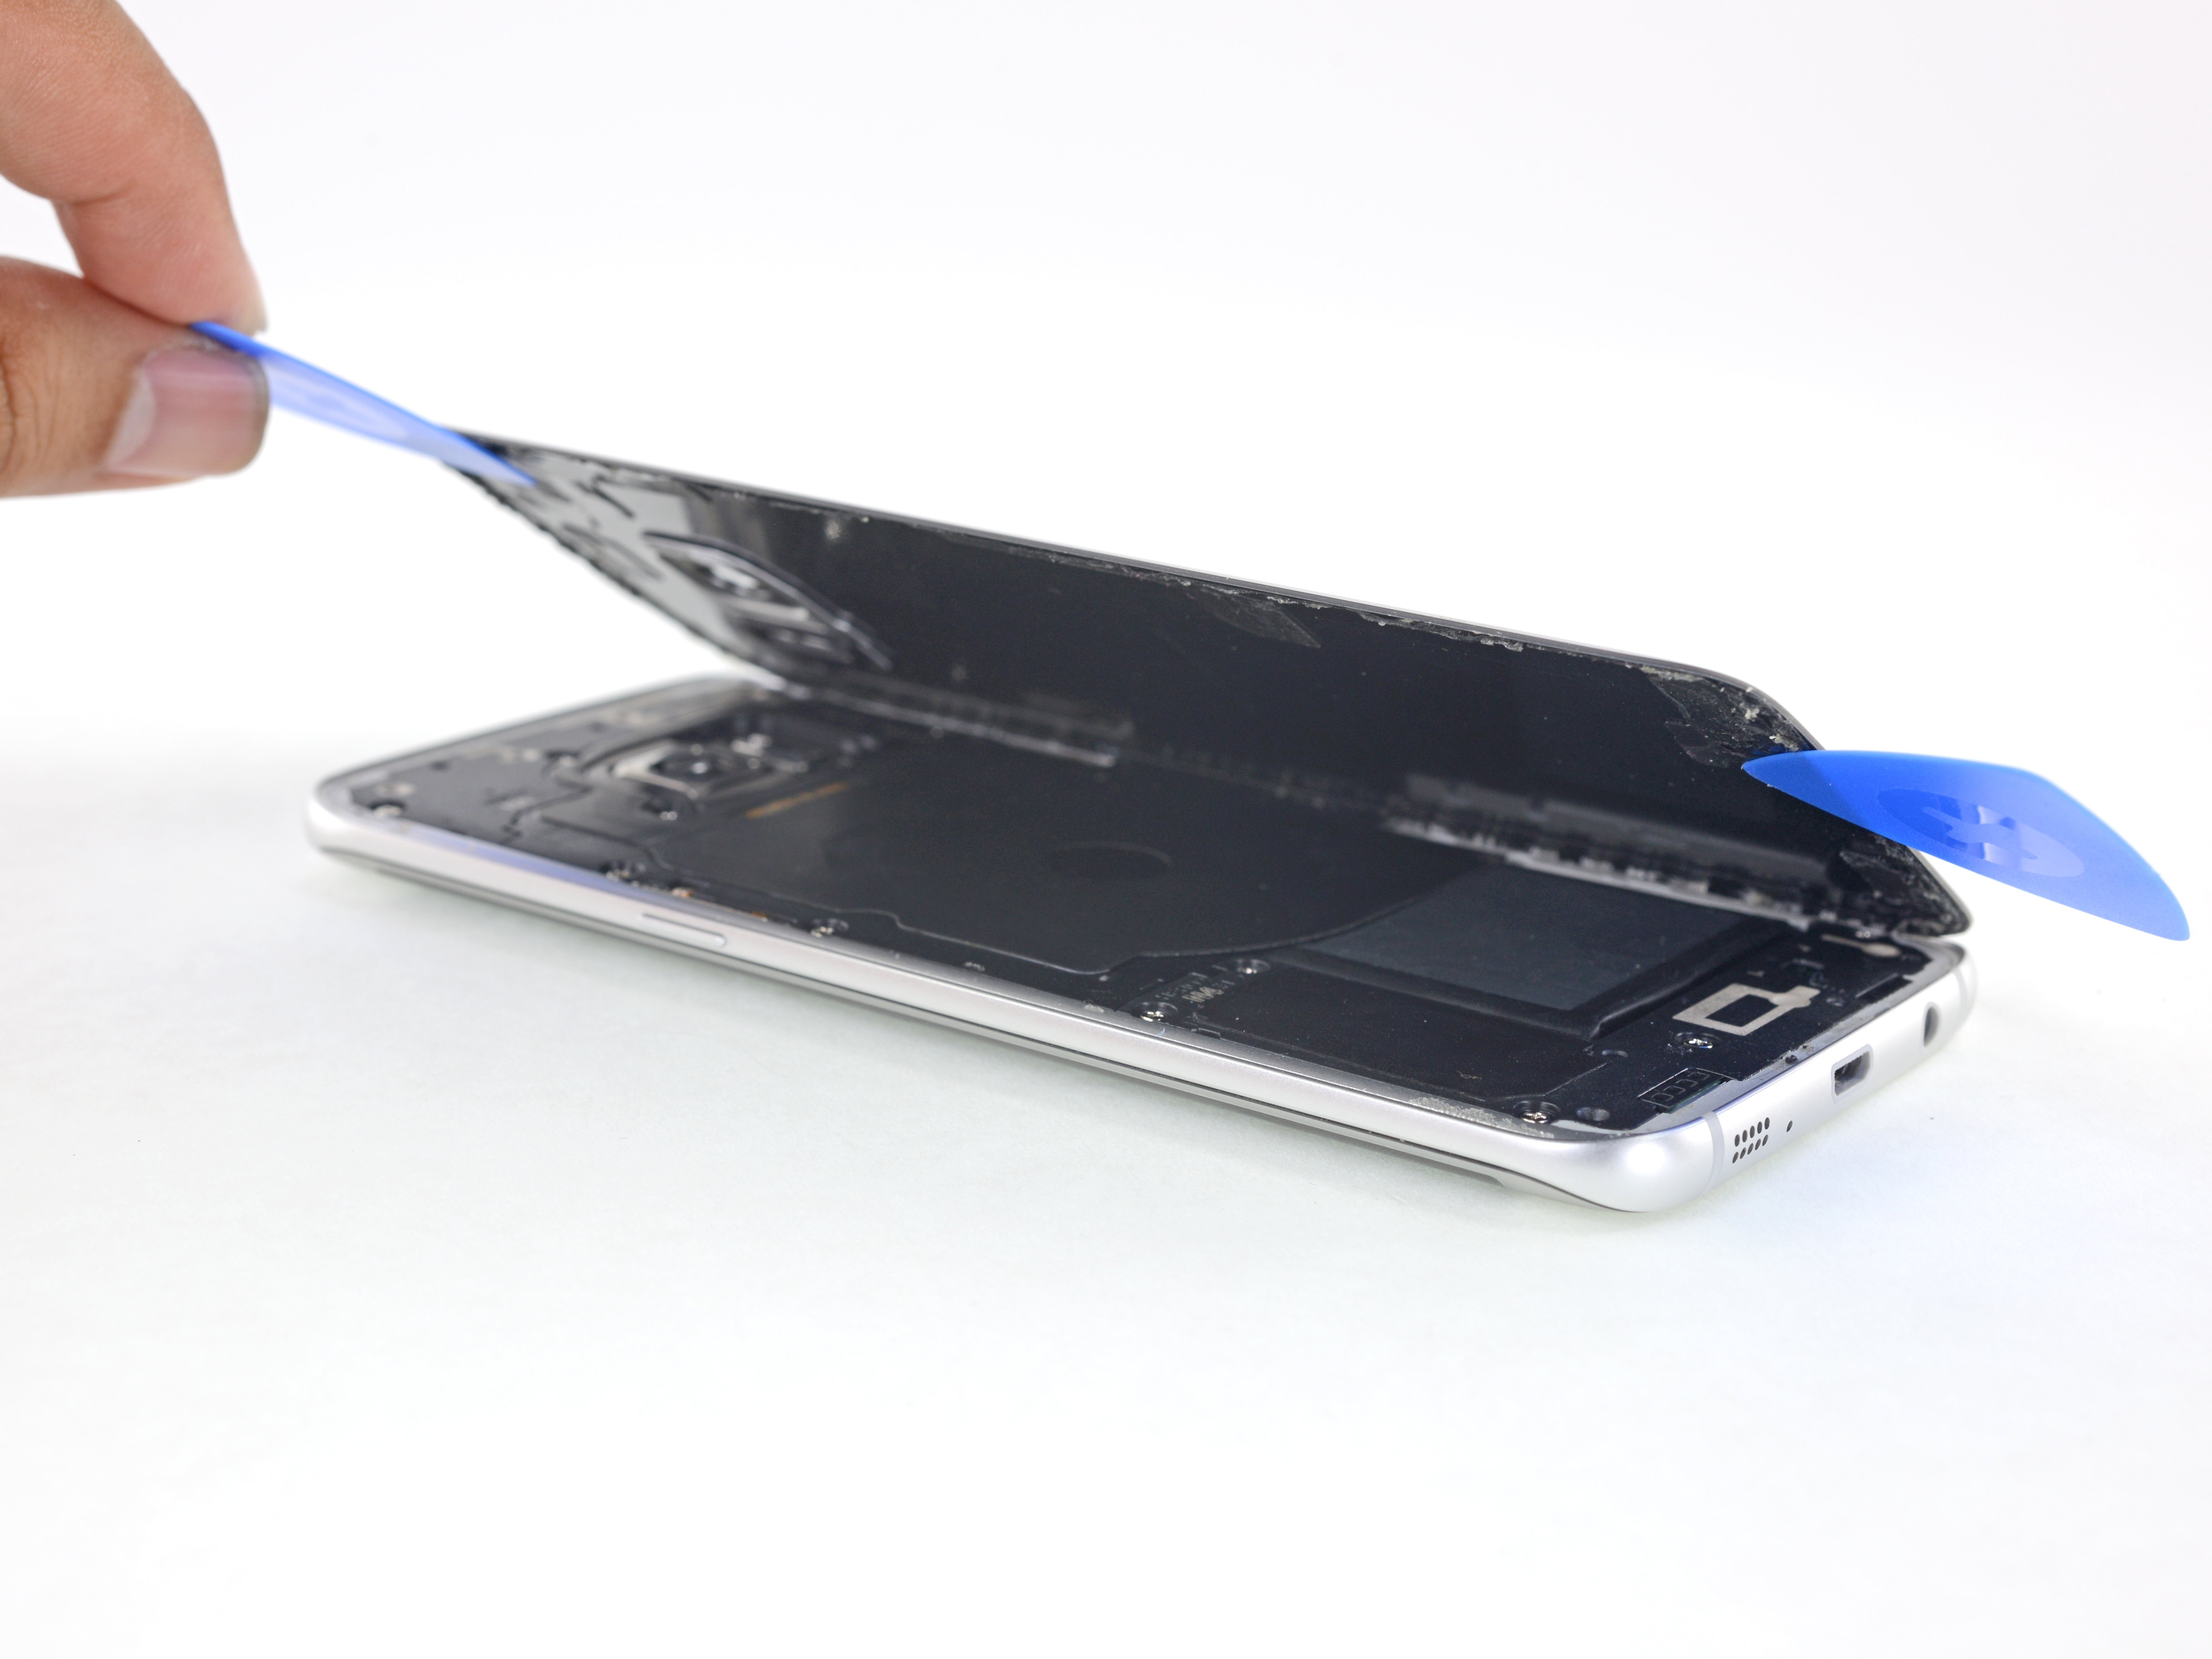
- Grab your opening picks and slide them around the home button and anywhere else you find stubborn adhesive. Be gentle but persistent—think of it like convincing a sticker to let go.
- Ease the phone open just a bit, starting from the edge farthest from the display cable. Slow and steady wins this race!
Step 31
- Gently lift the display assembly away from the midframe, making sure to guide the display cable through the opening in the midframe without tugging. Once free, remove the display assembly completely. If you need help, you can always schedule a repair.
Step 32
Before popping in your fresh display, make sure every last bit of old adhesive and sneaky glass shards are outta there. A clean frame is a happy frame.
If the frame’s got a twist, or if you leave behind any glue or glass, your new screen won’t sit right and could end up cracked before you even finish. Give it a clean sweep for smooth sailing!
Check out this link for a super clear display adhesive application guide.
Wipe away any leftover adhesive and get the surface ready for your shiny new display.
- Now it's time to put everything back together! Just retrace your steps and follow these instructions in reverse order. If you hit a snag or feel unsure, don't hesitate to schedule a repair for some expert help.


