Samsung Galaxy S7 Edge Loudspeaker Replacement Guide
Duration: 45 minutes
Steps: 11 Steps
Heads up!
Get ready to dive into replacing the loudspeaker assembly of your Samsung Galaxy S7 Edge! Just a heads up, that curved edge and super sticky adhesive can make the first step a bit tricky. Stay patient, keep the heat coming, and give it a few gentle pulls—the adhesive will loosen up in no time. If you need help, you can always schedule a repair.
Step 1
When using a hair dryer, heat gun, or hot plate, be gentle – your phone’s OLED display and internal battery are sensitive to heat, so don’t overdo it. If you need help, you can always schedule a repair
Cracking open your phone will mess up its waterproof mojo. Make sure you’ve got some fresh adhesive on hand before diving in, or be extra cautious about liquids if you reassemble without replacing it.
You might need to give the iOpener a few rounds of warming up to get the phone cozy enough. Stick to the iOpener instructions to avoid any overheating drama.
– Let’s get started by warming up that phone – apply a heated iOpener to a long edge for about two minutes. If you need help, you can always schedule a repair
Tools Used
Step 2
The suction cup might have a tough time sticking to the curved areas of the glass. It’s a bit of a rebel, you know?
If the back cover of your phone has a crack, the suction cup may just refuse to play nice. Give it a go with some strong tape, or try supergluing the suction cup in place and letting it set for a bit so you can get back to business.
Thanks to the curved glass, you’ll be giving it a little push upwards instead of sliding it in parallel to the phone’s surface. Think of it as a little workout for your hands!
If you’re running into some trouble, don’t hesitate to apply a little more heat to loosen that adhesive up. Just remember, that stuff cools off super fast, so you might find yourself heating it up a few times.
– Alright, let’s get that back panel feeling cozy! Warm it up until it’s nice to the touch, then grab your trusty suction cup and place it right near the heated edge of the phone, steering clear of those curved edges.
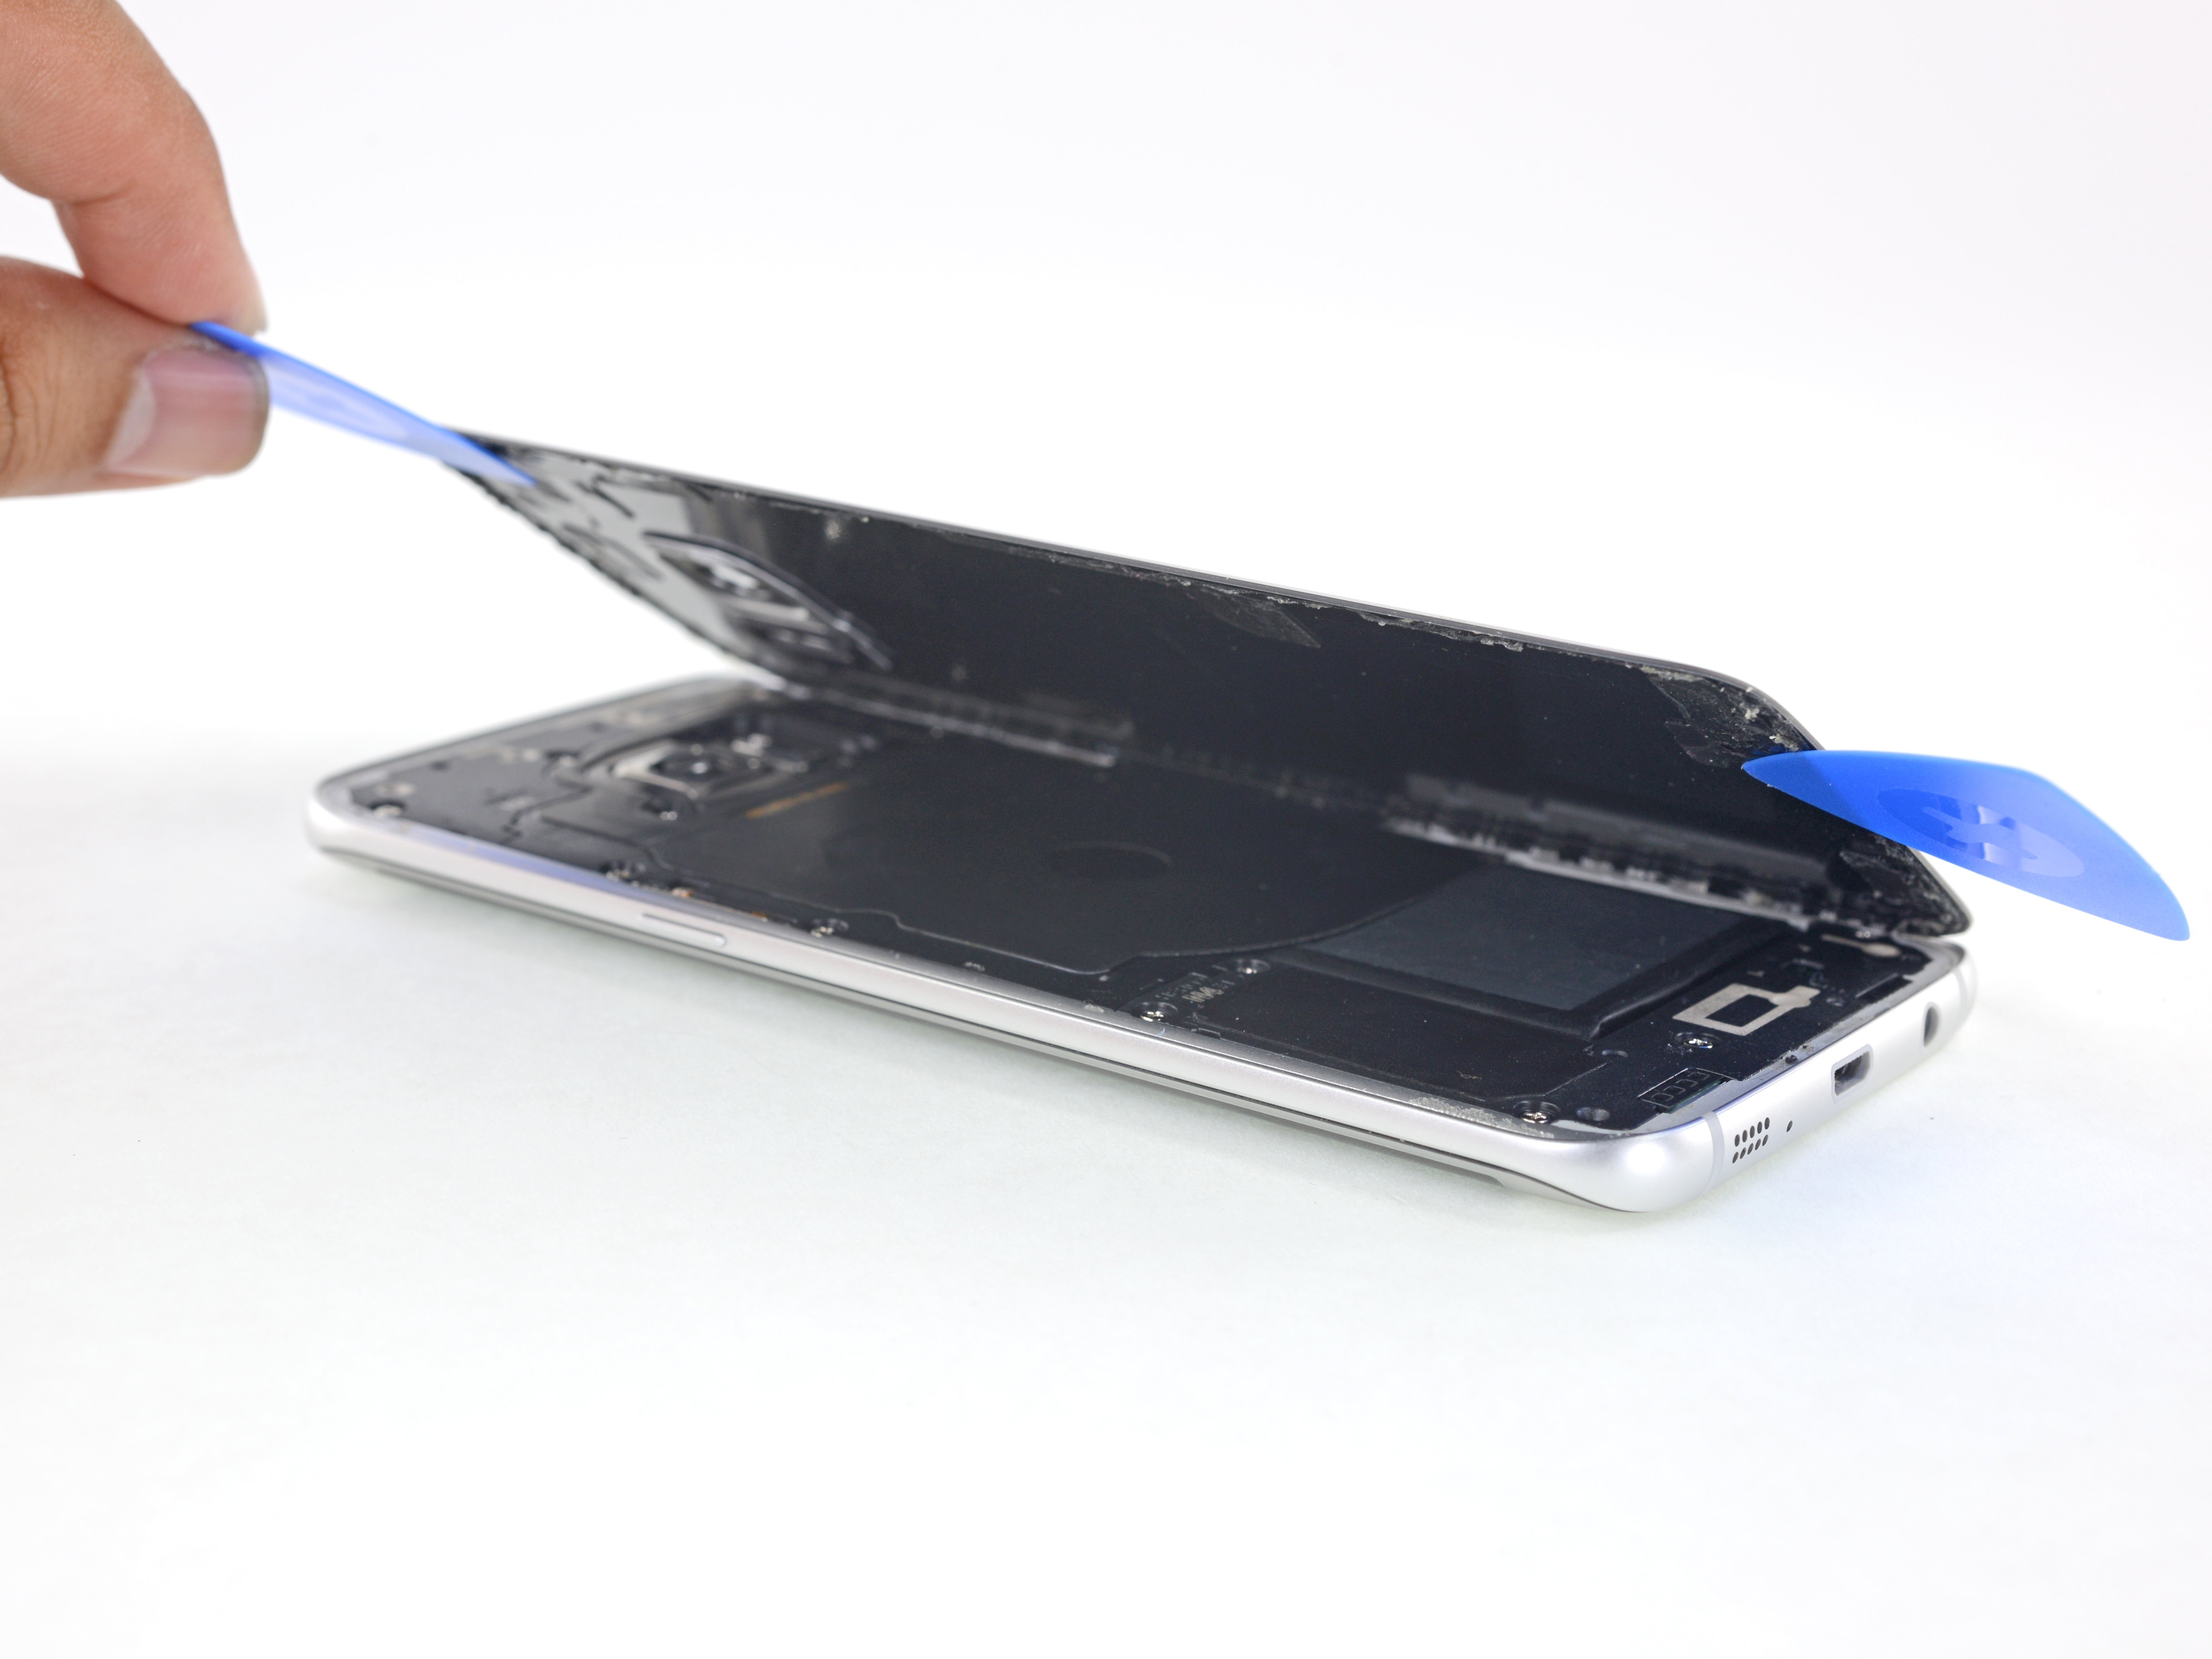
– Now, give that suction cup a gentle lift and slide in an opening pick beneath the rear glass. You’re doing great!
Step 4
Take your time and be gentle, so the tip stays in the seam. If it gets tough to slide, just reheat and reapply the iOpener. If you need help, you can always schedule a repair
– Gently glide that opening pick along the edge of your phone to break up the adhesive. You’re on your way to a smooth repair!
– Keep that pick in place and grab another one as you move to the next step. Leaving the pick in helps keep the adhesive from sticking back together. You’ve got this!
Tools Used
Step 5
– Now, let’s keep the momentum going! Just like before, heat up and slice through the remaining three sides of the phone.
– Don’t forget to slide an opening pick in each side as you go along. This little trick will stop that pesky adhesive from sticking again!
Step 6
– Time to get that glass off! Gently lift it up and take it off the phone. Easy peasy, right?
Step 7
If you’re feeling adventurous, you can try reattaching the back cover without replacing the adhesive. Just make sure to remove any big chunks of adhesive that might stop the cover from sitting flat. After you put it back on, use some heat to warm up the back cover and press it down to secure it. It won’t be waterproof anymore, but the glue is usually strong enough to keep things together.
Make sure to power up your phone and test out your repair before adding new adhesive and sealing the phone back up. If you need help, you can always schedule a repair.
– Time to give that back cover a fresh look! 😎
– If you’re putting the old back cover back on, or using one without pre-installed adhesive, follow this guide.
– Use tweezers to gently remove any leftover adhesive from the phone’s frame. Then, give it a good clean with some high concentration isopropyl alcohol (at least 90%) and a lint-free cloth. This will help the new adhesive stick like glue! 💪
– Peel off the backing of the new rear glass, carefully line up one edge with the phone’s frame, and press it firmly onto the phone. Boom! You’re done! You’re a rockstar! 🤩
Tools Used
Step 8
– Go ahead and take out those twelve 3.5 mm Phillips screws like a pro!
Step 9
– Grab that nifty little notch at the bottom left of the upper antenna and gently wiggle it out of the phone.
– Once you’ve done that, go ahead and remove the upper antenna completely!
Step 10
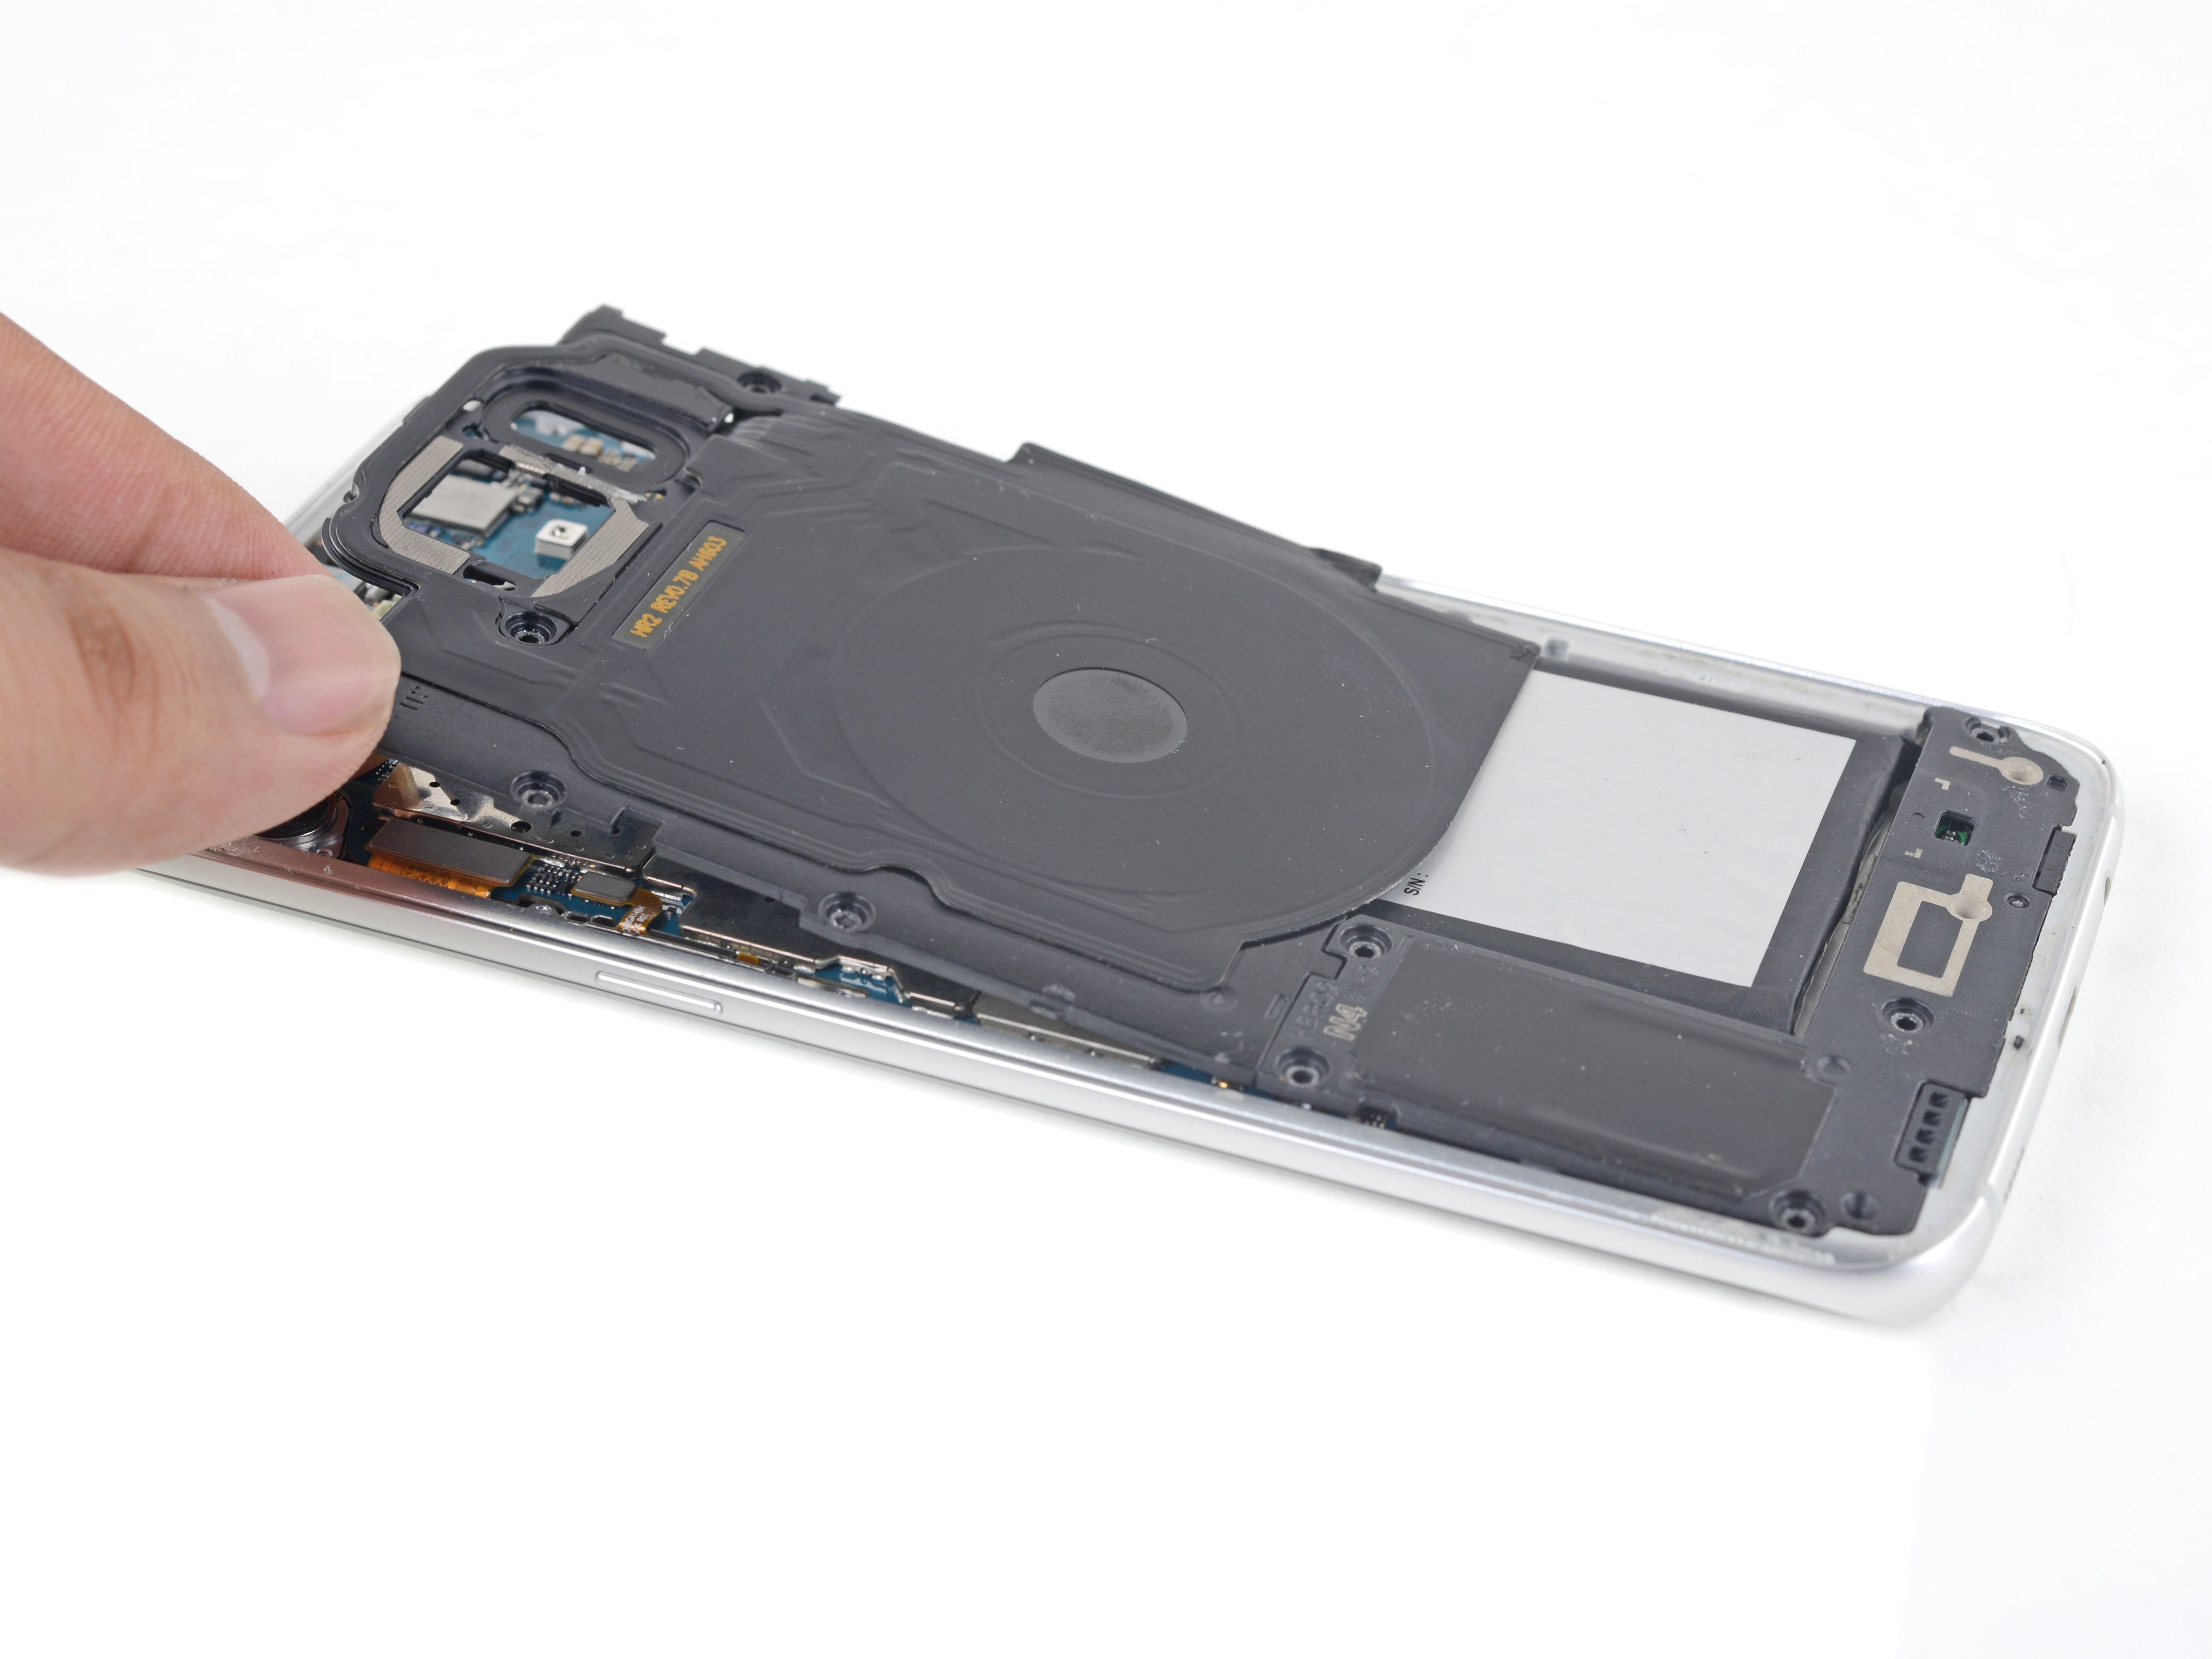
– Time to give that wireless charging coil a little vacation! Gently lift it off the phone, and set it aside for now.
Step 11
– Time to give that loudspeaker some air! Gently lift it off the phone. You’ve got this!


