Samsung Galaxy S7 Edge Rear Glass Replacement
Duration: 45 minutes
Steps: 7 Steps
Get ready to tackle that glass back replacement for your Samsung Galaxy S7 Edge! Just a heads up: those curved edges and the super strong adhesive can make the opening process a bit tricky. Stay cool, take your time, and don’t hesitate to repeat the heating and pulling a few times. Trust us, the adhesive will give in eventually!
Step 1
You can use a hair dryer, heat gun, or hot plate to warm things up, but don’t go overboard! Remember, the OLED screen and internal battery are both sensitive to heat. Keep it cool and take your time!
Popping open your phone means saying goodbye to its waterproof seals. Make sure you have some replacement adhesive handy before diving in, or be extra careful to keep it away from any moisture if you’re putting it back together without new adhesive.
You might need to warm up and reapply the iOpener a few times to get your phone nice and toasty. Just follow the iOpener’s instructions to avoid turning up the heat too much.
- Warm up an iOpener and press it against one of the long edges of your phone for about two minutes to loosen things up.
Tools Used
Step 2
The suction cup may struggle to stick on the curved sections of the glass. Not the best stage for it!
Should the phone's back cover be a little worse for wear, the suction cup might just slip away. Consider using some sturdy tape to give it a lift, or if you're feeling crafty, squeeze some superglue onto that suction cup and let it chill for a while before you get back to work.
Remember, with that curvy glass, you’ll be pushing up instead of sliding in parallel to the phone—think of it as a little dance move for your tools.
If you run into any bumps along the way, don't hesitate to add a bit more heat to keep that adhesive feeling soft and lovable. Just a heads up, the glue cools off super fast, so you might find yourself bringing out the heat source a few times!
- After the back panel feels nicely warmed up, stick a suction cup near the heated edge—just steer clear of the curved part to keep things smooth.
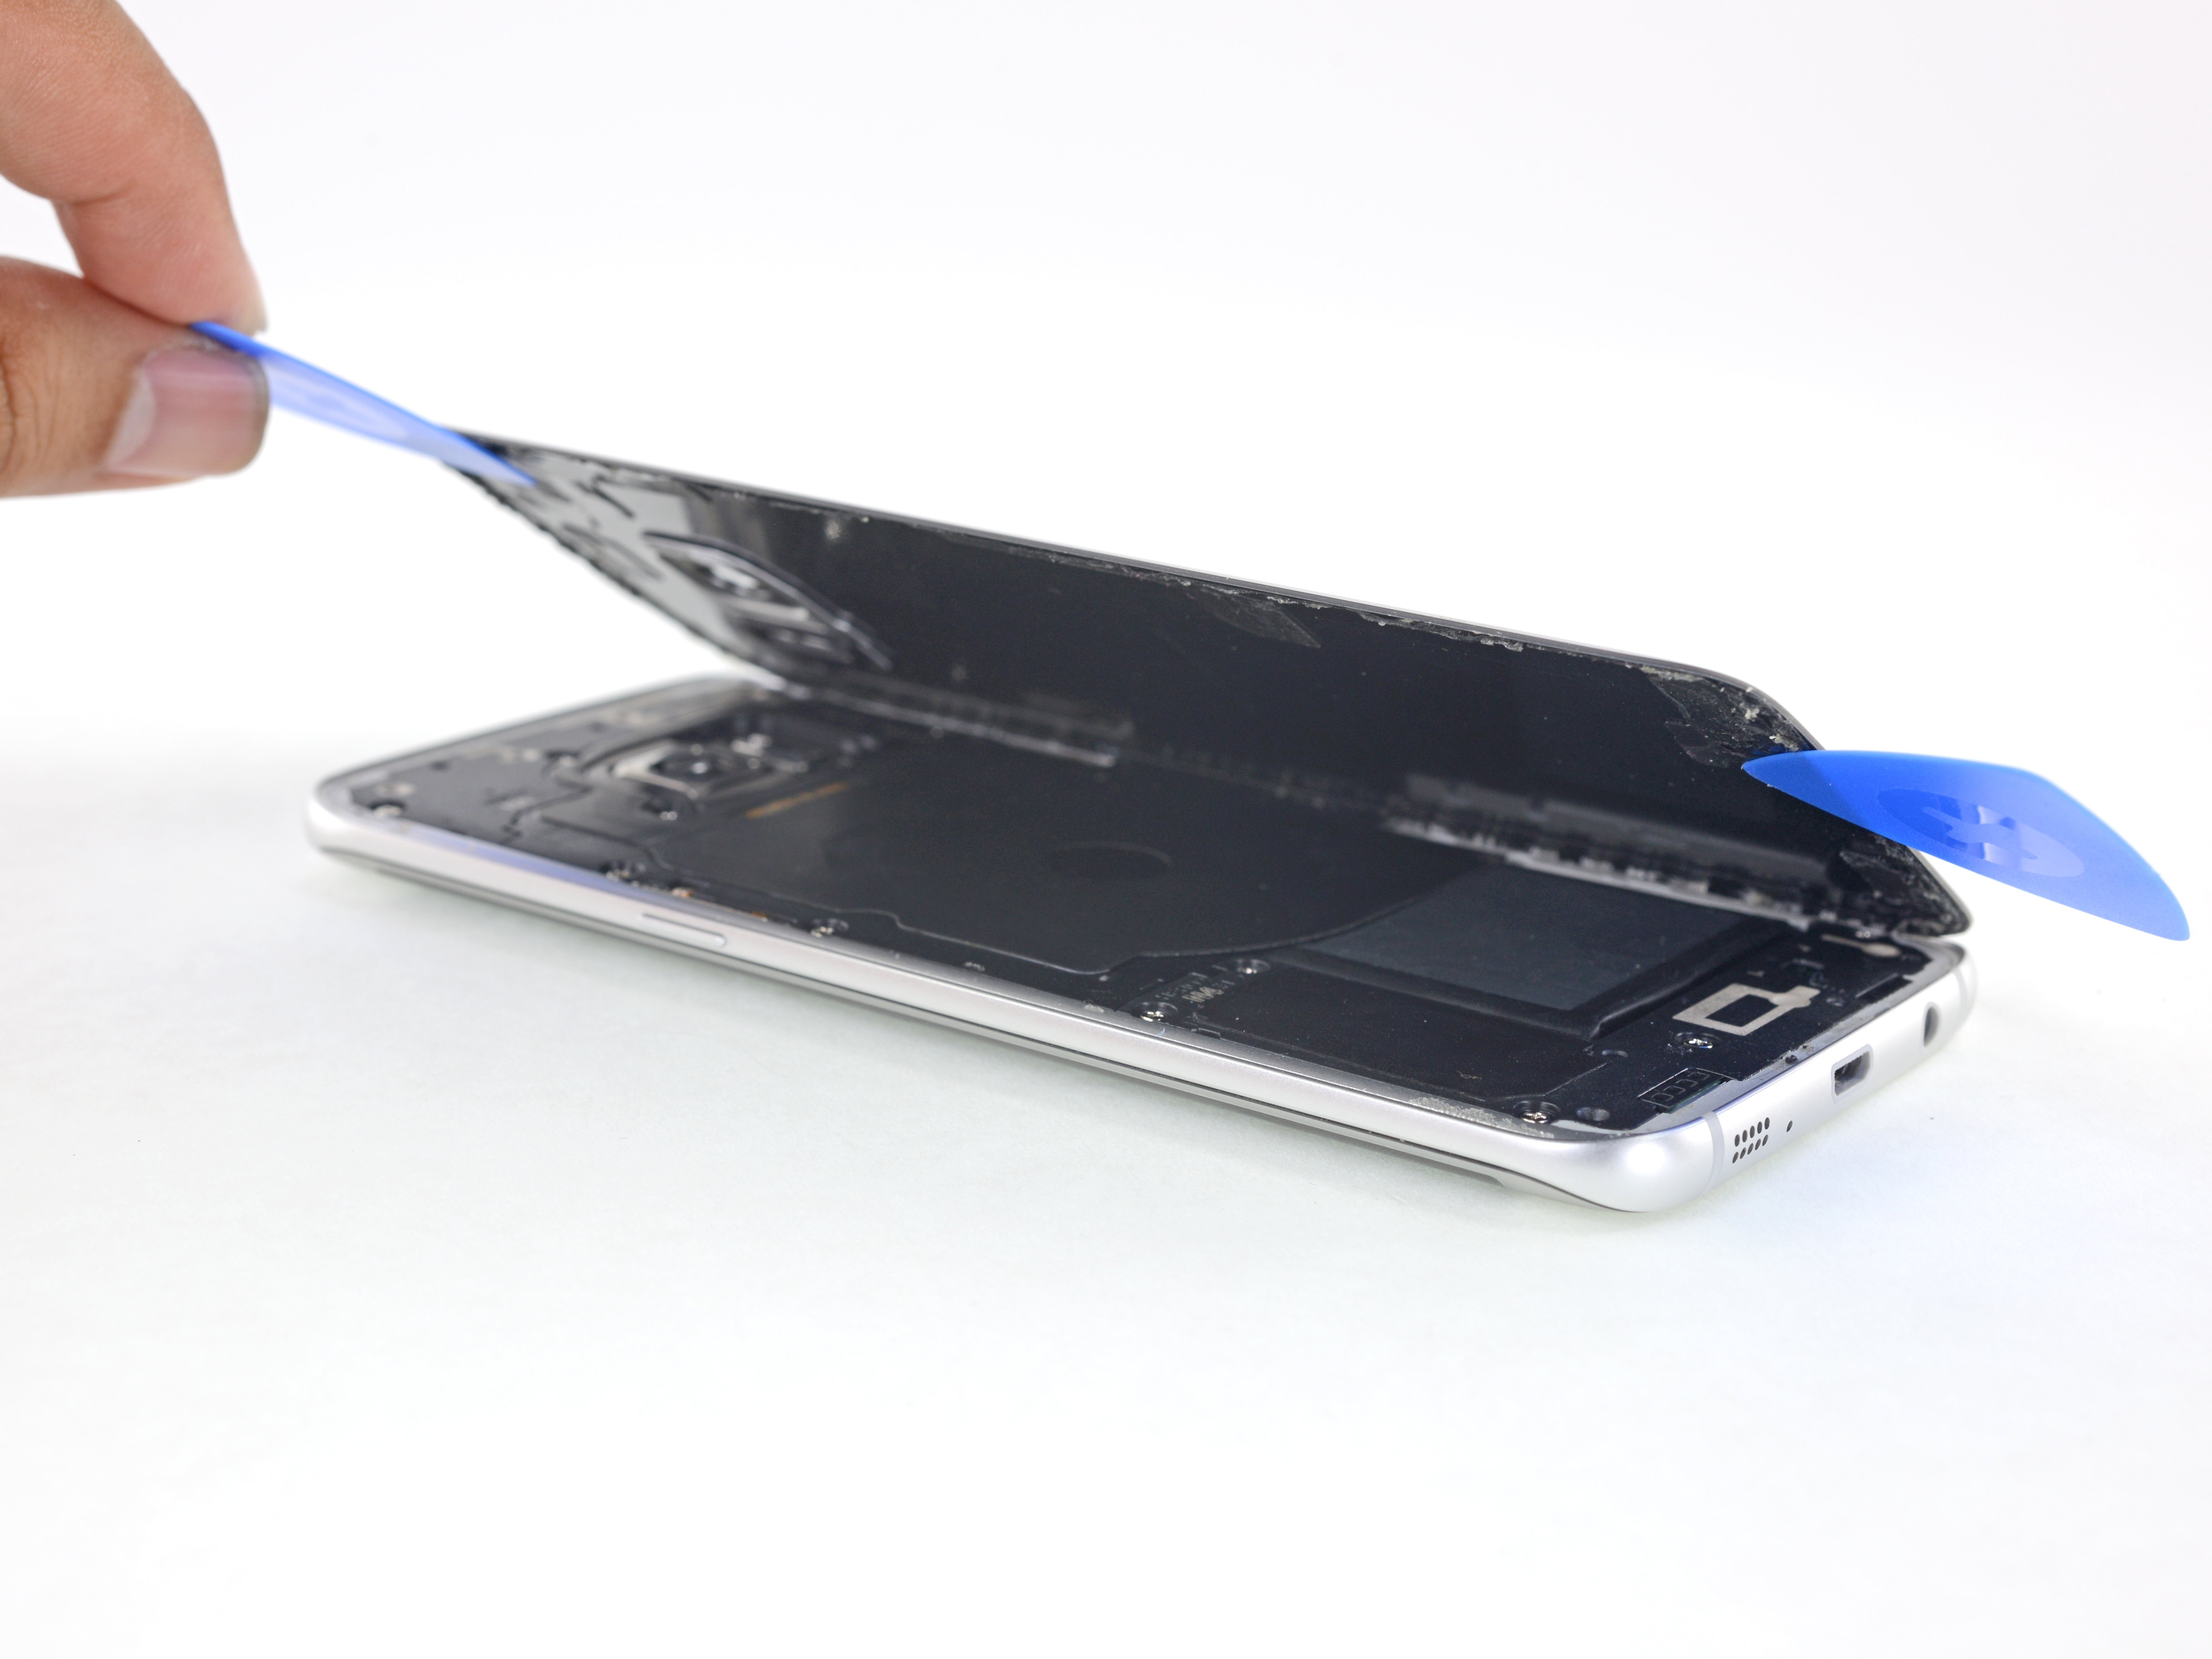
- Gently pull up on the suction cup and slide an opening pick under the rear glass to start popping it open.
Step 3
- Once your pick is snugly in the glass, give the iOpener a quick reheat and stick it back on to loosen that stubborn adhesive. Keep at it until things start to soften up nicely.
Tools Used
Step 4
Take your time so the tool doesn’t go rogue on you. If it gets stubborn, warm things up again and give the iOpener another go.
- Gently glide the opening pick along the edge of your phone, carefully breaking that adhesive seal. You got this!
- Keep that pick in place and grab a second one as you move on to the next step. Keeping the first pick in can help stop the glue you just freed from sticking back down. You're doing great!
Tools Used
Step 5
- Repeat the heating and cutting steps on the remaining three sides of the phone, keeping the process consistent. Leave an opening pick on each side as you go—this keeps the adhesive from sticking back together and makes your next step easier. If you need help, you can always schedule a repair.
Step 6
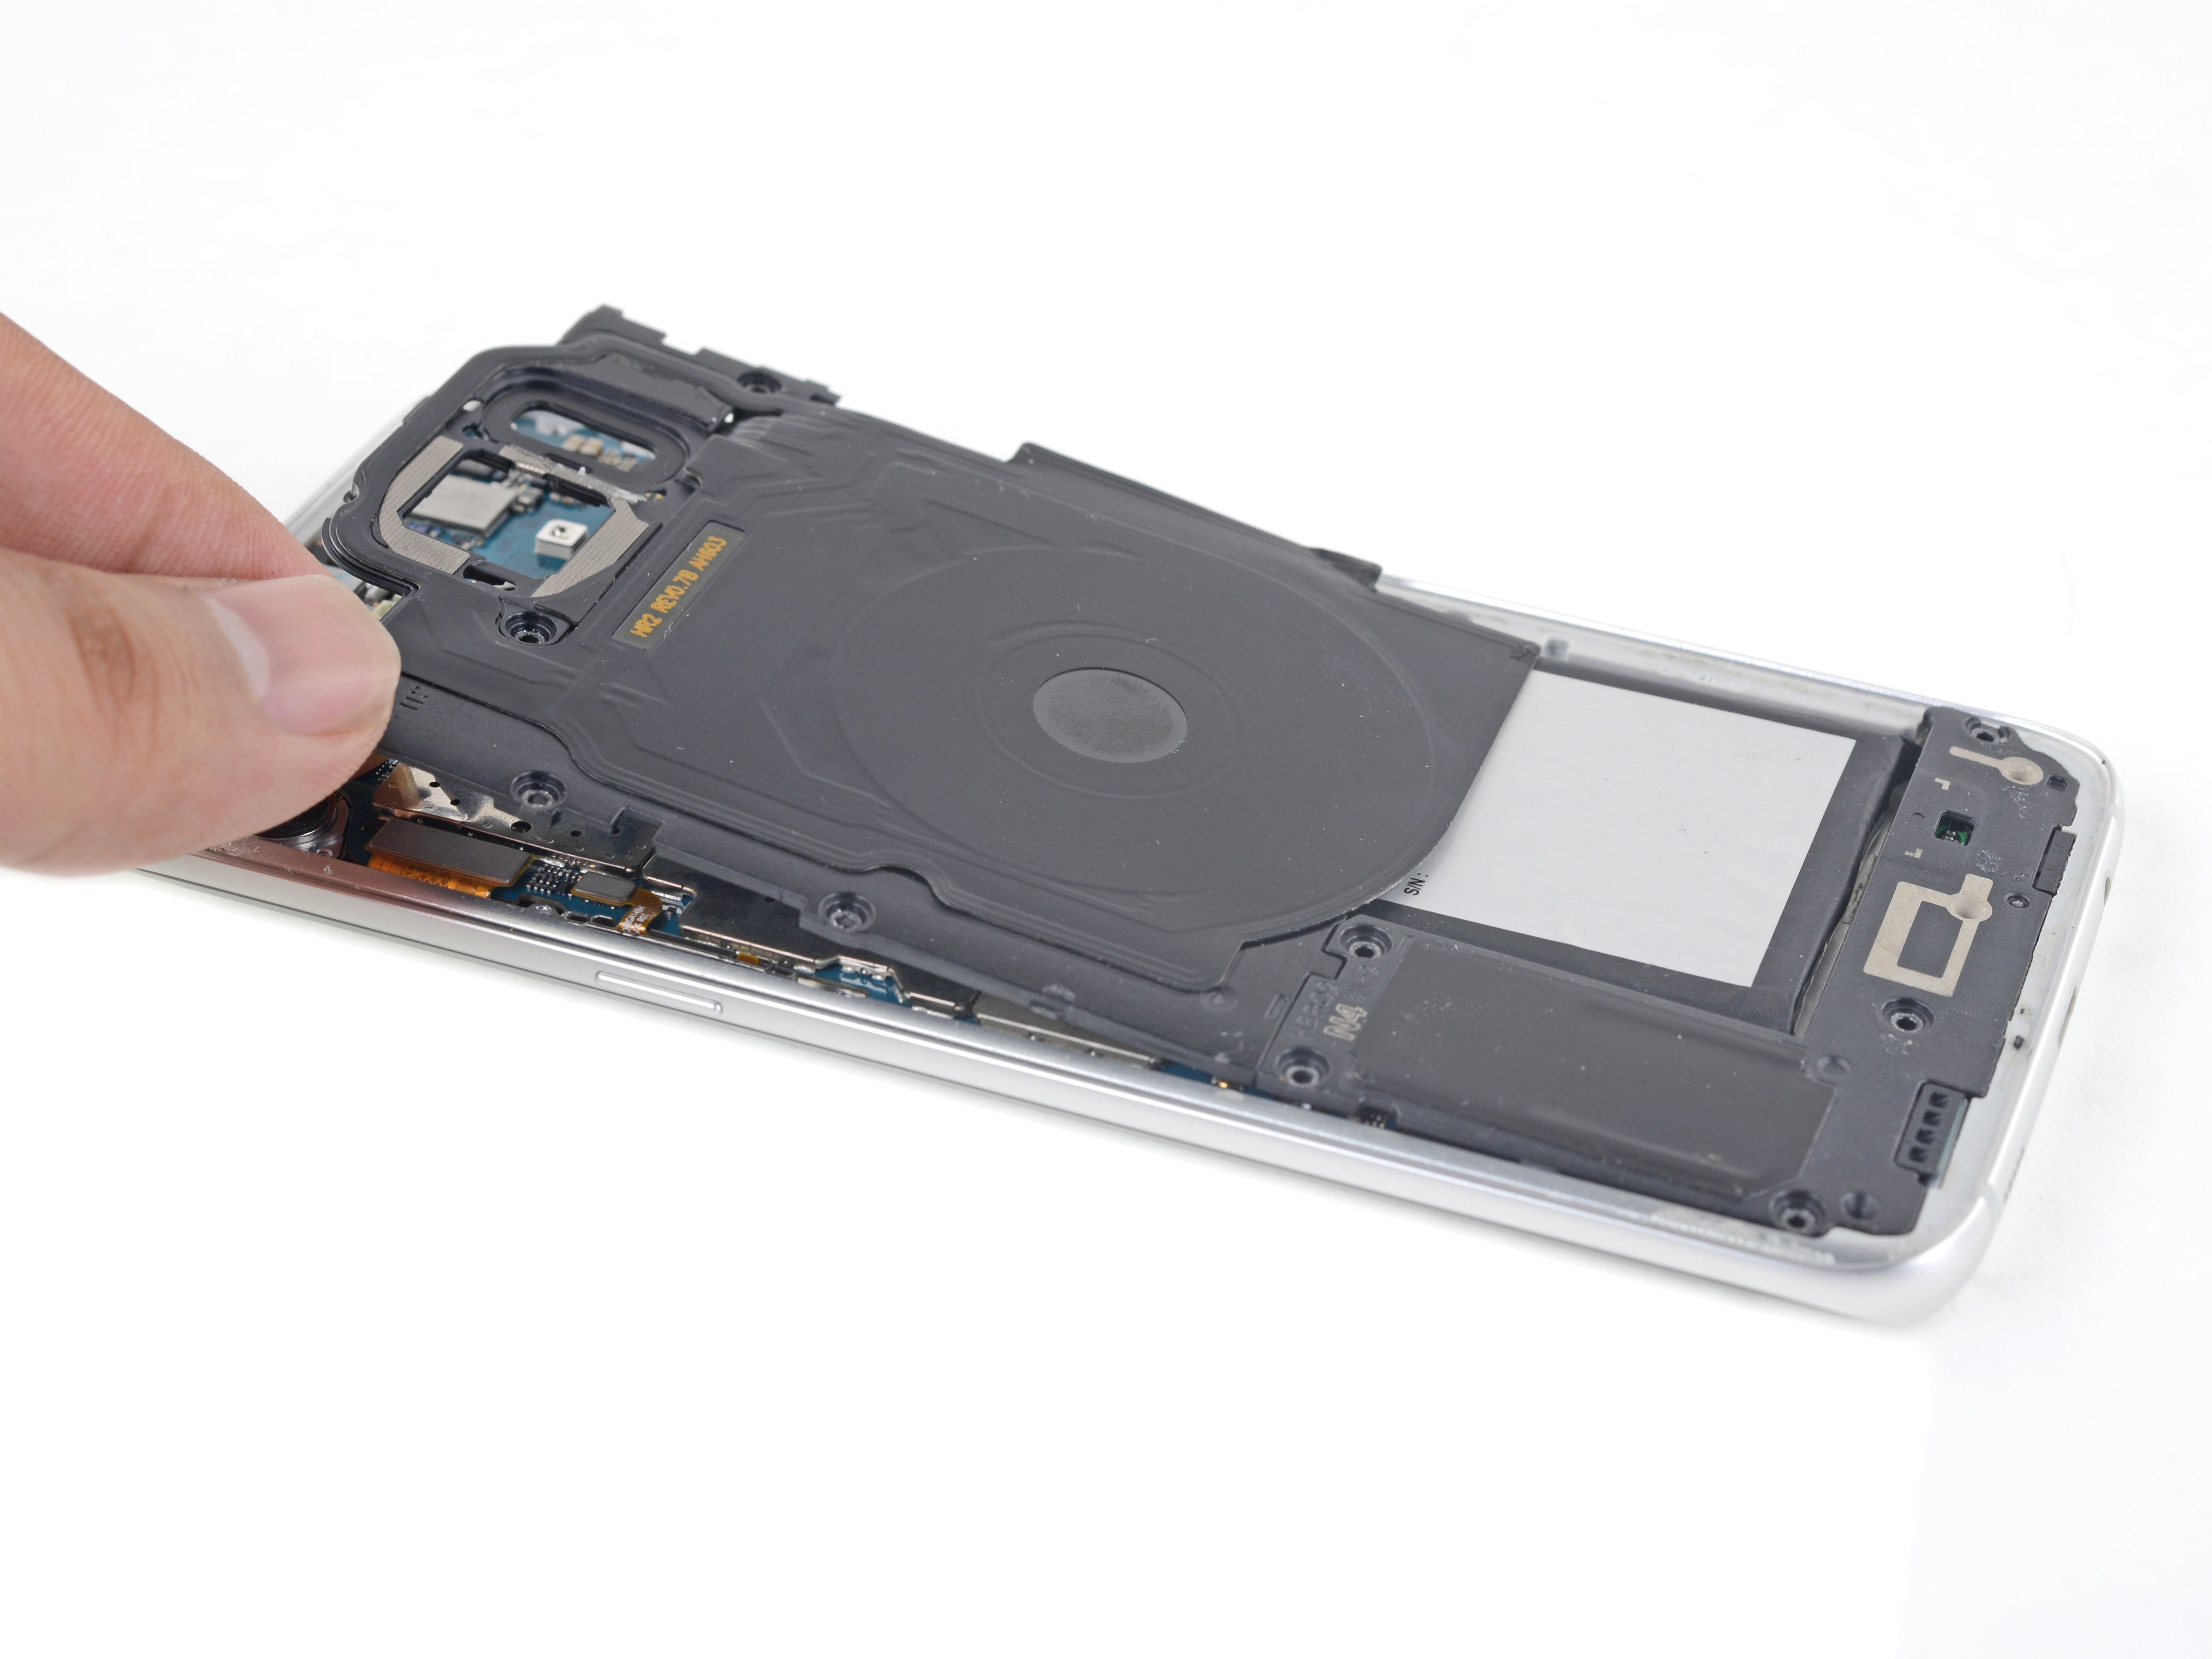
- Gently lift the glass and give it a little wiggle to free it from the phone.
Step 7
If you want, you can pop the back cover back on without new adhesive. Just clear away any big sticky bits that might keep it from sitting nice and flat. Once it's on, warm it up a bit and press down firmly to help it stick. It won’t be waterproof, but the glue usually holds tight enough.
Don’t forget to power on your phone and check that everything works before you slap on fresh adhesive and seal it up for good.
- Give your new part a quick side-by-side with the old one. Double-check for bits like the camera lens or leftover stickers that need swapping before you pop it in.
- Time to put everything back together—just reverse the steps and you’re good to go. If you hit a roadblock or want a pro to take over, you can always schedule a repair.


