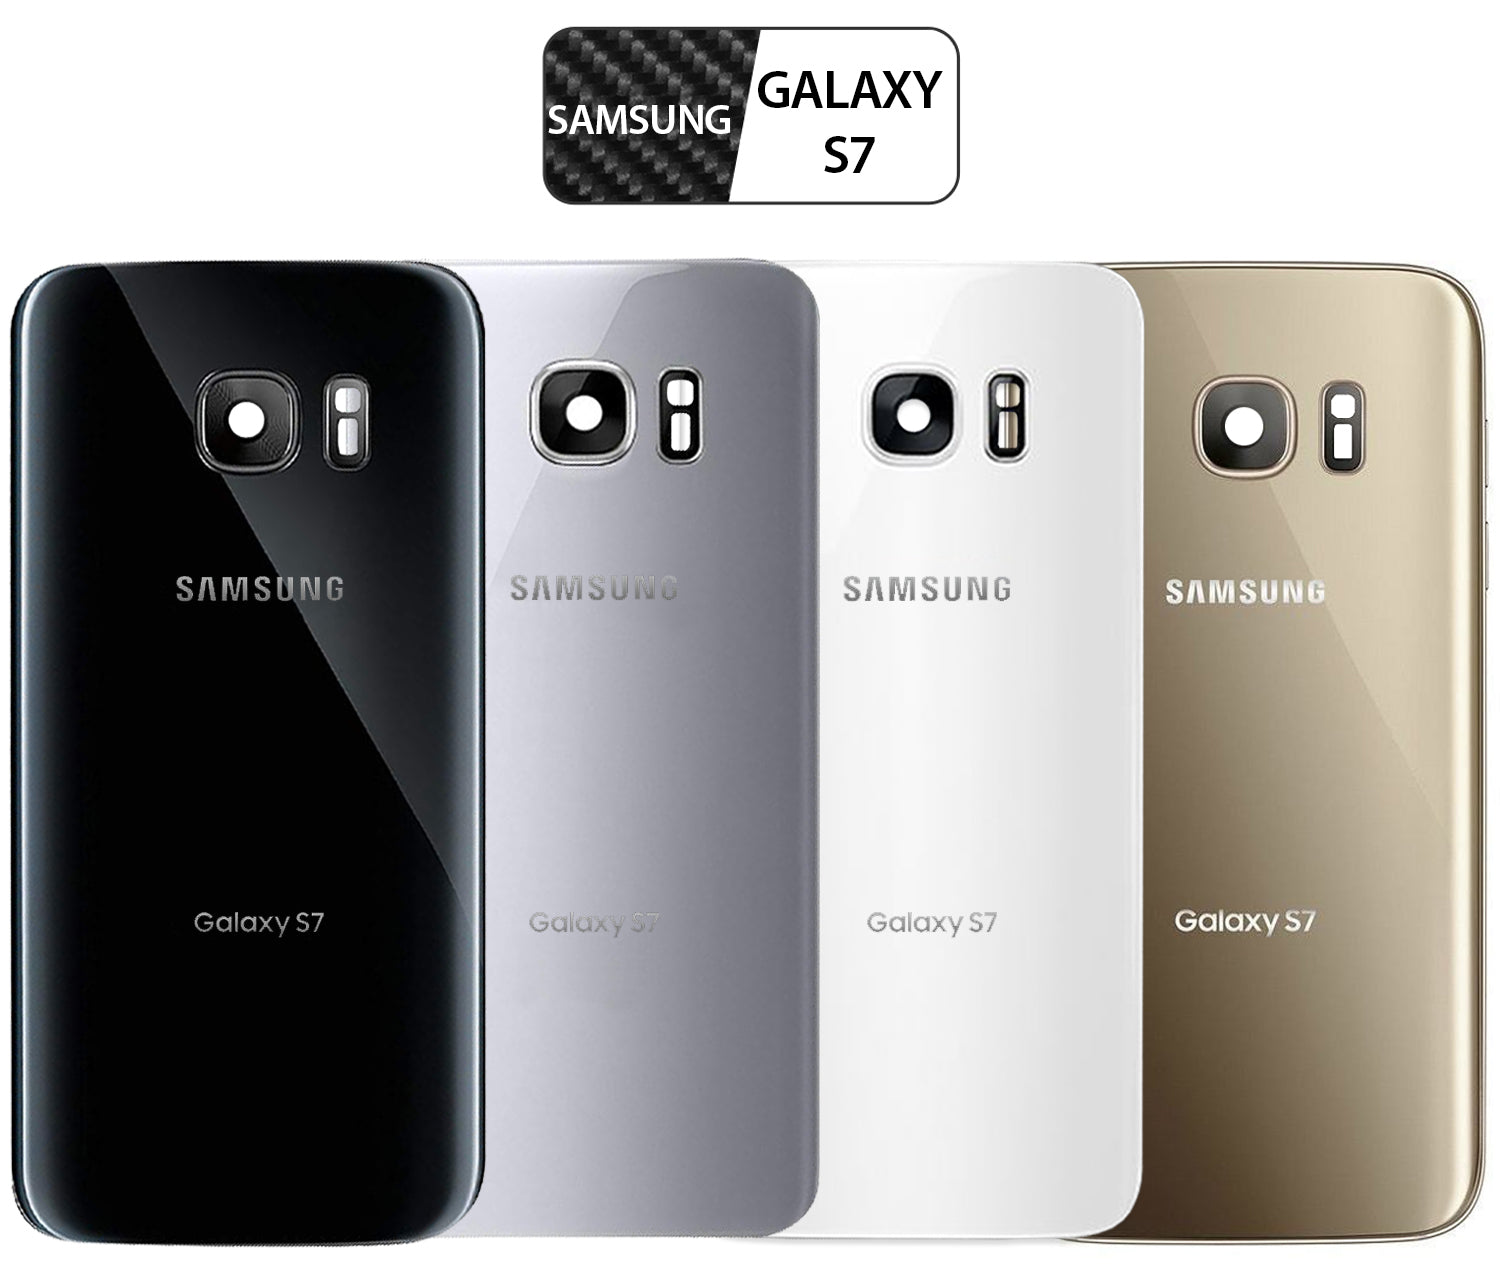
Samsung Galaxy S7 Rear Glass Replacement Guide: DIY Tutorial
Duration: 45 minutes
Steps: 7 Steps
Get ready to bring your Samsung Galaxy S7 back to life by replacing that glass back! Once you’ve popped off the rear glass cover, don’t forget to grab some replacement adhesive to securely stick the back cover back on. Let’s roll up those sleeves and make it happen!
Step 1
Okay, let’s talk heat. A hair dryer, heat gun, or hot plate can be your best friend, but remember, too much heat can make your phone’s screen or battery a little grumpy. Be cool, don’t overheat things! If you need help, you can always schedule a repair.
Opening up your phone? Just a heads up, you’ll be messing with its waterproof seals. Make sure you’ve got some replacement adhesive on hand before diving in, or be super cautious to keep it dry if you’re putting it back together without the new adhesive.
You might find yourself reheating and reapplying the iOpener a few times to make sure your phone is nice and toasty. Just follow the iOpener directions to keep things from getting too hot!
– Heat things up by applying a cozy iOpener to one long edge of your phone for about two minutes. You’ve got this!
Tools Used
Step 2
Be gentle with that rear glass! Too much force or using metal tools to pry can lead to a shattered mess. Take it easy and treat your device with care!
The suction cup might struggle to stick on the curved parts of the glass, so keep that in mind.
If the back cover of your phone is cracked, the suction cup might not adhere well. Try using some strong tape to lift it, or you can superglue the suction cup in place and let it set before moving on.
Remember, with that curved glass, you’ll be pushing up instead of sliding in parallel to the phone’s surface.
If you’re running into some trouble, don’t hesitate to apply a bit more heat to soften that adhesive a little more. It cools off quickly, so you might need to heat it up several times.
As a bonus tip, once your pick is in, consider adding a few drops of isopropyl alcohol into the gap to help loosen that adhesive for the next steps.
– Once the back panel feels pleasantly warm, grab your trusty suction cup and position it as close to the warm edge of the phone as possible, steering clear of that curved section.
– Gently pull up on the suction cup and slide an opening pick beneath the rear glass to get things rolling.
Step 4
Take your time—nobody likes a slip-up! If things start feeling stuck, just give the iOpener another heat-up and try again. You’ve got this!
– Gently slide the opening pick down the side of your phone to break the adhesive seal. It’s like a gentle dance, so take your time!
– Once you’ve got that pick in place, grab a second one for the next step. Keeping the first pick inserted is a smart move to stop that pesky glue from sticking back together.
Tools Used
Step 5
– Now, let’s keep the momentum going! Just like before, heat things up and slice away at the remaining three sides of your phone.
– To keep that pesky adhesive from making a comeback, pop an opening pick into each edge as you move on to the next side.
Step 6
– Gently lift the glass and take it off the phone with care.
Step 7
Feel free to pop the back cover back on without swapping out the adhesive if you want! Just make sure to clear away any big bits of adhesive that could keep the back cover from sitting snugly. Once it’s on, give it a little heat and some gentle pressure to lock it in place. It might not be waterproof, but trust us, that glue is usually more than up to the task!
Before you seal everything up with new adhesive, don’t forget to power on your phone and give your repair a test run. It’s always good to check your work!
– Ready to stick that back cover on? Grab your custom-cut adhesive strip and follow this guide to get it on just right!
– While you’re giving that midframe surface a good clean with isopropyl alcohol, just a friendly reminder: keep the alcohol away from the wireless charging coil. It’s a sensitive little guy and doesn’t enjoy the party if it gets touched by alcohol.


