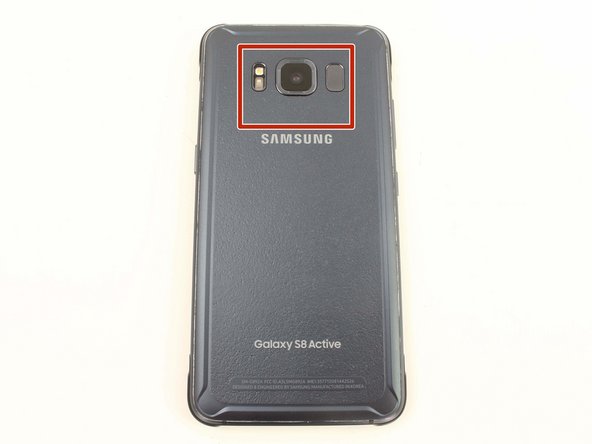
Samsung Galaxy S8 Active Loudspeaker Assembly Replacement Guide – DIY Tutorial
Duration: 45 minutes
Steps: 9 Steps
Hey there! If you need a hand with this step, feel free to schedule a repair for some expert assistance!
Let’s dive in and switch out that loudspeaker assembly in your Samsung Galaxy S8 Active. This task will involve taking off the back cover of your device, so make sure to have some replacement adhesive on hand to stick it back on securely. Before you start tinkering, make sure your battery is juiced up below 25%. If it’s accidentally poked or damaged, it could spark some flames or go boom; but keeping it charged below 25% lowers the chances of fiery surprises.
Step 1


– Grab your trusty SIM card ejector tool (or a handy unfolded paperclip if you’re feeling resourceful) and gently pop it into the tiny hole on the left side of the phone’s top edge.
– Give it a light press to set the SIM tray free!
– Carefully take out the SIM card tray from your device.
– When it’s time to put the SIM card tray back, make sure the gold contacts are facing up and the notch is pointing to the bottom right. Just press the card gently into the SIM tray slot to lock it in place.
Step 2


Taking off the back cover of the S8 Active might just let the water in, and we don’t want that! So, grab some replacement adhesive before you dive in, or make sure to keep it away from liquids if you decide to skip the adhesive during reassembly. Stay dry out there!
– Let’s rip off those 3mm screws, only black ones on the edges using a cool TR6 Torx Security Screwdriver like a pro! Then, it’s time to say bye-bye to those rubber bumpers on top and bottom. Almost there, we’ve got this!
Tools Used

Step 3

To make the metal frame just a little toasty, consider using a heat gun, hair dryer, or hot plate. Be gentle with it, you don’t want to surprise it with a hot touch!
Remember, we don’t want to turn your device into a hot potato – the OLED display, battery, and all the tiny bits inside can’t handle the heat. Just a quick blast for about a minute should do the trick, softening up that adhesive nicely.
Warm up those edges with an iOpener, hair dryer, or hot plate. Keep it chill, and you’re on your way! If you need help, you can always schedule a repair
– Grab a heat gun and give the edges of the back cover a gentle warm-up. This will help loosen the adhesive holding it to the frame, making your task a whole lot easier!
Tools Used

Step 4


– Slide the Jimmy tool gently under the edge of the back cover like you’re sliding into home base.
– Once the Jimmy tool is nestled in there, pop an opening pick into the seam to keep it nice and open, just in case the Jimmy decides to take a little vacation.
– Take your time and cut carefully around the top section of the device, keeping an eye out for those pesky cables for the fingerprint sensor and camera. Remember, we want to be gentle here to avoid any surprises!
– Now, glide the Jimmy tool down the sides of the device, separating that adhesive like a pro.
Tools Used

Step 5

Hey there! The fingerprint sensor cable is like a delicate little flower that connects towards the top of your phone, near the front-facing camera. Remember, gentle is the name of the game when pulling off the back cover to avoid any cable tears. It’s all about that smooth, easy touch!
– Time to bust out the opening pick and show that adhesive who’s boss!
– Gently peel back the back cover until you catch a glimpse of the fingerprint sensor flex cable connector.
Step 6


– Gently flip the cover over and place it down on top of the device.
– Using the flat end of a spudger, detach the fingerprint flex cable.
– Take off the back cover.
– When putting back the back cover, tilt it until the flex cable aligns with its socket. Then, gently press down using the flat end of a spudger to secure the cable in place.
Tools Used

Step 7


– Get ready to unscrew eleven 3.5 mm screws with your reliable Phillips #00 Screwdriver.
– Say goodbye to two 2mm screws using your trusty Phillips #00 Screwdriver.
Tools Used

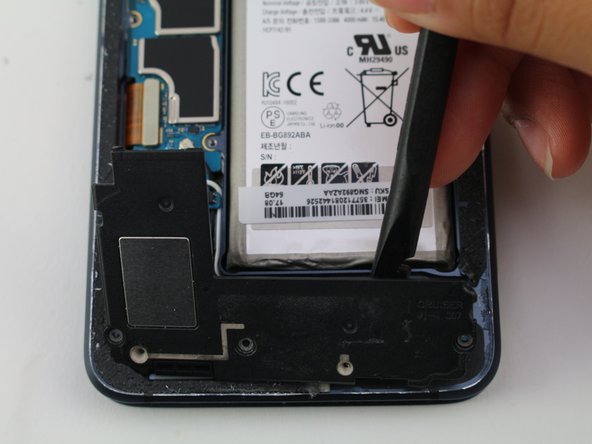
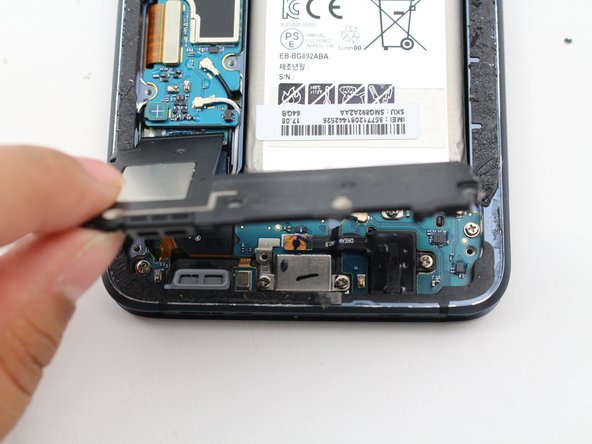
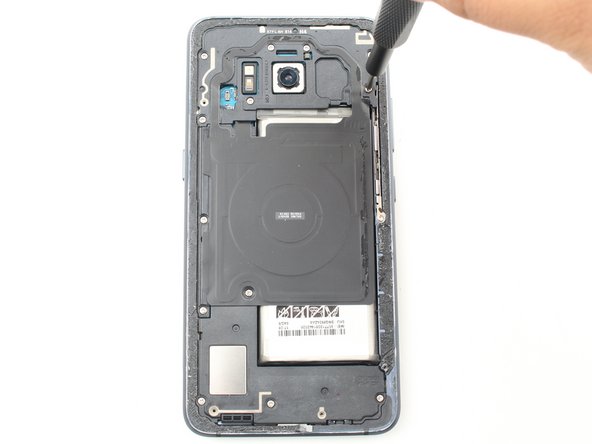
Step 8


– Gently pop off the NFC antenna and charging coil assembly with the flat end of a spudger. If you need help, you can always schedule a repair
Tools Used