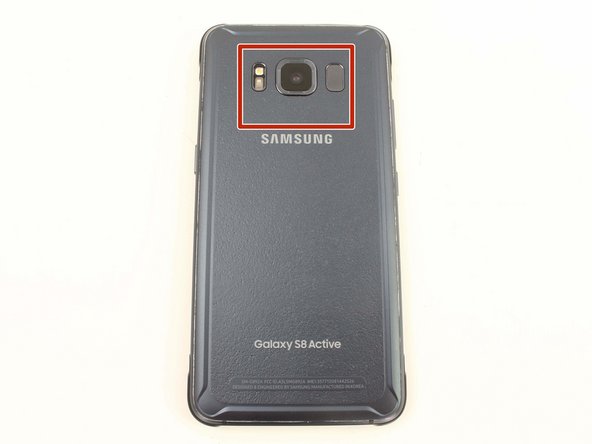
Samsung Galaxy S8 Active Rear Facing Camera Replacement Guide: How to Replace Camera in 11 Steps
Duration: 45 minutes
Steps: 21 Steps
Heads up! Make sure to power off and unplug your device before starting the repair. Safety first! If you need help, you can always schedule a repair.
Get ready to give your Samsung Galaxy S8 Active a camera makeover! In this groovy guide, you’ll be jazzing up the rear-facing camera of your device. This process kicks off with a little back cover removal dance, so make sure to have some replacement adhesive on hand for the reattachment boogie. Before you start jamming, check that your battery is rocking a charge below 25%. Remember, a battery fumble could lead to some fiery fireworks or unexpected explosions; keeping it above 25% keeps the fireflies at bay. Let’s rock and roll, and get that camera clicking again!
Step 1


– Grab your trusty SIM card ejector tool (or an unfolded paperclip if you’re feeling resourceful) and gently insert it into the tiny hole on the left side of the top edge of your phone.
– Give it a gentle press to pop that SIM tray right out!
– Carefully take the SIM card tray out of your device.
– Now, when you’re ready to put the SIM card tray back, make sure the gold contacts are facing up and the notch is at the bottom right. Simply press the SIM card into the tray slot with a gentle nudge, and you’re all set!
Step 2


– First things first, grab your trusty TR6 Torx Security Screwdriver and remove those four black 3mm screws hanging out on the edges of the device. They’re keeping the rubber bumpers snug as a bug, so let’s set them free!
– Now, gently peel off those rubber bumpers from the top and bottom edges of your device. It’s like giving your gadget a little spa treatment!
Hey there! As you dive into removing the back cover of the S8 Active, remember, keeping it waterproof is key. Make sure you have some replacement adhesive handy before you get started. If you’re feeling unsure, you can always schedule a repair for some help. Just a friendly tip to keep things running smoothly! 🛠️
Tools Used

Step 3

Get ready to heat things up a bit! Using a heat gun, hair dryer, or hot plate will warm up the metal frame – so make sure to handle it with care.
Remember, don’t go overboard on the heat! Excessive heat can cause damage to the OLED display, battery, and other internal parts. Just give it around a minute to soften the adhesive.
You can warm up those edges with an iFixit iOpener, a hair dryer, or even a hot plate. It’s all about getting that snug fit just right!
– Grab a heat gun and gently warm up the edges of the back cover. This will loosen up the adhesive so you can easily lift the cover off the frame. If you need help, you can always schedule a repair.
Tools Used

Step 4


– Wedge that Jimmy tool under the edge of the back cover.
– Once you’ve got the Jimmy tool snug under the cover edge, pop in an opening pick to keep that seam open if the Jimmy tool slips or decides to take a vacation.
– Gently work your way around the top section of the device. Watch out for those fingerprint sensor and camera cables. Don’t go too deep into the top to keep that fingerprint sensor safe and sound.
– Slide the Jimmy tool down the sides of the device, breaking that adhesive bond as you go.
Tools Used

Step 5

Oh, hey there! The fingerprint sensor cable is buddies with the top part of your phone, chilling near the front-facing camera. To keep it happy, when removing the back cover, be sure to do it with finesse and gentleness.
– Grab your trusty opening pick and have some fun slicing through any stubborn bits of adhesive that are still hanging on.
– Gently lift the back cover just enough so you can peek at the fingerprint sensor flex cable connector. You’ve got this!
Step 6


– Gently flip the cover over and place it atop the rest of your device, like a cozy blanket.
– Carefully disconnect the fingerprint flex cable using the flat end of a spudger—think of it as giving it a little nudge.
– Time to remove the back cover and reveal the inner workings!
– When you’re ready to reconnect the fingerprint sensor cable during reassembly, tilt the back cover so the flex cable aligns perfectly with its socket. Then, with the flat end of a spudger, give it a gentle push straight down to snap it into place.
Tools Used

Step 7


– Grab your Phillips #00 Screwdriver and remove eleven 3.5 mm screws. Let’s get this party started!
– Next, use the same screwdriver to take out two 2mm screws. You’re doing great!
Tools Used

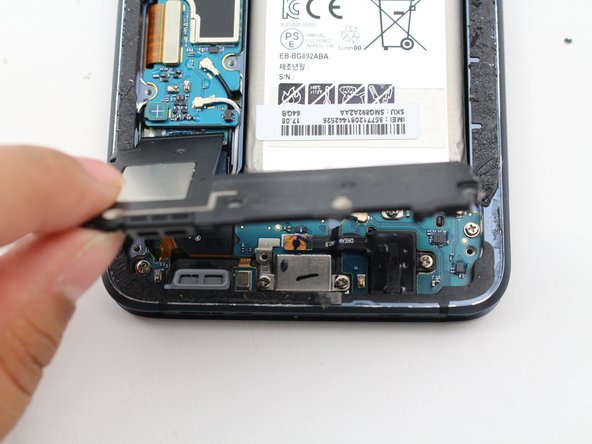
Step 8


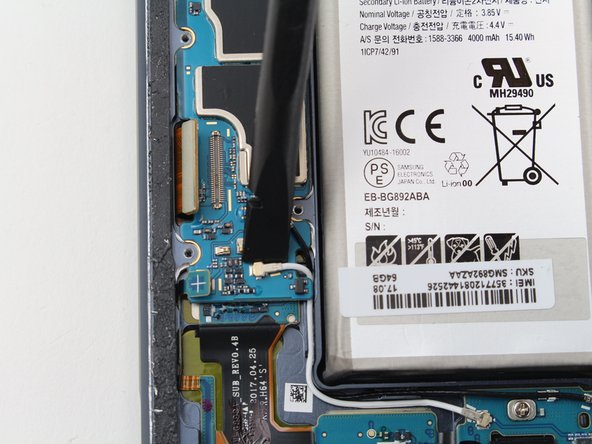
– Gently pry off the NFC antenna and charging coil assembly with the flat end of a spudger. You’ve got this!
Tools Used

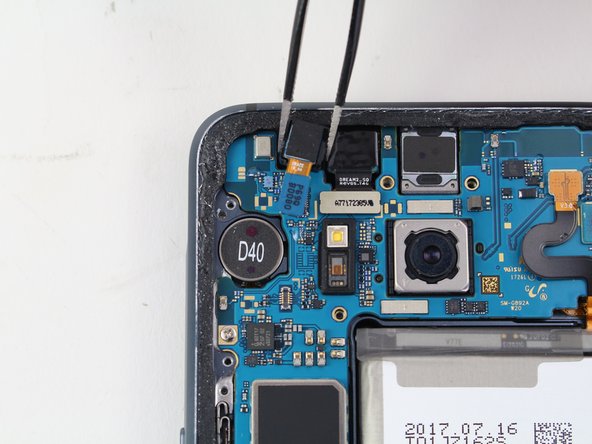
Step 10


– Pop off the front-facing camera flex cable from the motherboard with the flat end of a spudger.
– Grab your tweezers and gently lift the camera out of its slot.

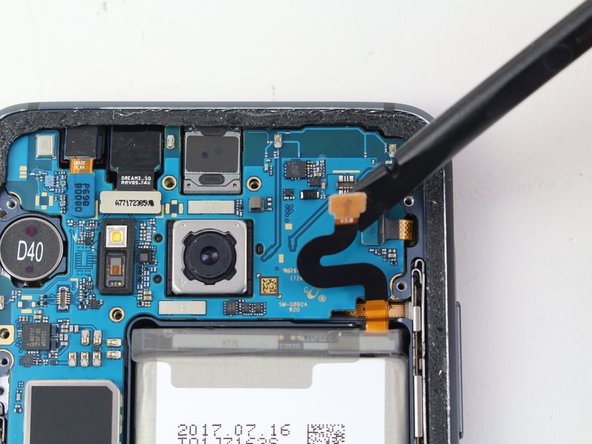
Step 11


– Unhook the iris scanner flex cable from the motherboard with the flat end of a spudger.
– Use tweezers to gently lift the iris scanner out of its slot.
Step 12


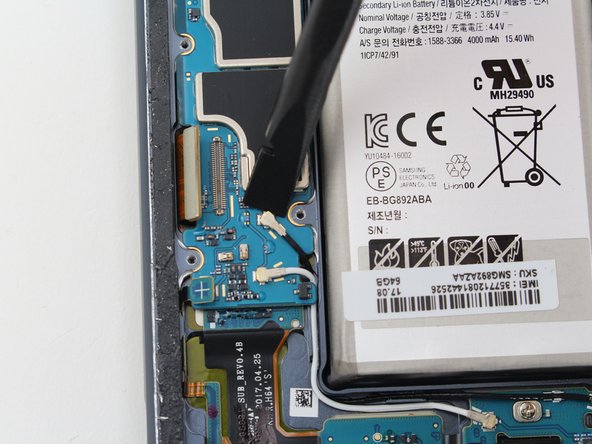
– Gently unplug the battery flex cable with the flat end of your trusty spudger. You’ve got this!
Tools Used
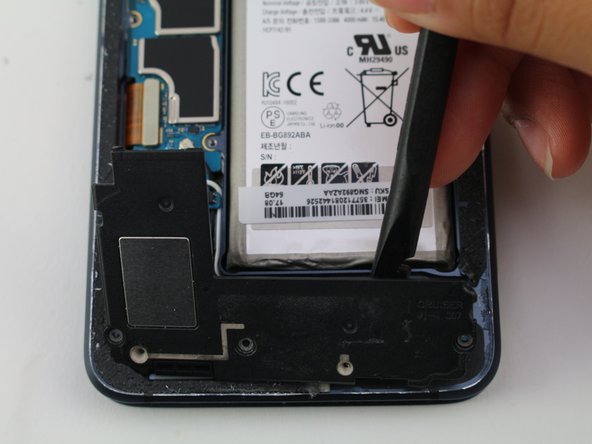
Step 13

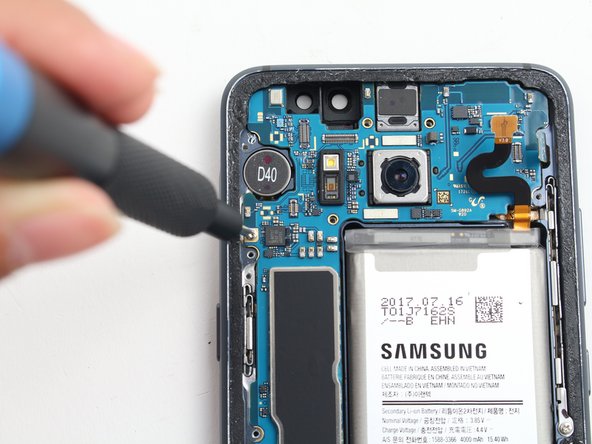
– Get ready to dance with your recovery. Remove a single 3.5 mm screw using a Phillips #00 Screwdriver.
Tools Used
Step 14


– Pop off the Volume Up, Volume Down, and Bixby button flex cable with the flat end of a spudger. If you need help, you can always schedule a repair
Tools Used
Step 15


– Pop off the display flex cable with the flat end of a spudger. If you need help, you can always schedule a repair
Tools Used
Step 16


– Using the flat end of a spudger, gently disconnect the charging port flex cable. You’ve got this!
Tools Used

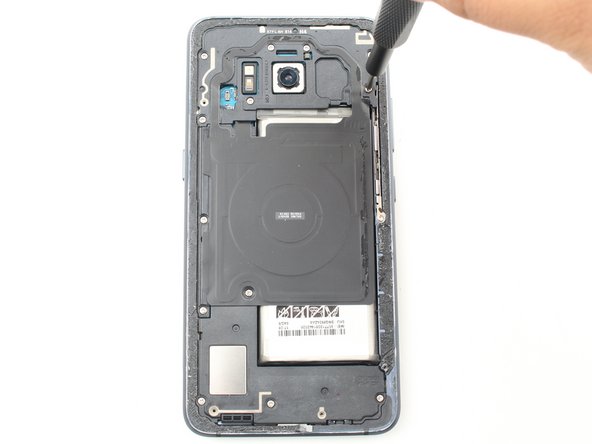
Step 18
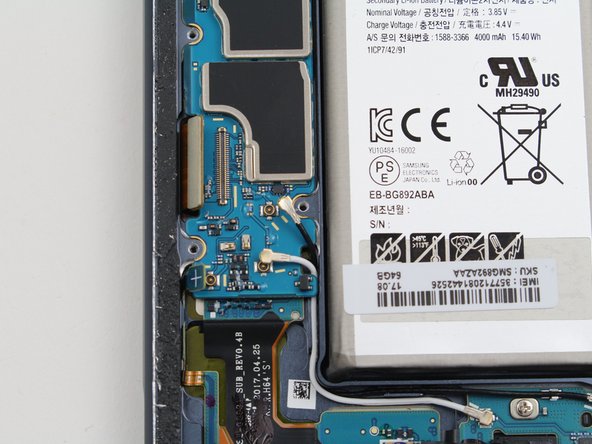

– The motherboard cozily sits atop the daughterboard with a flex cable linking them. Use the flat end of a spudger to carefully disconnect the flex cable between the motherboard and daughterboard. If you need help, you can always schedule a repair.
Tools Used
Step 19


– Get ready to unleash your inner magician as you position the flat end of a spudger at the top edge of the motherboard.
– With finesse and precision, work your magic to carefully pry up and remove the motherboard.
Tools Used
Step 20
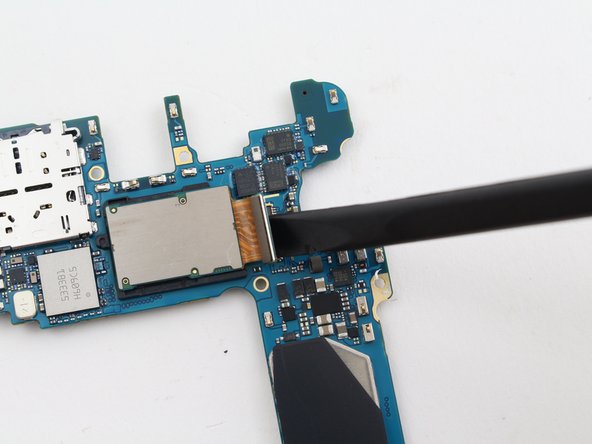

– Flip the motherboard over making sure the rear-facing camera is facing downwards.
– Use the spudger to disconnect the flex cable of the camera.
Tools Used
Step 21


When you’re detaching the camera, use those fingers gently! Keep the bending pressure light on the rest of the motherboard, or you might end up with a broken heart—and a broken board. If you need help, you can always schedule a repair.
To keep those pictures crystal clear with your new camera, opt for using your fingers – surprisingly the easier way. But don’t forget, steer clear of touching the lens to avoid those not-so-pretty blurry shots! If you need a hand, you can always schedule a repair.
– Flip that motherboard like a pro!
– Gently pop that camera out of its socket with your fingers or the flat end of a spudger.
Tools Used