Samsung Galaxy Tab 10.1 Rear Camera Replacement Guide
Duration: 45 minutes
Steps: 8 Steps
In this guide, you’ll master the art of removing and replacing your rear-facing camera on your Samsung Galaxy Tab 10.1. A busted rear camera can make capturing those stunning landscapes or cherished family moments a real challenge. But fear not! There are a couple of prerequisites to tackle first.
Step 1
For the GT-P7500 model, you can skip this step—this version doesn’t have these two screws. Lucky you!
– Turn the tablet so the bottom is facing you, ready for action!
– Grab your trusty Tri-Wing screwdriver and tackle those 4.1mm screws near the charge port.
– If you spot any sneaky plastic tabs hiding those screws, use some pointed tweezers to gently coax them out.
Step 2
Handle with care! Prying too hard might give your screen an unwanted makeover.
Slide those opening picks along the edge you’ve already pried open to keep the back panel happily separated from the rest of your device.
– Begin at the center of the left side and gently slide a plastic opening tool between the rear panel and the front panel assembly.
– Carefully glide the plastic opening tool along the left and top edges to pop the rear panel away from the rest of the device.
Step 3
– Grab those handy plastic opening tools and gently glide them along the right and bottom edges. Once you’ve made your way around, it’s time to lift that screen away from the back panel with care!
Step 4
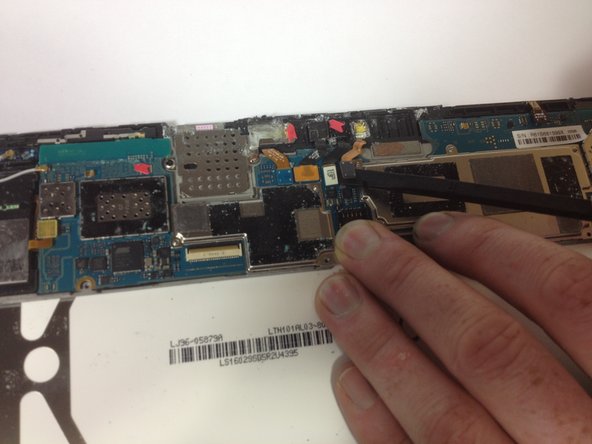
– Gently lift the retaining flaps on the ZIF connectors that hold those three hefty ribbon cables in place.
– With care, wiggle and pull the three ribbon cables out of their cozy spots on the motherboard.
Step 5
– Time to get started! Remove the ten 3 mm Phillips #00 screws surrounding the battery – it’s easier than you think, and you’re one step closer to getting your device up and running again.
Step 6
– Time to get this repair started! Carefully lift the edge of the battery up with your finger or a trusty spudger.
– Now, gently pry the battery away from the motherboard by holding it down firmly while you lift the battery up – you’re doing great!
Step 8
We’ve taken out the motherboard in these pics for better visibility, but don’t worry, you don’t need to do this step.
– To put your device back together, just follow these steps in reverse. Easy peasy!
– Decided to pause? No worries, you can pick this up anytime.
– Need a hand? You can always schedule a repair if things get tricky!
Success!


