Samsung Galaxy Tab 2 10.1 Front Camera Replacement Guide
Duration: 45 minutes
Steps: 6 Steps
Can’t snap photos with your device? It might be time to swap out that camera! In this guide, we’ll walk you through replacing the front camera step by step. Heads-up: some images show a metal spudger in action, but stick to the heavy-duty spudger to keep your circuits safe and sound. Need more details on connectors? Check out this page.
Step 1
Heads up! Your plastic opening tool might throw in the towel during this step. If that happens, grab your trusty heavy-duty spudger to keep the repair train rolling!
– Time to get started! Insert the plastic opening tool between the glass screen and the back cover, making sure the curved end is snug under the glass. Gently pry the back cover away from the screen – it’s like opening a little door!
– Now, carefully lift the entire display from the body. Remember, you’re not just lifting the glass, you’re lifting the whole display. Take your time and reach down a bit further to get it just right.
– Keep going! Continue to insert the plastic opening tool around the whole device screen. You’re doing great! Completely separate the back cover from the glass screen, and you’ll be one step closer to fixing your device.
Step 4
– Gently slide the flat end of your trusty heavy-duty spudger between the wires and sneak it underneath the battery connector. With a careful touch, lift that black battery connector up and away to disconnect it from the motherboard. You’ve got this!
Tools Used
Step 5
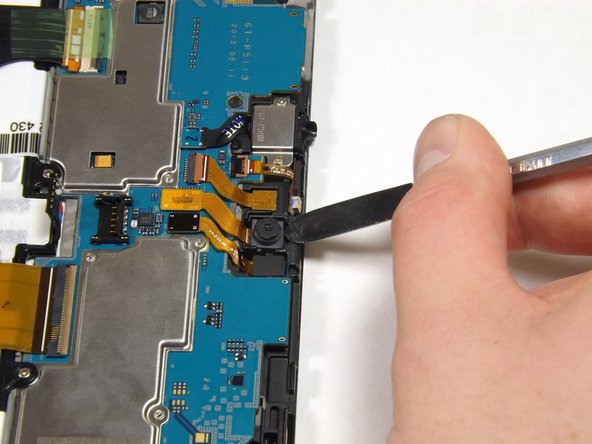
– Carefully lift the camera out of its socket using the flat end of the sturdy spudger. You’ve got this!
Tools Used
Step 6
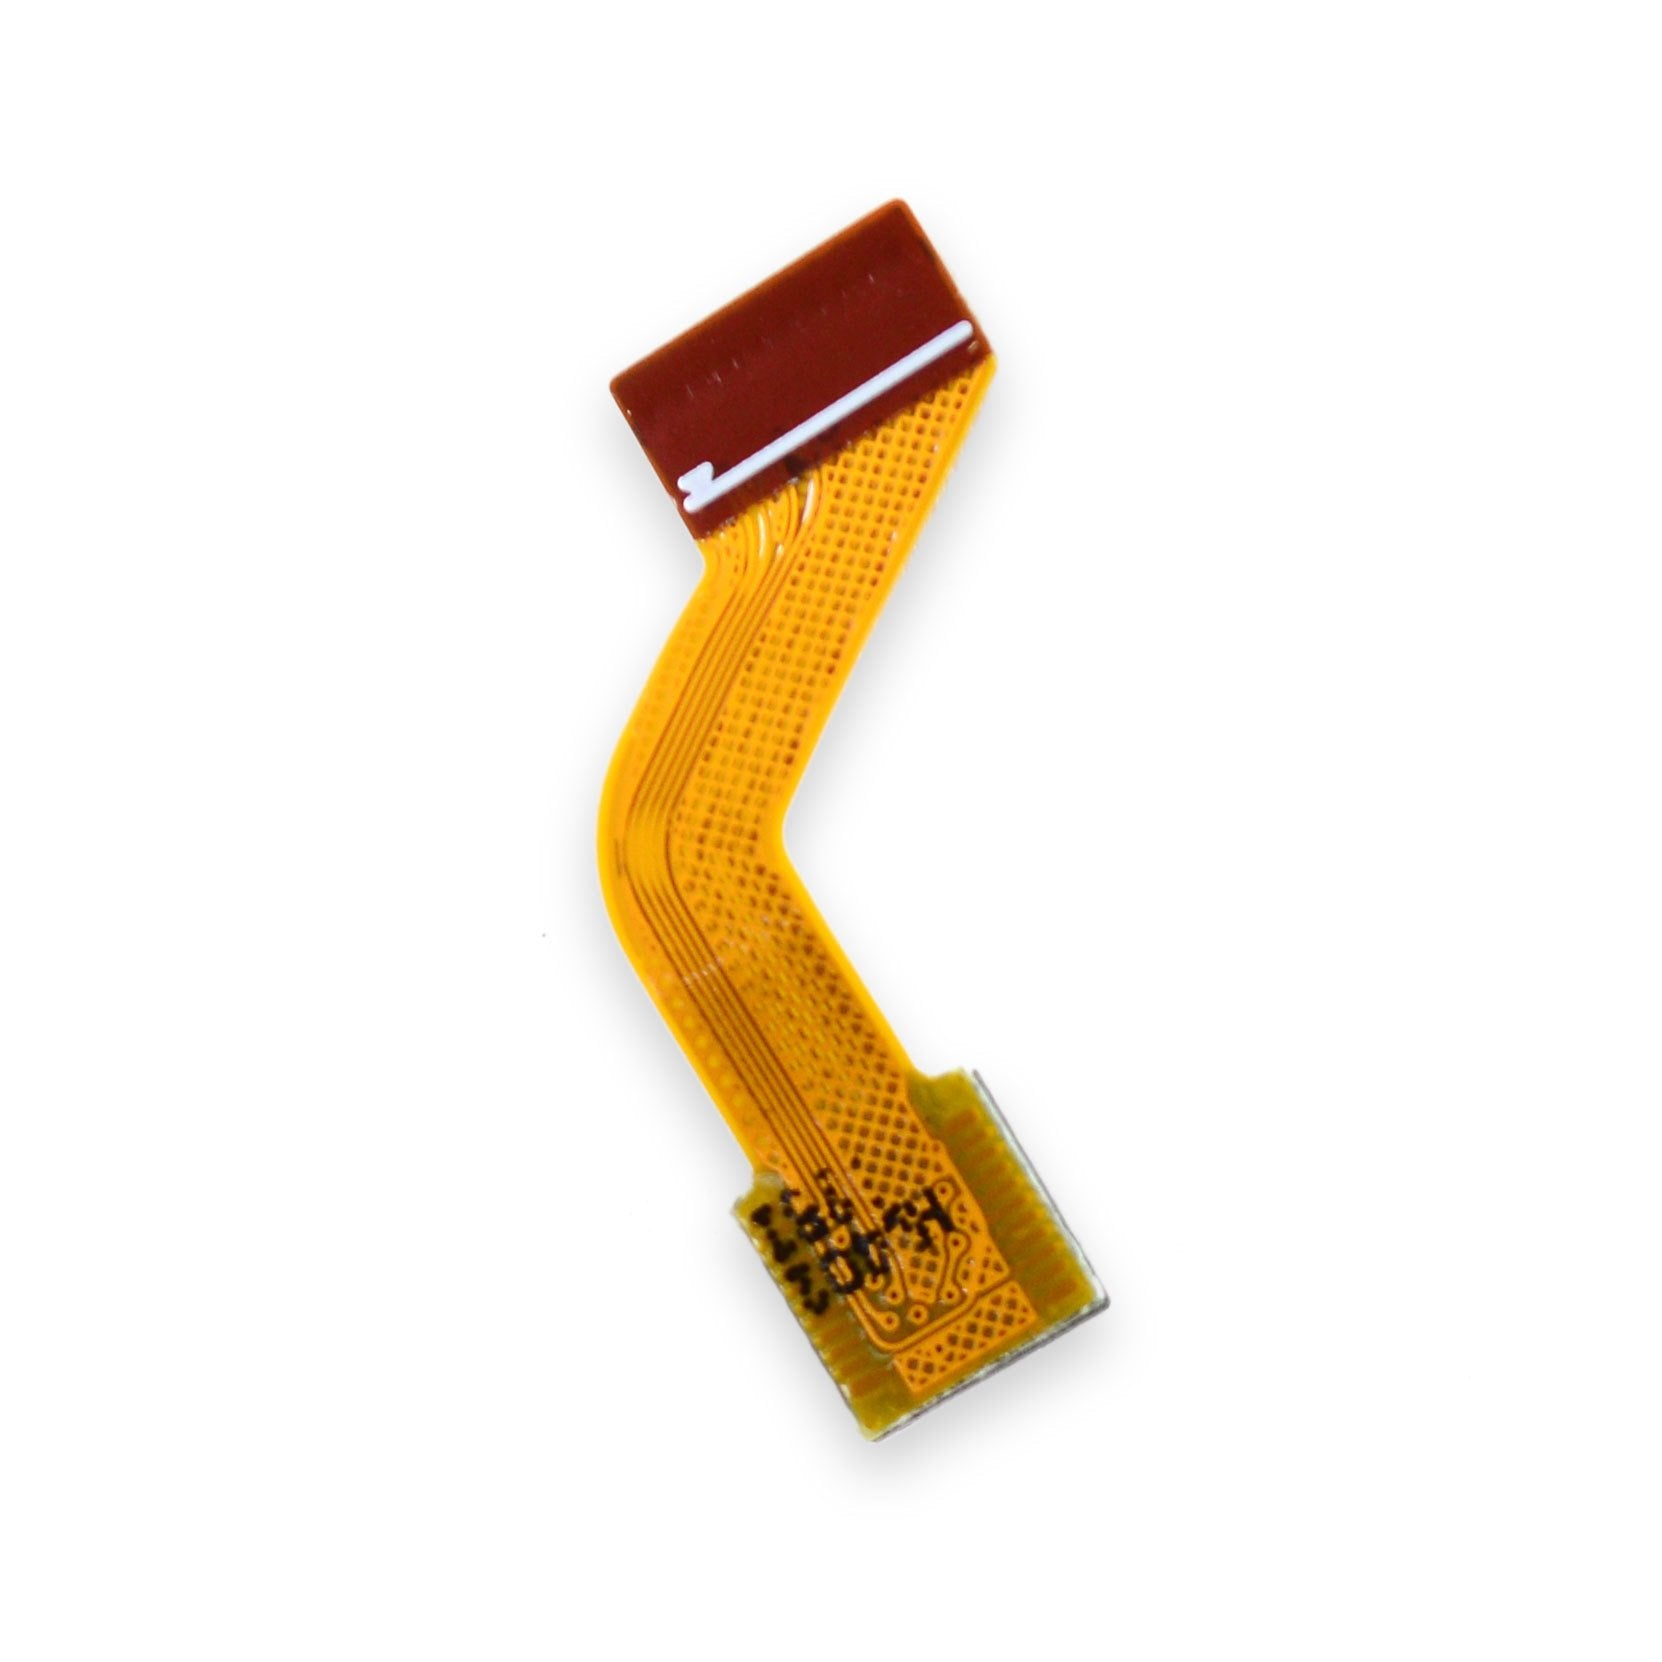
– Use the flat end of the heavy-duty spudger to gently lift and disconnect the gold cable connector from the device.
Tools Used
Success!


