Samsung Galaxy Tab 2 7.0 LCD Screen Replacement Guide
Duration: 45 minutes
Steps: 17 Steps
Step 1
– First things first, let’s give your device a little nap—power it down completely.
– Next up, gently slide out the SD card from its cozy slot. It’s time for a little break!
Step 2
Don’t forget to unclip all the clips on the back panel, or you’ll have a tough time pulling it off and might even damage the tablet.
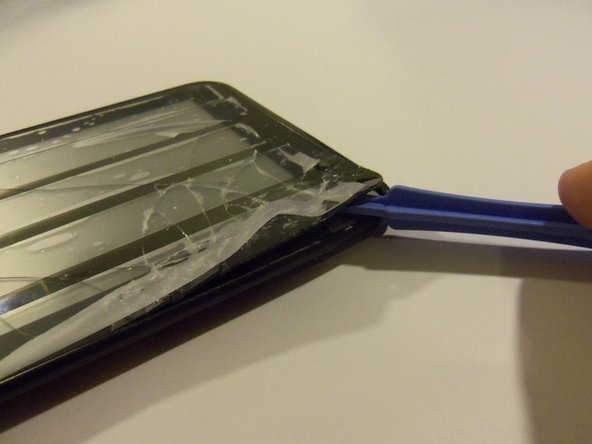
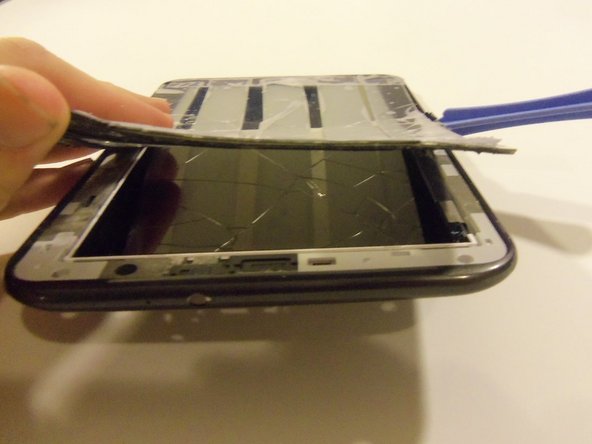
– Grab that prying tool and get ready to work your magic! Start by sneaking the tool under the edge of the screen. Once you’re in, slide it around the whole device to gently separate the front and rear panels. Easy does it!
Step 3
Step 4
– Grab your trusty Phillips precision screwdriver and let’s tackle those six 4 mm screws that are keeping the battery snug as a bug. Time to set it free!
– Once you’ve loosened the battery, gently lift it out just like a pro. You’ve got this!
Step 5
– Grab your trusty Phillips #00 precision screwdriver and let’s tackle those 12 little 4mm screws that are keeping the motherboard snug as a bug. Time to set it free!
Step 6
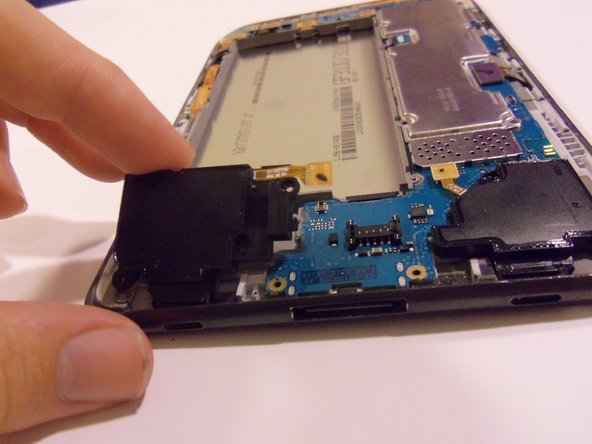
– Unhook all those flex cable connections down at the bottom of the motherboard.
– Grab your trusty plastic pry tool and pop off the connections for both loudspeakers.
– Gently lift those loudspeakers out of the device once they’re disconnected.
Step 7
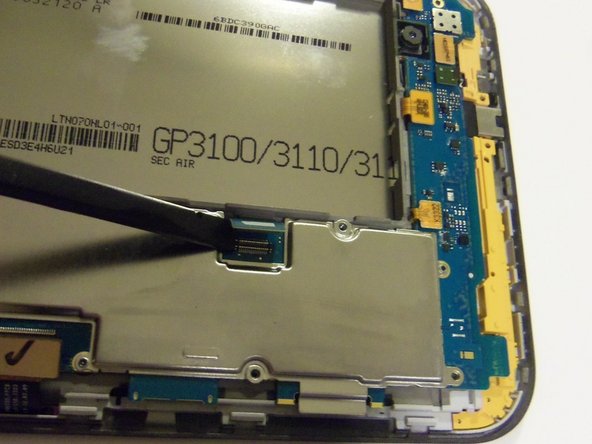
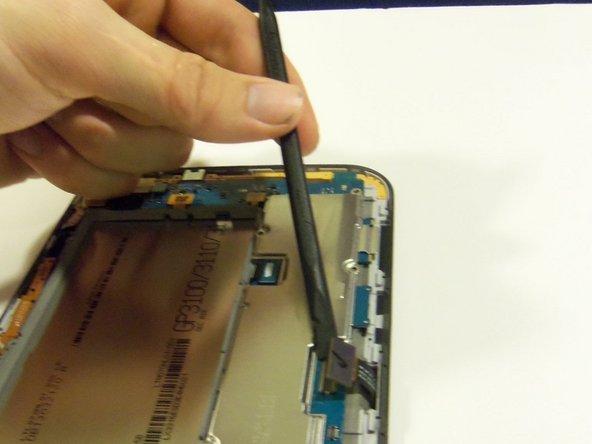
– Get ready to free those flex cables on the right side of the device motherboard – it’s time to set them loose! Follow the guide to release them as shown.
– Now, grab your trusty plastic pry tool and gently coax the touch screen flex cable out of its socket. Easy does it!
– Using the same trusty tool, release the LCD screen flex cable from its socket. You’re making great progress!
Step 8
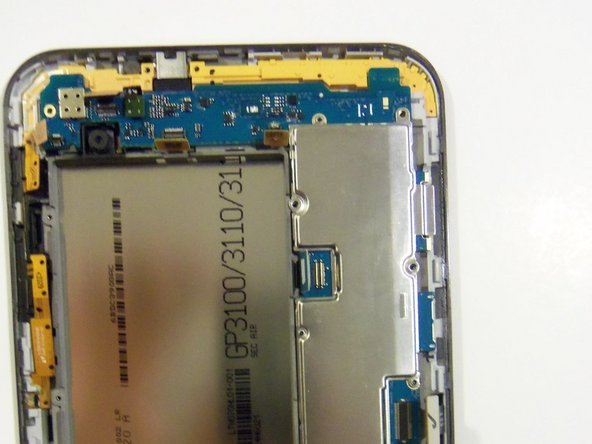
– Unplug all the flex cables at the top of the motherboard.
– With the plastic pry tool, disconnect the sensor flex cable from its socket.
– Use the same tool to unplug the camera flex cable from its socket.
– Free up the front camera flex cable from its socket.
– Detach the side button’s flex cable from its socket.
Step 9
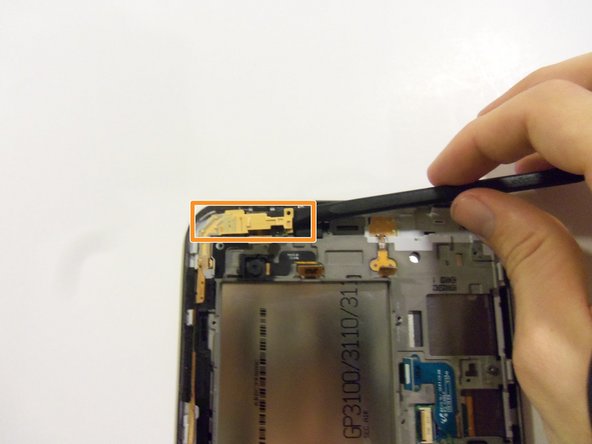
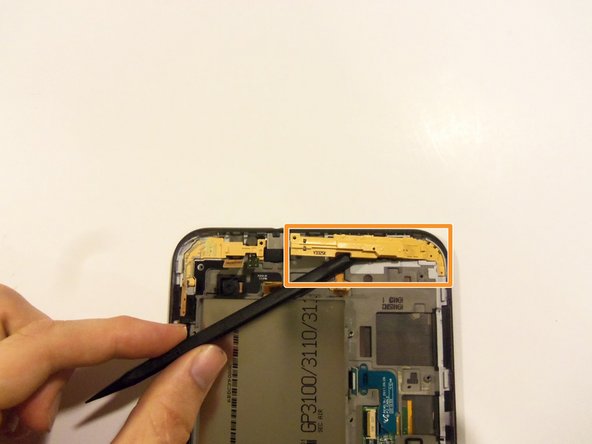
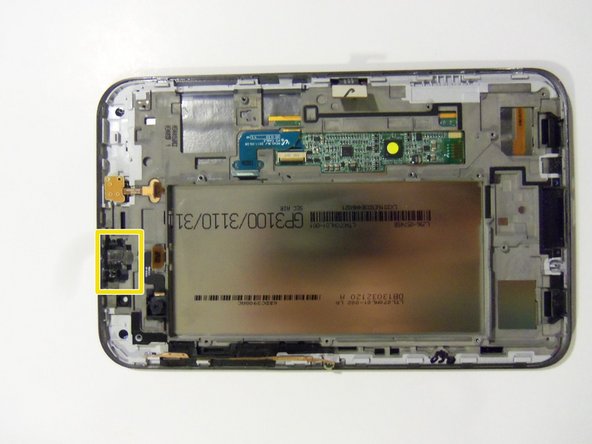
– Next up, let’s tackle that one remaining flex cable, located to the right of the front camera connector (check out the previous picture where it’s highlighted in a yellow box). This cable is connected to the top microphone and headphone jack, so carefully remove it to move forward with your repair. If you need help, you can always schedule a repair
Step 10
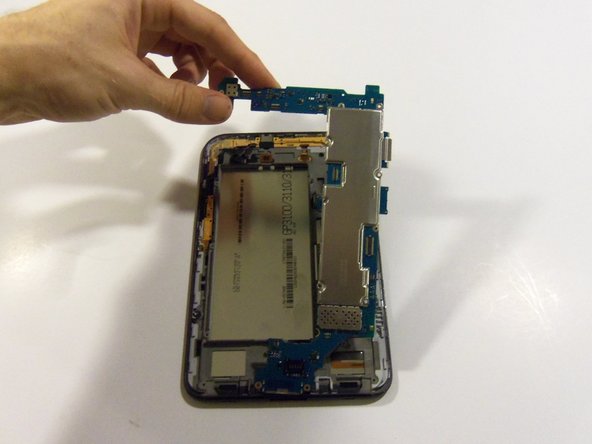
Make sure those flex cables don’t snag on the motherboard while you’re lifting it out; otherwise, they might end up toast.
Pro tip: It’s a whole lot easier to start lifting the motherboard from the top rather than the bottom. Trust us on this one!
– Carefully lift out the motherboard from the device.
Step 11
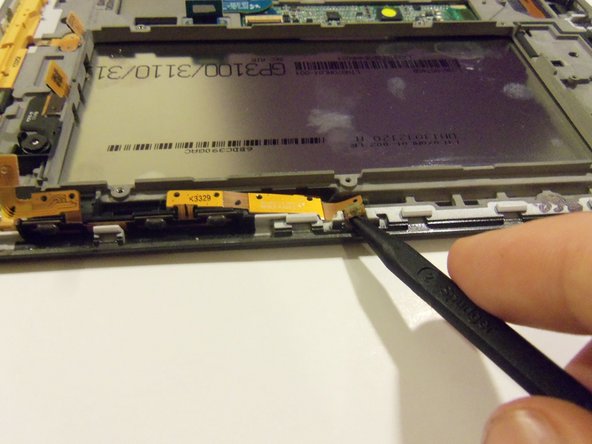
Heads up! When you’re removing that flex cable, take it slow—it’s tiny and held down with some seriously strong adhesive.
– Gently detach the button flex cable with the plastic spudger tool. Take your time and let the tool do the work—no need to rush!
Tools Used
Step 14
Take your time when removing the headphone jack—this adhesive means business! A little patience will go a long way.
– Gently wiggle out the sensor flex cable with your trusty flat-head screwdriver.
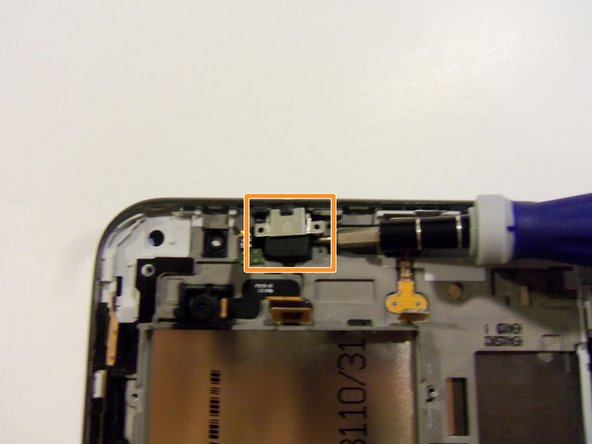
– Pop off the cover over the headphone jack using your precision flat-head screwdriver.
– Carefully slide out the headphone jack with the precision flat-head screwdriver.
Step 15
Step 16
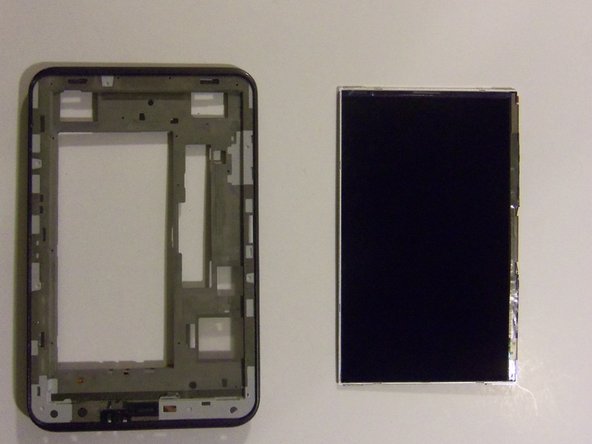
– Hooray! Your device should now be looking fabulous after you’ve successfully taken off the touch screen. Keep up the great work!
Step 17
Mind the flex cable! Gently remove the screen to avoid it snagging on the frame.
– Now, just retrace your steps to put everything back together—easy, right?
– Not feeling like tackling this yourself? No worries, you can always schedule a repair.
– You’re all done! Everything should be back in action, but if you ran into any trouble, feel free to reach out for help.
Success!


