Samsung Galaxy Tab 3 10.1 LED Light Replacement
Duration: 45 minutes
Steps: 5 Steps
Step 1


Sometimes you’ll want to use a few picks to gently pop those clips free.
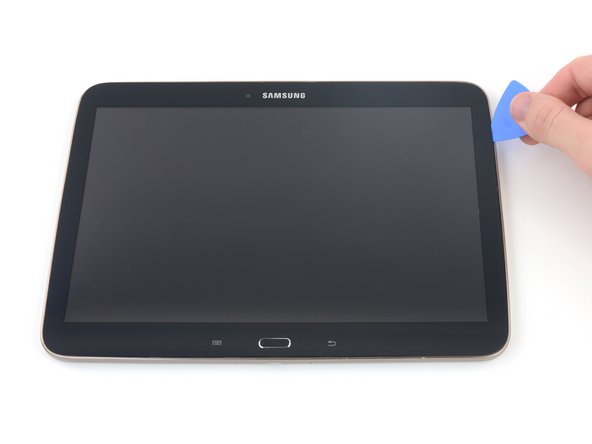
– Slide an opening pick gently between the rear case and the plastic rim to get started.
– Glide the pick along the edge to pop those plastic clips holding the rear case to the display in place.
– Keep sliding the pick around the edge until every last clip lets go and the rear case is free.
Step 2


– Gently lift the case and remove it with ease.
Step 3

Get ready to hear some satisfying clicks as each plastic clip pops free from the display chassis.
– Gently slip an opening pick between the plastic frame and the screen.
– Carefully glide the pick all around the edge of the screen to loosen it.
Step 4

Steer clear of those three fragile ribbon cables.
– Gently lift the plastic frame to take it off.
Step 5

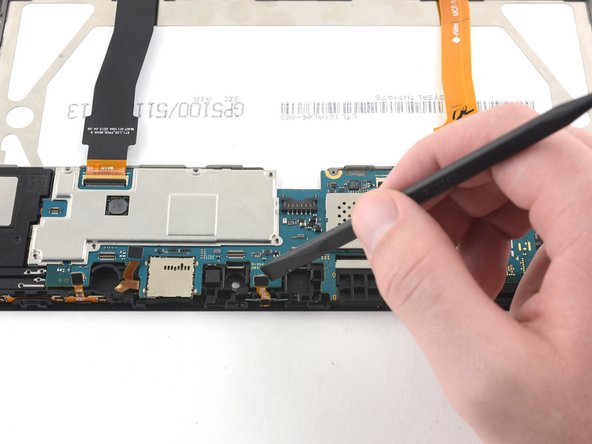
– Grab that flat end of the spudger and give a little lift to the press-fit connector that’s keeping the LED cozy with the motherboard.
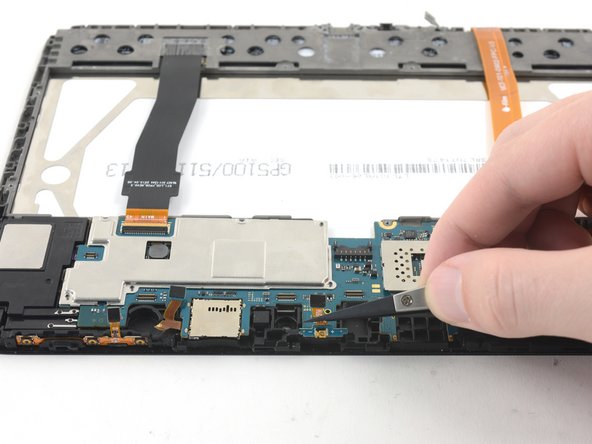
– Now, gently pull up the LED indicator light using those handy nylon-tipped tweezers. Easy peasy!
Success!