Samsung Galaxy Tab 3 10.1 Screen Replacement Guide
Duration: 45 minutes
Steps: 11 Steps
Alright, let’s get started! You’ll need to know your way around some basic hand tools like a screwdriver and a plastic opening tool. Grab a heat gun, too—we’ll be using it to get the screen off. Don’t worry, I’ll walk you through how to use it step-by-step. Let’s do this!
Step 1

– First things first: make sure your tablet is powered off. Press and hold the power button, then tap the ‘turn off’ option on the screen. If the screen is looking a little worse for wear and you’re not sure whether it’s actually turned off, no worries! Just give it about 48 hours to let the battery naturally drain, and your device will power off all by itself.
Step 2

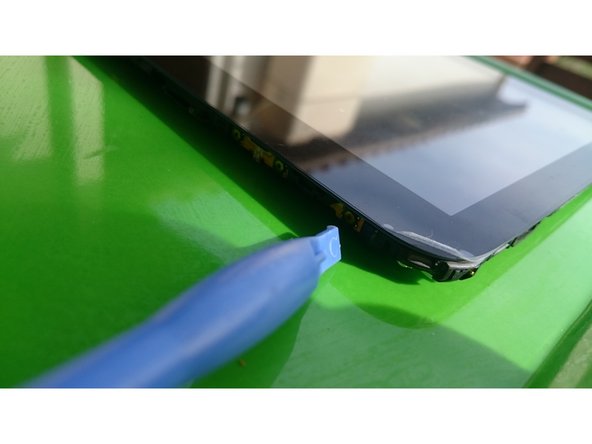
– Check out the edge of your tablet! You’ll spot a little dip in the screen just waiting for your plastic opening tools. Gently slide the tip of your opening tool into that spot and pry it open a tiny crack. Then, grab your other plastic opening tool and do the same—insert the tip and give it a little pry.
– Now, let’s talk tools! Those plastic pry tools are a bit on the flimsy side. Instead, I suggest using one or two small metal pry tools (think slim jim style) for a more reliable experience.
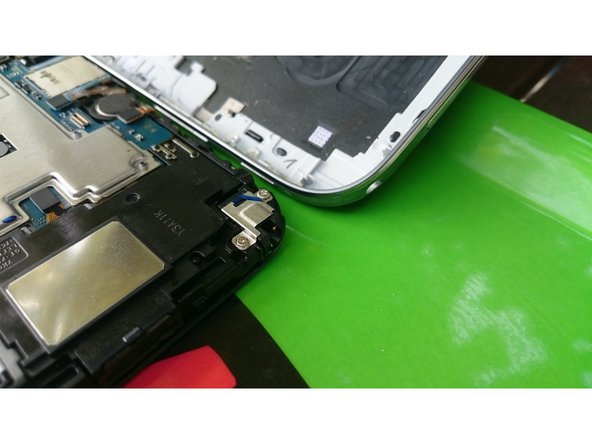
Step 3
– As you start prying, the gap will widen. Move the tips of the tools away from each other and keep on prying. Do this all the way around the device until the back pops off.
Step 4

– Locate the battery – it’s the large white rectangle in the center of your device, connected to a small ribbon cable. Now, take a closer look at the edge of the battery and you’ll see 10 tiny screws waiting to be removed. Grab your trusty screwdriver and get to work! Remember to turn those screws counterclockwise to set them free.
Step 5
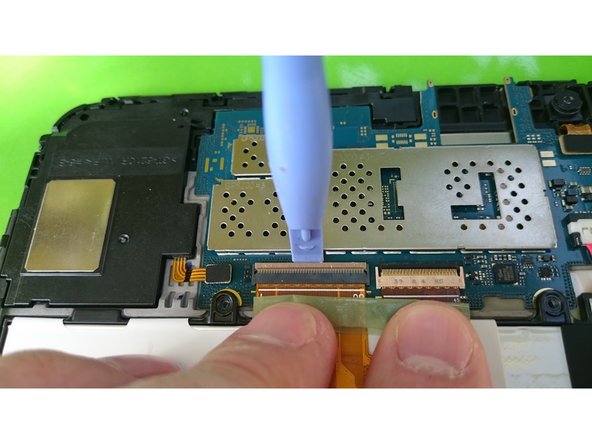

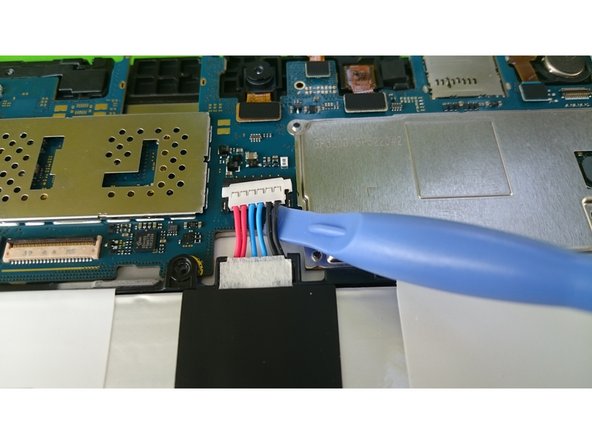
– Alright, once you’ve unscrewed all 10 screws, it’s time to make your move! Grab your trusty plastic tool and gently lift up one edge of the battery. Now, focus on that little white latch where the wire connects to the motherboard—press it to disconnect. Repeat the same move for the other wires on the device. Once all the wires are out of the picture, the battery is good to go!

Step 7
– Grab your heat gun (or a hair dryer will do the trick) and gently warm up the four corners and the center of the screen. This helps loosen up the glue that’s keeping it all together. Patience is key here, so take your time—this part can be a bit slow, but you’ve got this!
Tools Used

Step 8
– Warm up the screen to loosen the glue—it’s like giving it a little spa day! Once the adhesive feels less sticky, slide one of your trusty picks between the screen and the back panel. Let it snugly wedge in there. As more of that stubborn glue gives up, keep adding picks around the edges of the screen. Keep it steady, and you’ve got this!
Step 9
– Alright, once the screen’s all warmed up and ready to go, stick that suction cup on one of the screen’s corners. Grab your trusty plastic removal tool, and gently work it between the screen and the backing. Take it slow and steady as you work your way around the edges—just think of it as a careful little dance, with your suction cup leading the way. Once you’ve made it all the way around, lift off that glass screen like a pro!
Tools Used

Step 10
– Peel away that pesky plastic film from the inside of your shiny new screen! If your screen has any snazzy stickers, make sure to peel off their coverings so the sticky sides are ready to go. A little friendly reminder: ALIGN THOSE CAMERA AND LED HOLES PERFECTLY! Once everything is in sync, give those screen edges a firm press into your tablet’s frame. You’ve got this!
Step 11

Take your time to perfectly center that new digitizer glass! If it’s not aligned just right, you might end up with a shattered piece when you put the back cover on. Let’s keep it intact!
– Ready to wrap it up? Just follow these steps in reverse order to put your device back together.
– Didn’t finish the guide? No worries, just hit Cancel.
– If you need help, you can always schedule a repair.
Success!