Samsung Galaxy Tab 3 10.1 Speaker & Auxiliary Port Replacement
Duration: 45 minutes
Steps: 16 Steps
Step 1


You might have to work a couple of picks in there to gently pop those clips free.
– Gently slide an opening pick between the rear case and the plastic edge.
– Move the pick along the perimeter of the rear case to pop open the plastic clips holding it to the display.
– Keep gliding the pick around the rear case until all clips have been freed.
Step 2


– Gently lift the case off to free it up.
Step 3


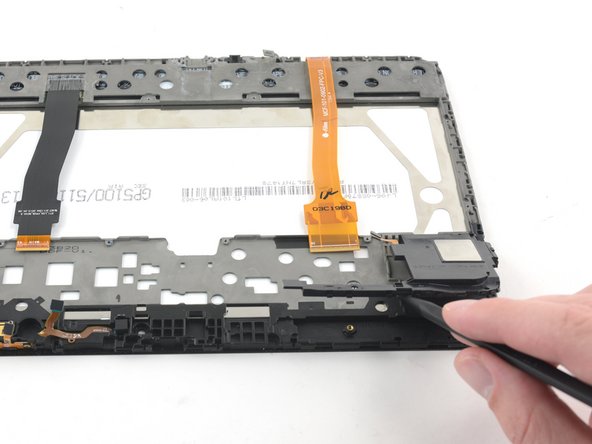
– Gently slide the flat end of a nylon spudger under the black plastic tabs to pop loose those two ZIF connectors.
Tools Used

Step 4


– Grab your trusty nylon spudger and gently lift that brown plastic tab holding the orange ribbon cable in place. You’re doing great!
Tools Used
Step 5


– Carefully disconnect all three ribbon cables by gently pulling them away from the ZIF connectors. You’ve got this!
Step 6

– Grab a Phillips #000 screwdriver and get ready to unscrew! Carefully take out the ten 3mm screws that are holding the battery in place on the chassis. You’ve got this!
Tools Used

Step 7


– Gently use the pointy end of a nylon spudger to nudge those two battery connectors off the motherboard.
Tools Used


Step 9


As you work through the display chassis, you’ll start hearing some satisfying clicks as each plastic clip pops loose. It’s all part of the process!
– Gently slide an opening pick between the plastic frame and the screen to start things off.
– Work your way around the screen’s edges with the pick, loosening the perimeter as you go.
Step 10

Watch out for those three fragile ribbon cables! They’re a bit shy, so give them some space.
– Gently lift up the plastic frame to take it off.
Step 11

– Grab your trusty Phillips #000 screwdriver and gently unscrew that 3mm screw holding the motherboard snugly to the display chassis. You’ve got this!
Tools Used
Step 12


Looks like the vibration motor decided to play hide and seek in these pictures!
– Grab a nylon spudger and gently lift up those eight press-fit connectors from the motherboard like a pro!
Tools Used
Step 13


– Grab your trusty nylon-tipped tweezers and gently lift out that motherboard like a pro!
Step 14


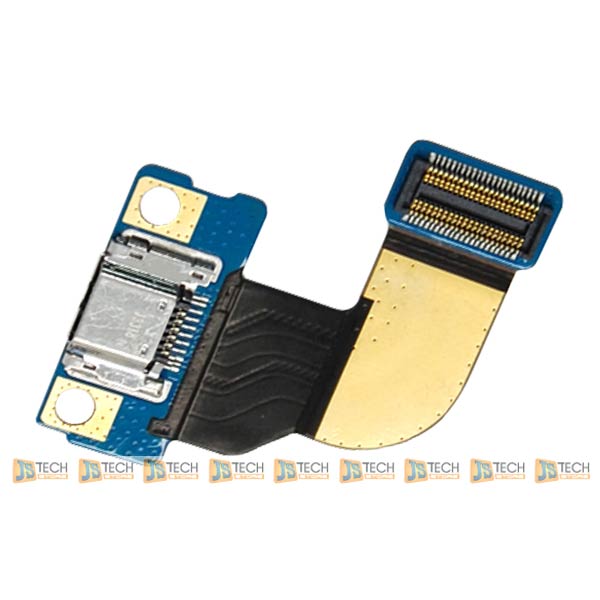
The speaker is tightly attached to the auxiliary port, so you’ll need to detach it from the device all at once as a single piece. No need to rush, just take it slow and steady!
– Gently wedge the pointed end of a nylon spudger between the screen chassis and the auxiliary port, then pry upwards with a bit of care and confidence.
Tools Used
Step 15


– Grab that trusty spudger and gently wedge the flat end between the speaker and the display chassis, giving it a little upward nudge.
– Now it’s time to bid farewell to the speaker and auxiliary port assembly—go ahead and remove them!
Tools Used
Step 16

– Now, just follow these steps in reverse to put your device back together. You’ve got this!
– If you need help, you can always schedule a repair.
Tools Used
Success!


