Samsung Galaxy Tab 3 8.0 Display Assembly – Touch screen & LCD Display Replacement
Duration: 45 minutes
Steps: 12 Steps
Got a cracked touch screen, a busted LCD, or maybe your charging port or speakers are on strike? No worries! This guide will walk you through fixing those pesky issues step by step. Whether you’re tackling a micro USB port, audio jack, or anything else that’s giving you trouble, we’ve got you covered. Ready to bring your device back to life? Let’s get started!
Step 1


– Grab some scotch tape to keep those pesky pieces of glass from going all over the place!
– Don’t forget to take out any memory and SIM cards, especially if your tablet is rocking that 3G vibe.
Step 2


Watch out for those Power and Volume buttons—they’re sneaky little buggers!
– Grab your trusty plastic tools and gently pry off the back or battery cover like a pro!
Step 3

First things first, make sure to unplug that battery before you dive in!
Step 4


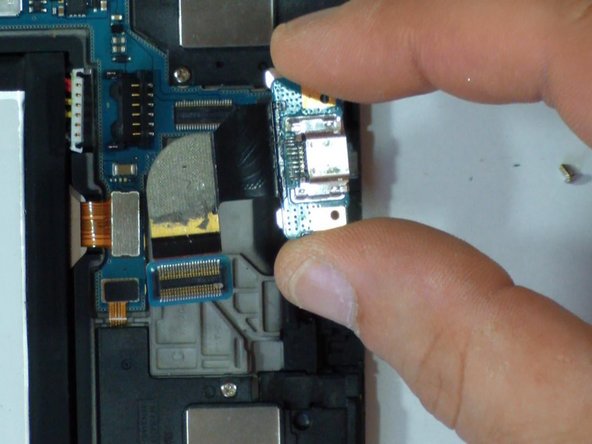
This step is just for those of you looking to swap out the micro USB port flex cable. Let’s get to it!
– Unscrew those two little guys and gently detach the charging port flex cable from the main board. You’ve got this!
– Grab a plastic tool and carefully pry the flex cable away from the middle frame. Easy peasy!
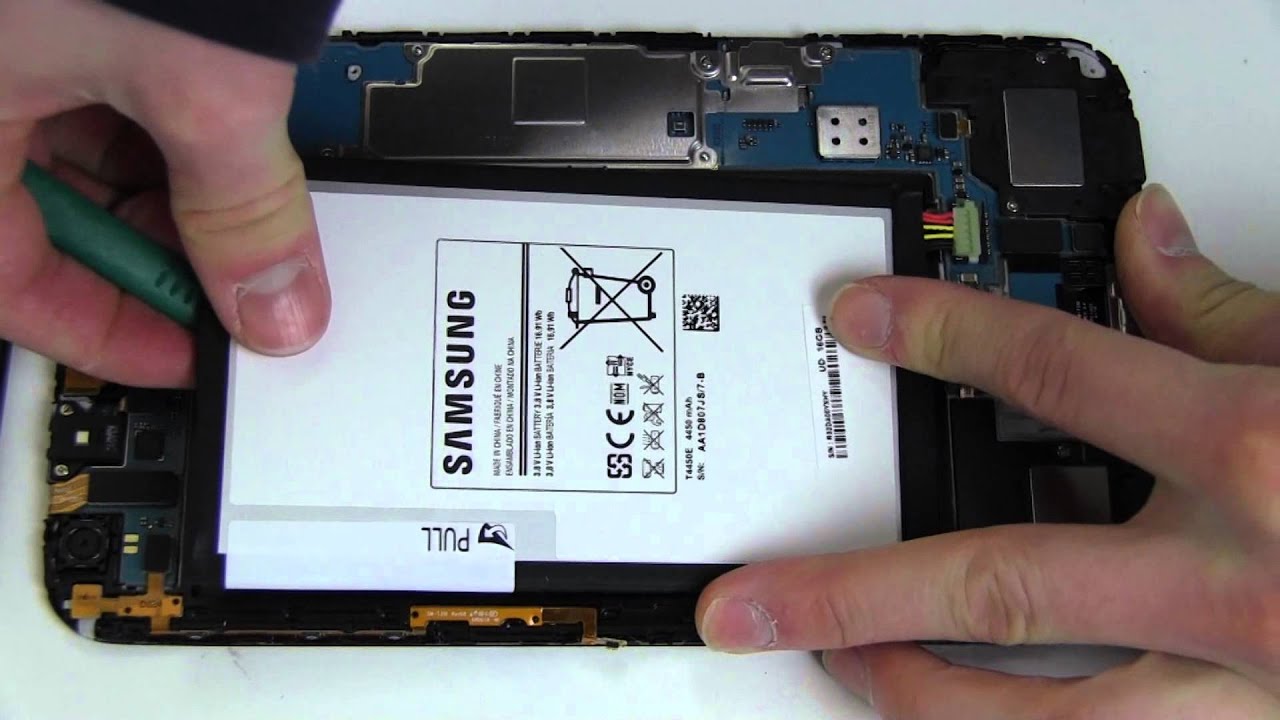
Step 5

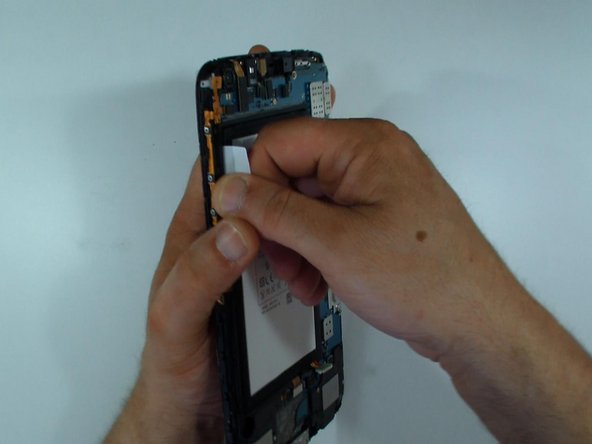

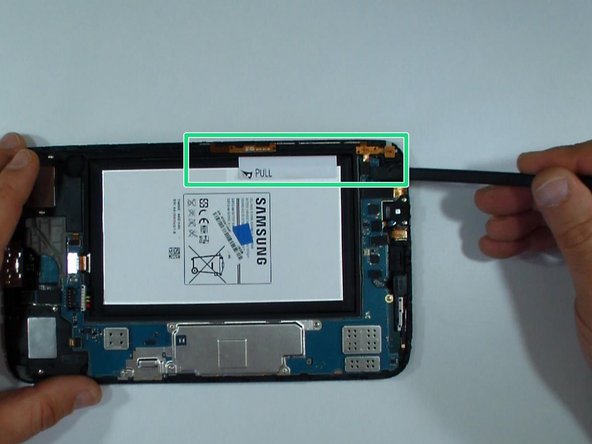
This step is just for you if you’re looking to swap out that battery!
– The battery is stuck pretty tight to the middle panel, so let’s get it out.
– Grab the white sticker and use it to carefully pry the battery loose – it’s like a little helper sticker.
Step 6


– Grab yourself 2 awesome loudspeakers to amp up your sound game!
– Next up, let’s get that Power & Volume buttons flex cable in place. It’s key for keeping your device under control.
– And don’t forget the audio jack flex cable. It’s the finishing touch for all your sound needs!
Step 7


– Let’s start with the front camera and Wi-Fi antenna. These little components might seem small, but they pack a punch! Take your time and handle them carefully, so your device is good as new. If things get tricky, remember: help is just a click away—schedule a repair with us if you need it. No stress, we’ve got your back!
Step 8
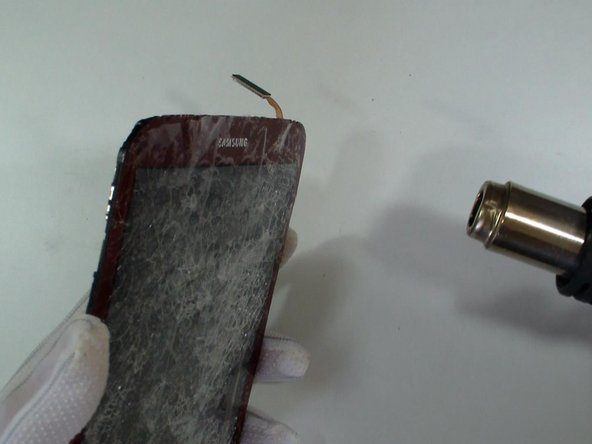
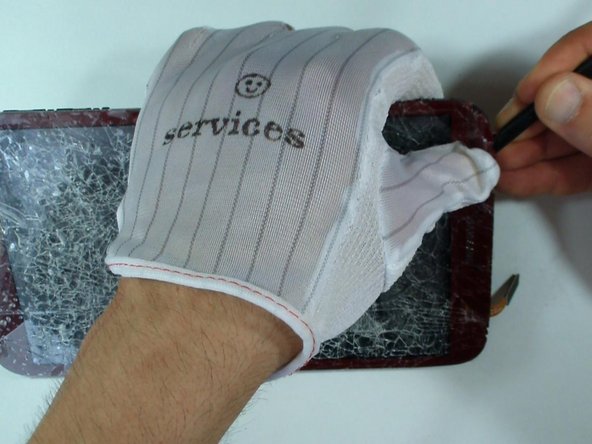
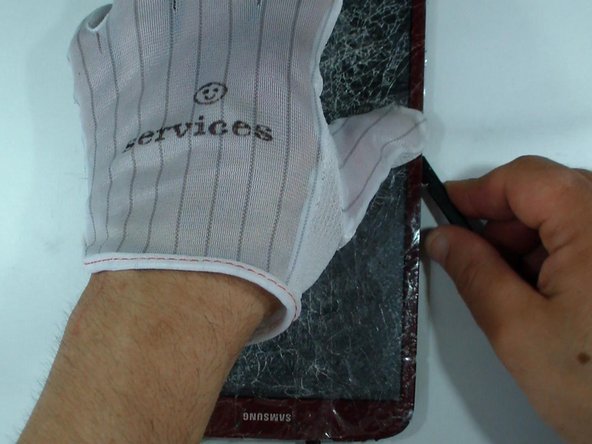
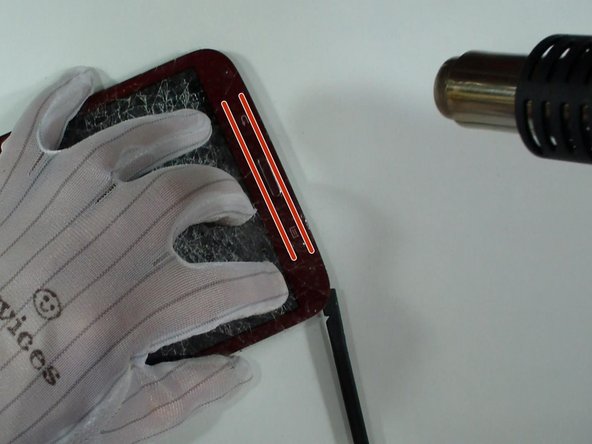
Slip on those gloves to keep your hands safe from any sharp glass bits. Safety first, right?
Take your time and go at your own pace – no need to rush through this. Patience pays off!
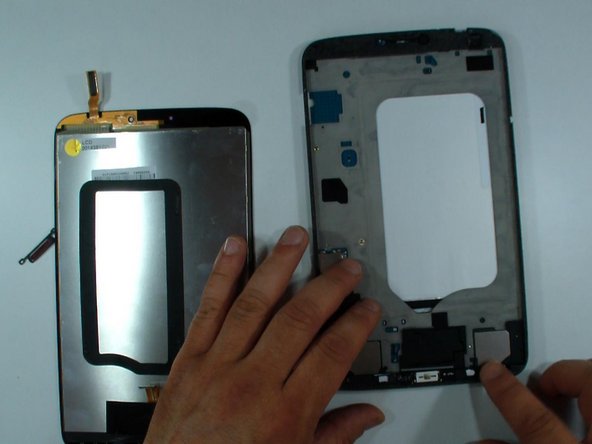
– Grab a heat gun or hair dryer and gently warm up the touch screen glass. This loosens the adhesive, making it way easier to separate without the struggle.
Tools Used

Step 9
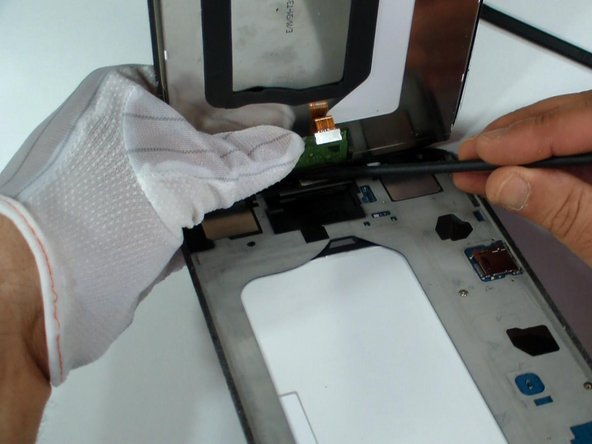
– Watch out for that sneaky menu buttons flex cable!
Step 10

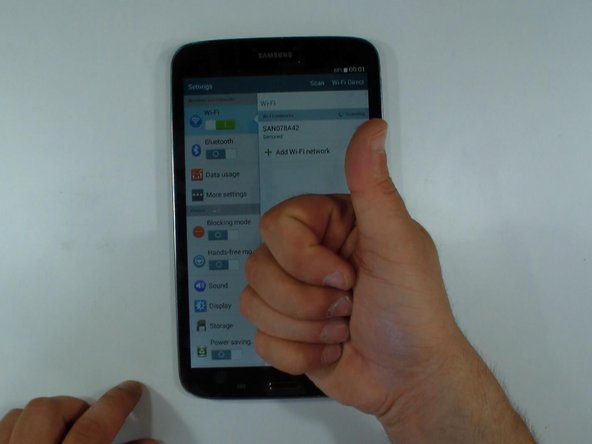
– Before locking everything in place, give that new part a quick test run. It’s like a pre-game warm-up—better to catch any issues now than later!
Step 11
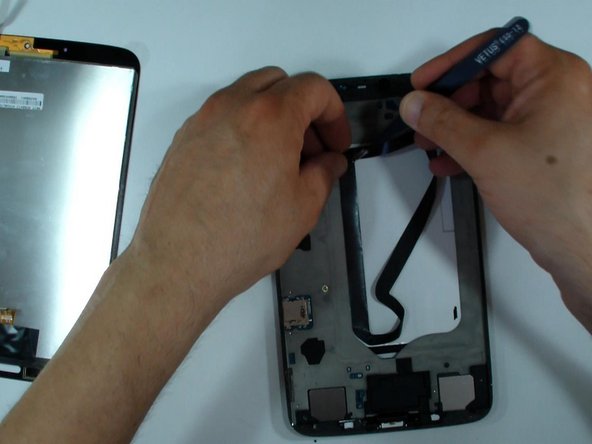

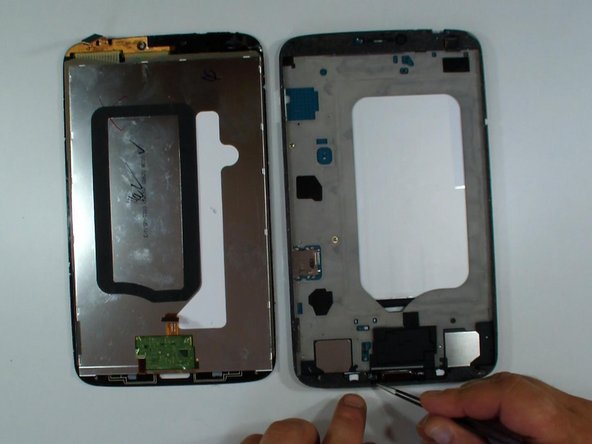
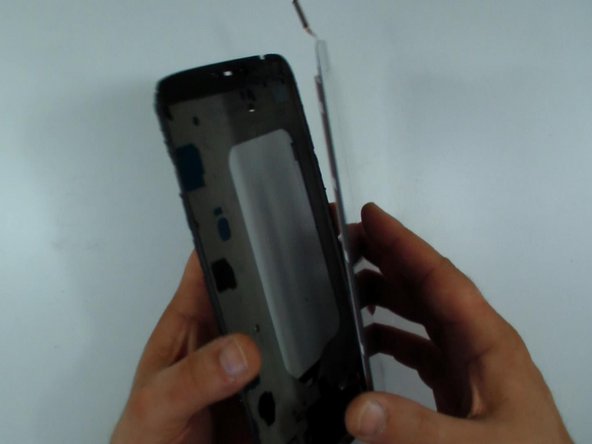
– Take the black tape off the old display. It’s there to keep the display at the right distance from the battery and prevent overheating.
– If the tape isn’t in great shape, it’s time for a fresh one.
Step 12
– Put your device back together by simply reversing the steps you followed to take it apart.
– If you hit a snag or want a hand, you can always schedule a repair with the pros.
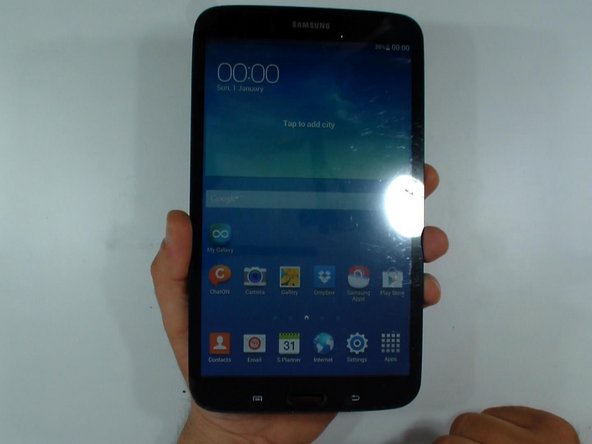
Success!