Samsung Galaxy Tab 3 Camera Replacement Guide
Duration: 45 minutes
Steps: 8 Steps
Step 1


– With a trusty plastic opening tool in hand, gently slide that prying end right between the glass digitizer and the shiny silver frame from the front of your device. You’re doing great!
Step 2


– Take your time and work your way around the entire front of the device. Little plastic clips should pop loose, but if they don’t, give a gentle outward nudge until you hear them click off.
Step 3


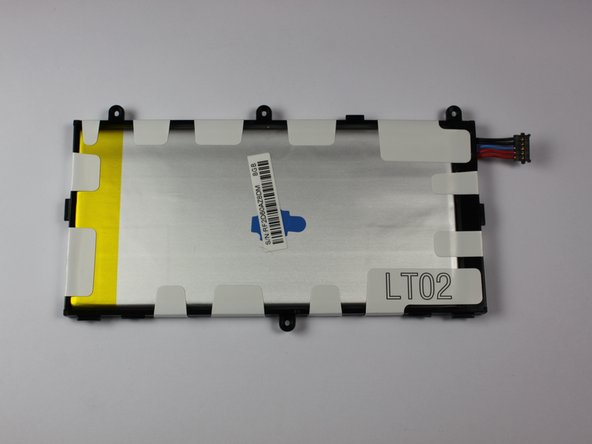
– Alright, let’s get down to it! To kick things off with removing the battery, grab your trusty screwdriver and take out the four screws that are holding it in place.
– Once those screws are out of the way, use the tip of your screwdriver or a pair of tweezers to carefully lift up the battery connector. Just pull straight up, and it should pop right out—no sweat!
– With the battery out, it should resemble what you see in the third picture. Nice work!

Step 5


– Alright, it’s time to swap out that motherboard! Start by carefully disconnecting all the little connections holding it down, as shown in the first picture.
– Grab your trusty spudger, tweezers, or a plastic opening tool, and gently pop those connections up out of their ports. Easy does it!
– Once every connection is free, your device’s back should look just like it does in the third picture. Nice work so far!
Tools Used

Step 6


– It’s time to get started! Once you’ve released all the connections, begin removing the screws shown in the first two pictures – it’s an easy first step!
– You’re doing great! Now that all the screws are out, you can carefully remove the old motherboard and swap it out for a shiny new one.
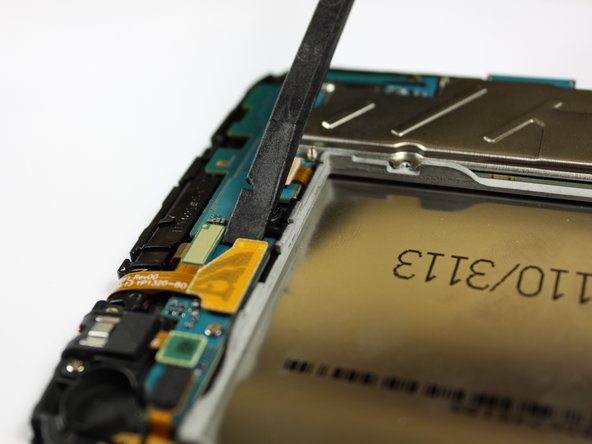
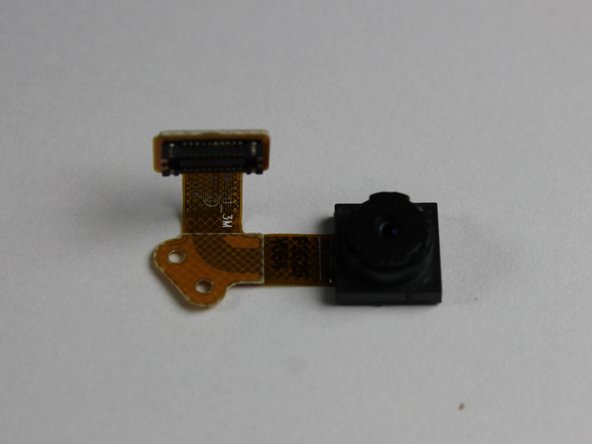
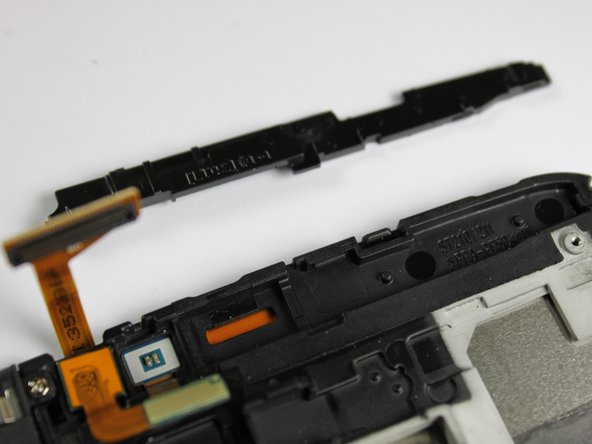
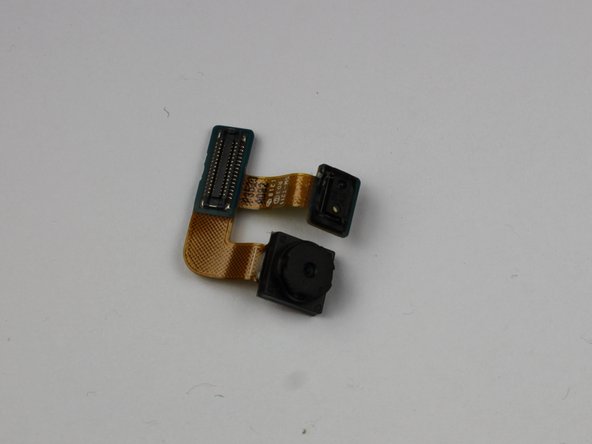
Step 7


– Let’s get that rear camera out! Use tweezers or the pointy end of your spudger to gently lift the glued-down connector – it’s the one shown in the first picture. Easy peasy!
– Now that the connector is free, you can carefully remove the rear camera, just like in the second picture. You’re doing great!
– The final step is a breeze! Replace the old rear camera with a shiny new one in the same spot on your device, as shown in the third picture. If you need help, you can always schedule a repair with Salvation Repair.
Tools Used
Step 8

– You made it! To put everything back together, just follow these steps in reverse. Easy peasy!
– If you didn’t quite nail it, no worries! You can always schedule a repair and let the pros at Salvation Repair help you out.
– You’re all done! Pat yourself on the back, you’ve successfully completed this step-by-step repair guide.
Tools Used
Success!