Samsung Galaxy Tab 4 7.0 Sprint Front-Facing Camera Replacement
Duration: 45 minutes
Steps: 11 Steps
If your tablet’s front camera is snapping blurry shots or just not behaving, it might be time to swap it out. This step-by-step guide will walk you through replacing the front-facing camera so your selfies can shine again.
Step 1


– Gently slide your trusty plastic opening tool into the little gap between your device’s frame and the back panel, anywhere you like on the device!
– Now, carefully glide the tool around the edges, releasing the back panel from its frame. You’re doing great!
Step 2


– Gently pop off the back panel from your device’s frame, and you’re one step closer to fixing it up!
Step 3
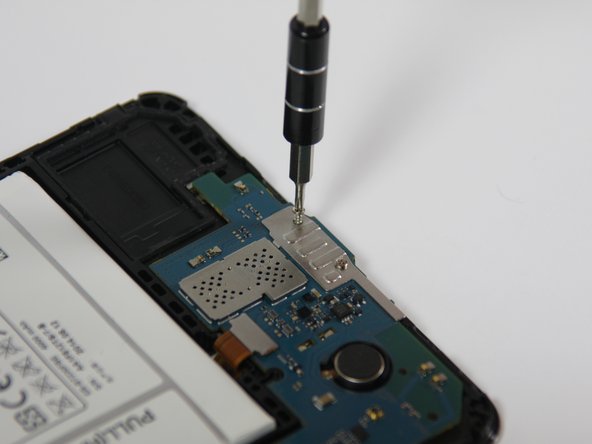

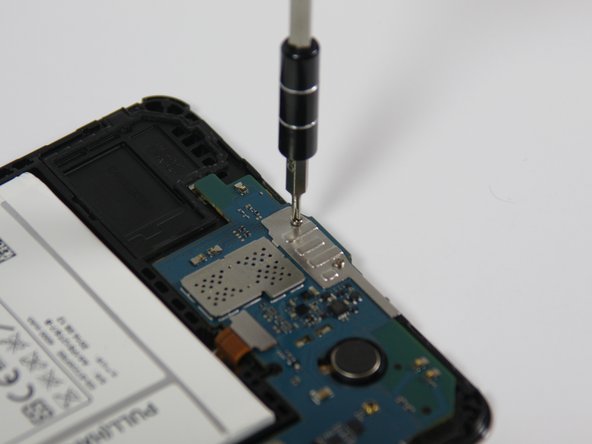
– Grab your trusty Phillips #00 Screwdriver and let’s get to work! Carefully unscrew the five 4 mm screws that are holding the motherboard snugly against the device’s frame. You’ve got this!
Tools Used

Step 4

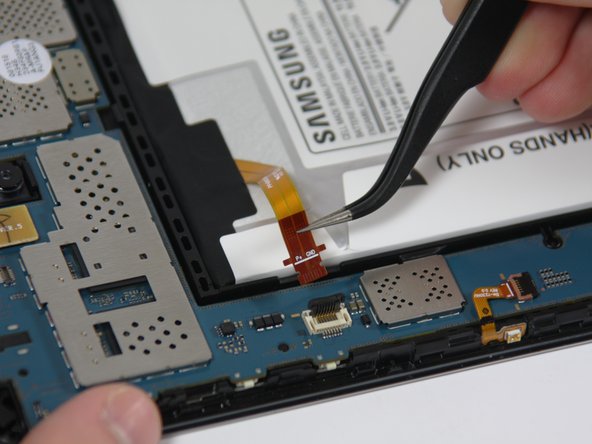

– Grab your plastic opening tool and gently flip up that tiny retaining flap to free the battery wire from the motherboard.
– Now, use your tweezers to carefully pull the battery wire away from the retainer flap, like you’re teasing it out without causing a fuss.
Tools Used

Step 5

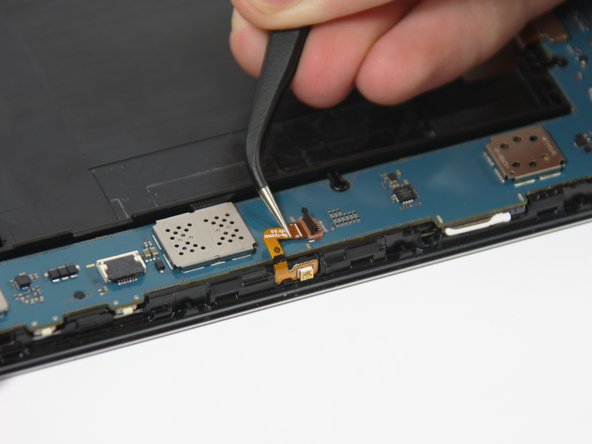
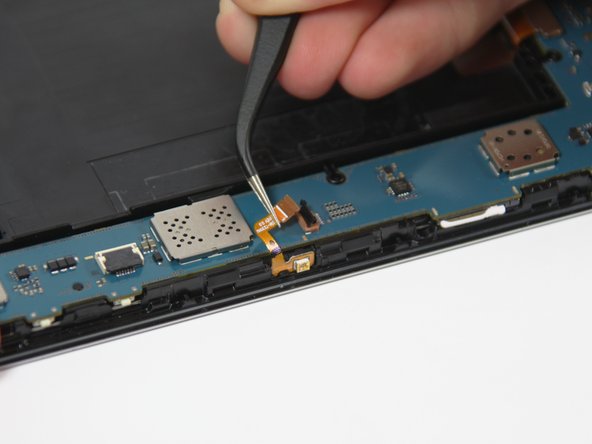
– Grab your trusty plastic opening tool and gently flip up the retaining flap to free the wire on that narrow section of the motherboard. You’re doing great!
– Now, take those tweezers and with a delicate touch, slide the wire away from the retaining flap to remove it from the motherboard. Smooth and steady wins the race!
Tools Used
Step 6
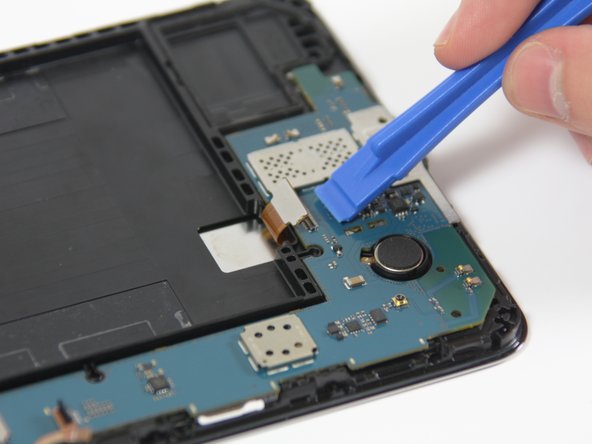

– Gently slide the plastic opening tool under the edge of the connector near the bottom of the motherboard and carefully flip it up to disconnect the wire.
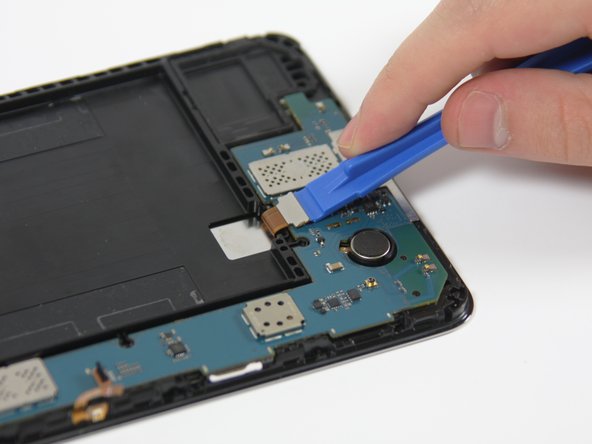
Step 7

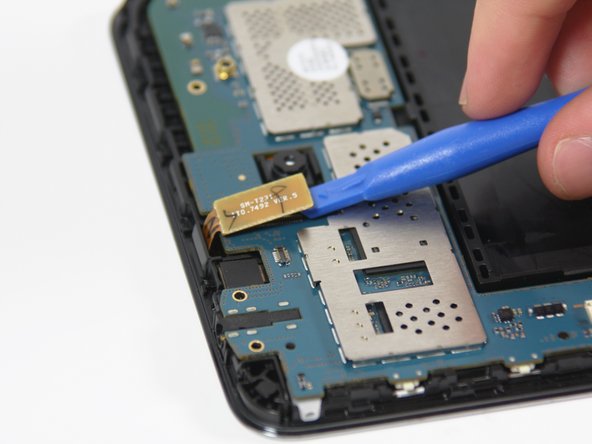
– Gently pry the wire near the top of the motherboard using a plastic opening tool. Slide it under the edge of the connector and give it a little nudge to lift it up. Easy does it!
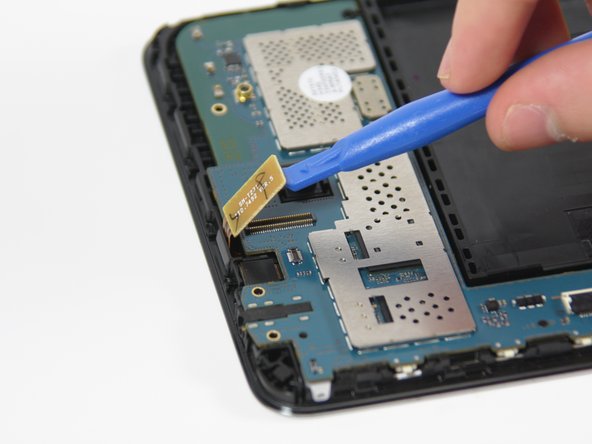
Step 8
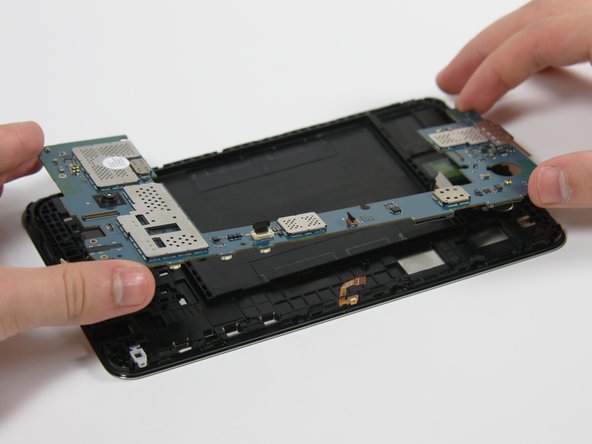
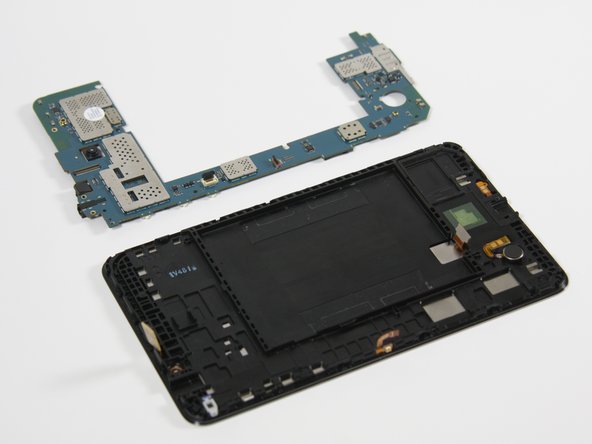

The motherboard is held in place by a few plastic tabs, so don’t be afraid to apply a bit of force to release it. Just make sure you’re being steady and careful!
– Carefully lift the motherboard out of the device’s frame by holding onto the top and bottom edges, then gently pull it toward you.
Step 9

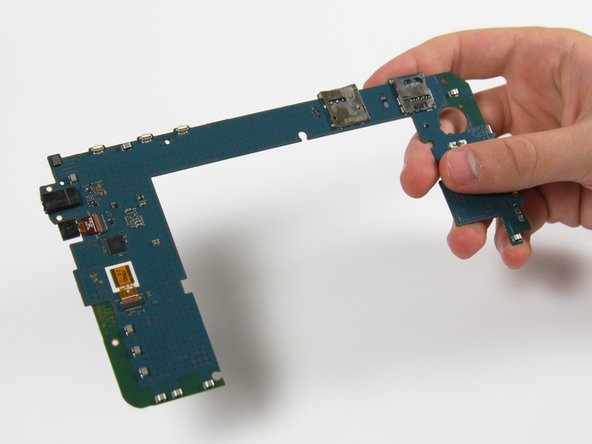
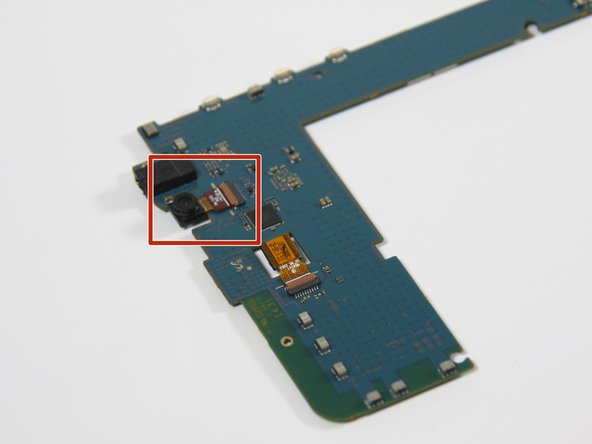
– Turn the motherboard over to check out its backside.
– Find the front-facing camera chilling on the motherboard.
Step 10

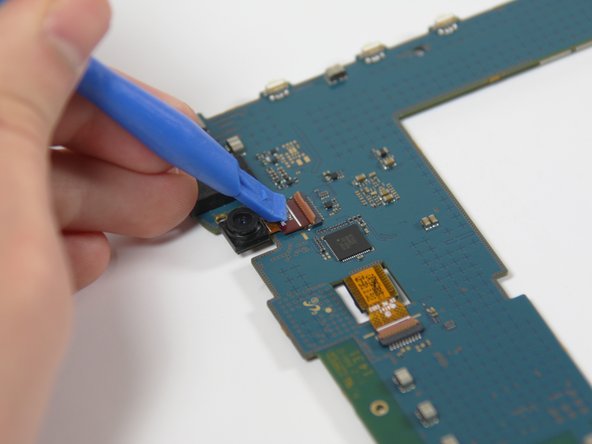
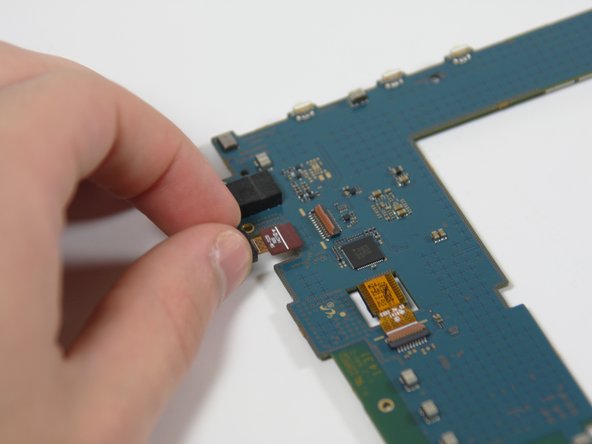
– Grab your trusty plastic opening tool and give that front-facing camera wire a little love! Gently lift up the retainer flap to release it from the motherboard. You’ve got this!
Step 11

– Put your device back together by simply retracing your steps in reverse.
– If you hit a snag or want a hand, you can always schedule a repair for expert help.
Success!