
Samsung Galaxy Tab 4 7.0 Sprint Rear-Facing Camera Replacement
Duration: 45 minutes
Steps: 11 Steps
Got a rear camera that’s gone rogue? If it’s taking blurry pics or just not working like it should, it might be time for a replacement. This step-by-step guide from Salvation Repair will walk you through the process of swapping out your rear-facing camera, so you can get back to snapping like a pro.
Step 1


– Gently slide your plastic opening tool into the seam between the frame and the back panel on any side of your device.
– Carefully glide the tool along the edges to pop the back panel loose from the frame.
Step 2


– Gently lift off the back panel from the device’s frame. Take your time and be careful not to rush—patience pays off here!
Step 3
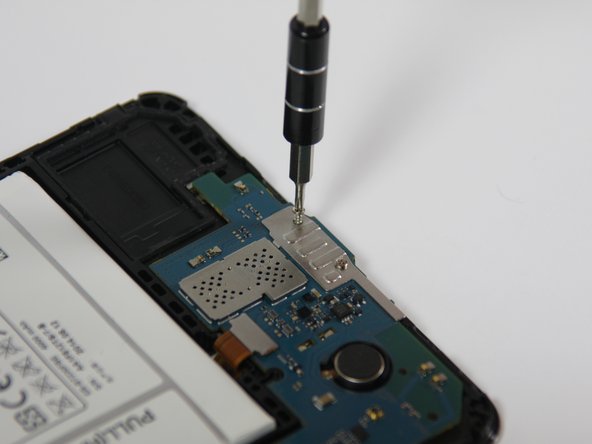

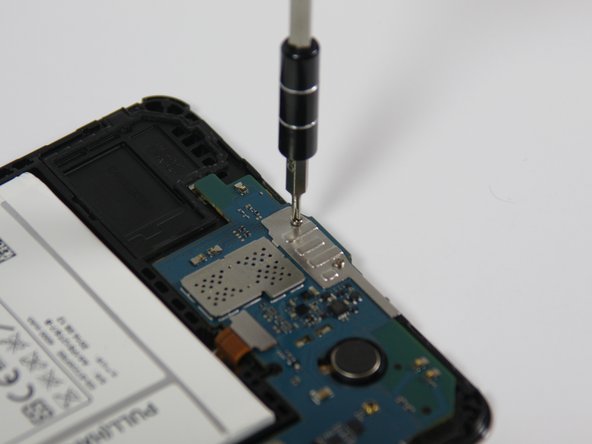
– Grab your trusty Phillips #00 screwdriver and let’s get to work! Carefully unscrew the five 4 mm screws that are holding the motherboard snugly to the device frame. You’ve got this!
Tools Used

Step 4

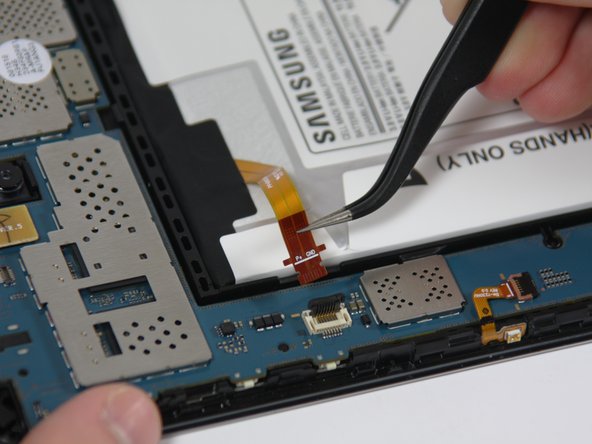

– Grab your plastic opening tool and gently flip up that tiny retaining flap to free the battery wire from the motherboard.
– Next, use tweezers to carefully pull the battery wire away from the retainer flap—easy does it!
Tools Used

Step 5

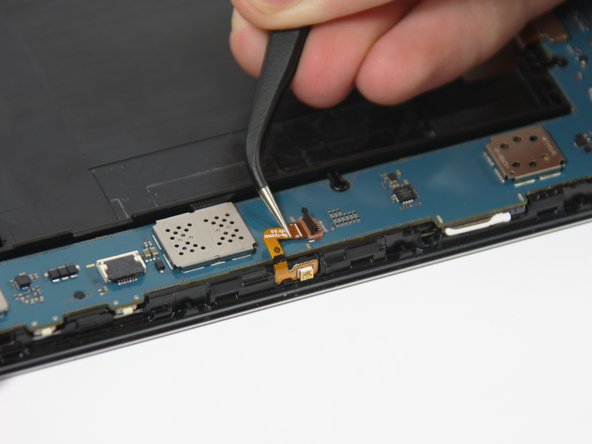
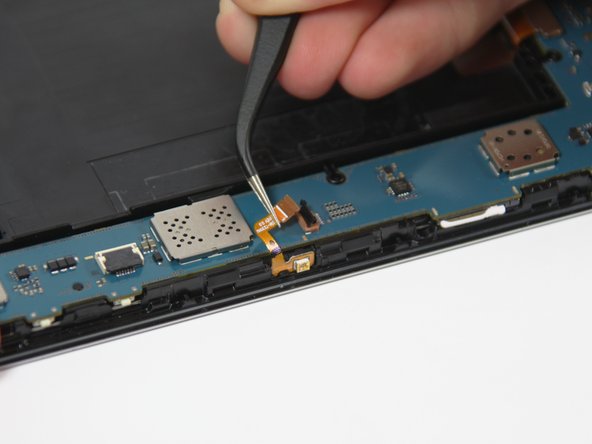
– Grab that trusty plastic opening tool and gently flip up the retaining flap to free the wire from the snug spot on the motherboard.
– Now, with the finesse of a surgeon, use your tweezers to slide the wire away from the retaining flap and out of the motherboard. Easy peasy!
Tools Used
Step 6
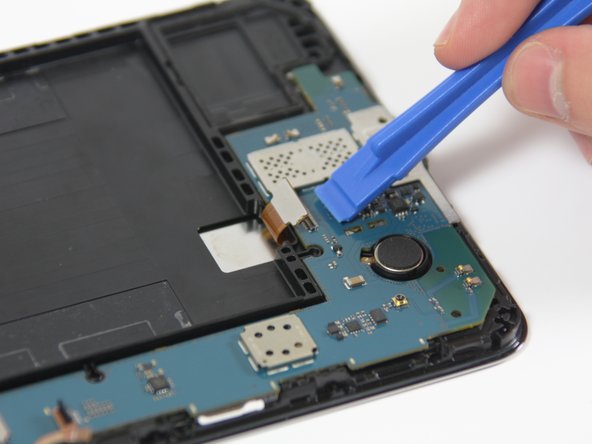

– Gently lift the wire near the bottom of the motherboard by slipping the plastic opening tool underneath the connector and giving it a little nudge upwards. Easy peasy!
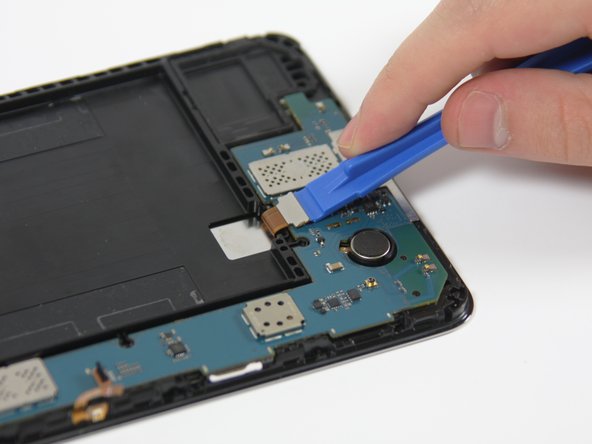
Step 7

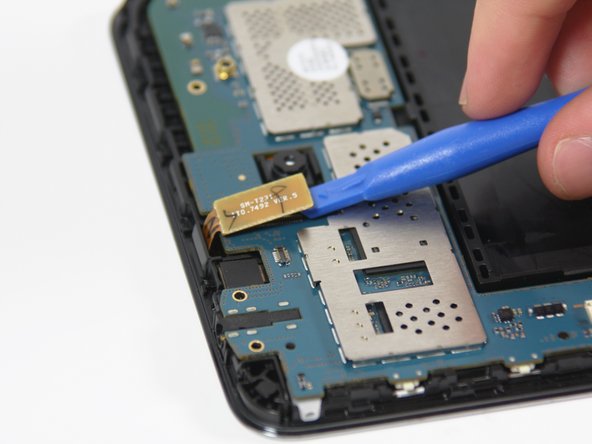
– Gently slide the plastic opening tool under the connector at the top of the motherboard and flip it up to unplug the wire.
Step 8
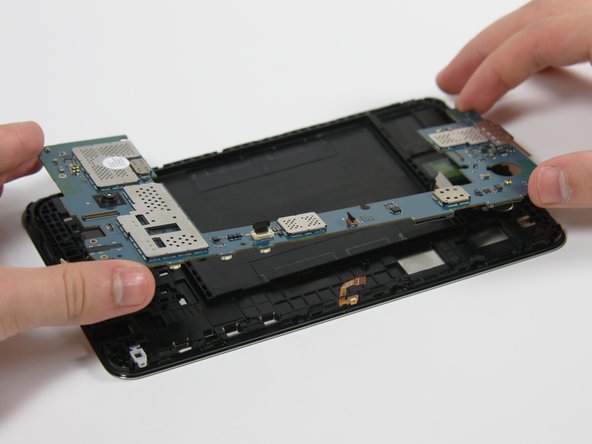

The motherboard is held down by a few stubborn plastic tabs, so a little extra muscle is needed to pop it free.
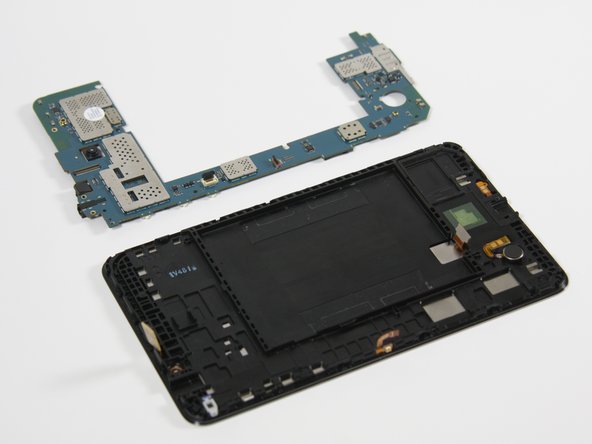
– Carefully grab the top and bottom edges of the motherboard and pull it gently towards you to lift it out of the device frame.
Step 9
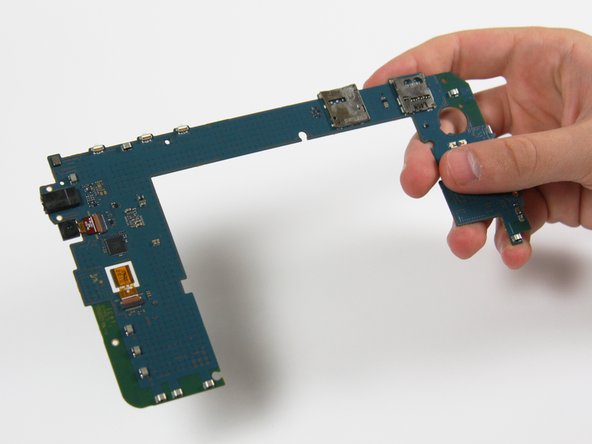
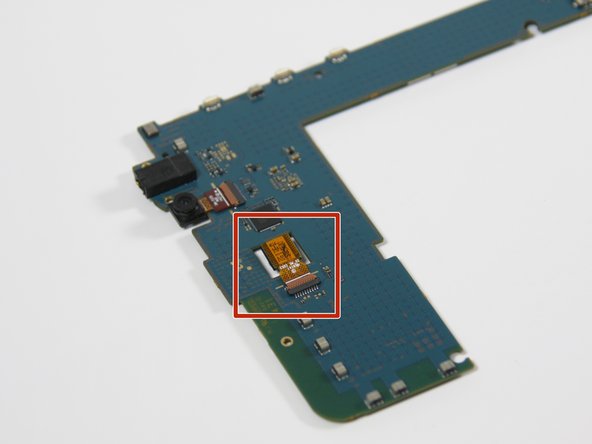

– Gently flip the motherboard over so you can check out the backside.
– Find the rear-facing camera nestled on the motherboard.
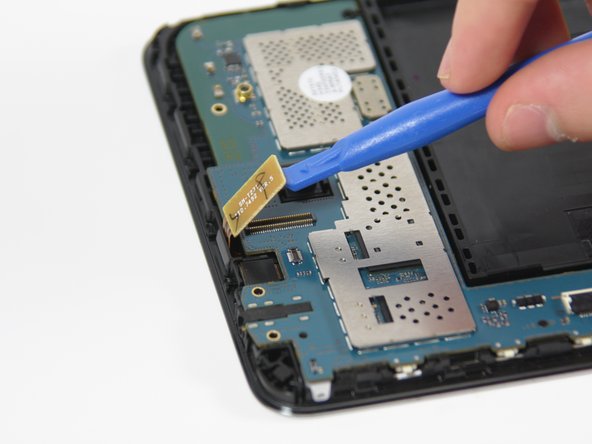
Step 10

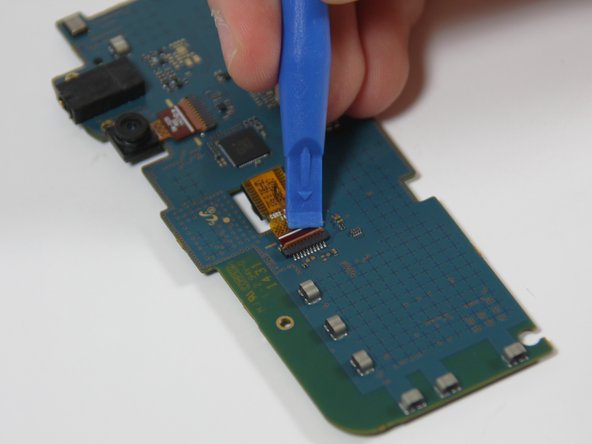
– Grab a plastic opening tool and gently flip up the little flap holding the rear camera wire in place on the motherboard to unlock it.
Step 11

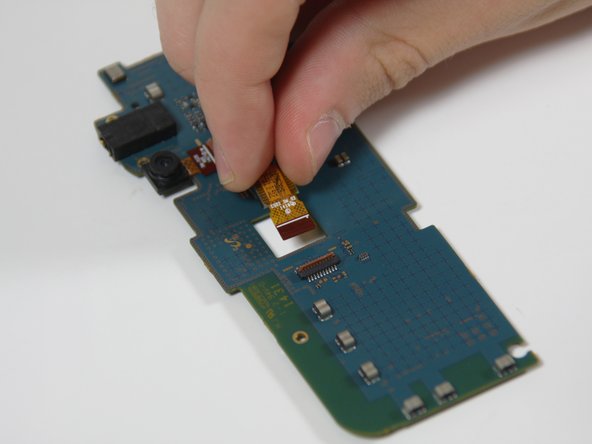
– Gently grip the camera with your fingers and carefully pull it away from the motherboard, like you’re giving it a little hug goodbye!
Success!