Samsung Galaxy Tab 4 7.0 Sprint Vibrator Replacement
Duration: 45 minutes
Steps: 10 Steps
Got a Samsung Galaxy Tab 4 7.0 Sprint with a vibrating function that’s gone rogue? Don’t worry, replacing the vibrating mechanism is a breeze. Follow this step-by-step guide from Salvation Repair to get your tablet buzzing again. If you need help along the way, you can always schedule a repair.
Step 1


– Time to get this repair started! Insert the plastic opening tool into the gap between the device frame and the back panel on any side of the device – it’s like finding the secret door to the inside of your device.
– Now, slide the opening tool around the edges of the device to disconnect the back panel from the frame. Think of it like gently prying open a stubborn jar, and you’ll be golden!
Step 2


– Gently detach the back panel from the device’s frame, like peeling a banana—smooth and easy does it!
Step 3
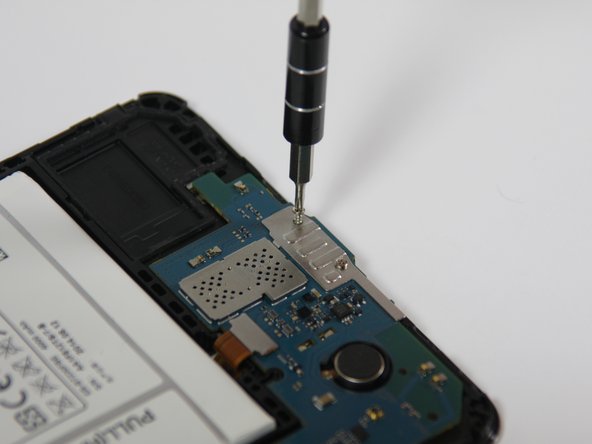

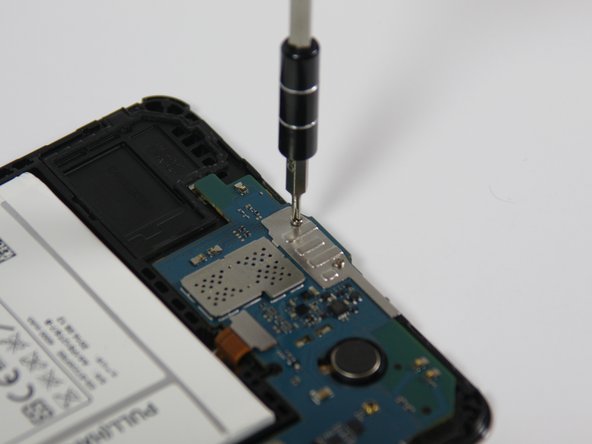
– Grab your Phillips #00 screwdriver and carefully take out the five 4 mm screws holding the motherboard to the device frame. Keep them safe — you’ll need them later!
Tools Used

Step 4

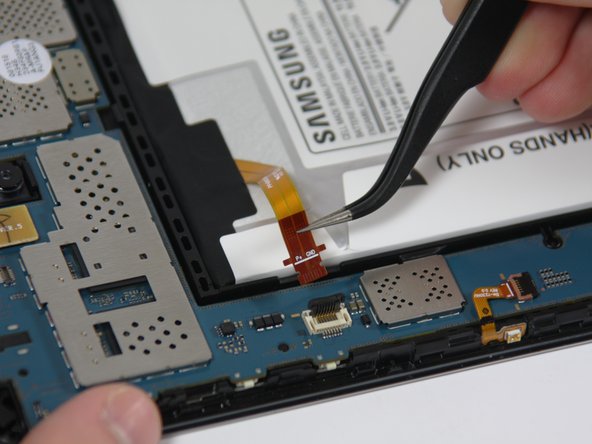

– Grab your plastic opening tool and gently flip up the tiny flap holding the battery wire on the motherboard to unlock it.
– Next, use some tweezers to carefully tug the battery wire away from the motherboard, freeing it from that little retainer flap.
Tools Used

Step 5

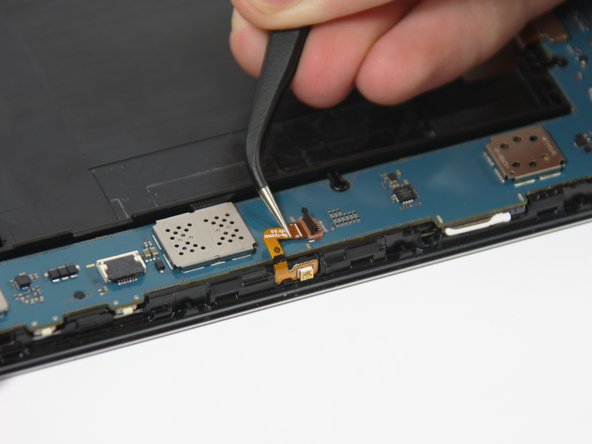
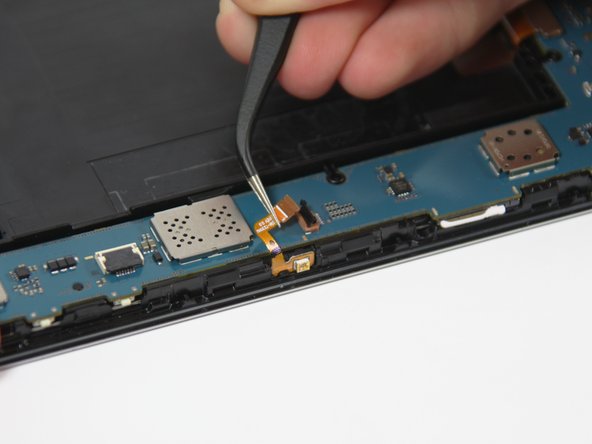
– Grab your trusty plastic opening tool and gently unlock that wire on the slim section of the motherboard by flipping up the retaining flap. You got this!
– Now, with your tweezers in hand, delicately slide the wire away from the retaining flap to free it from the motherboard. Easy peasy!
Tools Used
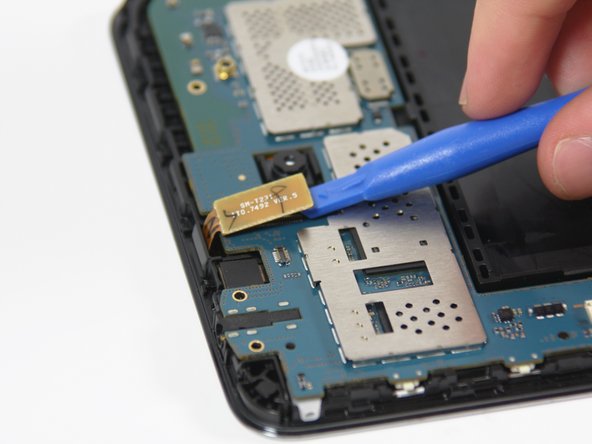
Step 6
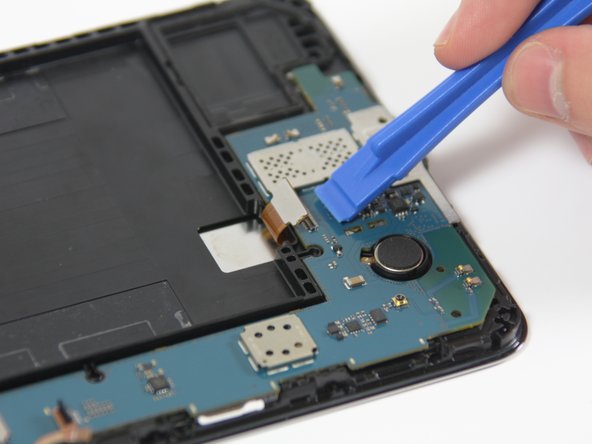

– Grab your trusty plastic opening tool and gently slide it under the edge of the connector near the bottom of the motherboard. With a little finesse, flip it up to disconnect the wire. Easy, right?
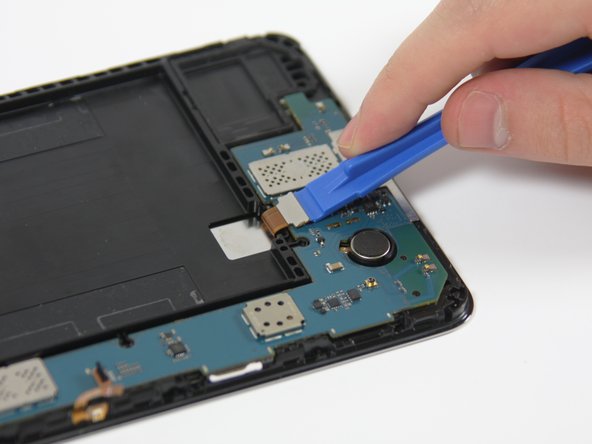
Step 7

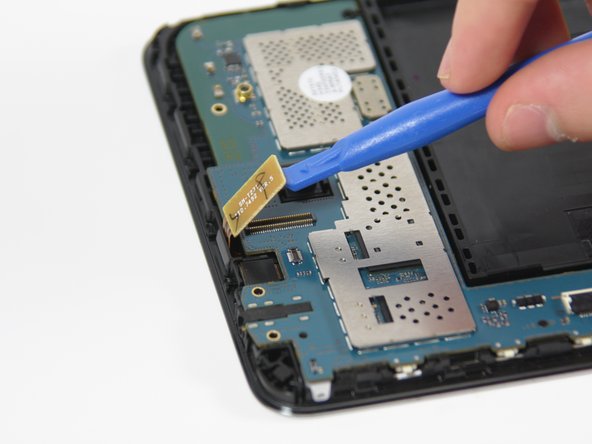
– Gently slide your plastic opening tool under the edge of the connector near the top of the motherboard, then flip it up to disconnect the wire. Easy does it!
Step 8
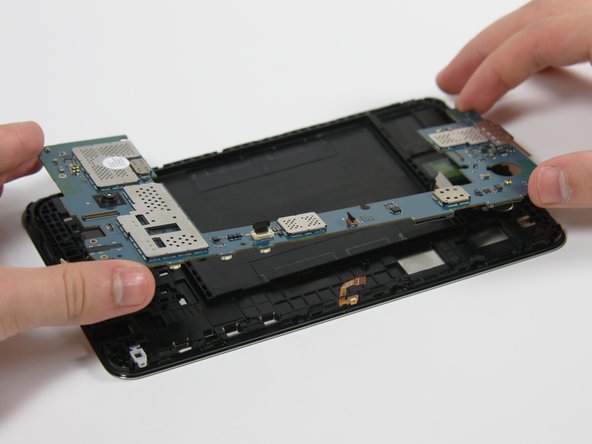
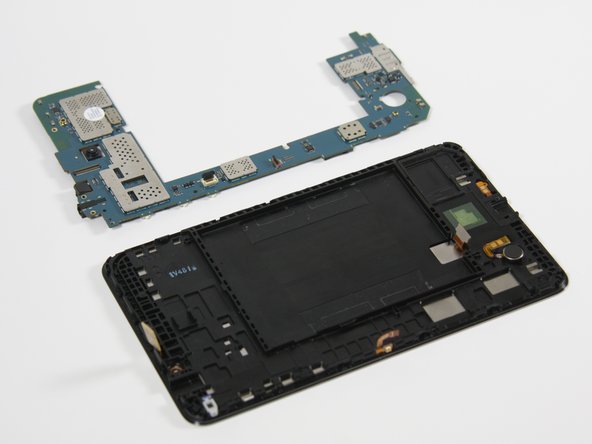

You’ve got some sneaky plastic tabs holding that motherboard in place, so a little muscle might be required. Don’t worry, you’ve got this!
– Carefully grab the top and bottom edges of the motherboard and pull it out toward you, like you’re unveiling the star of the show.
Step 9
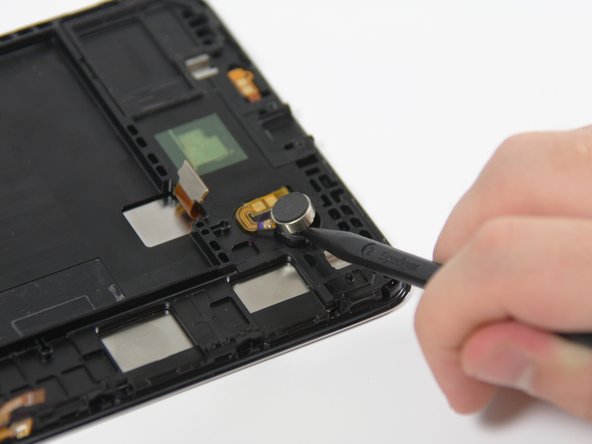
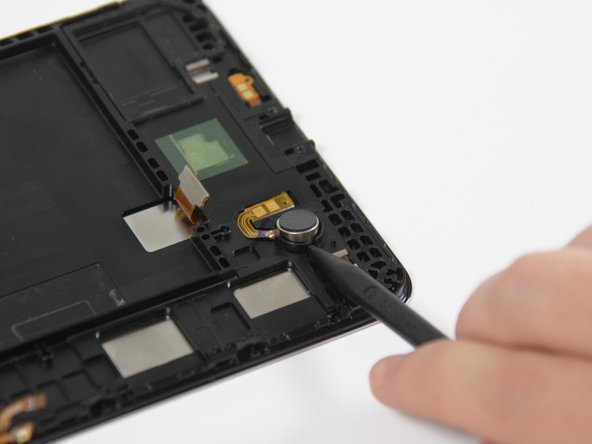

– Gently slide the pointed end of your nylon spudger in between the vibrator and the board.
– With a little care, nudge the vibrator out and away from the board.
Step 10

– Now, just reverse those steps and put your device back together like a pro! If you hit a snag, don’t hesitate to schedule a repair for some expert help!
–
Tools Used
Success!