Samsung Galaxy Tab 4 8.0 Verizon Display Replacement
Duration: 45 minutes
Steps: 14 Steps
Get ready to breathe new life into your Samsung Galaxy Tab 4 8.0 Verizon with this easy-to-follow repair guide. We’ll walk you through the steps to replace the display, and before you know it, your device will be good as new. If you’re not feeling confident, don’t worry – Salvation Repair is here to help. Follow along, and you’ll be enjoying your newly repaired tablet in no time.
Step 1


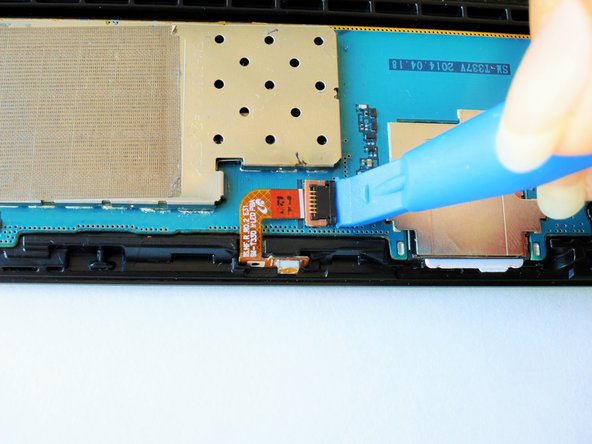
– Gently press down and slide that nifty blue plastic opening tool downward to gracefully release the metallic rectangular connector from its cozy home on the motherboard.
Step 2


– Gently push down on the blue plastic opening tool and slide it downwards – this should loosen the gold rectangular connector from its socket on the motherboard. If it doesn’t budge, don’t worry, just apply a bit more pressure until it pops out.
Step 3
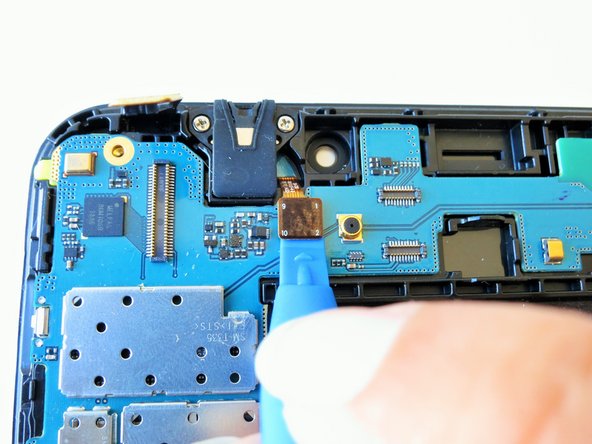

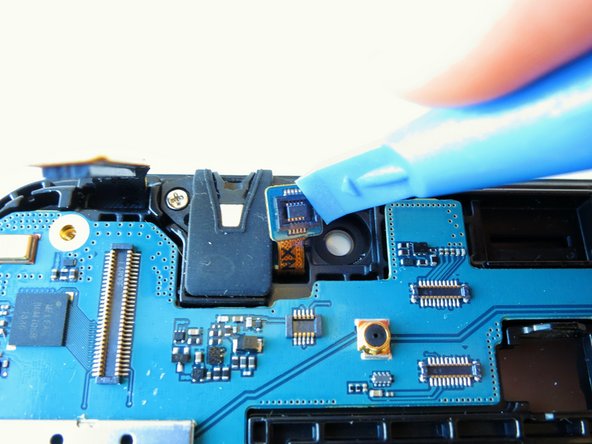
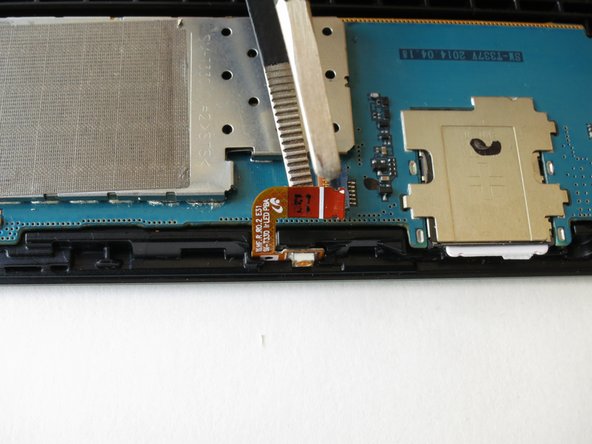
– Gently press down and slide that nifty blue plastic opening tool downward to pop the shiny gold square connector out of its cozy spot on the motherboard. You’ve got this!
Step 4

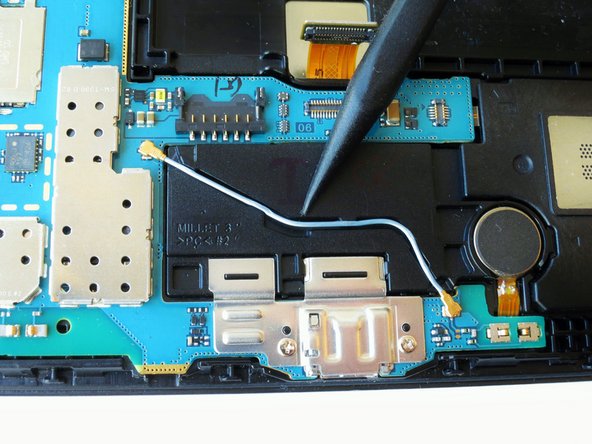
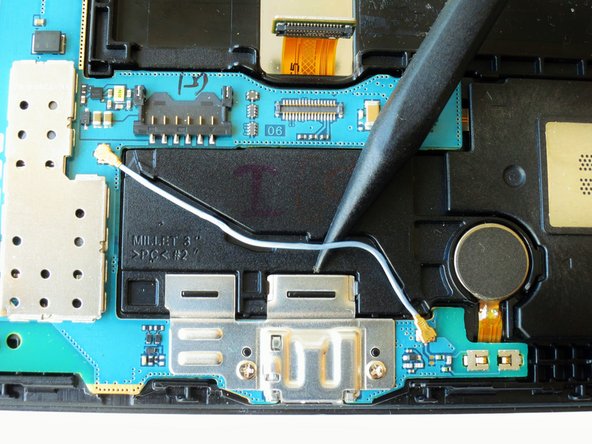
– With a gentle nudge from the spudger, pop the blue wire out of its cozy little compartment. Easy peasy!
Step 5

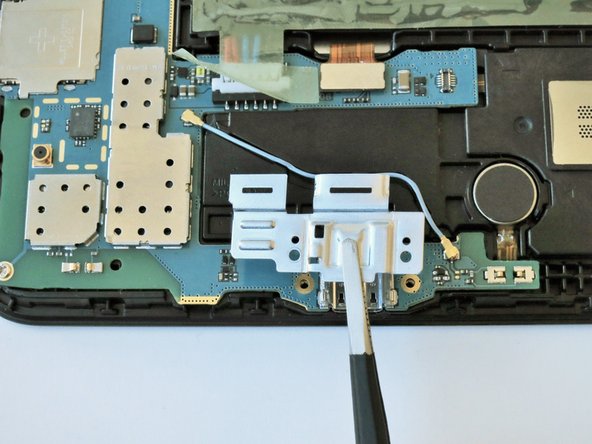
– Unscrew the two 2 mm #000 Phillips screws that are holding the metallic charger port cover in place, securing it to both the logic board and the front panel. A little twist and you’ll be good to go!
Step 6
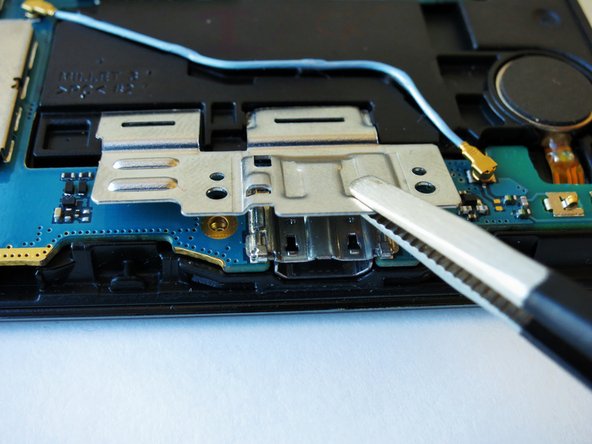

– Give that metal charger port cover a gentle squeeze with your tweezers, and lift it out of its cozy spot with care.
Tools Used

Step 7

Give your tablet a gentle twist counterclockwise to make things easier as you go. You’ve got this!
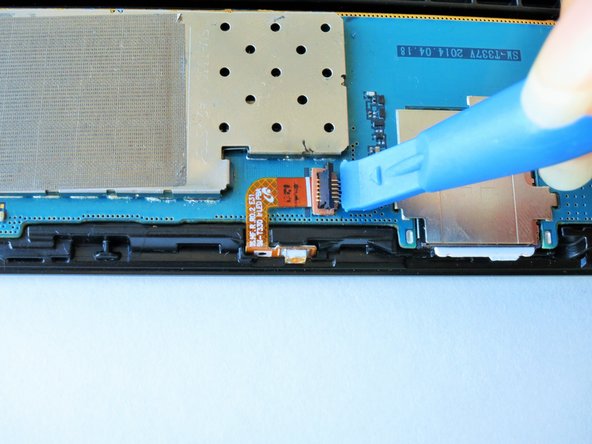
– Gently slide the flat end of the blue plastic opening tool beneath the black plastic fastener and give it a little lift.
Step 8

Be gentle with that golden cable; it’s more delicate than it looks! A soft touch goes a long way.
– Gently grip the golden cable with your tweezers and give it a soft tug to the left, freeing the cable’s end. Take your time with this step—no rush!
Tools Used
Step 9

– Unscrew the three 2 mm #000 Phillips screws holding the motherboard to the front panel. They’re tiny, but with a little patience, you’ve got this!
Step 10


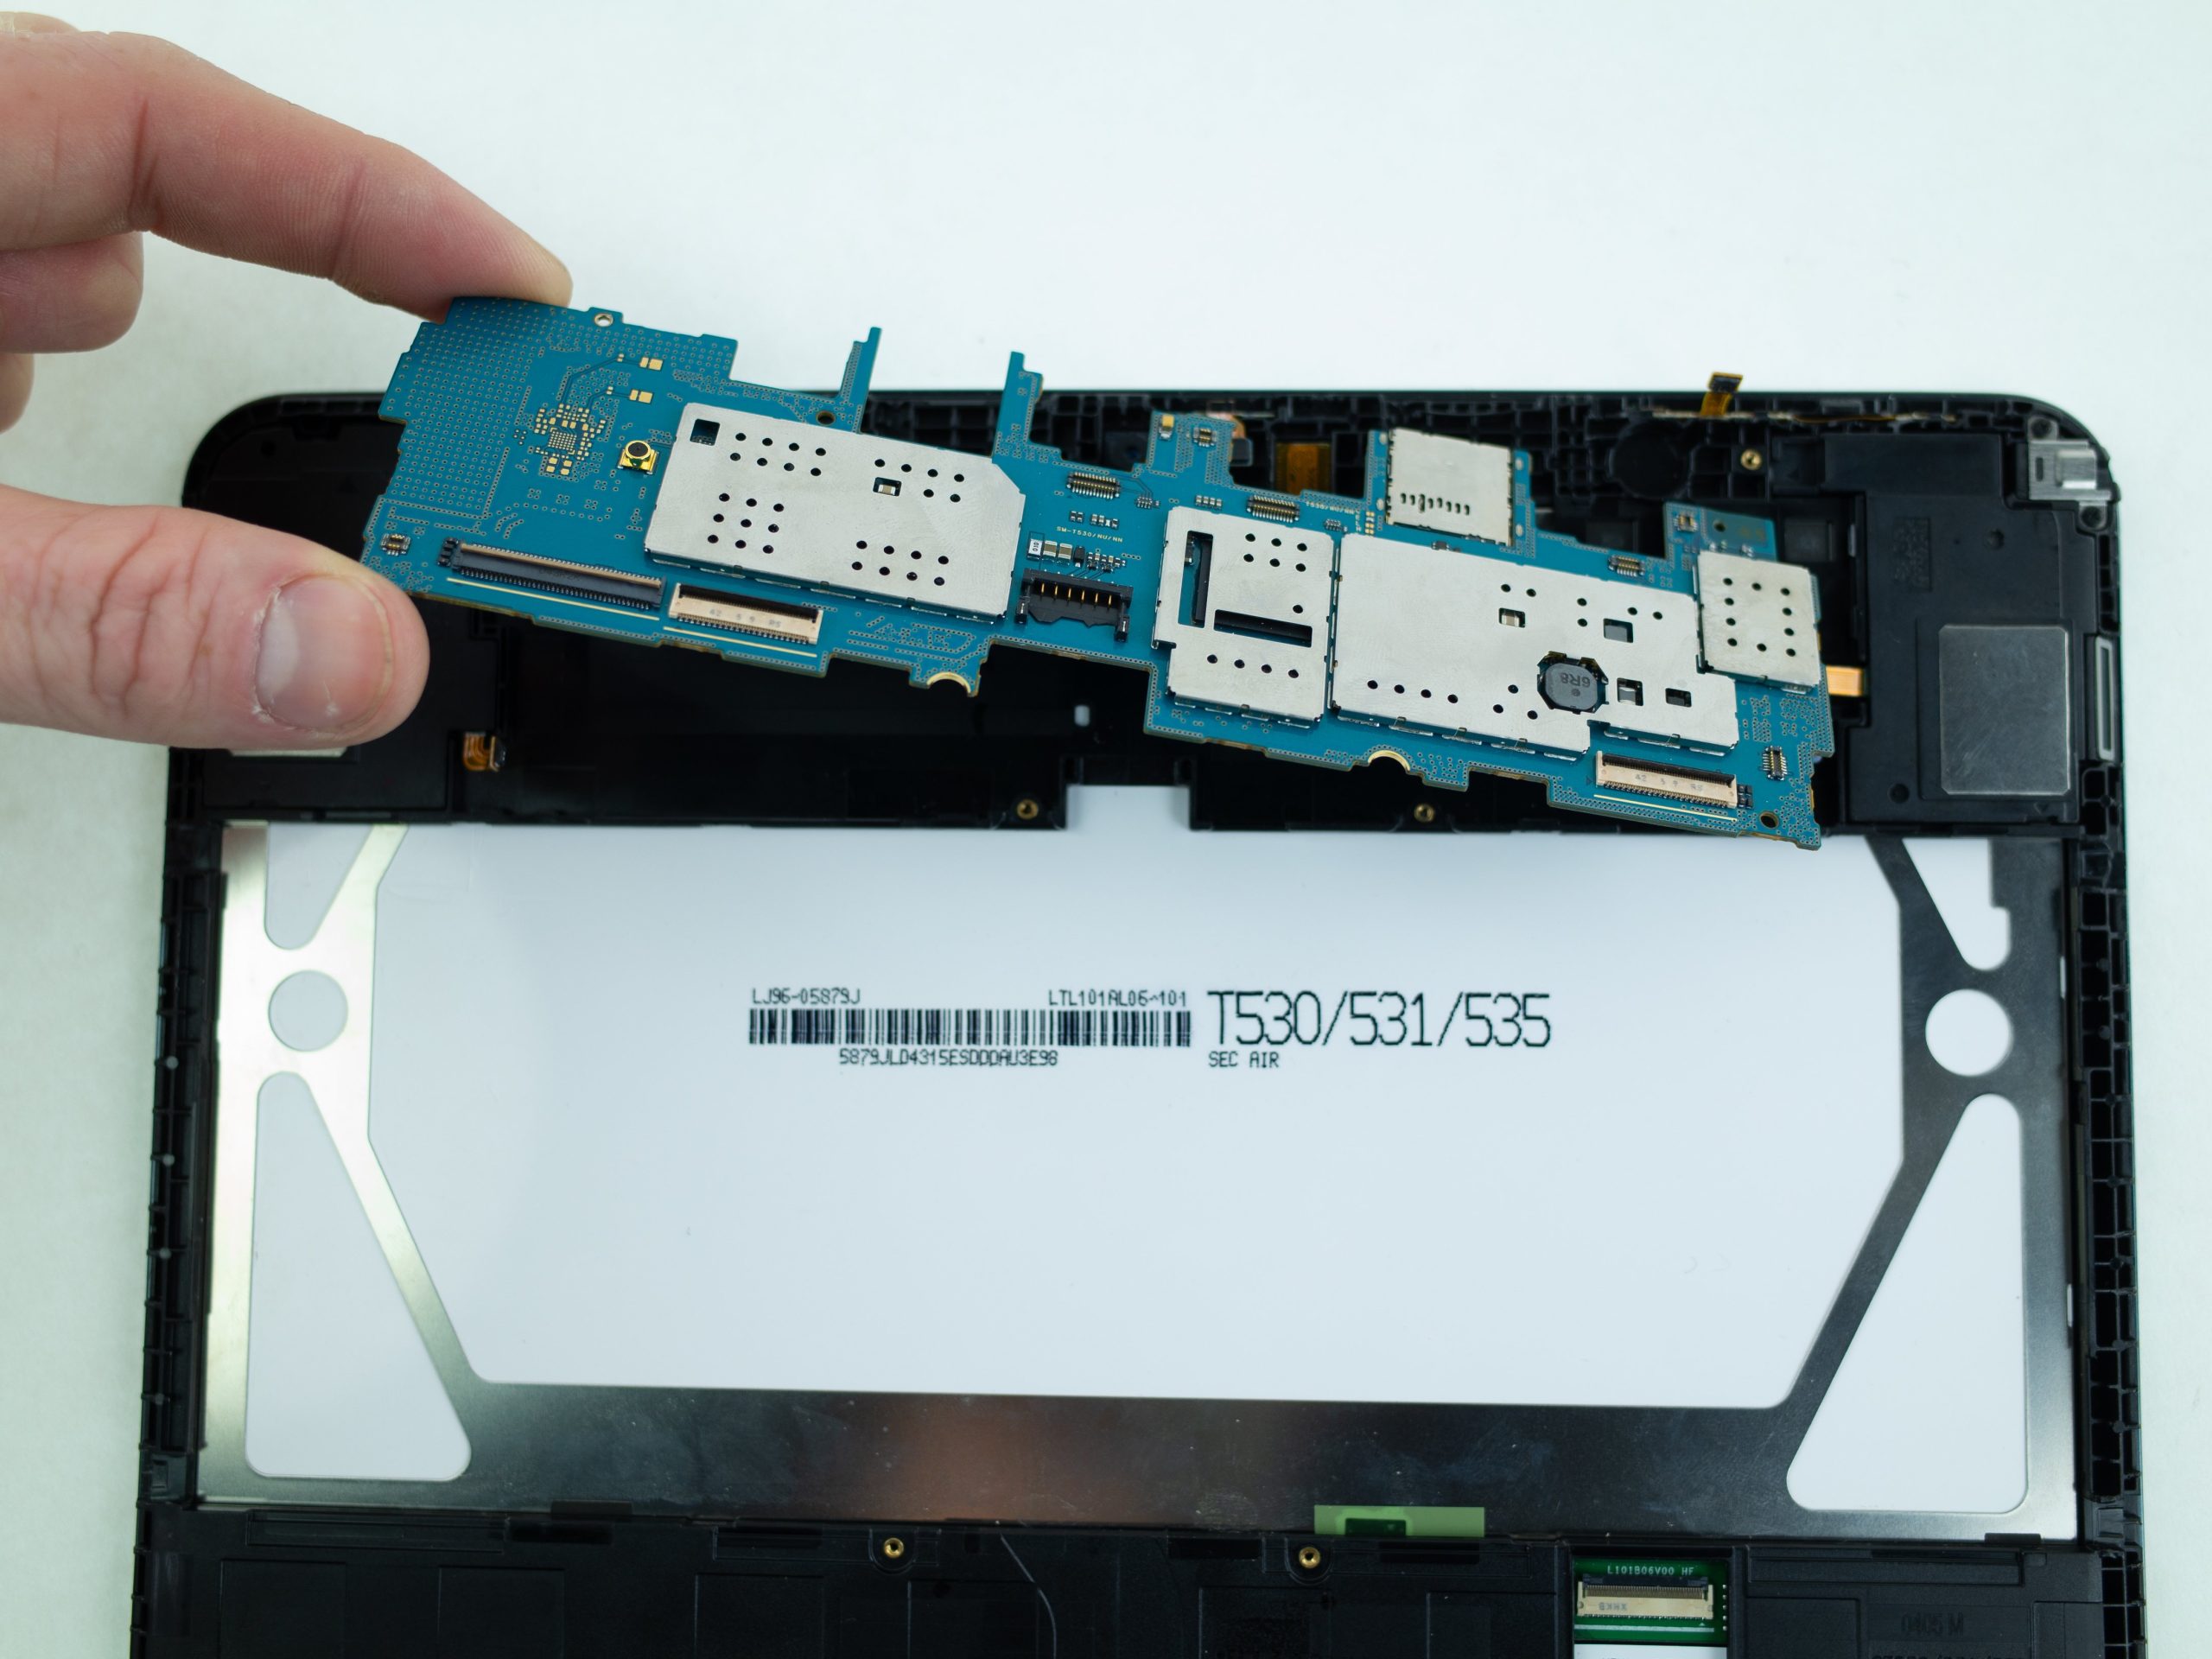
– Grab the corners of the motherboard with both hands and give it a gentle lift.
Step 11

– Slide an opening pick gently between the display screen and its frame. A little nudge, and you’ll be in!
Step 12

– Carefully slide four opening picks between the screen and the device’s back on each of the four corners. This will give you the perfect leverage to get things moving.
Step 13


– Let’s get this repair started! Begin by carefully wedging the Jimmy between the display and the device backing at a corner. This is where the magic happens, and you’ll start to see your device come apart.
– Now it’s time to cut through the adhesive that’s holding the screen in place. Work your way around all four sides, taking your time and being careful not to apply too much pressure. You’re making great progress!
Tools Used

Step 14
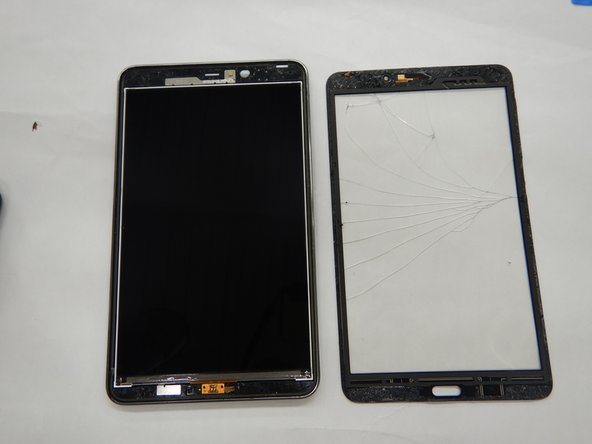

– Now that the display is fully disconnected, carefully lift it off the device. Be sure to avoid touching the screen underneath—give it some space to breathe!
Success!