Samsung Galaxy Tab 4 8.0 Verizon Rear Facing Camera Replacement
Duration: 45 minutes
Steps: 6 Steps
So your rear-facing camera on the Samsung Galaxy Tab 4 8.0 has stopped working? Don’t worry, replacing it is easier than you think. With just a plastic opening tool, some tweezers, and a bit of elbow grease, you’ll be snapping photos like a pro again in no time. Follow these simple steps to get your camera up and running.
Step 1


Before you dive into disassembling your Samsung Galaxy Tab 4 8.0, make sure it’s powered off and that you’ve popped out the SIM and Micro SD cards. We don’t want any surprises during the process!
Take it easy when prying the clips and working with the casing. It’s tempting to go full force, but they’re pretty fragile and could break if you’re too rough. Patience is key!
– At the top edge of the tablet, slide the blue plastic opening tool gently between the back plastic shell and the metal rim of the front panel to start popping it open.
Step 2


To make things easier, try moving clockwise – it seems to work best for most people. Don’t be afraid to apply a bit more pressure around the corners to help things along.
As you work your way around, you might hear some popping sounds. That’s just the plastic clips releasing, so don’t worry – it’s all part of the process.
– Keep gently working that blue plastic opening tool around the edge of the tablet to help free the back plastic casing from the front assembly panel. You’re doing great!
Step 3

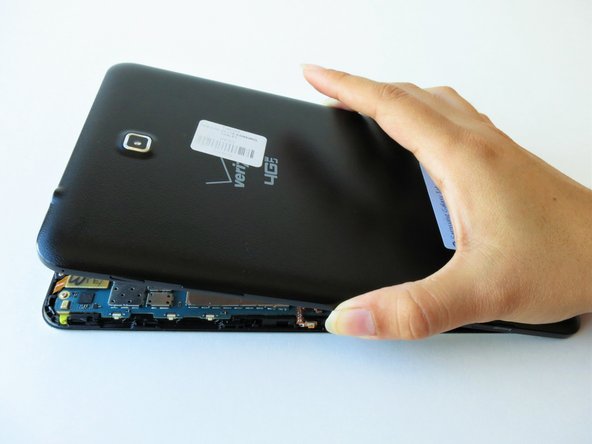
– To keep that screen safe and sound, gently place the tablet with its LCD side down. Treat it like the delicate treasure it is!
– Grab the back plastic casing with a firm grip and lift it away from the front assembly panel. You’ve got this!
Step 4
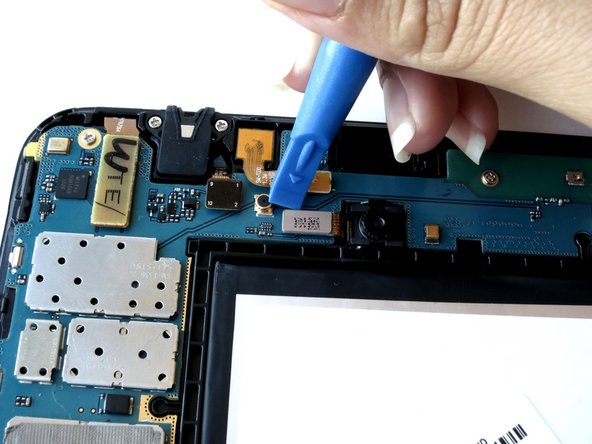

– You’ll find the back camera hanging out near the top center of the tablet, right above the battery. It’s like the VIP area of your device!
– Now, it’s time to get our trusty blue plastic opening tool into action! Gently slide the flat end under the metal rectangular part of the back camera’s cable connector. You’re doing great!
Step 5

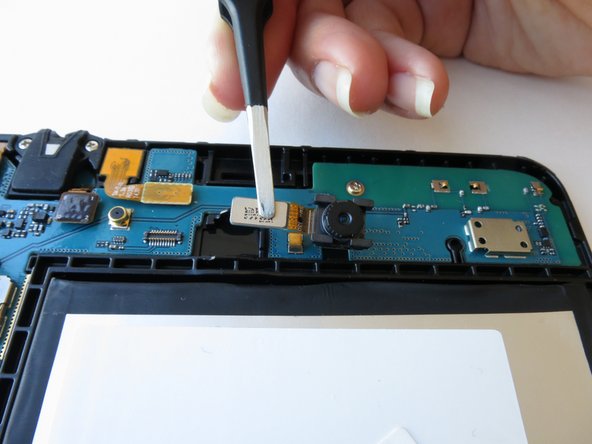
– Gently press down and slide the blue plastic opening tool downward to carefully detach the back camera’s metallic rectangular connector from its spot on the logic board.
Step 6

– Put everything back together by reversing the steps you took to open it up.
– If you hit a snag or just want a hand, you can always schedule a repair.
Tools Used

Success!